
#07【Adobe Illustrator/役立つショートカット20選〜 ] 7編〜】

グラフィックデザイナーの森田です。
【Adobe Illustrator/役立つショートカット20選】の7回目になります。続けて気楽にみて頂ければと思います。
7回目のショートカットは、
command + ]
command + 7
今回は、今まで紹介したショートカットもいくつか出てきますので、復習も兼ねて見て頂ければと思います。
(以下Mac環境想定。Windowsの場合「command → Ctrl」「option → Alt」になりますのでご注意ください)
command + ]
「前面へ移動」
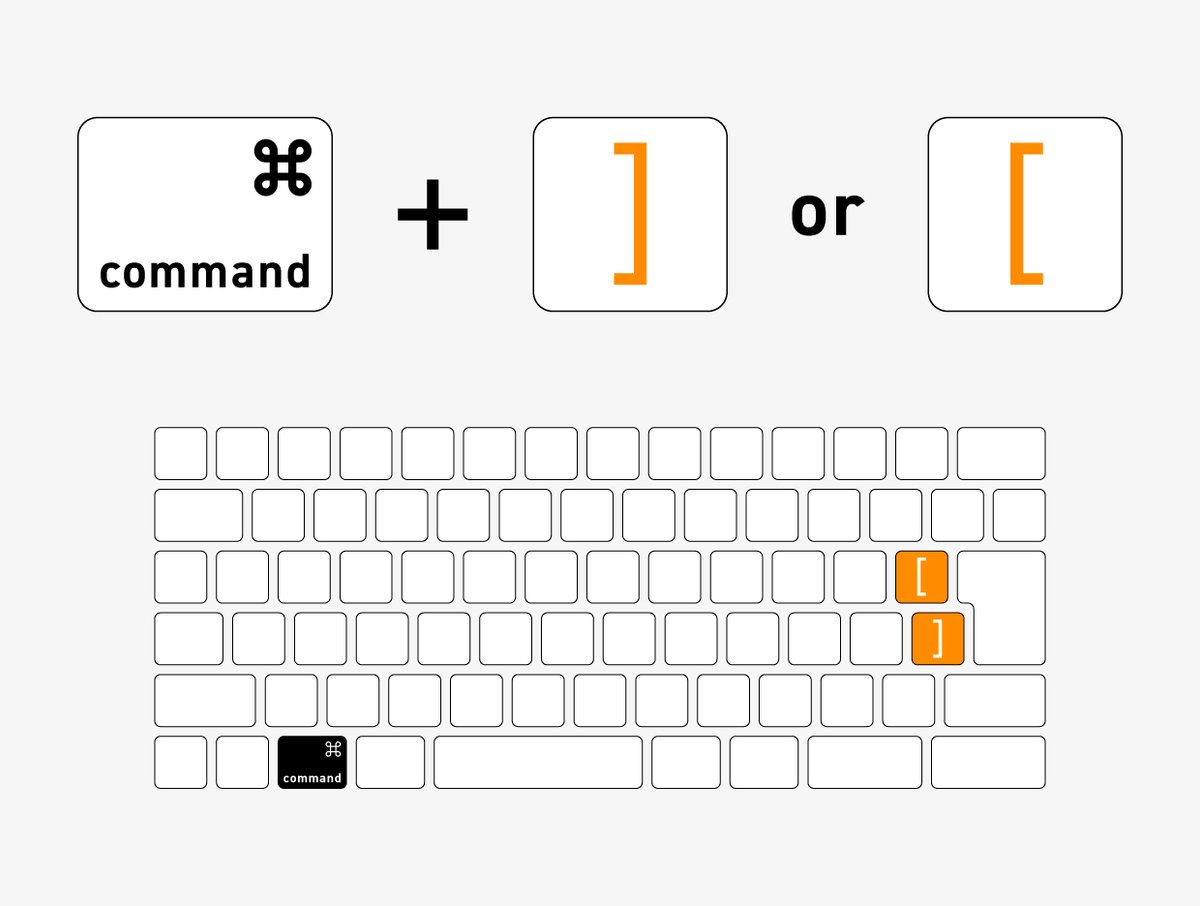
オブジェクトを前面へ移動します。
(合わせて覚えると便利なので、
command + [「背面へ移動」も載せています)
] と [ を
「視覚化したイメージ」

組み合わせて覚えています。
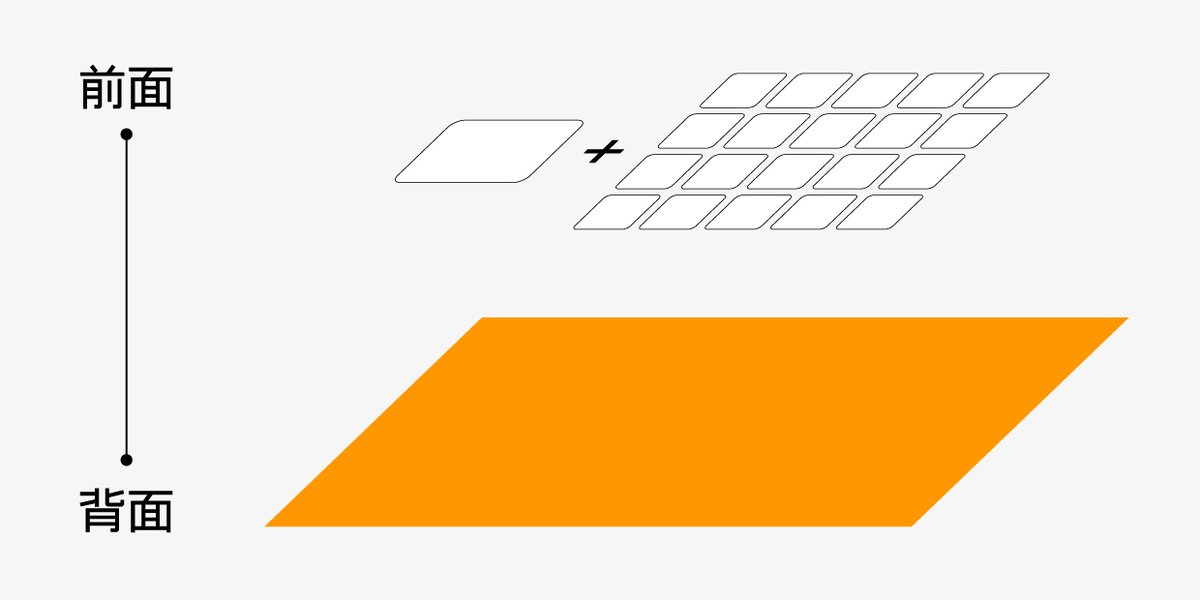
command + ]とcommand + [を押して
前面と背面という奥行きを移動するイメージになります。
command + 7
「クリッピングマスクを作成」
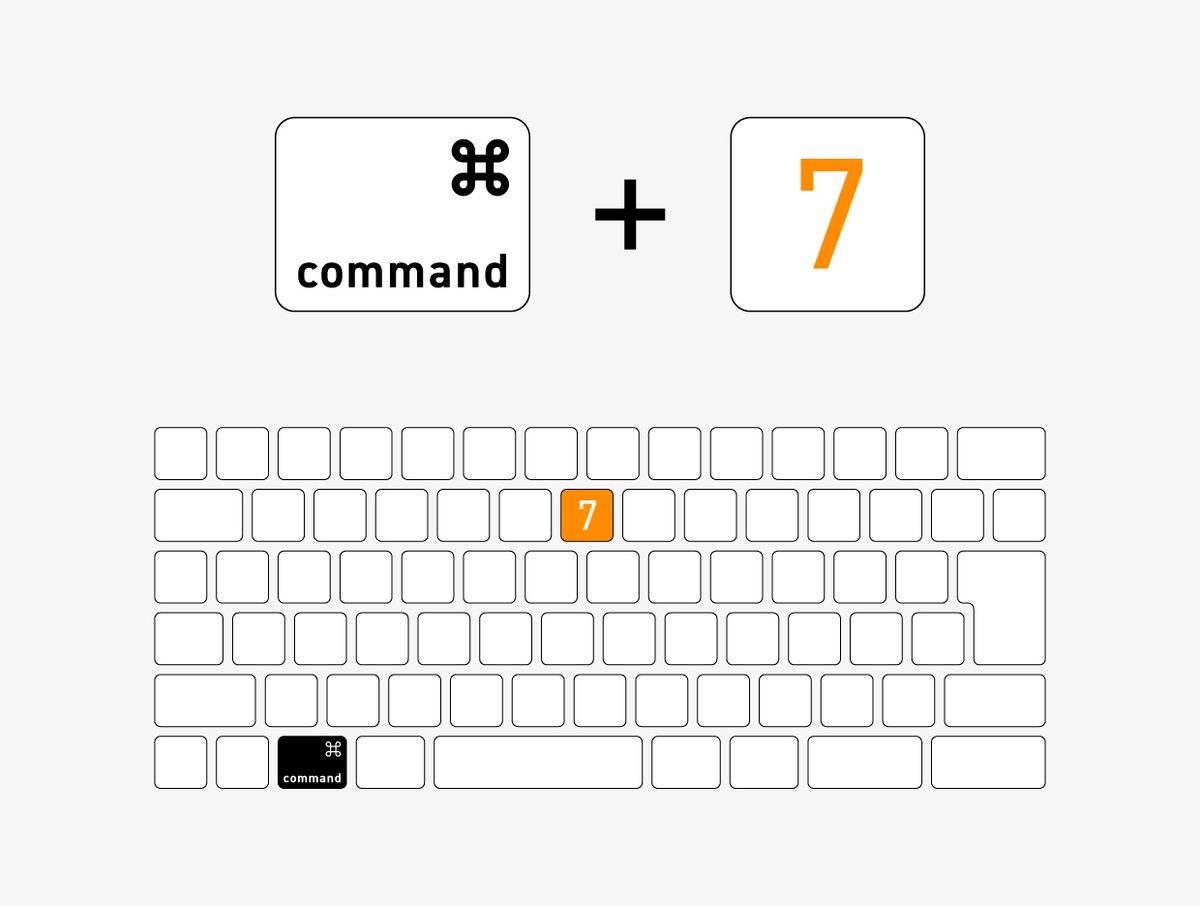
オブジェクトをマスクすることができます。
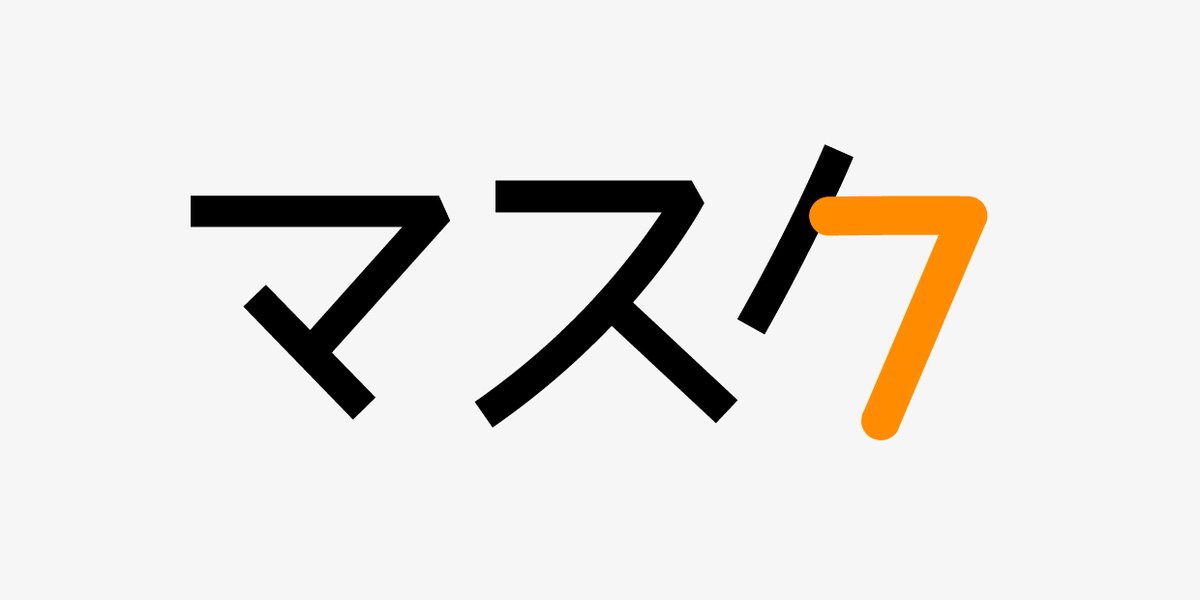
7を
「視覚化したイメージ」
それでは「オブジェクトを前面へ → クリッピングマスクを作成する」を、本記事サムネイルの背景にライン模様を入れていく簡単な実践の中で見ていきましょう。
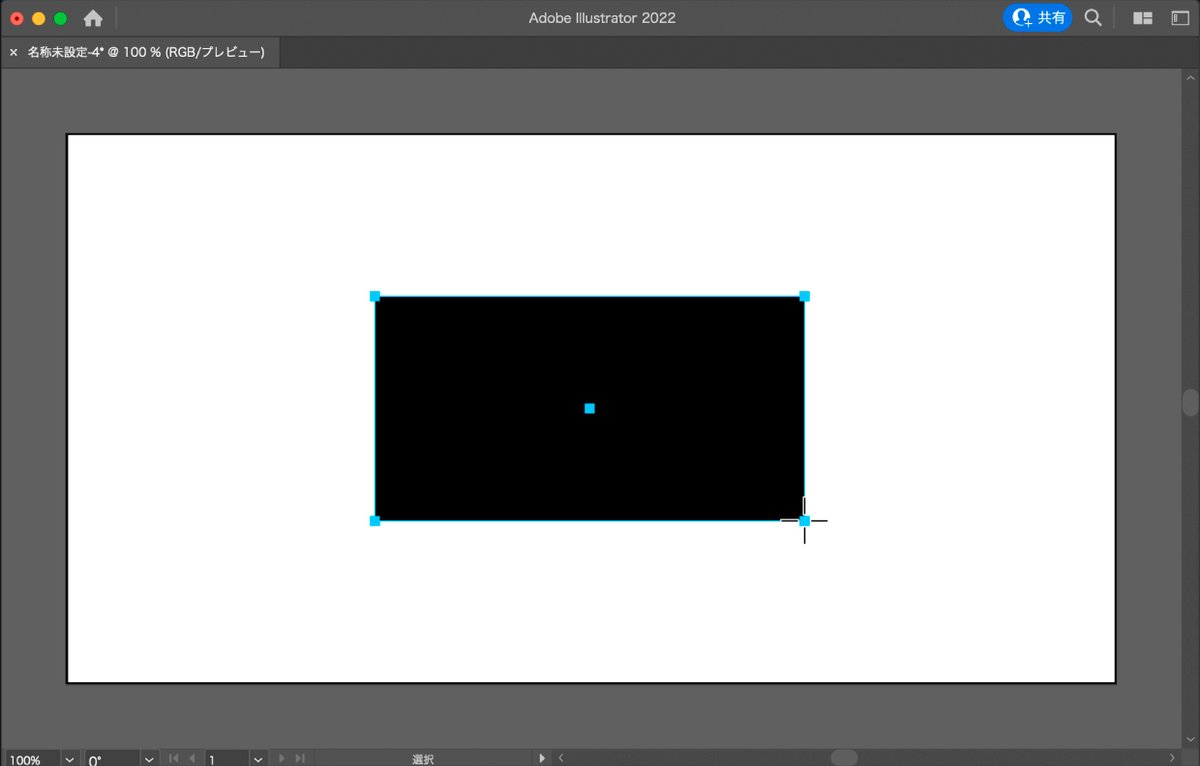
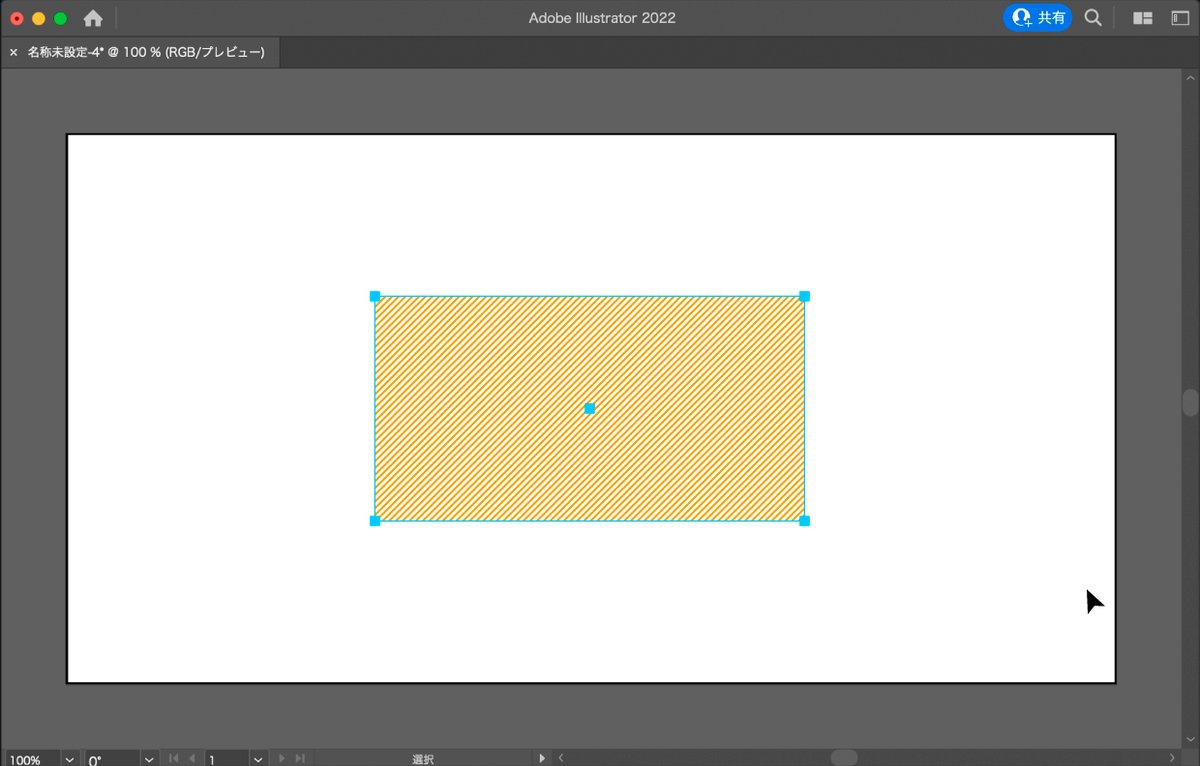
サムネルサイズと同じ長方形オブジェクトを制作します。
(ライン模様を入れやすいようにアートボードは少し大きめにしています)
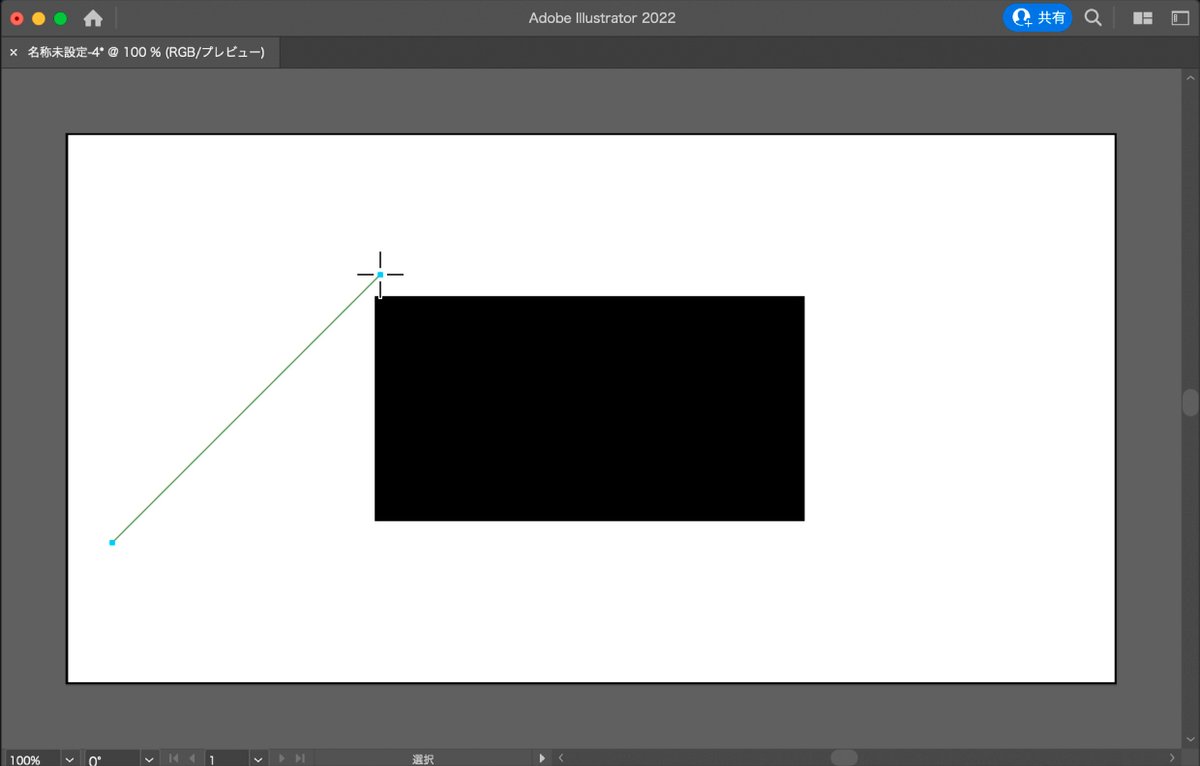
模様の元となる斜めラインをたくさん引いていきます。
その後は、ラインのみグループ化しましょう。
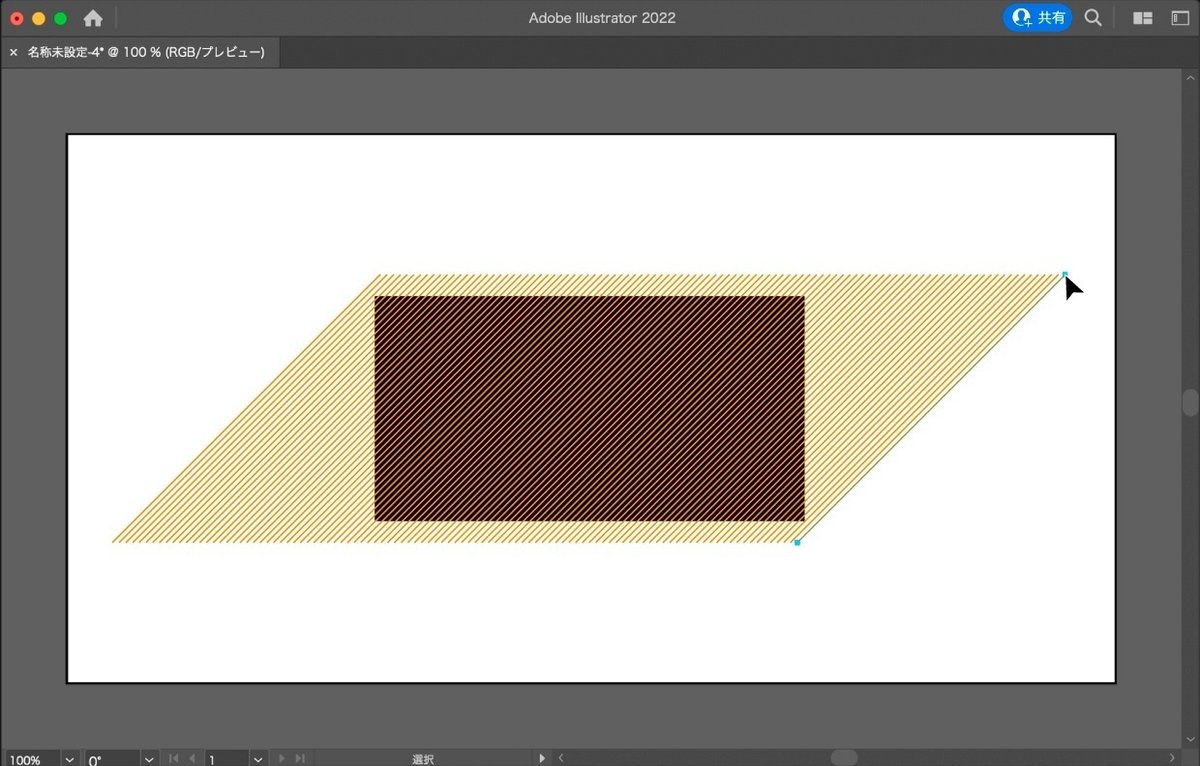
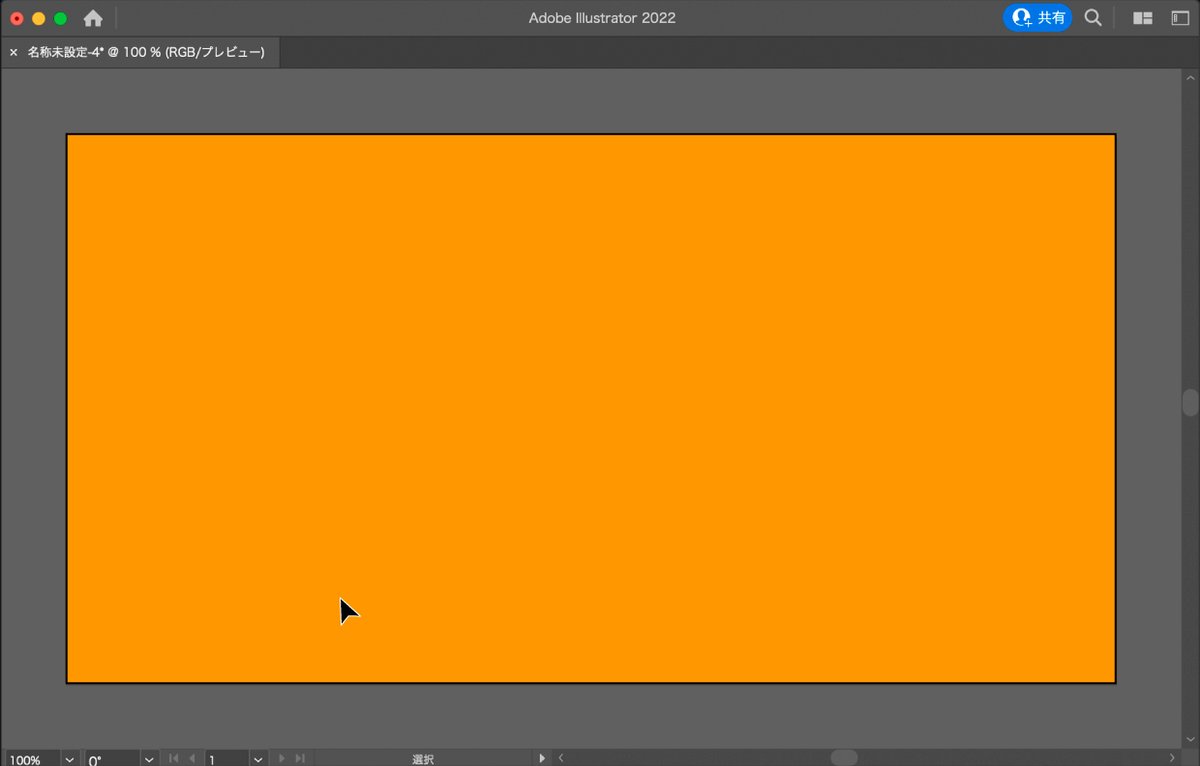
背面のオブジェクトをマスクします。
そのため、長方形オブジェクトをライン模様より
前面に移動させる必要があります。
command + ]を押します。
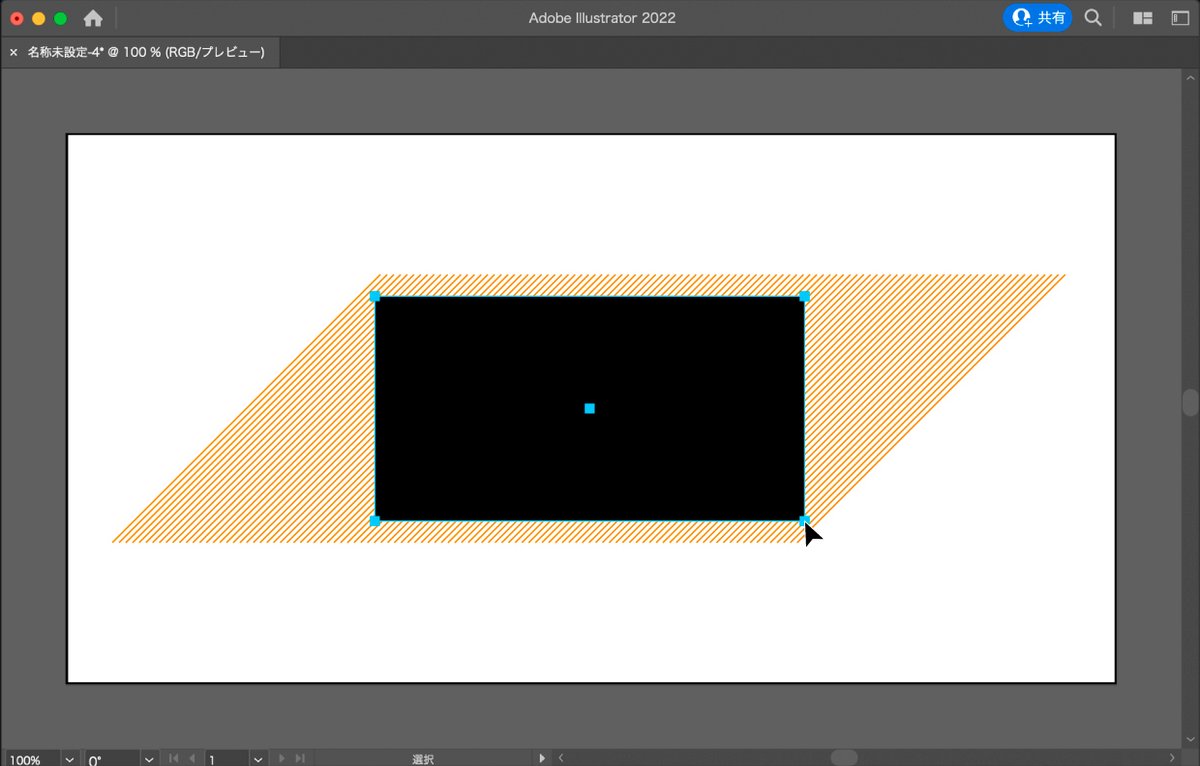
ライン模様よりも前面に移動させることができました。
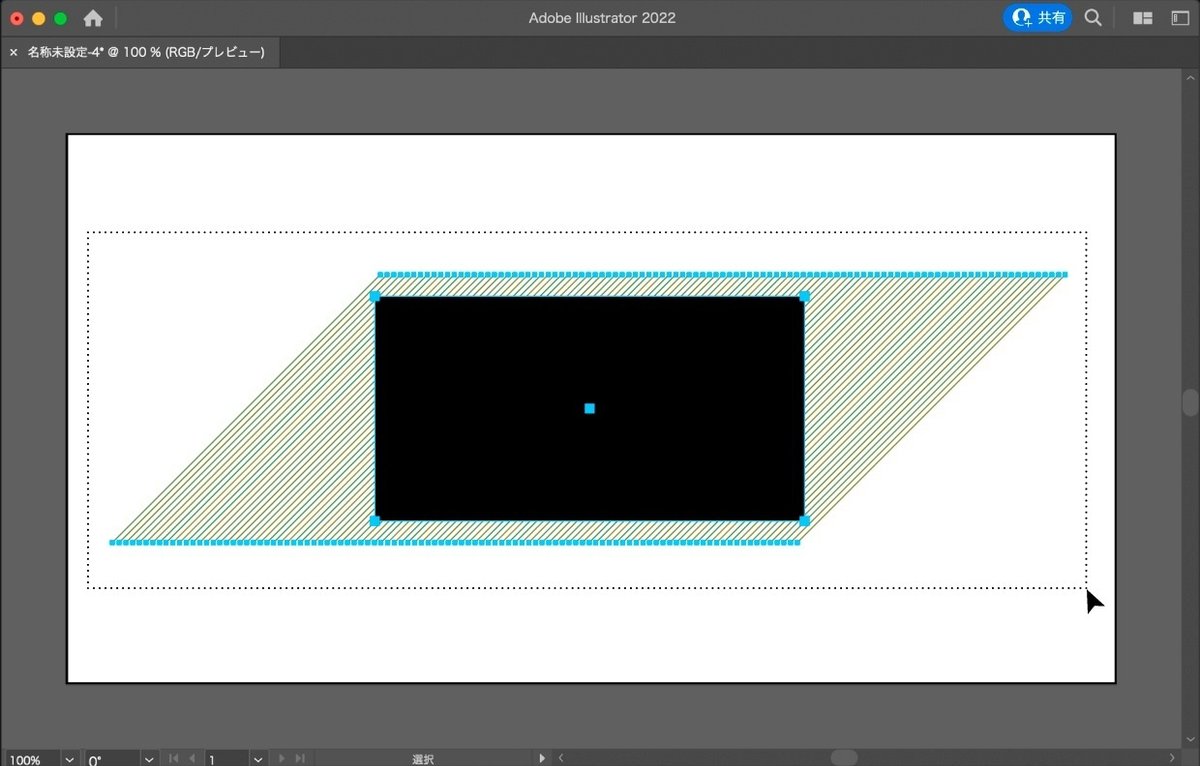
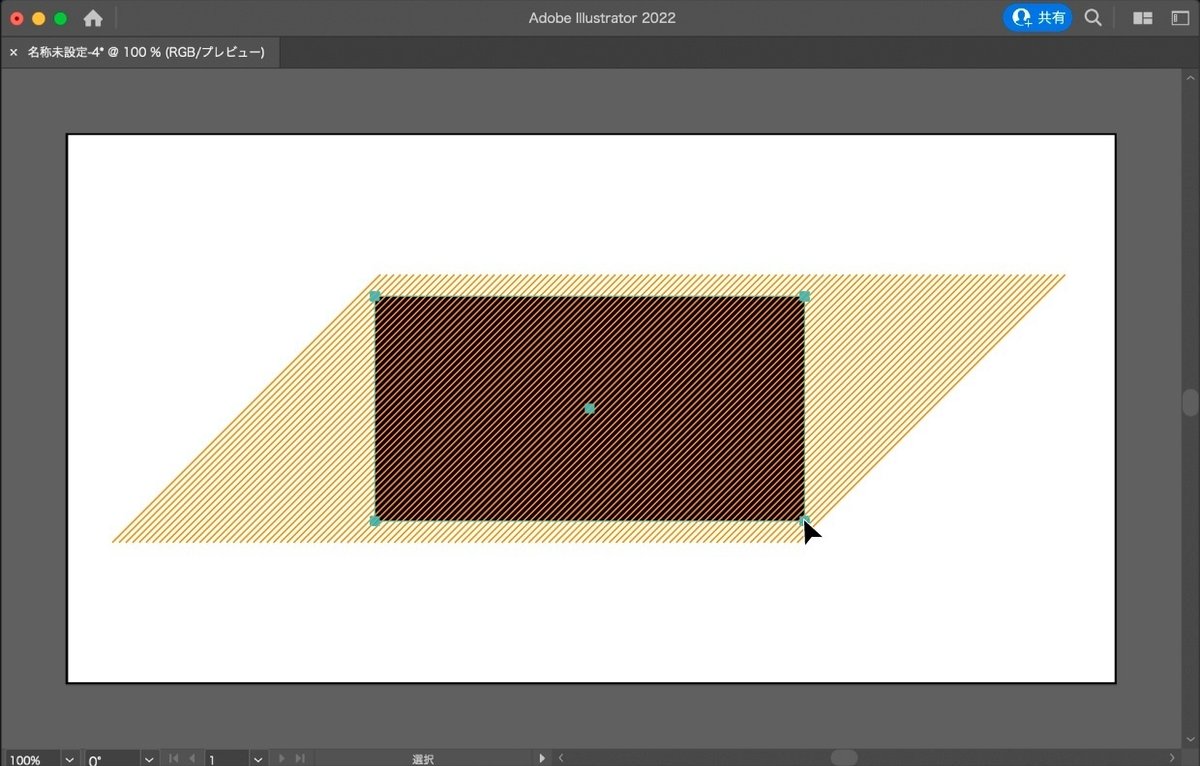
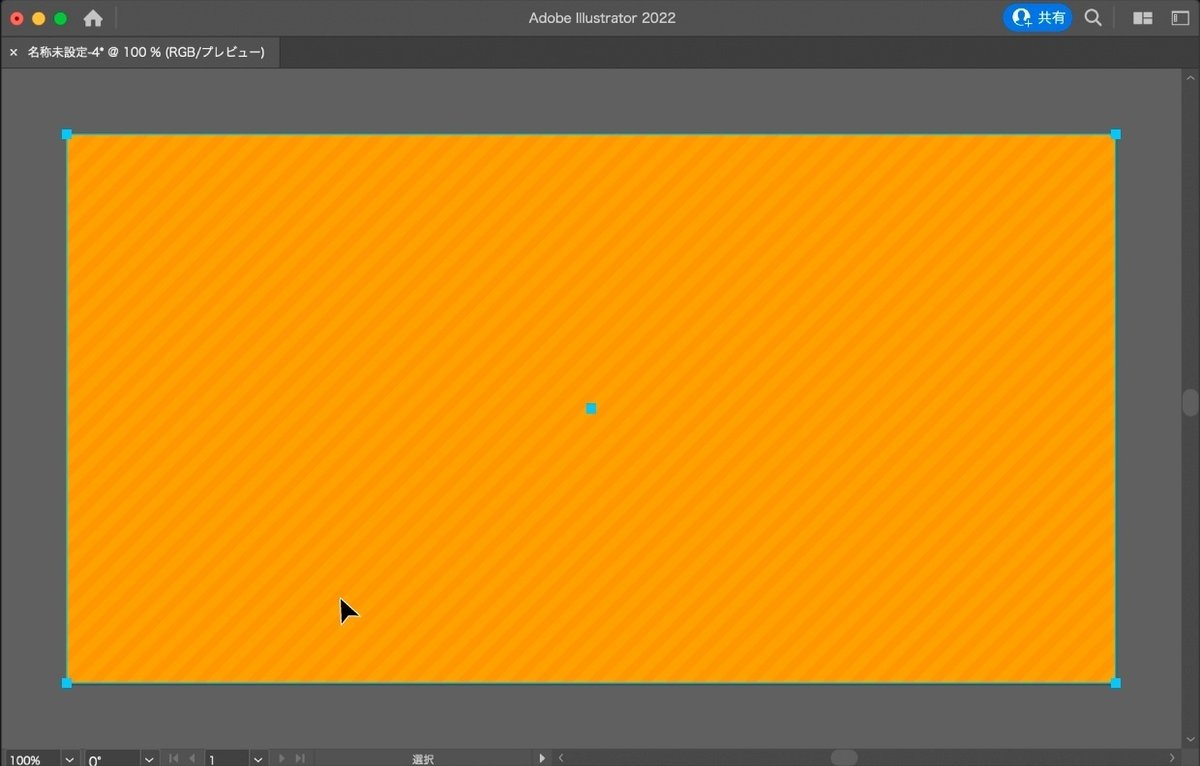
まず、全てのオブジェクトを選択します。
背面のライン模様をマスクした
クリッピングマスクが制作されますので、
前回紹介したcommand + cで全体をコピーします。
以前紹介したcommand + Vを押して
先程コピーした背景模様をペーストします。
元々あった背景の前面に配置されました。
前回隠したオブジェクトを
option + command + 3で再表示します。

文字情報以外のサムネイル全体が完成しました。
また、shiftやoptionを同時に押すことで別のコマンドに変わります。
shift + command + ]で「最前面へ移動」
shift + command + [で「最背面へ移動」
option + command + 7で「クリッピングマスクを解除」
になり、合わせて覚えると大変便利ですので是非覚えていきましょう!
command + ]
command + 7
のショートカットでした。
また次回のショートカットで!