
【3CXやってみた】検証環境構築 - 3.3CXのインストール

こんにちは、CCアーキテクトの辻です。3CX Academyの記事も一通りアップし終わったので習ったことを実際に試してみたいのですが、環境が無いと始まりません。【3CXやってみた】記事として構築をしてみます。
下記の順に3CXのオンプレ検証環境の構築をやってみようと思います。
1.無償ライセンスの取得
2.ESXiに仮想マシンを準備
3.3CXのインストール
4.3CX初回セットアップウィザード
5.管理画面へのログインとポートフォワード設定
6.日本語化に関して
7.テスト用内線の作成
8.テスト用外線(SIPトランク)の作成
3CX導入のご相談は、CCアーキテクトまでお気軽にお問い合わせください。
# 3CX構築・Genesys構築のエキスパート CCアーキテクト (cc-arc.com)
3.3CXのインストール
ISOファイルを使用したインストール方法はここにまとまっています。
https://www.3cx.com/docs/manual/installing-debian-linux-pbx/
ポイント
・マシンに固定IPを設定する場合(推奨)はウィザードでホスト名を設定するタイミングで<Go Back>し固定IPを設定する。
・インストール後、OSの機能でパッケージのアップデートなどは行わないこと! 3CXシステムのアップデートに合わせてOSパッケージのアップデートも行われる。
Introduction抜粋
○ Do not install other packages or change the configuration.
○ Do not install system updates via the command line! This is done by the 3CX system via updates after they have been tested!
○ Any changes to the system will render your installation unsupported!
Introduction抜粋・機械翻訳
〇他のパッケージをインストールしたり、設定を変更したりしないでください。
〇コマンドライン経由でシステムアップデートをインストールしないでください! これは、3CXシステムがテストされた後、アップデートによって行われます!
〇システムに変更を加えると、インストールがサポートされなくなります!
とのことなので注意しましょう。
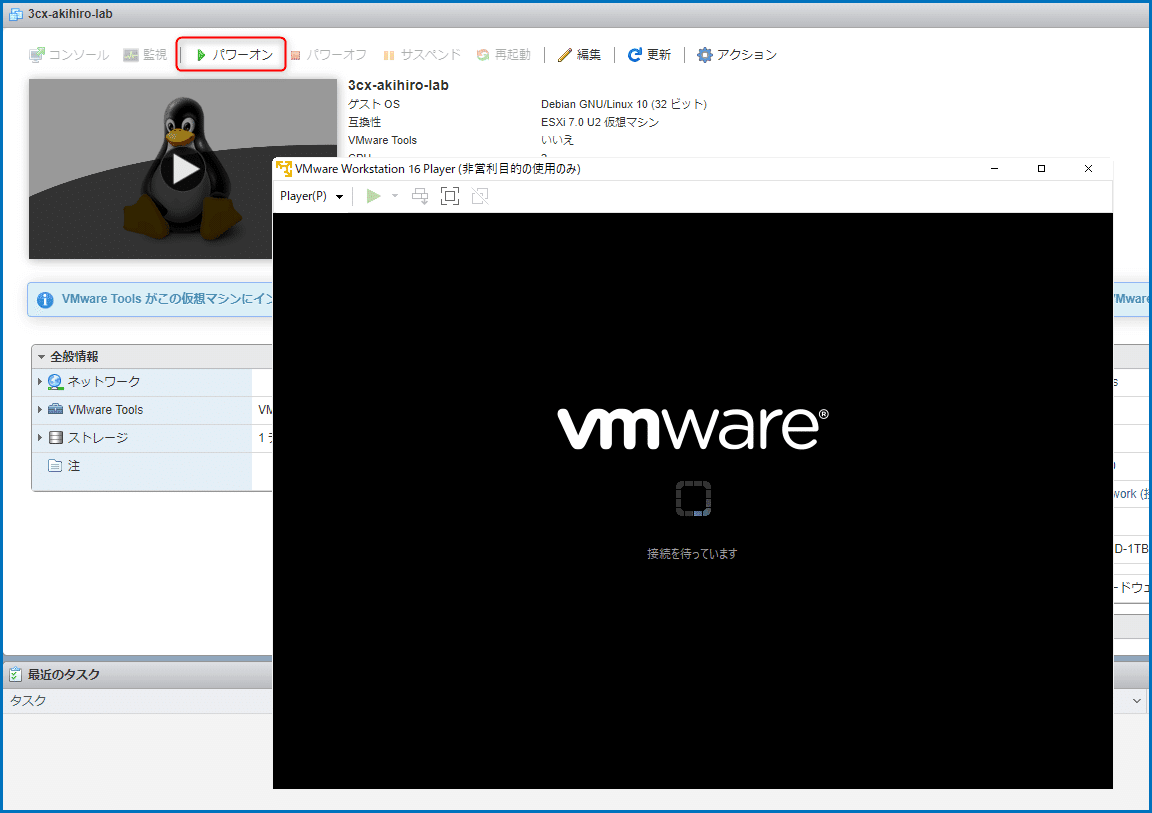
前回の続きです。仮想マシンへコンソール接続して、仮想マシンの電源をONにします。
ISOファイルを選択したドライブを起動ドライブとして仮想マシンが起動します。「Install」を選んだ状態でEnterを押します。

インストーラーの起動を待ちます。

最初にホスト名の設定を聞かれます。このタイミングで<Go Back>を選択します。

Configure network manuallyを選択してEnter

IPアドレスを設定。入力して<Continue>

サブネットマスクを設定。入力して<Continue>

デフォルトゲートウェイを設定。入力して<Continue>

DNSサーバーを設定。入力して<Continue>

ホストネームの設定。入力して<Continue>

ドメインを入力して<Continue>

Englishを選択しEnter

Otherを選択しEnter

Asiaを選択してEnter

Japanを選択してEnter

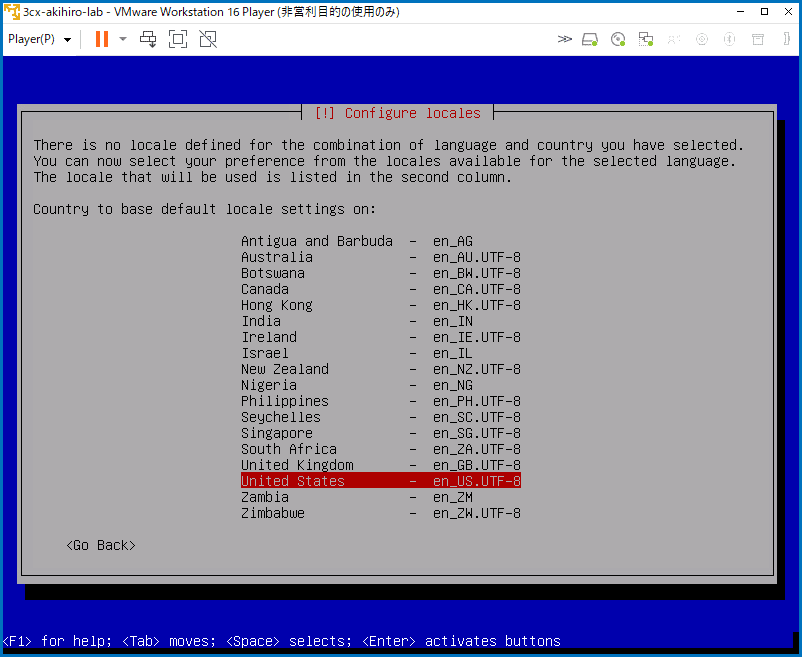
United Statesを選択してEnter
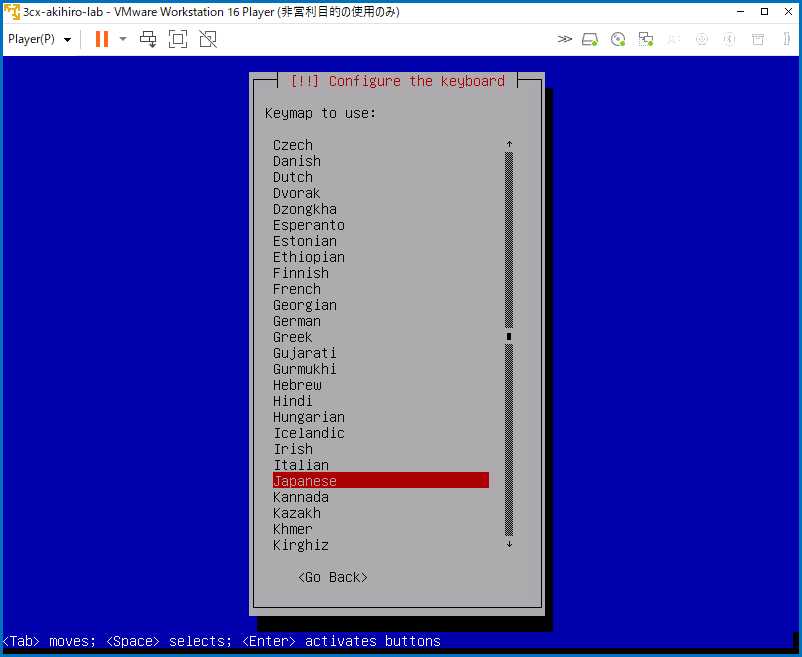
Japaneseを選択してEnter
rootユーザーのパスワードを設定します。充分に複雑なパスワードを設定します。入力して<Continue>

確認の為、もう一度パスワードを入力します。入力して<Continue>

「Guided - use entire disk」を選択してEnter

そのままEnter

「All files in one partition (recommended for new users)」を選択してEnter

「Finish partitioning and write chages to disk」を選択してEnter

「Yes」を選択してEnter

インストールが開始されるのでしばらく待ちます。

途中で仮想マシンが再起動します。
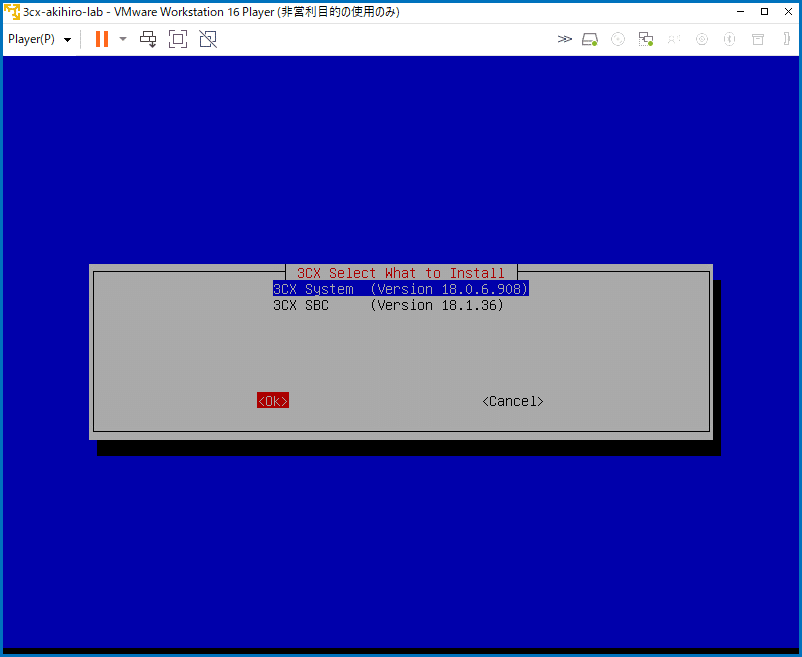
「3CX System (Version 18.0.6.908)」を選択し「OK」を選択しEnter
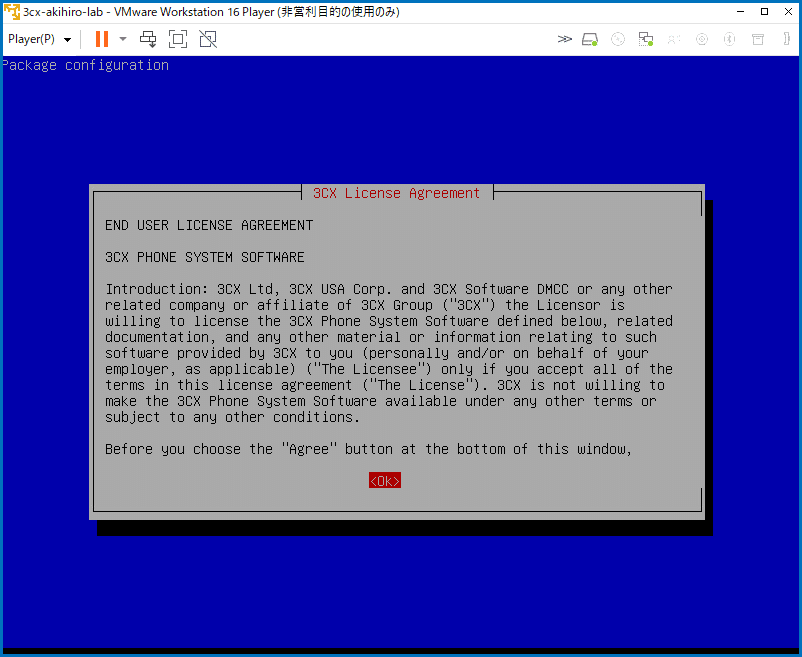
3CX License Agreementの内容にAgreeする場合は「OK」を選択しEnter
インストールが完了し再起動されます。
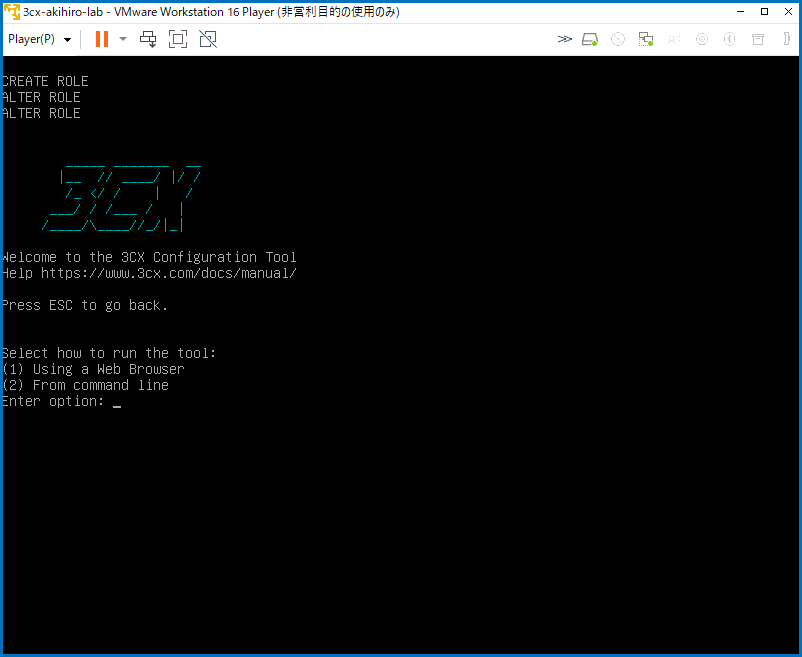
下記の画面が表示されたらインストール完了となります。今回はWebブラウザから設定を行うので、1を入力します。
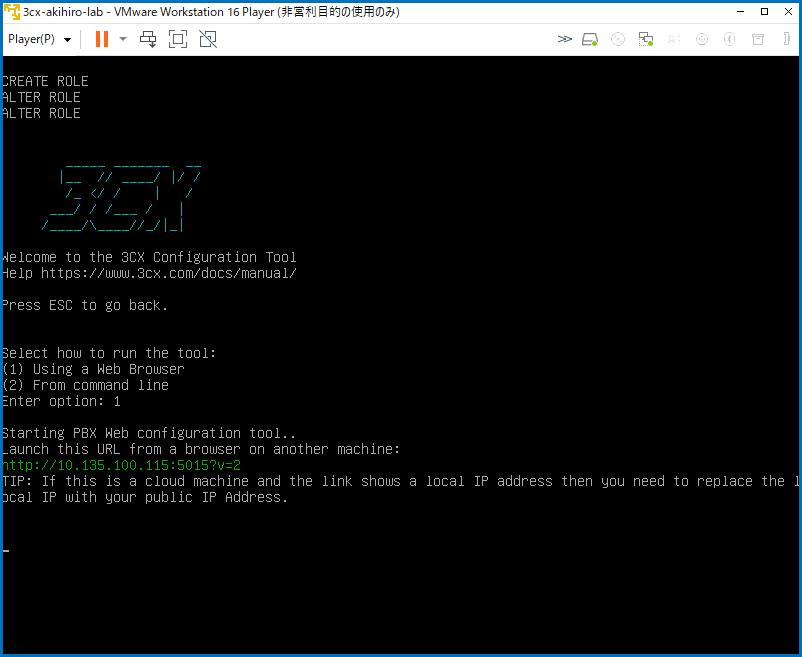
管理画面のURLが表示されます。
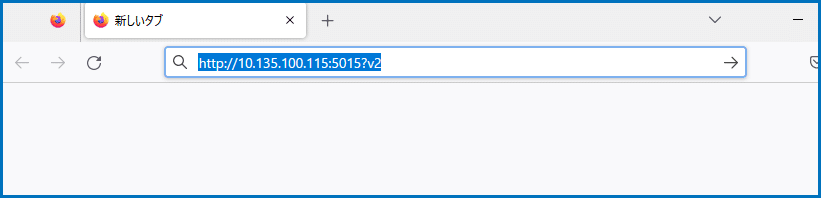
ブラウザを使用し表示されたURLへアクセスします。
初回セットアップウィザードの画面が表示されます。

ここまでの手順で3CXの仮想マシンへのインストールは完了となります。
次回「4.3CX初回セットアップウィザード」へ続きます。
3CXのことを詳しく聞きたい。興味があるという方はぜひ、こちらまでお気軽にお問い合わせください。
# 3CX構築・Genesys構築のエキスパート CCアーキテクト (cc-arc.com)
●VoIP情報満載のBlogはこちら
⇒ https://blog.cc-arc.com/
●FAQ満載のサポートサイトはこちら
⇒ https://portal.cc-arc.com/
●マニュアル掲載満載のリソースサイトはこちら
⇒ https://resource.cc-arc.com/resource/
●動画によるご紹介はこちら
⇒ Youtube
●SNSでも情報発信中!ぜひご登録を!
⇒ Twitter Linkdin Facebook
#3CX , #SIP , #PBX , #IP -PBX , #VoIP , #IPフォン , #IP電話 , #SIPフォン ,#SIP電話 , #SBC , #ひかり電話 , #OG , #ATA , #コールセンター , #ISDN_GW
#クラウドPBX #3CXインストールガイド #3CXオンプレ #3CXマニュアル
#3CX設定マニュアル