
【v0 to Figma】非エンジニアでもOK!AIに作ってもらったUIをFigmaで操作可能に

今回は、V0.devを使ってNext.jsプロジェクトを立ち上げ、ローカルホスト上でUIコンポーネントを実装しそれをFigmaにインポートするまでの手順についてまとめます。
1. Node.jsとnpmの準備
まず、Node.jsとnpmがインストールされているか確認します。ターミナルで以下のコマンドで確認します:
node -v
npm -vこれにより、Node.jsとnpmのバージョンが表示されればOKです。もしインストールされていない場合は、Node.jsの公式サイトからインストールしてください。
2. Next.jsプロジェクトの作成
次に、ターミナルを開き、プロジェクトを作成したいディレクトリに移動します。
cd /path/to/your/directoryここで、Next.jsプロジェクトを作成します:
npx create-next-app@latestこのコマンドを実行すると、いくつかのオプションが表示されます。私は以下のように回答しました:
プロジェクトの名前を入力: `my-app` (任意の名前)
TypeScriptを使いますか?: `Yes`
ESLintを使いますか?: `Yes`
Tailwind CSSを使いますか?: `Yes`
src/ディレクトリを使いますか?: `Yes`
App Routerを使いますか?: `Yes`
インポートエイリアスをカスタマイズしますか?: `No`
3. プロジェクトディレクトリへの移動
プロジェクトが作成されたら、そのディレクトリに移動します:
cd my-app4. V0.devコンポーネントのインストール
次に、V0.devからUIコンポーネントをインストールします。
UI自体はChatGPTにこんなのが作りたい〜とお願いしてプロンプトを作ってもらいました。以下、念の為そのプロンプトを載せておきます。
(以下はプロンプトの内容の説明です。読み飛ばしていただいてOKです。)
今勉強しているGoogle UX Design Certificateの課題でSocial Goodのためのアプリをデザインするという課題が出ました。そこで、日本にいる外国人労働者の生活支援のアプリをデザインしようと思いました。それのアイデア出しのためにまずはユーザー情報を入れるありがちなフォームを作ってもらいました。
"Create a mobile app UI for a health consultation service for foreign workers in Japan. The app should have the following screens and features:
1. Language Selection Screen:
- Display options for multiple languages including Japanese, English, Tagalog, Vietnamese, Chinese, Indonesian, and Uzbek
- Use flags or icons to represent each language
- Include a 'Continue' button
2. User Registration Screen:
- Input fields for name, date of birth, gender, nationality, email address, password, and residence card number
- Use appropriate input types (e.g., date picker for birth date, dropdown for gender and nationality)
- Include a 'Register' button
3. Health Insurance Information Screen:
- Radio buttons or dropdown for selecting insurance type (National Health Insurance, Social Insurance, Other)
- Input fields for insurance card number and insurer number
- Include a 'Next' button
4. Location Information Screen:
- Toggle switch for enabling location services
- If location services are disabled, show input fields for manual address entry (postal code, prefecture, city, street address)
- Include a map view that updates based on the entered location
- Include a 'Continue' button
5. Health Information Screen:
- Multiple selection options for allergies (Food, Medication, Other)
- Text area for entering medical history
- Text area for listing current medications
- Include a 'Submit' button
General design guidelines:
- Use a clean, modern design with a color scheme suitable for a healthcare app
- Ensure the UI is accessible and easy to navigate
- Include a progress indicator to show the user's position in the registration process
- Use icons where appropriate to enhance understanding
- Implement form validation and error messaging
- Design for both light and dark mode
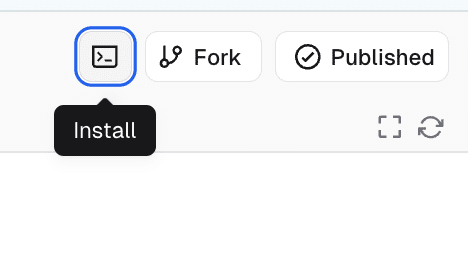
Please create these screens and show how they would flow together in a typical user journey."v0の画面右上にあるInstallのアイコンをクリックするとコマンドが表示されるのでコピーします。
このコマンドを実行すると、さらにいくつかの質問が表示されます。私は以下のように回答しました:
新しいNext.jsプロジェクトを作成しますか?: `yes`
プロジェクト名を入力: `my-app`(同じプロジェクト名を入力します)
スタイルを選択: `Default`
基本カラーを選択: `Neutral`
テーマ用にCSS変数を使いますか?: `no`
このRedditの記事にオプションの見た目の違いについて書かれていました。そのスレッド(?)内では以下のサイトのリンクがあり、簡単に比較できるようになっています。

これで、V0.devから必要なコンポーネント(ボタンや入力フォーム、ラベルなど)がプロジェクトに追加されます。
5. 開発サーバーの起動
以下のコマンドで開発サーバーを起動します:
npm run devその後、ブラウザで `http://localhost:3000` にアクセスしてください。これで、V0.devを使ったUIコンポーネントが正しく表示されているか確認できます。
6. html.to.designでFull pageキャプチャ
localhostの画面を読み込むため、Chrome拡張機能の「html.to.design」をインストールします。 ウェブサイトをFigmaで編集可能なコンポーネントにしてくれる拡張機能です。

http://localhost:3000/を開いてhtml.to.designを起動し、スクリーンショットをFull pageで撮ります。

7. Figmaでhtml.to.designを開く
Figmaのpluginでhtml.to.designを検索し、.h2dのファイルをImportします。
結果はこんな感じです。
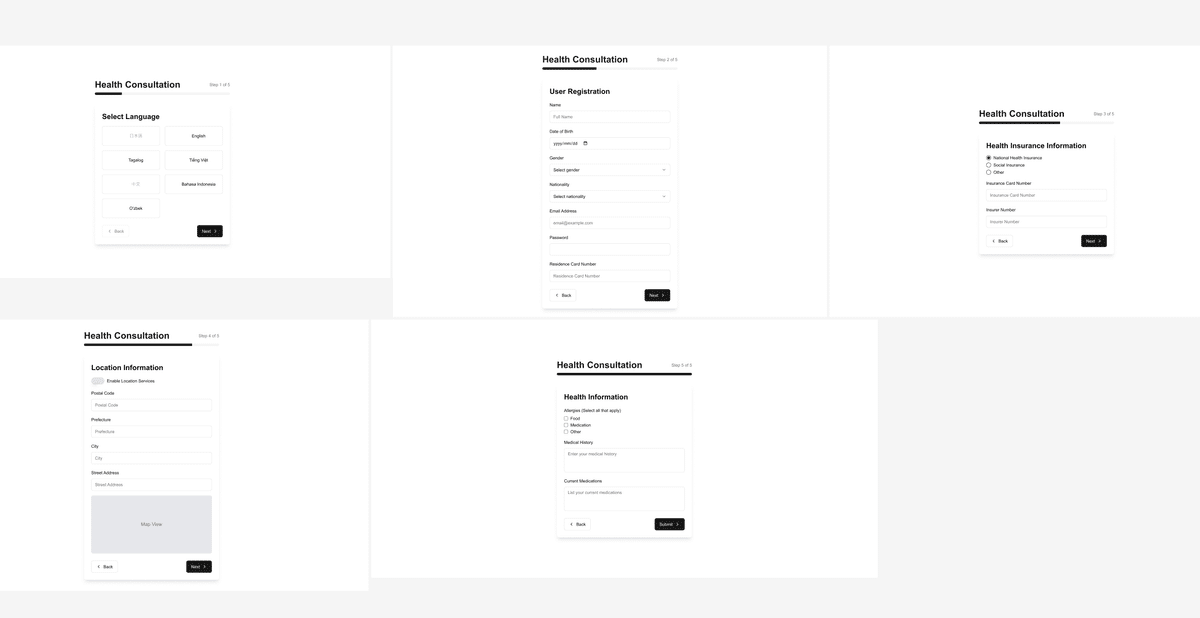
絵文字は存在が消されていました。そして日本語がHiragino Sansで英語と比べてか細い感じに…🥲

ですが、他のレイヤー名などは綺麗なので問題ないと思います。
これを土台としてデザインをしていけると多少なりとも作業が捗るのではと思います。
以上が、V0.devを使ってNext.jsプロジェクトをローカルホスト上で構築するための手順でした!
ここまでお読みくださりありがとうございました〜!🙇♀️