
スクラッチで最小限必要な要素だけでNuxt.jsの開発環境をサクッと作る方法(mac)

自分用備忘録。最小限必要な要素だけでnuxt.jsの開発環境を作成する方法です。
今nuxtの勉強中だもんで、しばらくこんな記事ばっかりだと思いますが、ご容赦ください。
手順1.
ディレクトリを作成する
手順2.
新規でpackage.jsonを作成し、以下をコピペする
package.json
{
    "name": "nuxt-scratch-app", //プロジェクト名
        "dependencies": {
        "nuxt": "^2.8.1"        //nuxt.jsのバージョンを指定(2.8.1以上で使用)
    },
    "scripts": {          //任意のシェルスクリプトの実行を定義
        "dev": "nuxt",      //nuxtを開発モードで実行
        "build": "nuxt build", //ビルドする時のコマンド
        "start": "nuxt start"  //アプリケーションを実行する時のコマンド
    }
}
npmで作成するプロジェクトの設定を記述する設定ファイルです。
バージョン等は適宜変更してください。
手順3.
下記コマンドでパッケージをインストールする
npm install --save nuxtnode_modulesに必要なパッケージがインストールされる

手順4.
トップディレトリにpagesフォルダを新規作成する

手順5.
pagesフォルダ内にindex.vueを作成する
手順6.
index.vue内に下記のようにテンプレートを記述する
<template>
    <h1>Hello World</h1>
</template>
手順7.
ターミナルで以下を実行してコンパイルする
npm run dev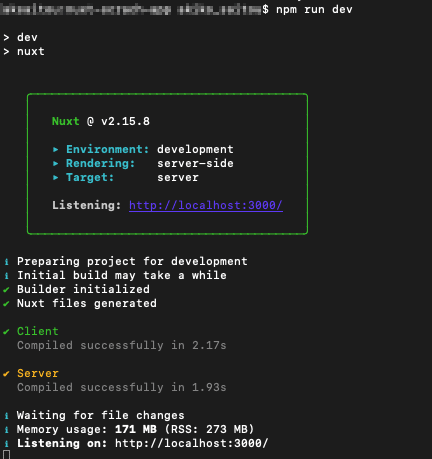
手順8.
ブラウザでhttp://localhost:3000/ を入力して表示させる
