
【VRChat】unity初心者がオリジナルアバター作成から販売記録 unity編②

今回はunity編②です。
ハンドジェスチャーの解説になります。
調べたり人に聞いたりしてなんか出来たって感じなので、間違っていたらやさーーーしくTwitterの方に連絡くれると嬉しいです。
●ハンドジェスチャーとは
VRの場合手の特定の形、PCの場合Shift+F1~F8で好きなアニメーションを再生することができます。
●Hands Layerのコピー
Hands Layerをコピーしていきます。
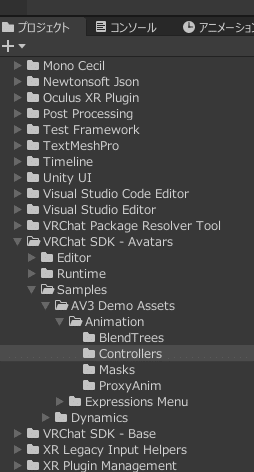
プロジェクトのVRChat SDK -Avatars→Samples→Animation→ContrpllersにVrc_Avatar V3 Hands Layerというものがあるので、こちらをCtrl+Cでコピーします。

アバターのあるフォルダに戻って右クリック、作成のフォルダを選択。
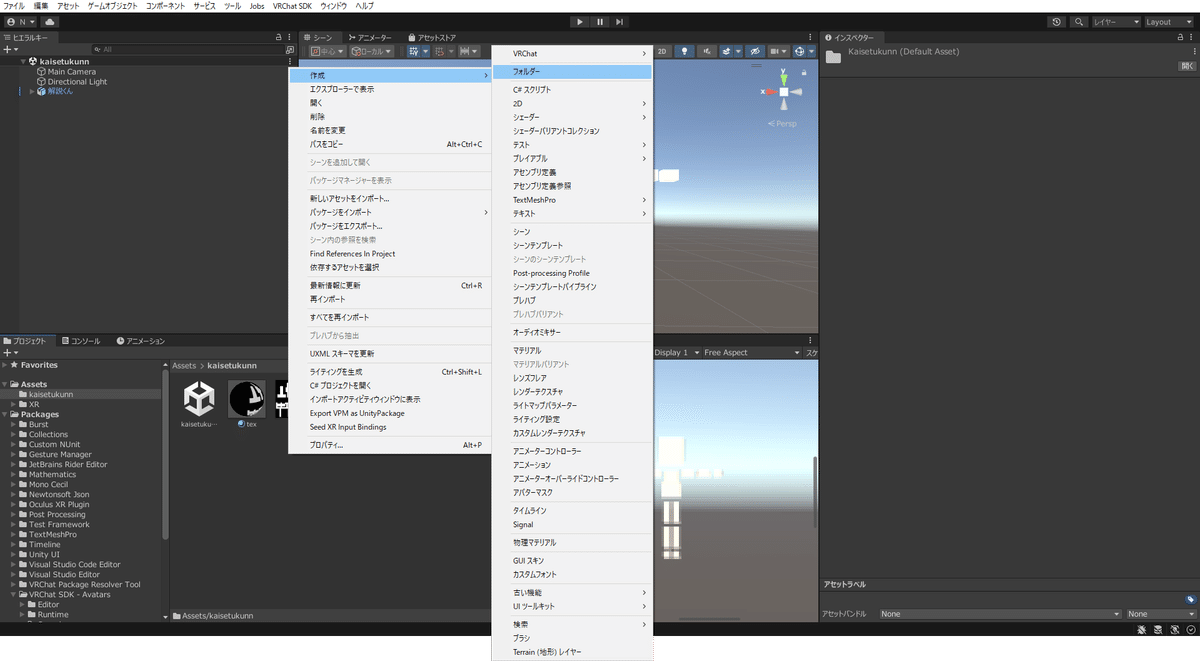
作成されたフォルダを右クリックして分かりやすい名前に変えておきましょう。私はAnimationという名前にしました。
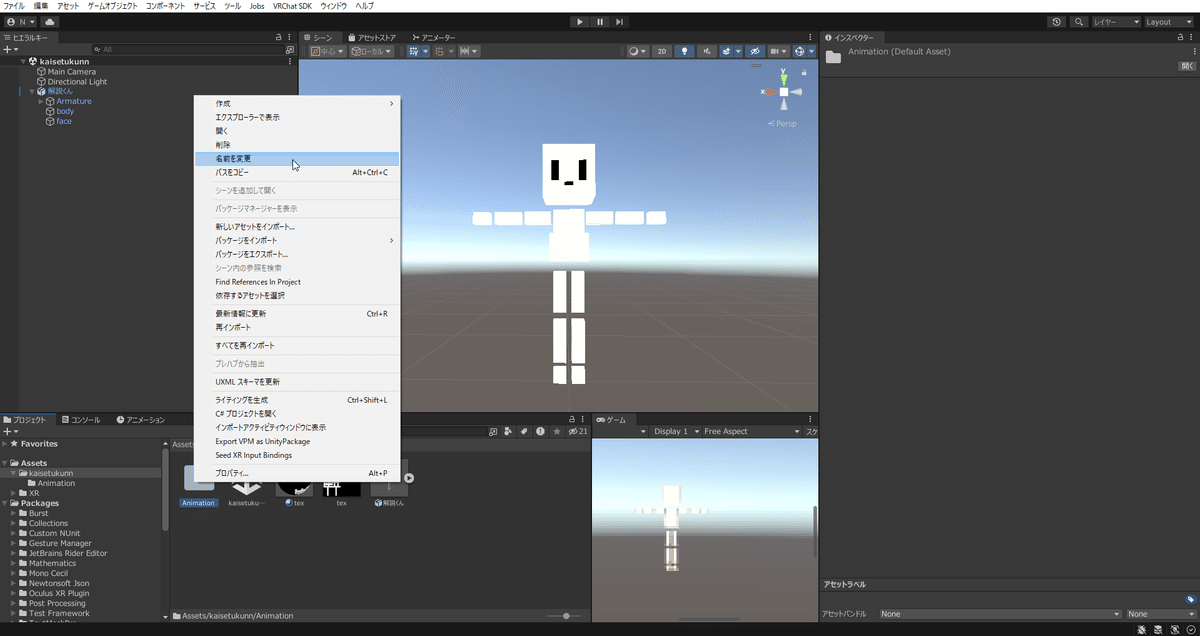

そしたら、Animationフォルダに先ほどコピーしたHands LayerをCtrl+Vで貼り付けます。
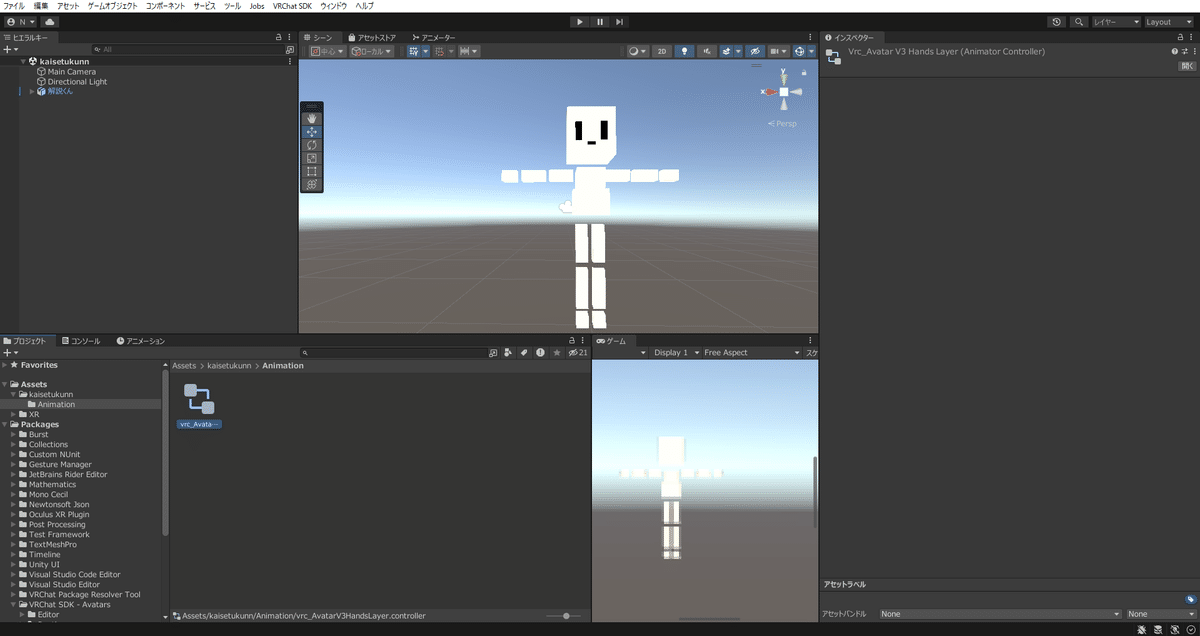
こちらも名前を変えておきましょう。Hand Animationとしました。

●アニメーターの表示
ウィンドウからアニメーション、アニメーターでタブを追加しておきます。

先ほどコピーしてきたHand Animationをダブルクリックし、レイヤーのLeft Handを見るとこんな感じ。

●アニメーションの作成
三つの点からタブを追加、アニメーションを選択します。
ヒエラルキーからアバターを選択した状態でアニメーションタブを開く。

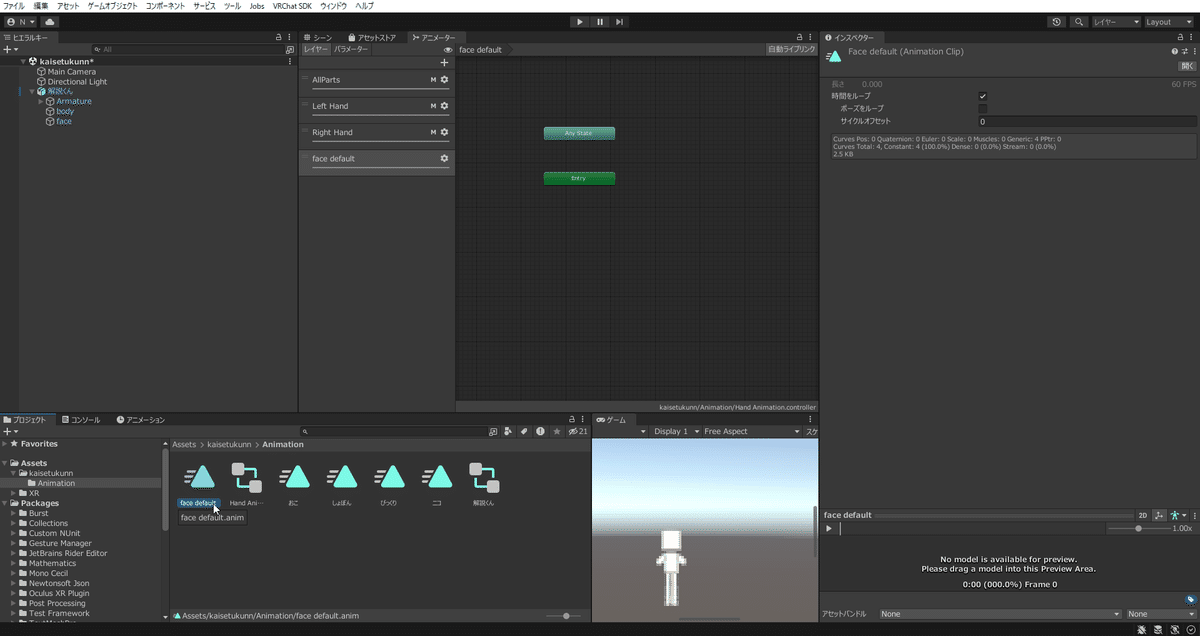
作成を押し、Animationフォルダにface defaultというアニメーションを作成します。
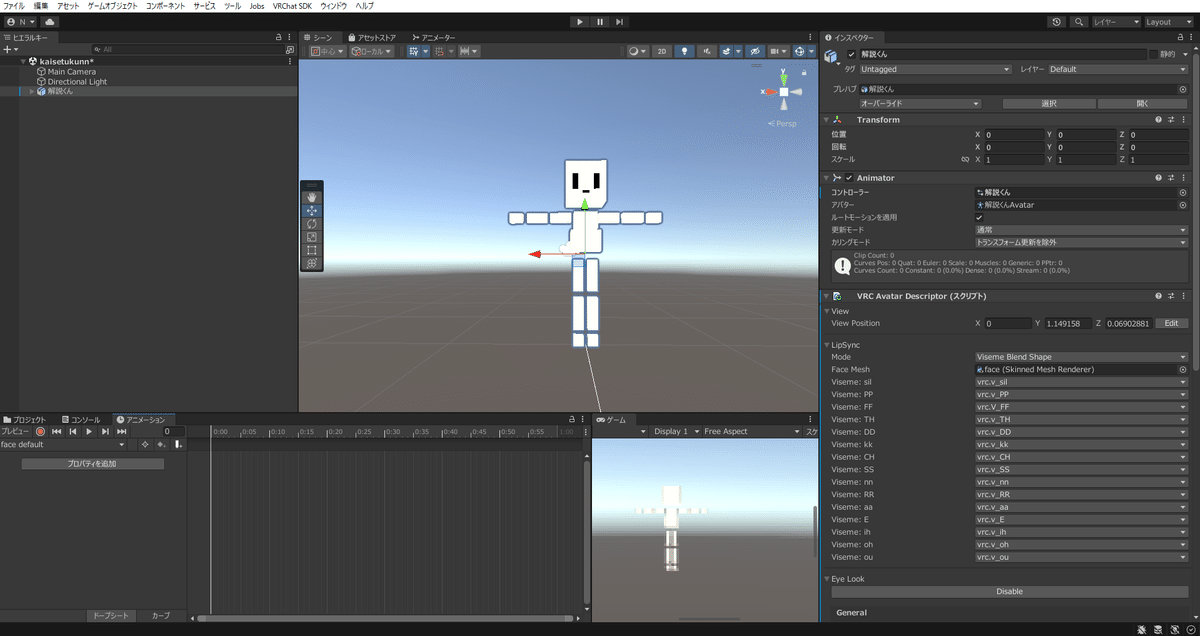
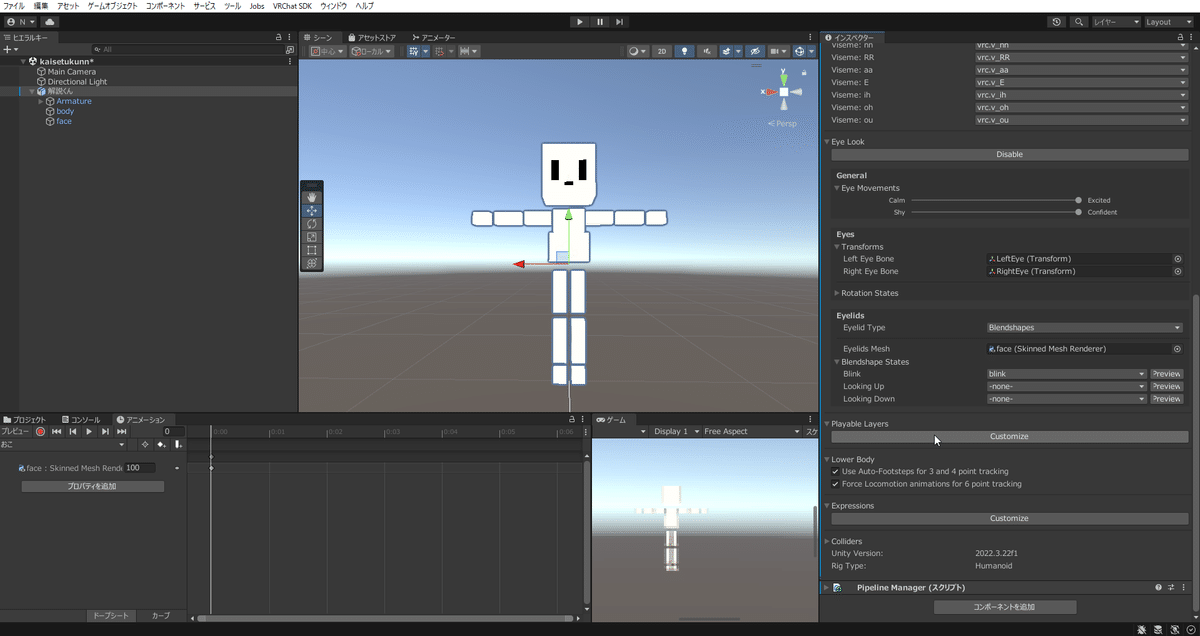
アバターの左横の三角▼を押して、表情ブレンドシェイプが設定されているオブジェクトを選択。
すると右側にBlendShapesが表示されます。閉じている場合は▼を押してください。

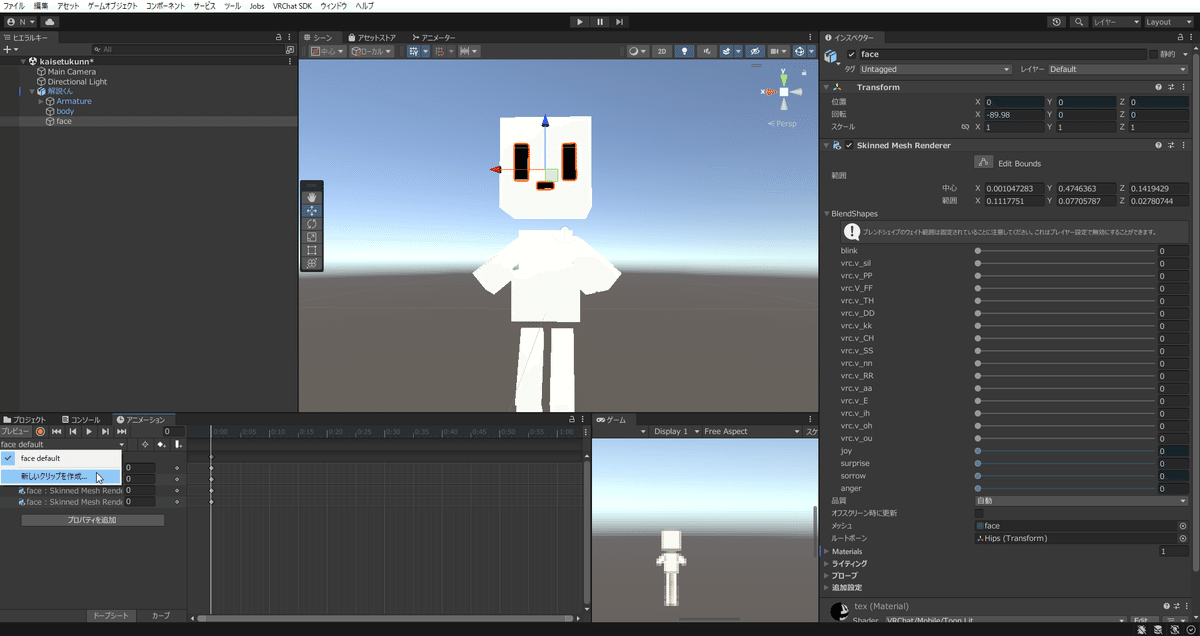
赤いボタンを押します。もう一度押すまでの間のアニメーションが記録されるので、まばたきとリップシンクに使用した以外のブレンドシェイプを0になるように設定します。これがデフォルトの表情になります。
face defaultを押すと新しいクリップを作成という項目が出るので好きな表情を作成していきます。左右7個ずつなので14個まで使用できます。
※私はVRの時不便そうなので、左だけつけてます。
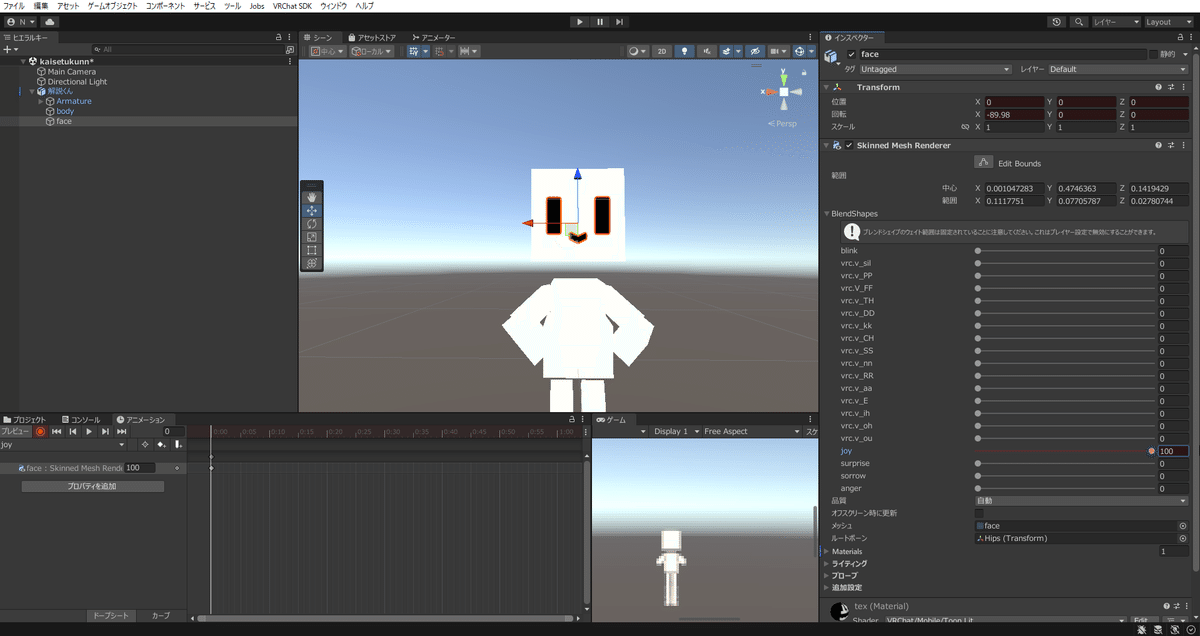
同じように赤いボタンを押して、表情を作ります。今回はニコ、しょぼん、おこ、びっくりを作成しました!
※英語名になっていますが後で日本語に直しました。
●ハンドジェスチャーの設定
Hand Animationをダブルクリックし、レイヤーのLeft Handを開きます。
Fistをクリックし、右のインスペクターのMotionの丸を押す。
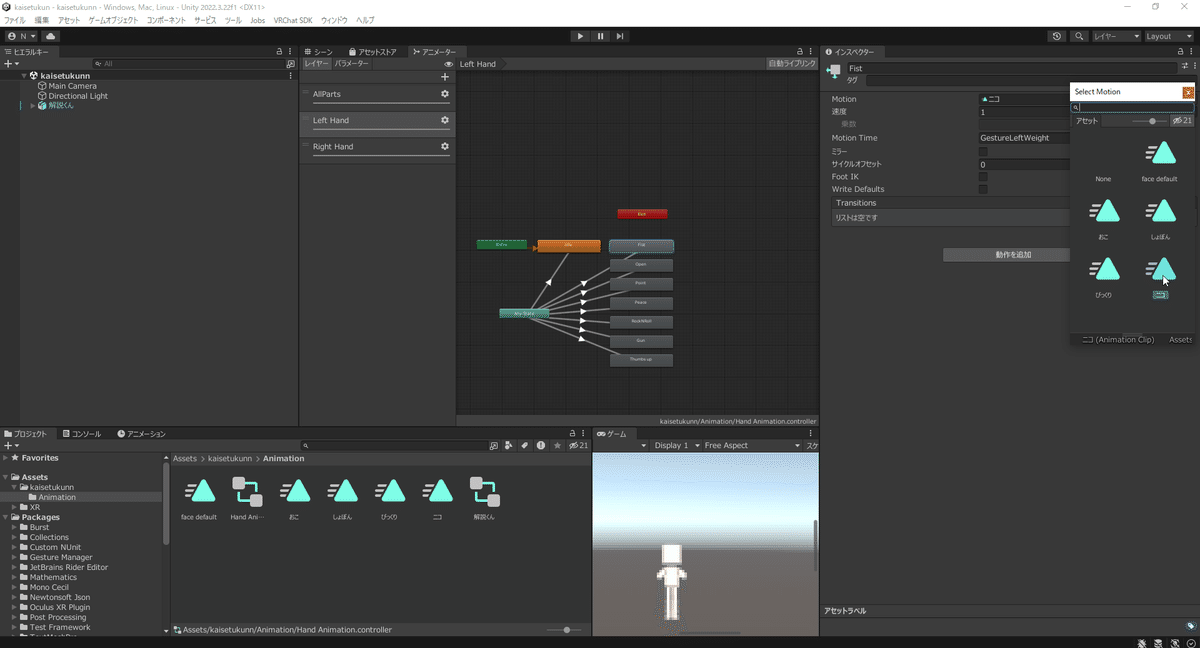
するとアニメーション一覧が出るので、付けたい表情を選択。

それぞれの手のポーズとキーはこんな感じになってます。

ここで宣伝タイム……
こちらのハンドジェスチャーアイコン素材をboothにて無料配布しています。ぜひぜひ使ってください~!!!
そしたらレイヤーのプラス+ボタンからface defaltというレイヤーを作成しましょう。
歯車マークをクリックしてウェイトを1に設定します。
これを忘れると動作しないので注意です!

先ほど作成したface defalutアニメーションをドラック&ドロップします。
するとオレンジ色のface defalutが追加されるので、それを選択し右側のWrite Defaultsのチェックを外しておきましょう。

face defalutレイヤーを上から二番目に移動。

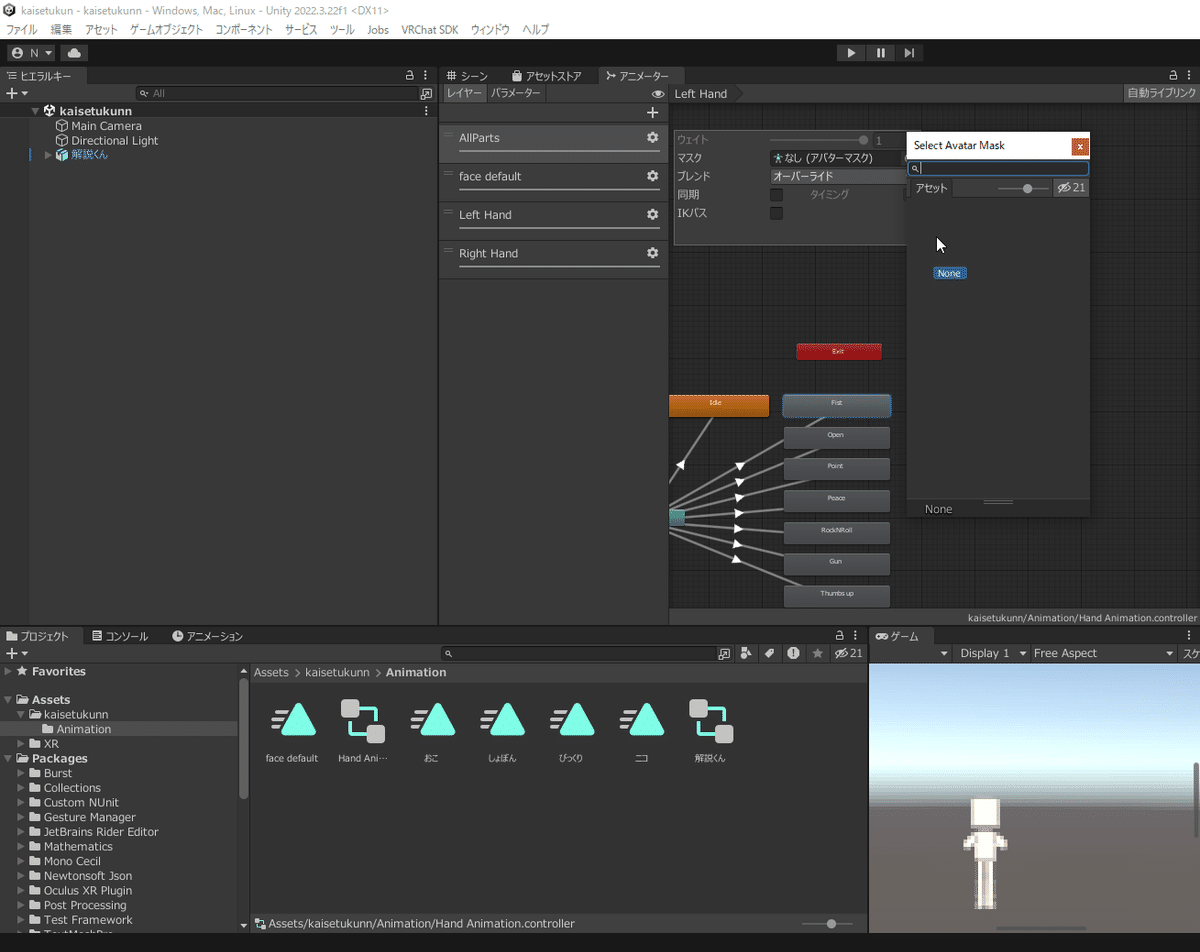
Mと表示されているレイヤーはマスクが適用されているので、これを外していきます。
歯車マークからマスク→二重丸→Noneを選択。
残りのMが付いているレイヤーにも同じようにしましょう。
シーンに戻ります。
アバターを選択、右側にあるPlayable LayersのCustomizeをクリック。
するとこんな画面になるので、FXのDelault Non-Transformをクリック。
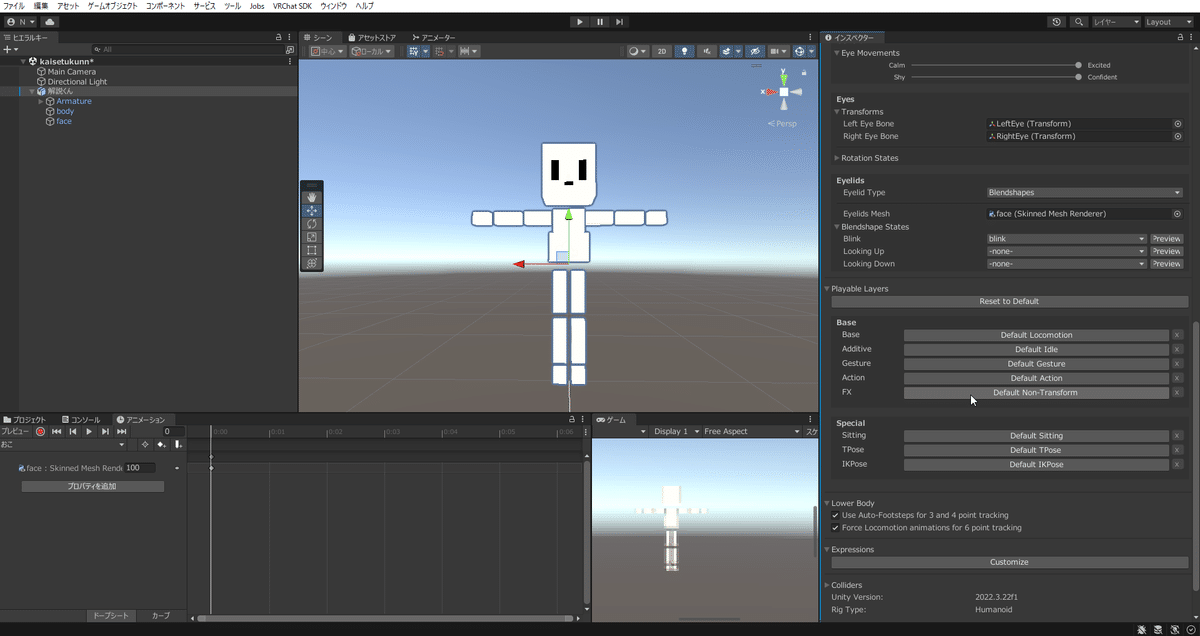
Hand Animationをドラック&ドロップします。

この状態で動くか動作確認してみましょう!

今の状態で問題ない方はここで終わりです。
お疲れ様でした~!!!
●まばたきやリップシンクの干渉
表情を動かしたときに、まばたきやリップシンクでおかしくなってしまう場合があります。
そちらを直していきましょう。
アニメータータブに戻り干渉を防ぎたいポーズを選択。
右側の動作を追加からVRCAnimatorTrackingControlを選びます。
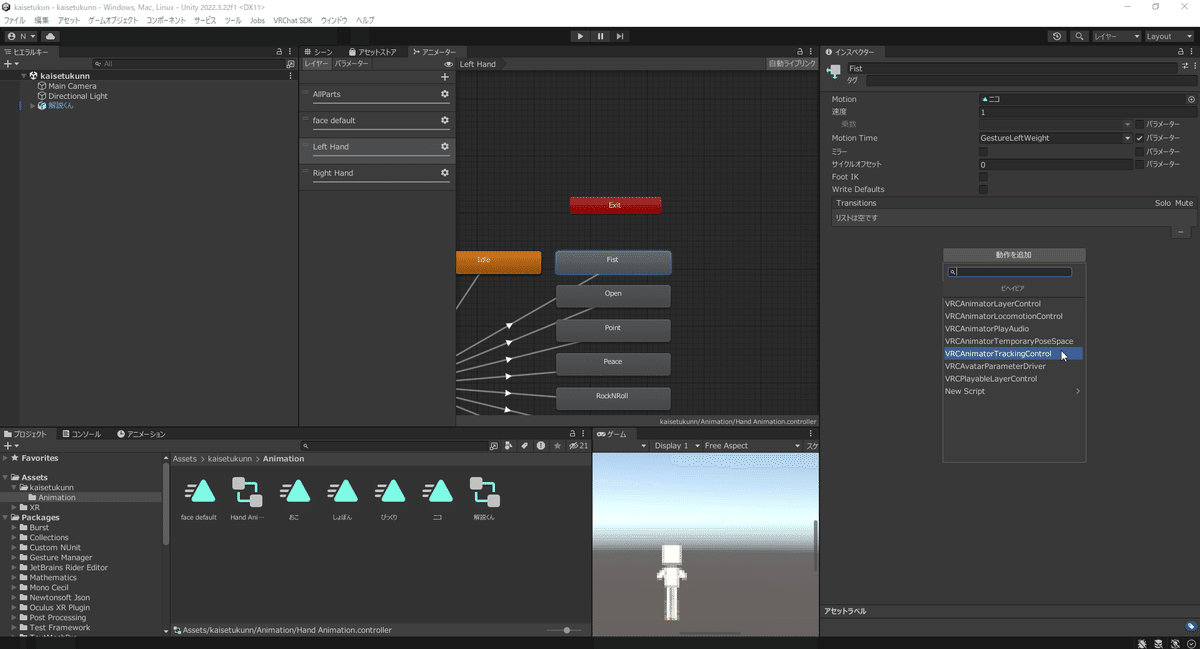
まばたきの場合はEyes&Eyelidsを、リップシンクの場合はMouth&JawをAnimationにチェックを入れます。

これでアップロードしたら完了です~!!
お疲れ様でした~!!!

次回はunityでVeryAnimationを使ってポーズとアニメーションを作成していきます。
●一覧
・blender編
https://note.com/preview/n830b289d1b32?prev_access_key=3fcda4e2be07af3bfb8ddd3e7c3f3f63
・unityからVRCへ
https://note.com/preview/nf83047b654a3?prev_access_key=87f4a3b6cce34d6c494a13dcc16f3711
・ハンドジェスチャー
https://note.com/preview/nb41a38344f1c?prev_access_key=7b9812c757121243cb84341b6dcd6e95
・エクスプレッション
・販売
●宣伝&連絡先
分からないことなどあれば、TwitterのDMに気軽に送ってください~!!