
Gitを使い始めよう

Gitって最初は難しく感じますよね
自分も未だ個人での開発経験しかないので完全には使いこなせてはいませんが今後の備忘用に基礎的な部分を実際にターミナルを使って実践してみます。
何回かに分けて投稿していこうと思います。
*Gitの初期設定、Githubへの登録が完了している前提で進めていきます。
今回はブランチを作ってマージするところまでの流れをやっていきます。
それでは初めていきましょう。
◉第一段階
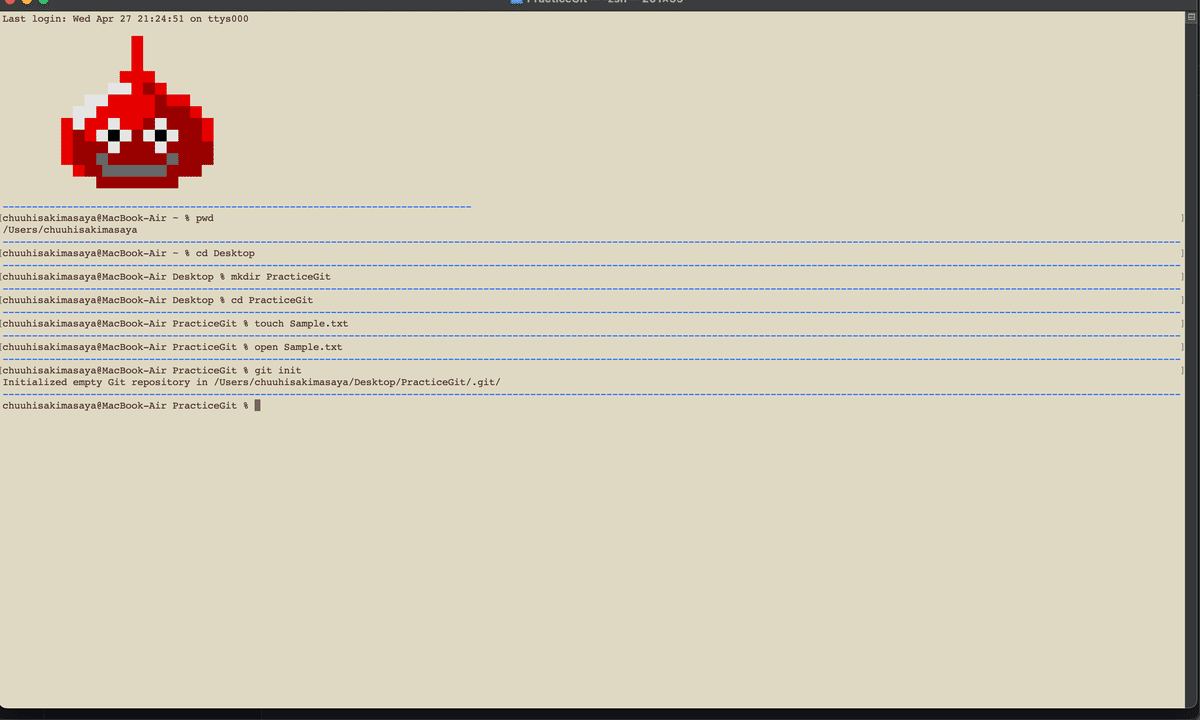
・まずはターミナルを開く
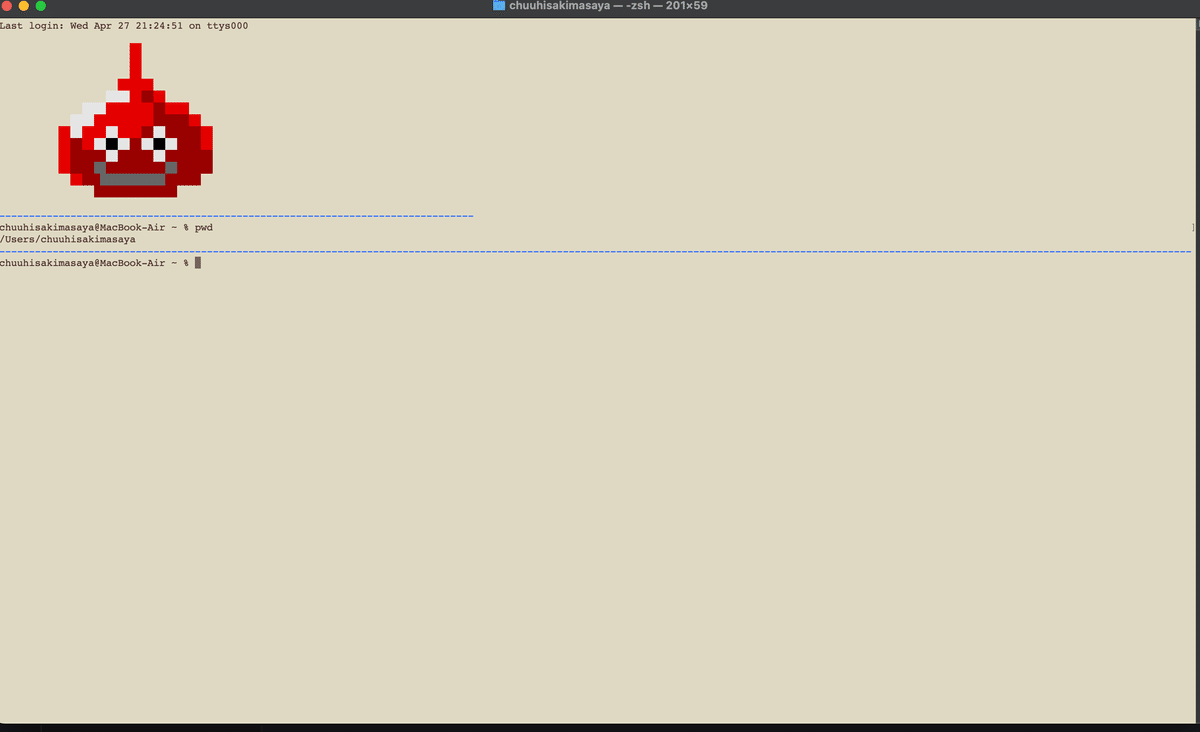
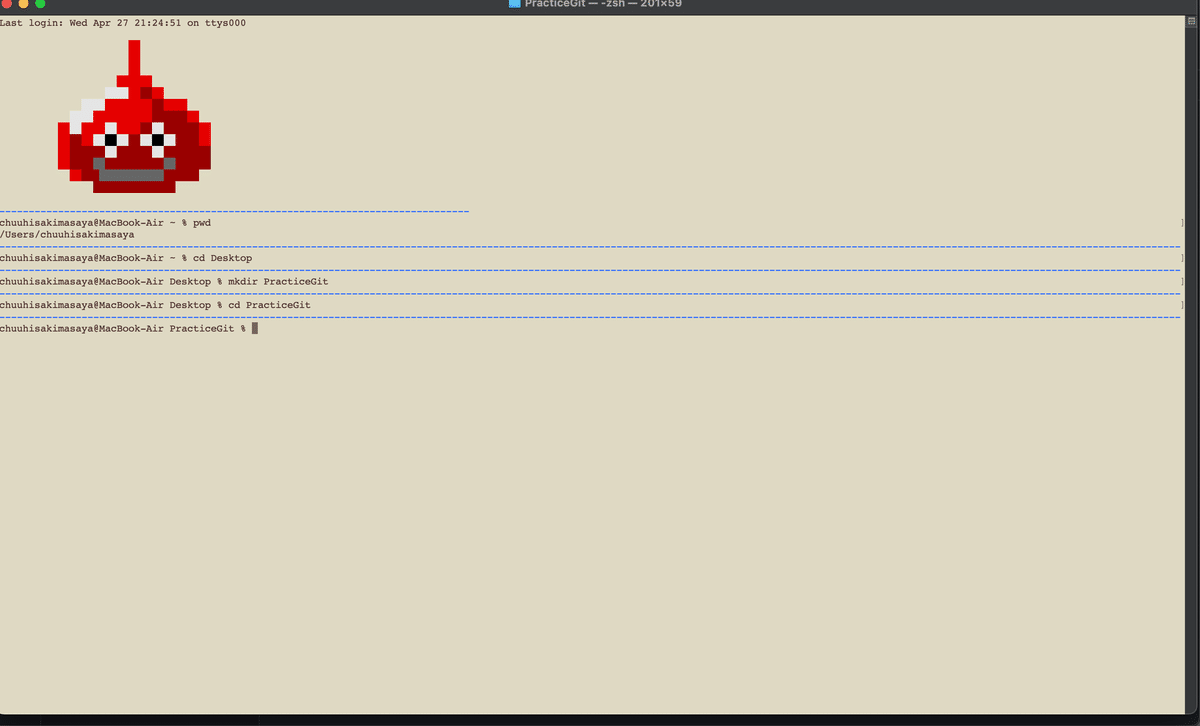
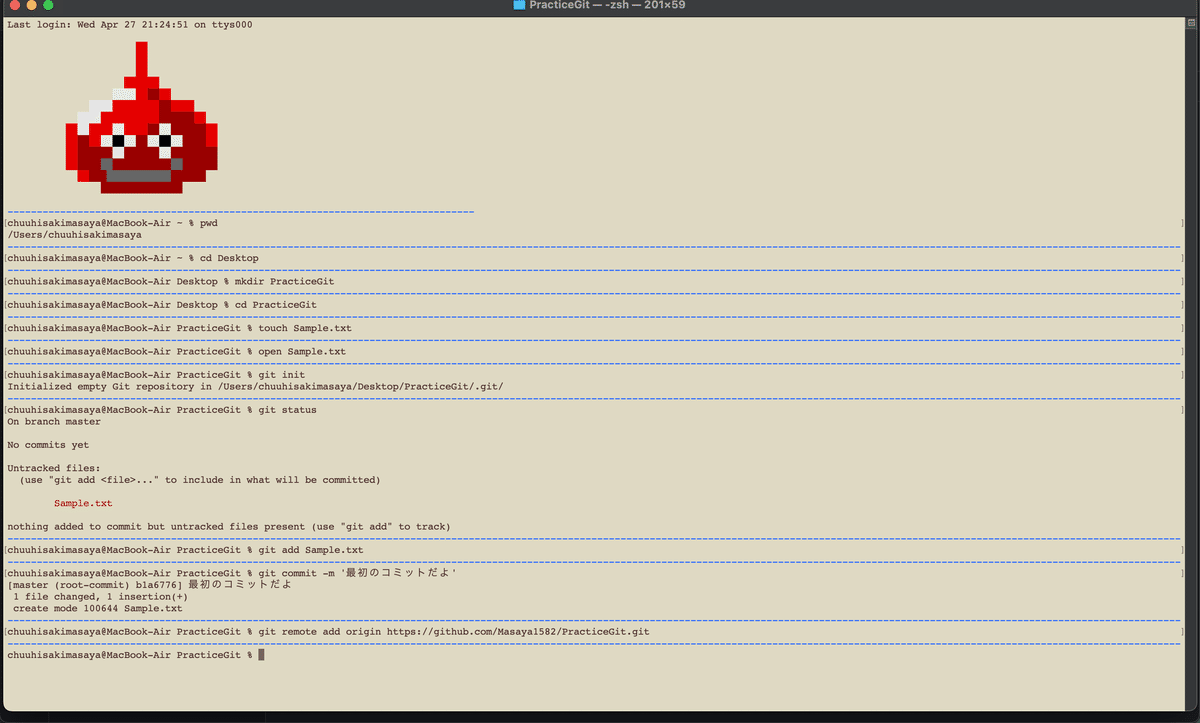
・自分が今どこの階層にいるか確認しましょう
"pwd" と入力
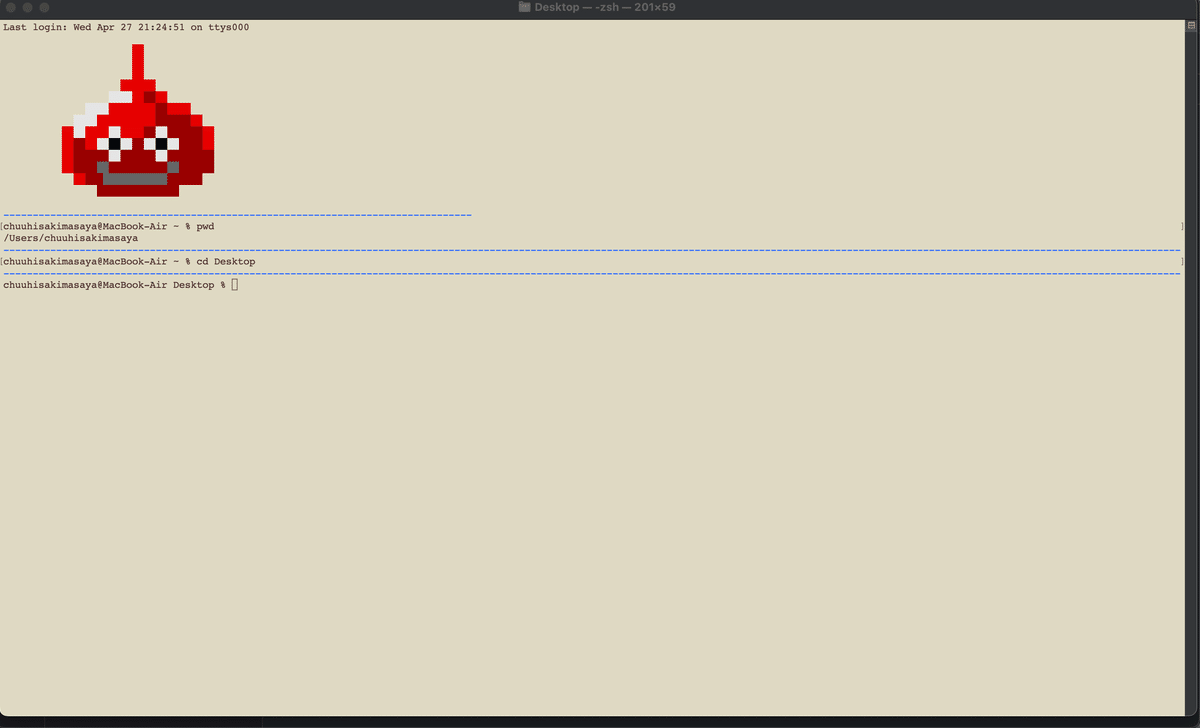
・Desktopに移りましょう
"cd Desktop"と入力
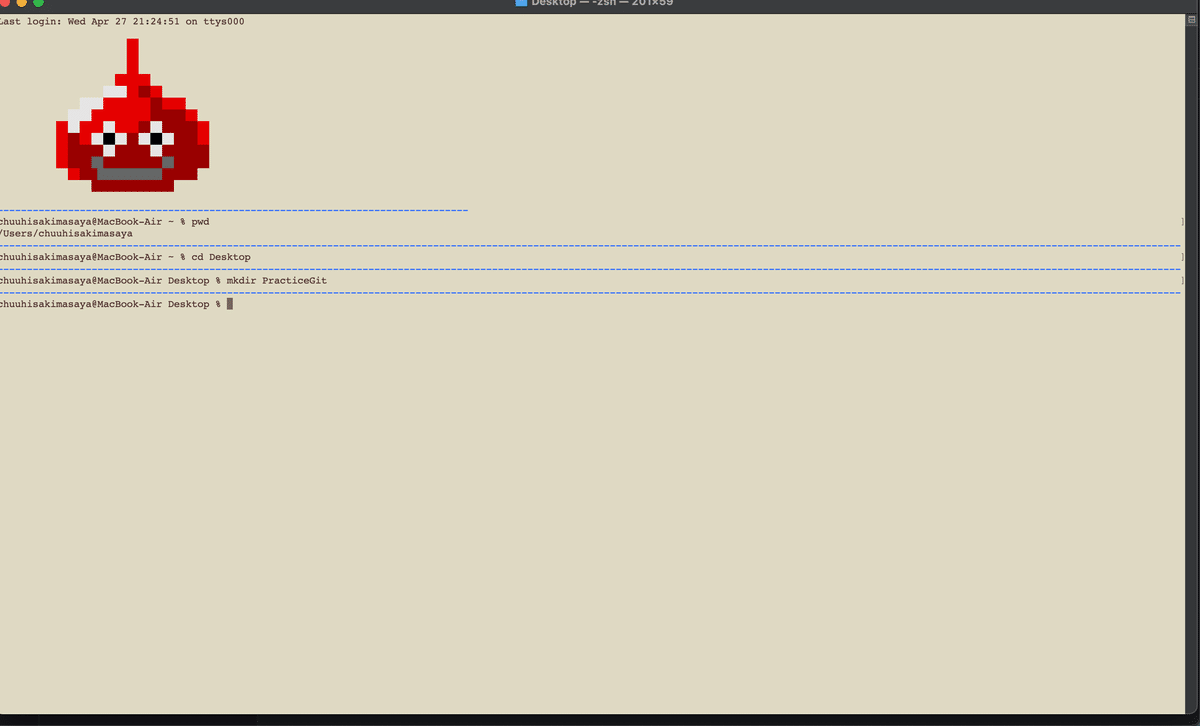
・オリジナルのディレクトリを作成しましょう
"mkdir PracticeGit" と入力
・作成したディレクトリに移りましょう
"cd PracticeGit" と入力
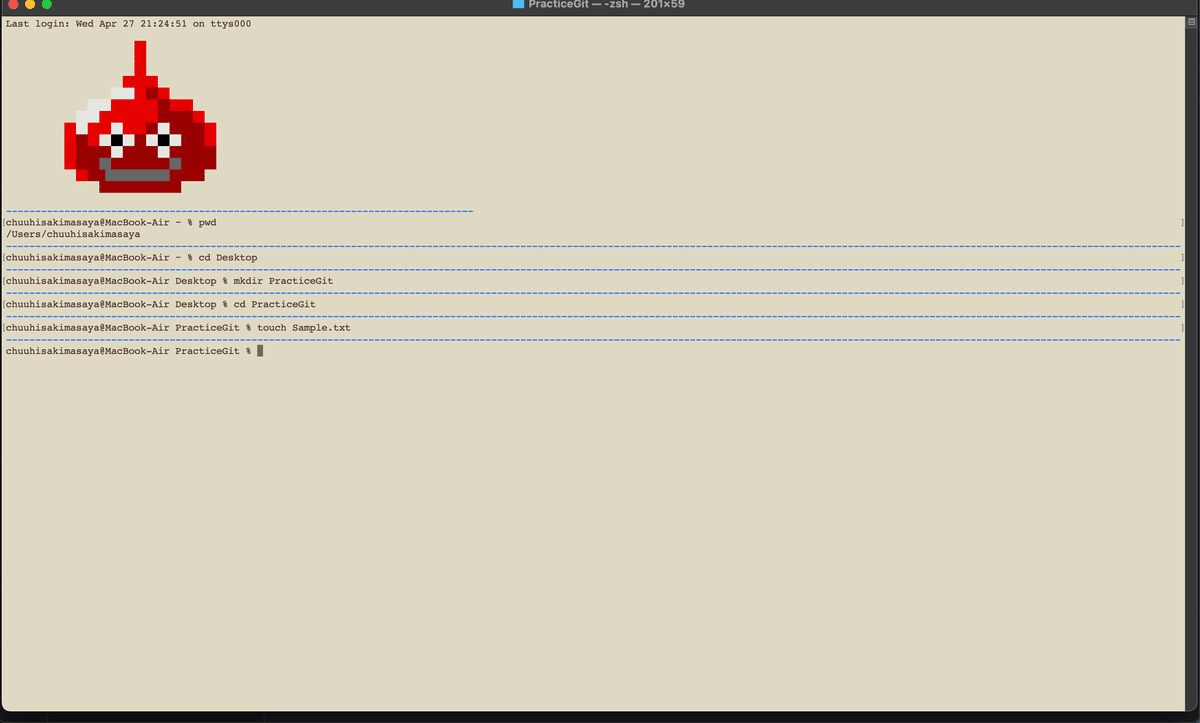
・ディレクトリ内に一つテキストファイルを作成しましょう
"touch Sample.txt" と入力
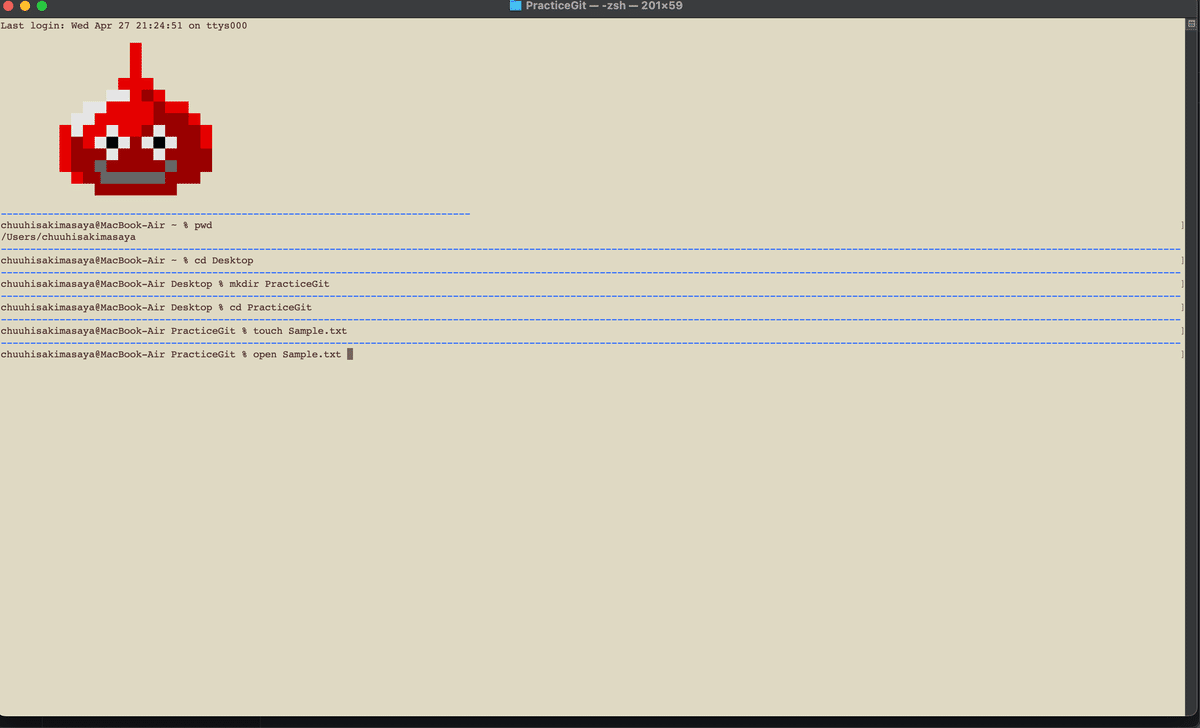
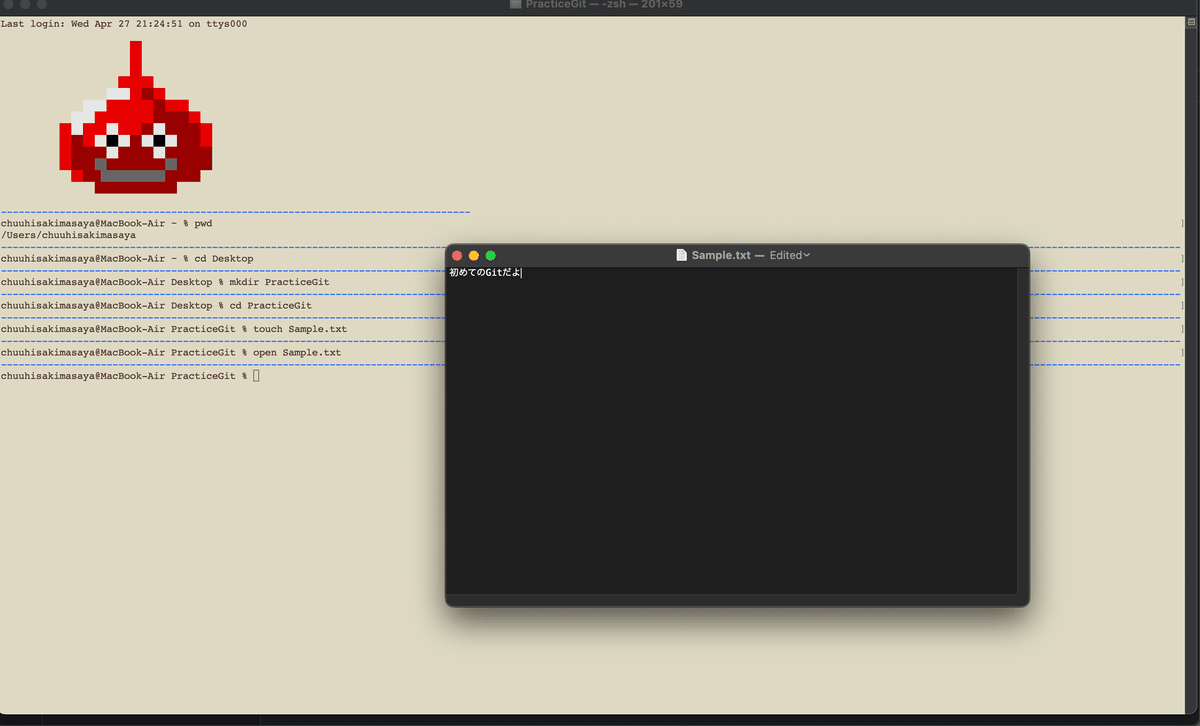
・作ったテキストファイルを開いてテキトーになんか文章を打ちましょう
"open Sample.txt"を入力するとテキストファイルが開きます
◉第二段階
次はGitファイルを作成して、リモートにプッシュできるようにしましょう
・ターミナル上で "git init"と入力
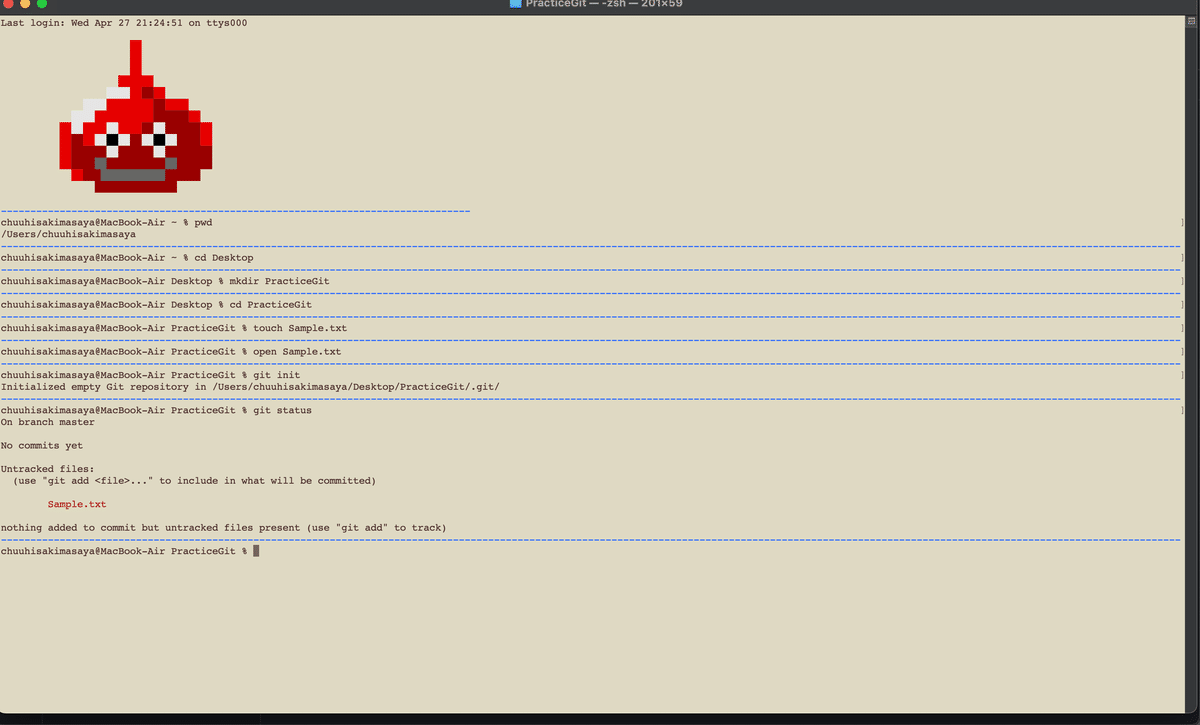
・"git status" コマンドで今の状態を確認しましょう
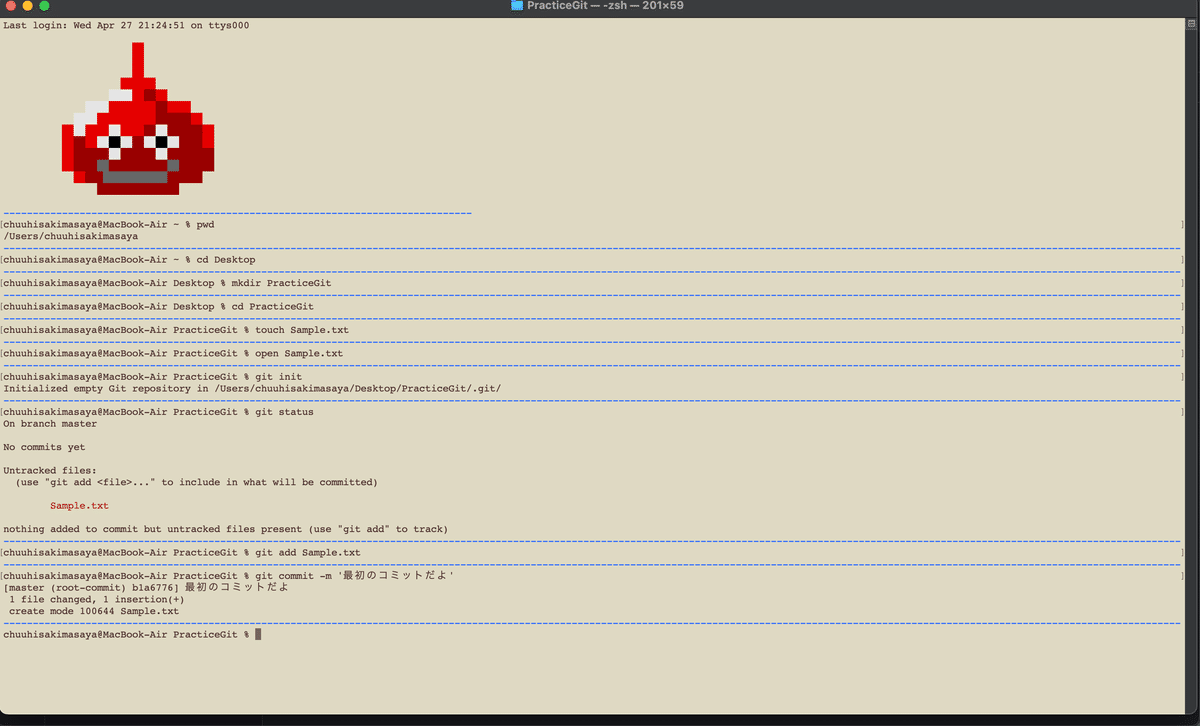
・"git add Sample.txt" → "git commit -m '最初のコミットだよ' の流れでコマンド入力していきましょう
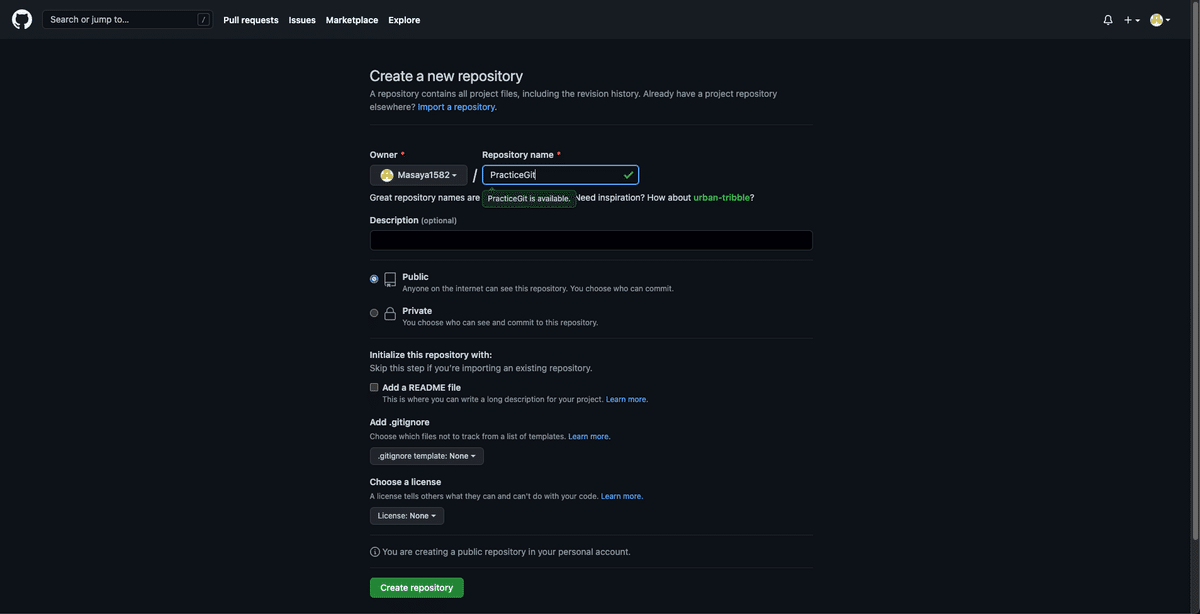
・ここまで出来たらGithub上でリポジトリを作って連携できるようにしましょう
まずはGithubページを開いてください
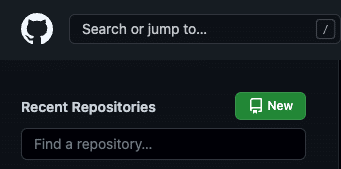
Newというところから新しいリポジトリを作りましょう
最後に一番下のCreate repositoryボタンをクリックしましょう
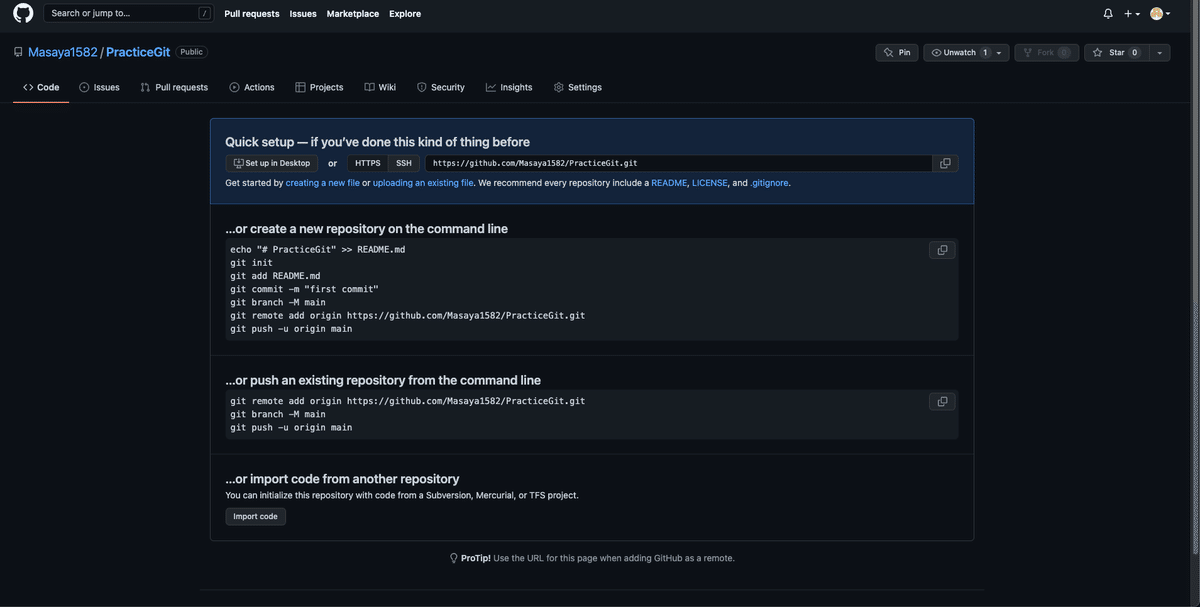
・"git remote add origin https://github.com/Masaya1582/PracticeGit.git" の部分をそのままターミナルに打ち込みましょう
・あとはプッシュしてリモートリポジトリにも変更を反映させましょう
"git push origin master" コマンドを入力
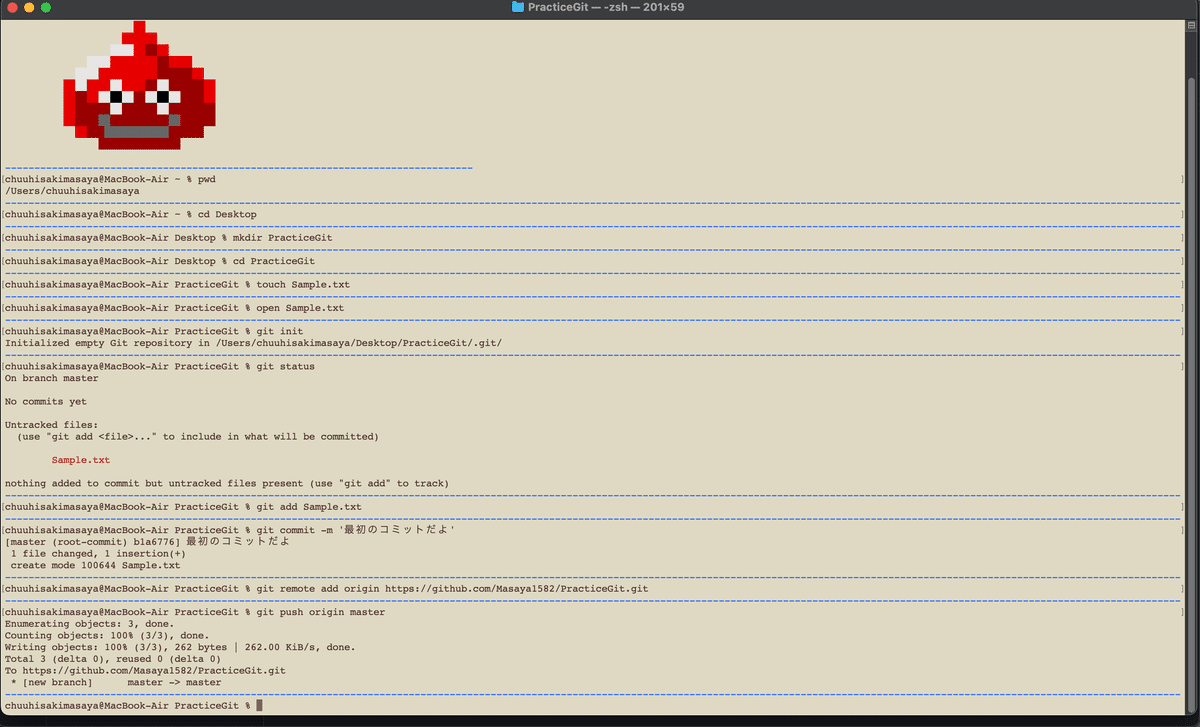
・Github上でページをリロードしてみてください
次の第三段階でブランチを作って最終的にマージしていきましょう
◉第三段階
それではブランチを作っていきましょう
ブランチを作ることで本線(メインの部分)から切り離して作業ができるので安全です。
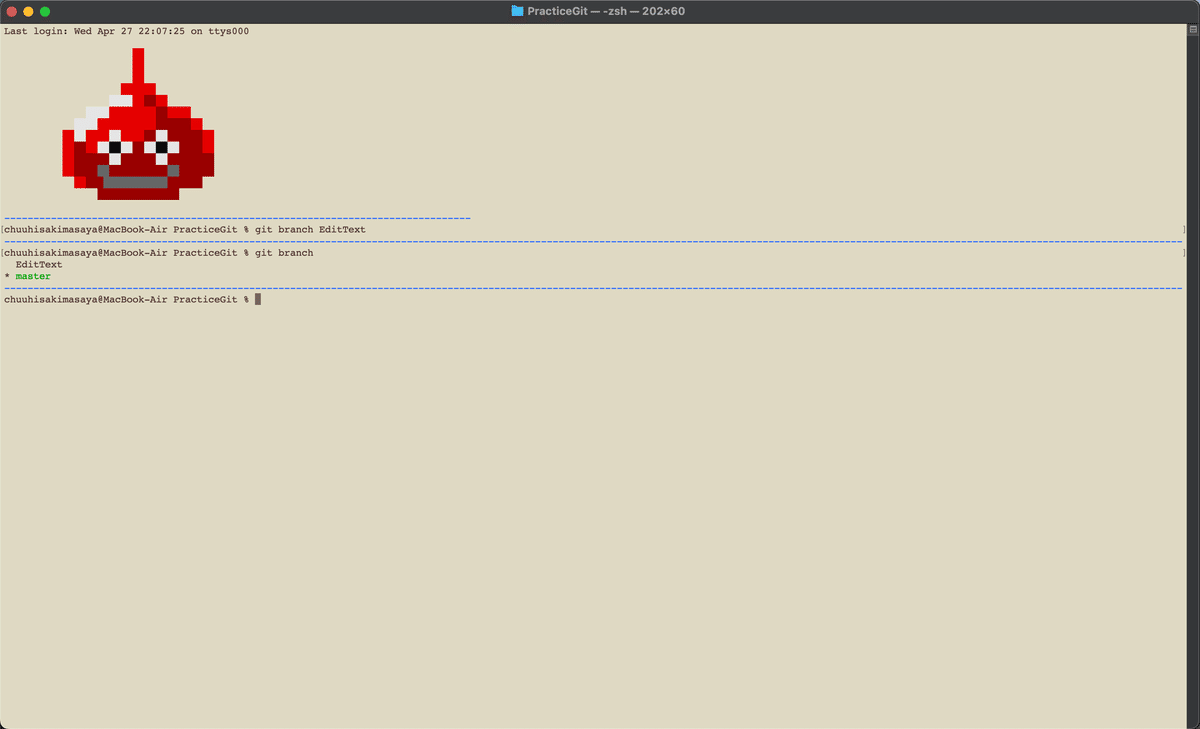
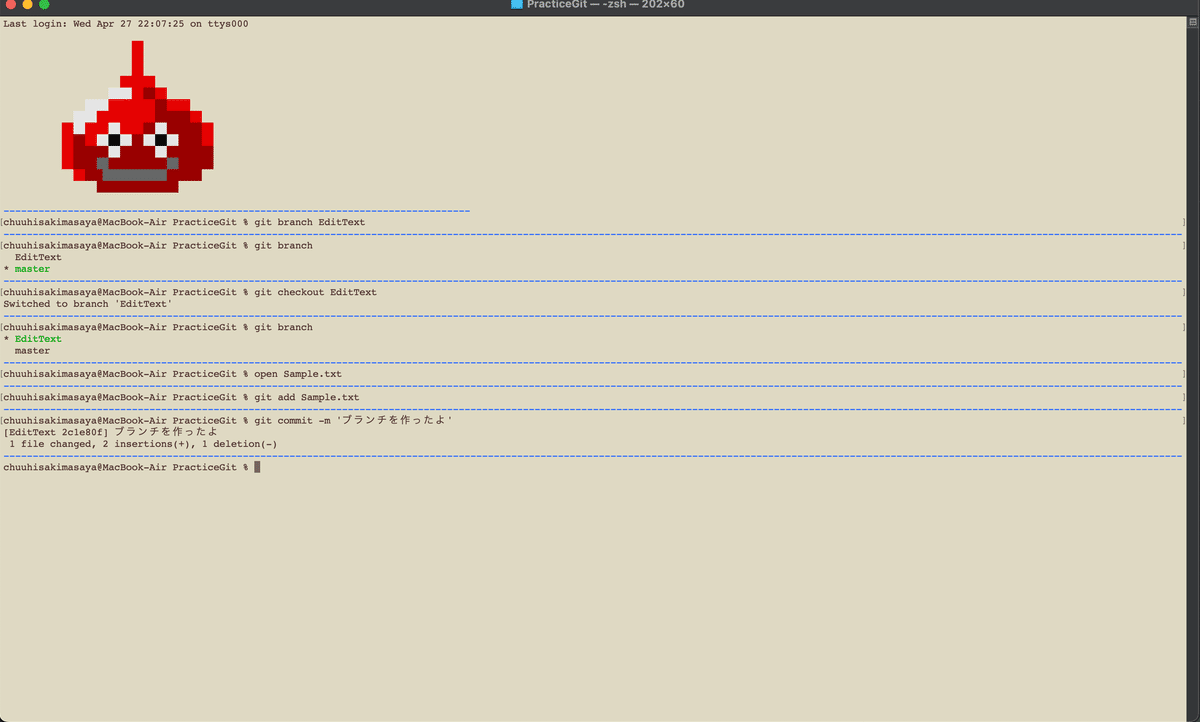
"git branch EditText" と入力

・"git branch" コマンドで今のブランチがどれだけあるか確認できます
・ではEditTextに移って作業をしていきましょう
"git checkout EditText" と入力
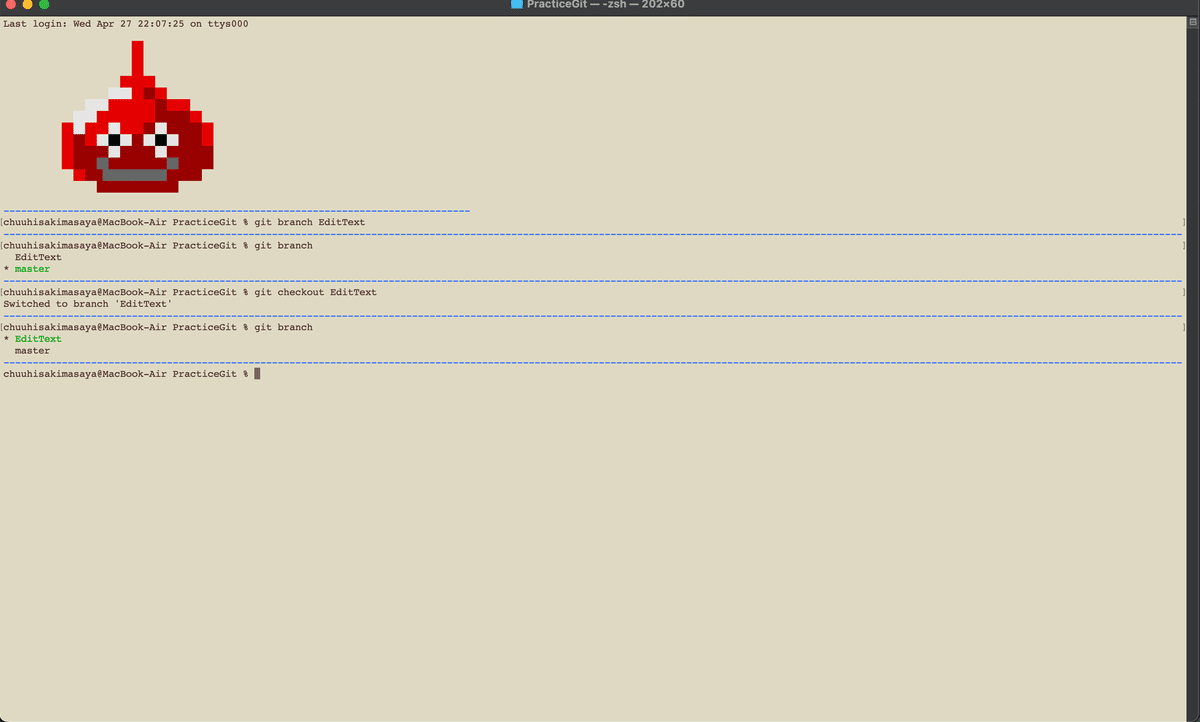
・Sample.txtファイルを開いて編集を加えましょう
・前回と同じ流れでコミットしていきましょう
"git add Sample.txt" → "git commit -m 'ブランチを作ったよ' の流れでコマンド入力
・ここまでできたらmasterに戻りましょう
"git checkout master" と入力
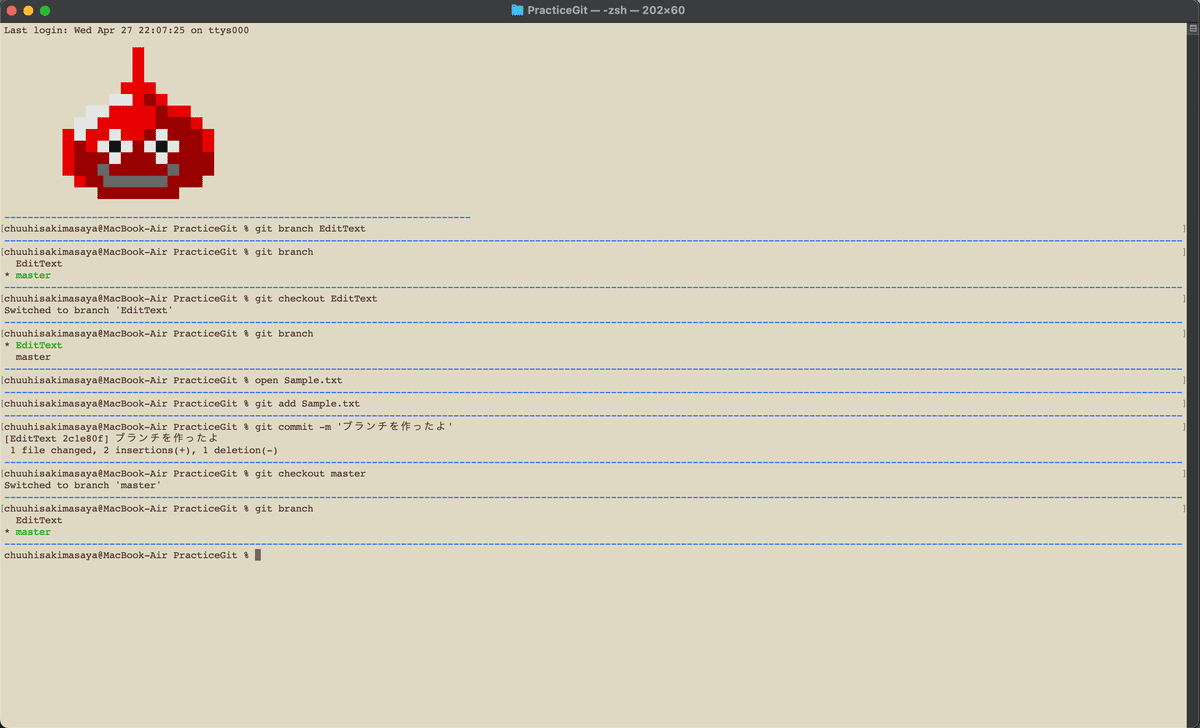
・テキストファイルを開いてみると、先ほど加えた文章が反映されていないことがわかります
☆このようにしてブランチを作って作業することで本線にいきなり変更を加えることなく安全にプロジェクトを管理できることが出来るようになります。
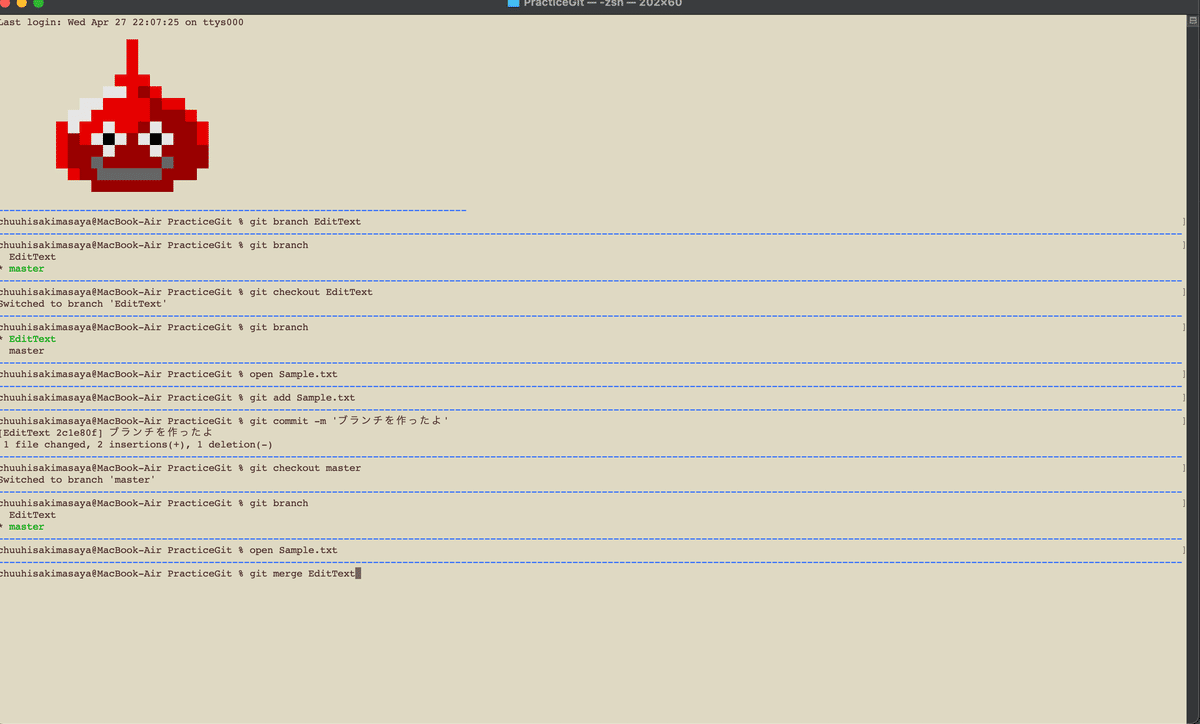
・ではブランチで変更を加えた分をmasterにマージしていきましょう
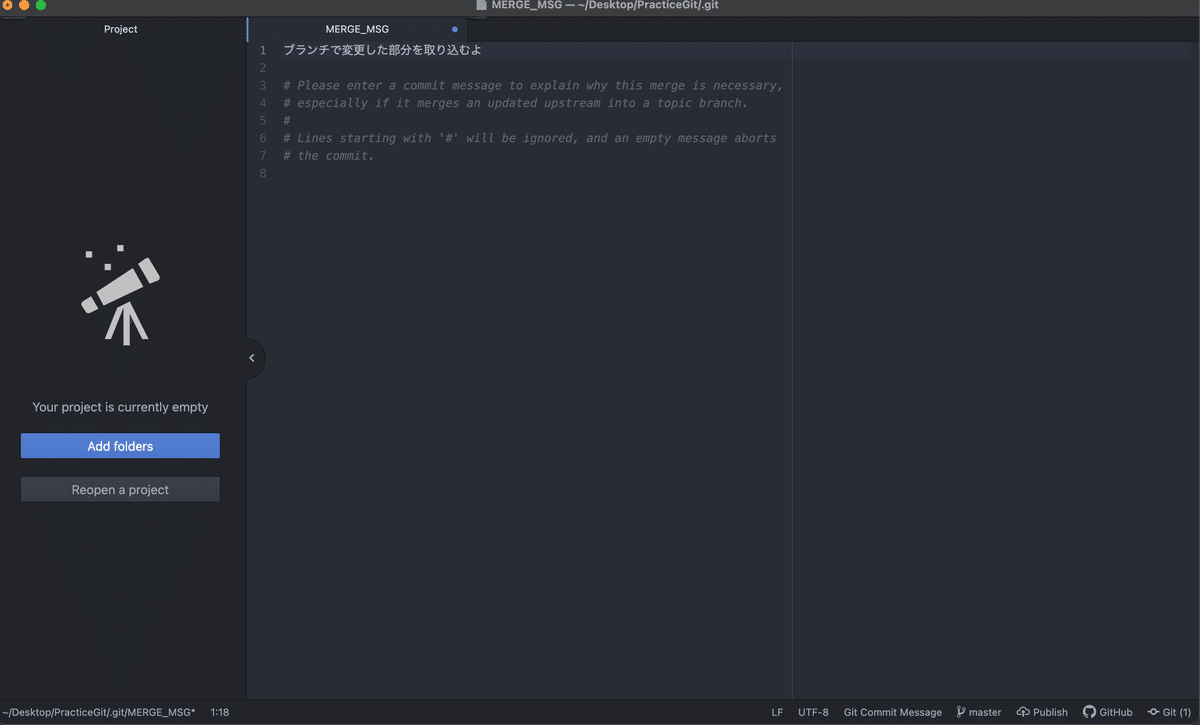
"git merge EditText" と入力すると各自お使いのテキストエディタアプリが開くのでそこにマージの詳細を書いておきましょう
・最後にプッシュしてリモートリポジトリの方にも反映させましょう
"git push origin master" と入力
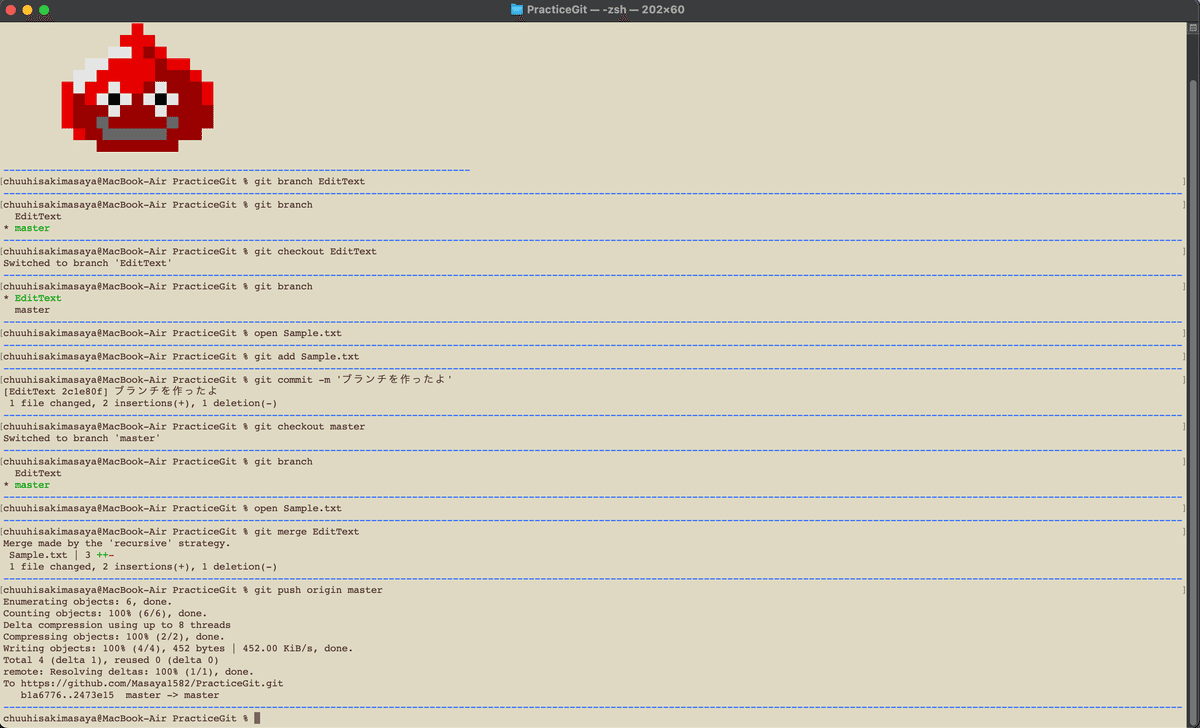
・Github上で変更が反映されているか確認しましょう

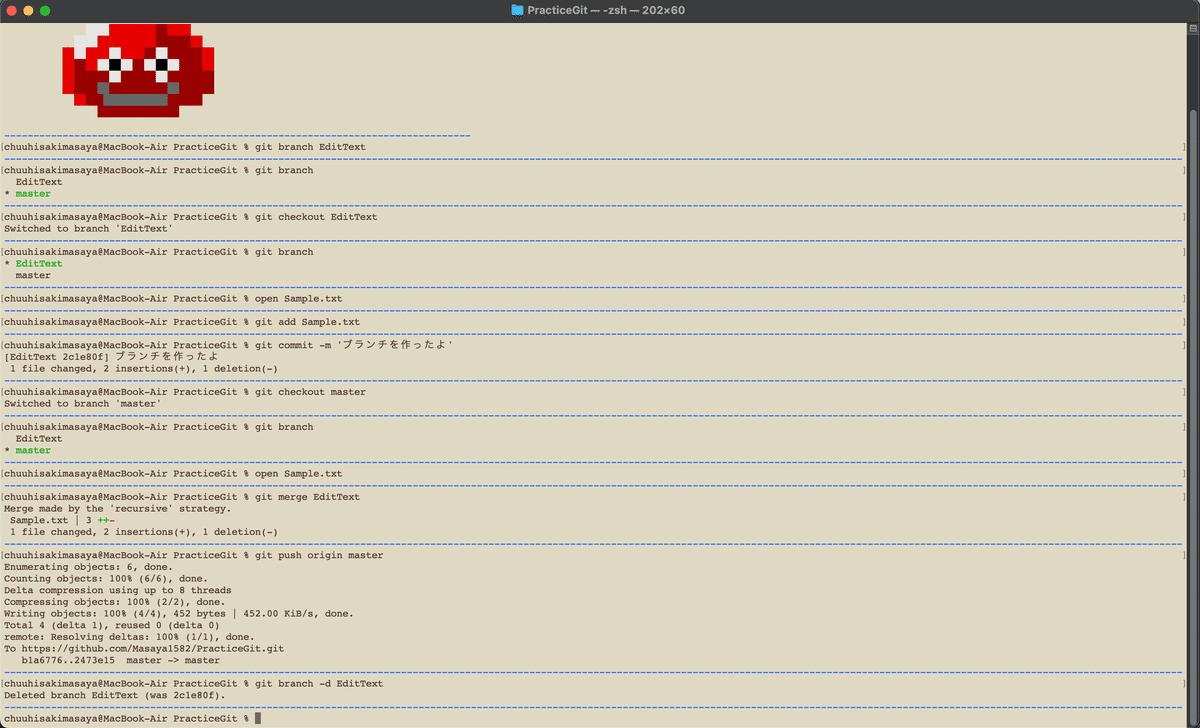
・これで先ほどつくったブランチは用済みなので削除しておきましょう
"git branch -d EditText" と入力
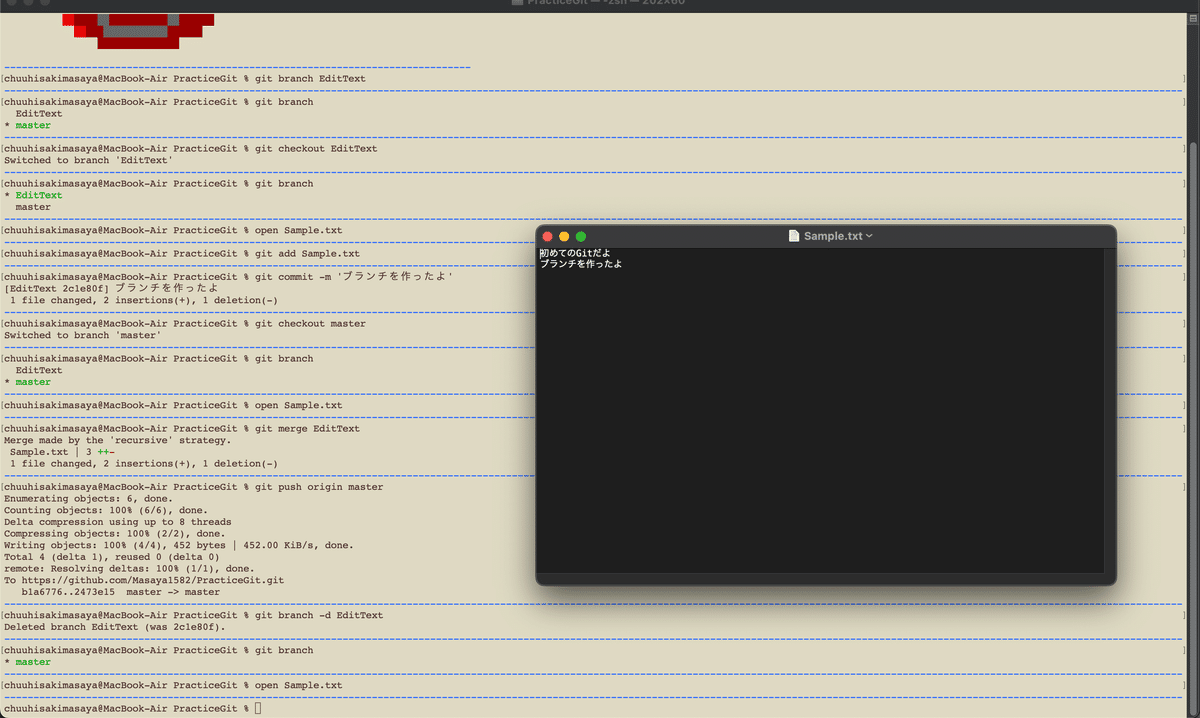
・テキストファイルを開いてmasterの方にも変更が反映されているか確認してみましょう
今回はここまでです、次回はフェッチ・プルなどを記事にしようと思います。
それではまたお会いしましょう(๑>◡<๑)