
GAS(Google Apps Script)の始め方②(はじめてのwebアプリ作成編)

GAS(Google Apps Script)の始め方①(準備編)では、ログインするまでの方法を紹介しました。
第2回目では、Webアプリの簡単な作成方法について紹介します。
GAS(Google Apps Script)にログインすると、次のような画面になります。
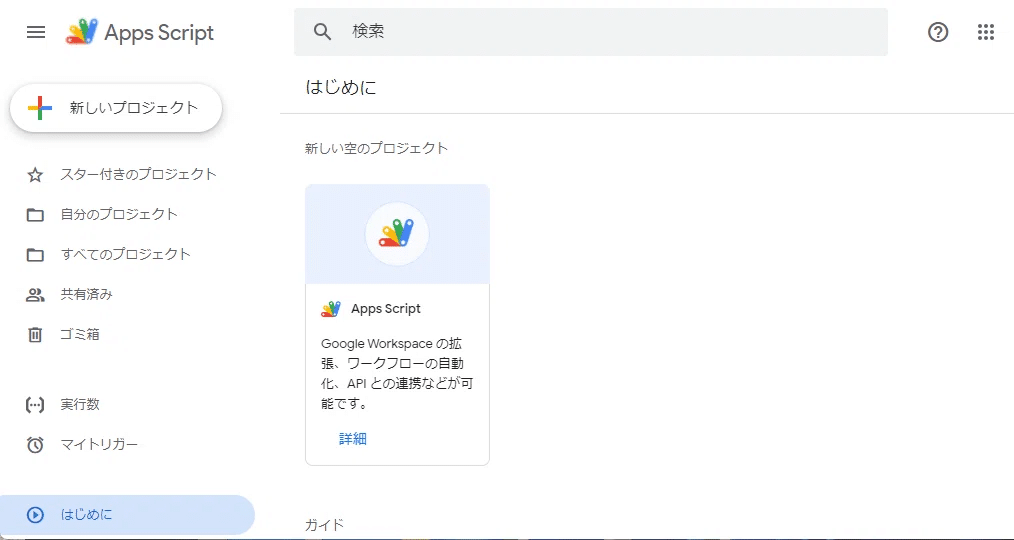
①新しいプロジェクトの作成
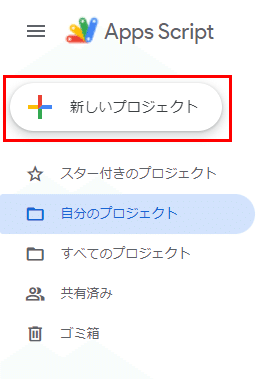
左側のメニューから、「新しいプロジェクト」をクリックします。
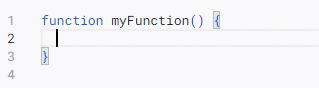
無題のプロジェクトというページが開かれます。
コードエディタが現れるので、これからコードを変更していきます。

②コード.gsの内容を編集
まずは、コード.gsの内容を変更します。
次のように記述されているので、これを下のコードに変更します。(コピー&ペースト)
function doGet(e) {
  const template = HtmlService.createTemplateFromFile('index');
  const htmlOutput = template.evaluate();
  return htmlOutput;
}
詳しい意味については、今回は触れないようにしたいと思いますが、
ユーザーが このWeb アプリケーションにアクセスした際に、指定された HTML ファイル(index.html)をブラウザに表示するようにしています。
③index.htmlの作成 及び 内容の変更
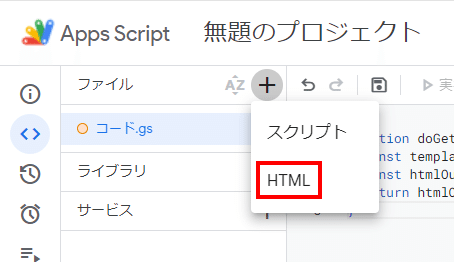
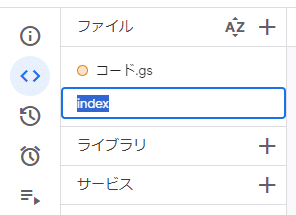
まず、index.htmlを作成します。
ファイルの右側にある「+」をクリックして、
HTMLを選びます。(クリック)
ファイル名を「無題」から「index」に変更します。
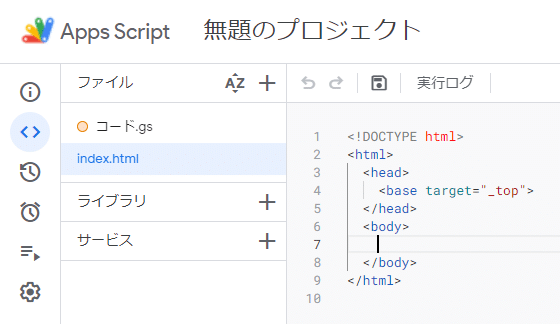
続いて、index.htmlの内容を編集します。
index.htmlの内容を変更して、index.htmlを開くと、「Hello world!!」と表示するようにします。
index.htmlについて、
<!DOCTYPE html>から</html>の内容を、
下のコードに変更します。(コピー&ペースト)
<!DOCTYPE html>
<html>
  <head>
    <base target="_top">
  </head>
  <body>
    <div id="text"></div>
    <script>
      document.getElementById("text").innerHTML = "Hello world!!";
    </script>
  </body>
</html>
具体的には、<body>と</body>の中に、
<div>要素を追加し、idをtextと指定しています。
その動きを<script>から</script>の中に、
Javascriptでプログラム(idがtextの要素に「Hello world!!」を追加)を記述しています。
④プロジェクト名を変更して、保存します。
プロジェクト名(赤い四角で囲まれた部分)を変更します。(なんでもかまいません。ここでは、仮に『はじめてのGASプログラム』としました。)
続いて、プロジェクトを保存します。
フロッピーディスク(赤い四角で囲まれた部分)のアイコンをクリックします。

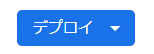
⑤webアプリの作成(webアプリとしてデプロイを行う)
画面右上にデプロイと書かれた青いボタンがあるので、クリックします。
新しいデプロイを選択します。

デプロイタイプを選択します。
左上の歯車のアイコンをクリックし、ウェブアプリを選択します。

ウェブアプリの設定を行います。
今回は、ウェブアプリとして動くかどうか確かめるだけなので、
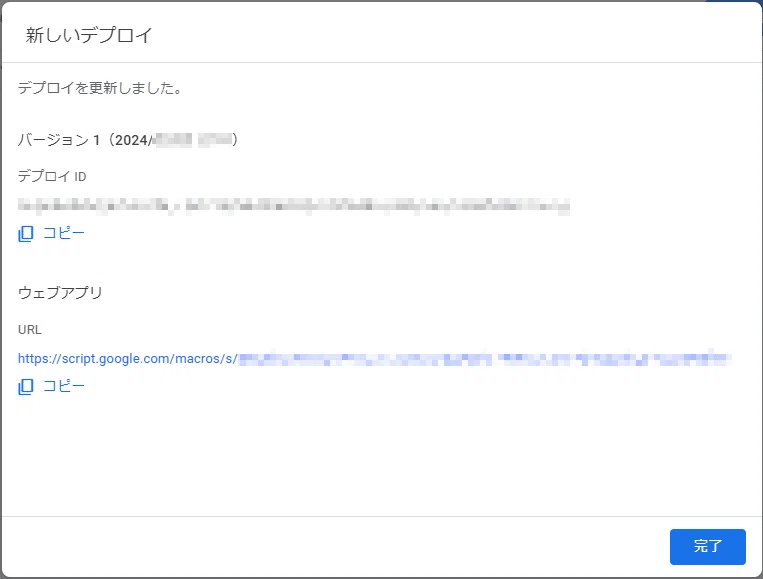
そのままの設定で、右下の「デプロイ」をクリック。

そうすると、「デプロイを更新しました。」と表示されるので、ウェブアプリの下のURL(https://script.google.com/~以下省略~)をクリックします。
ウェブページが開き、無事「Hello world!!」と表示されています。

Webアプリの完成!
お疲れさまでした。これで、はじめてのwebアプリの完成です。
index.htmlの内容を変更すれば様々なwebアプリを作ることができます。
今回はここまでです。
続きは、
もう少しwebアプリを作りたい場合は、以下に発展編を記載しておきます。良かったら、参考にしてして下さい。
※発展として
index.htmlの内容を変更して、簡単なタイマーアプリを作ってみたいと思います。
index.htmlの内容を次のコードに変更します。(コピー&ペースト)
<!DOCTYPE html>
<html lang="ja">
<head>
    <meta charset="UTF-8">
    <meta name="viewport" content="width=device-width, initial-scale=1.0">
    <title>シンプルなタイマー</title>
    <style>
        body {
            font-family: Arial, sans-serif;
            display: flex;
            justify-content: center;
            align-items: center;
            height: 100vh;
            background-color: #f0f0f0;
        }
        .timer-container {
            text-align: center;
            background: #fff;
            padding: 20px;
            border-radius: 8px;
            box-shadow: 0 0 10px rgba(0, 0, 0, 0.1);
        }
		#timer-display {
			font-size: 100px;
		}
        input {
            width: 40px;
            padding: 3px 0px;
            margin-right: 5px;
            text-align: center;
        }
        button {
            padding: 3px 30px;
            margin-top: 5px;
            font-size: 16px;
        }
    </style>
</head>
<body>
    <div class="timer-container">
        <div id="timer-display">00:00</div>
        <div>
            <input type="number" id="minutes" placeholder="min" min="0" value="3">:
            <input type="number" id="seconds" placeholder="sec" min="0" max="59" value="00">
        </div>
        <button id="start-button">start</button>
        <button id="pause-button" disabled>pause</button>
        <button id="reset-button" disabled>reset</button>
    </div>
    <script>
      document.addEventListener('DOMContentLoaded', function() {
        const minutesInput = document.getElementById('minutes');
        const secondsInput = document.getElementById('seconds');
        const startButton = document.getElementById('start-button');
        const pauseButton = document.getElementById('pause-button');
        const resetButton = document.getElementById('reset-button');
        const timerDisplay = document.getElementById('timer-display');

        let countdown;
        let timeLeft;
        let isPaused = false;

        startButton.addEventListener('click', function() {
            const minutes = parseInt(minutesInput.value) || 0;
            const seconds = parseInt(secondsInput.value) || 0;
            timeLeft = (minutes * 60) + seconds;

            if (timeLeft > 0) {
                startButton.disabled = true;
                pauseButton.disabled = false;
                resetButton.disabled = false;
                startCountdown();
            }
        });

        pauseButton.addEventListener('click', function() {
            if (isPaused) {
                startCountdown();
                pauseButton.textContent = 'pause';
                isPaused = false;
            } else {
                clearInterval(countdown);
                pauseButton.textContent = 'resume';
                isPaused = true;
            }
        });

        resetButton.addEventListener('click', function() {
            clearInterval(countdown);
            timerDisplay.textContent = '00:00';
            startButton.disabled = false;
            pauseButton.disabled = true;
            resetButton.disabled = true;
            minutesInput.value = '3';
            secondsInput.value = '00';
            pauseButton.textContent = 'pause';
            isPaused = false;
        });

        function startCountdown() {
            countdown = setInterval(function() {
                if (timeLeft <= 0) {
                    clearInterval(countdown);
                    timerDisplay.textContent = '00:00';
                    alert('時間です!');
                    startButton.disabled = false;
                    pauseButton.disabled = true;
                    resetButton.disabled = true;
                } else {
                    timeLeft--;
                    updateDisplay();
                }
            }, 1000);
        }

        function updateDisplay() {
            const minutes = Math.floor(timeLeft / 60);
            const seconds = timeLeft % 60;
            timerDisplay.textContent =
                `${minutes.toString().padStart(2, '0')}:${seconds.toString().padStart(2, '0')}`;
        }
      });
    </script>
</body>
</html>
次に、変更したプロジェクトを保存します。
フロッピーディスクのアイコンをクリック。

右上の「デプロイ」から「デプロイの管理」をクリック

バージョンは、「新バージョン」に
説明は、何でも良いのですが、一応ここでは「タイマー」としました。

次のユーザーとして実行は、自分だけが使用する想定だとして「自分」を選択。
※他の人も使用する想定なら「ウェブアプリケーションにアクセスしているユーザー」を選択します。
※他の人が使用する場合でも、実行するユーザーを自分にしておきたい場合もあります。

アクセスできるユーザーは、ここでは「自分のみ」を選択。
※ここでも、他のユーザーが使用するかどうかで選択する項目が変わります。
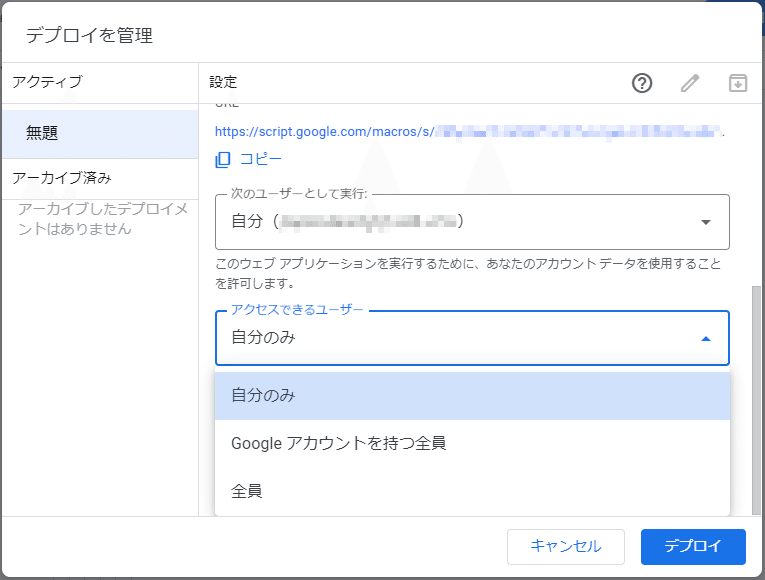
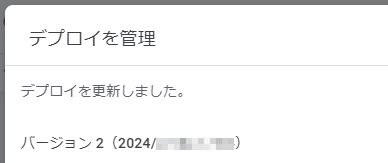
設定後、右下の「デプロイ」をクリックすると、
「デプロイが更新されました」と表示され、
バージョンが2となります。
ウェブアプリのURLをクリックすると、
修正したwebアプリが表示されます。

タイマーアプリが完成しました。