UnityベースのXRフレームワークであるExtrealを試す

Unityについて調べていたら表題のUnityベースのXRフレームワークであるExtreal(エクストリアル)というものがあるらしいので、試してみた。
Extreal(エクストリアル)とは
TIS株式会社が公開したUnityベースのXRフレームワークであり、人々が集まってコミュニケーションできるバーチャル空間を開発するための土台を提供するものとのこと。詳細は下記のリンクを参照。
サンプルアプリケーションを動かしてみる
リンクのREADMEに従って、実際にサンプルアプリケーションを動かしてみる。
まずは上記のGitHubのリポジトリをローカルにクローンする。クローンしたプロジェクトを開く前に、Assets/Holiday/App/AssetWorkflow/Customのディレクトリに以下のファイルを作成する。
namespace Extreal.SampleApp.Holiday.App.AssetWorkflow.Custom
{
    public static class SecretVariables
    {
        public static string ServerAddress => "test";
        public static string CryptAssetIv => "initialization-vector";
        public static string CryptAssetPassword => "password";
    }
}
次にVivoxのアカウントを作成する。Vivox Developer Portalからアカウントを作成しようとすると、Unity Gaming Servicesからアカウントを作るように指示があるので、そちらでアカウントを作成。
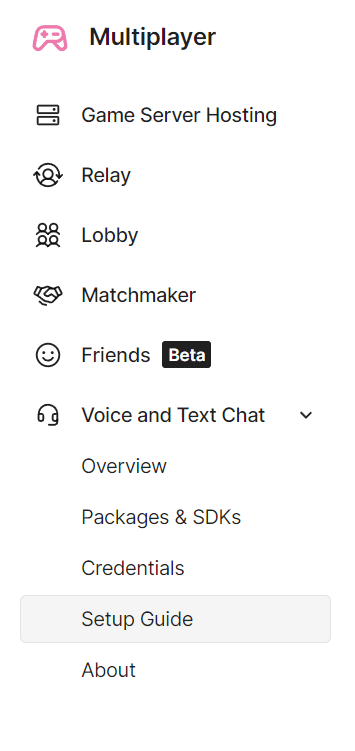
アカウントが出来たらプロジェクトを作成して、Main MenuのMultiplayerを選択。

Voice and Text ChatからSetup Guideを選択し、ガイドに従ってVivoxのセットアップを行う。
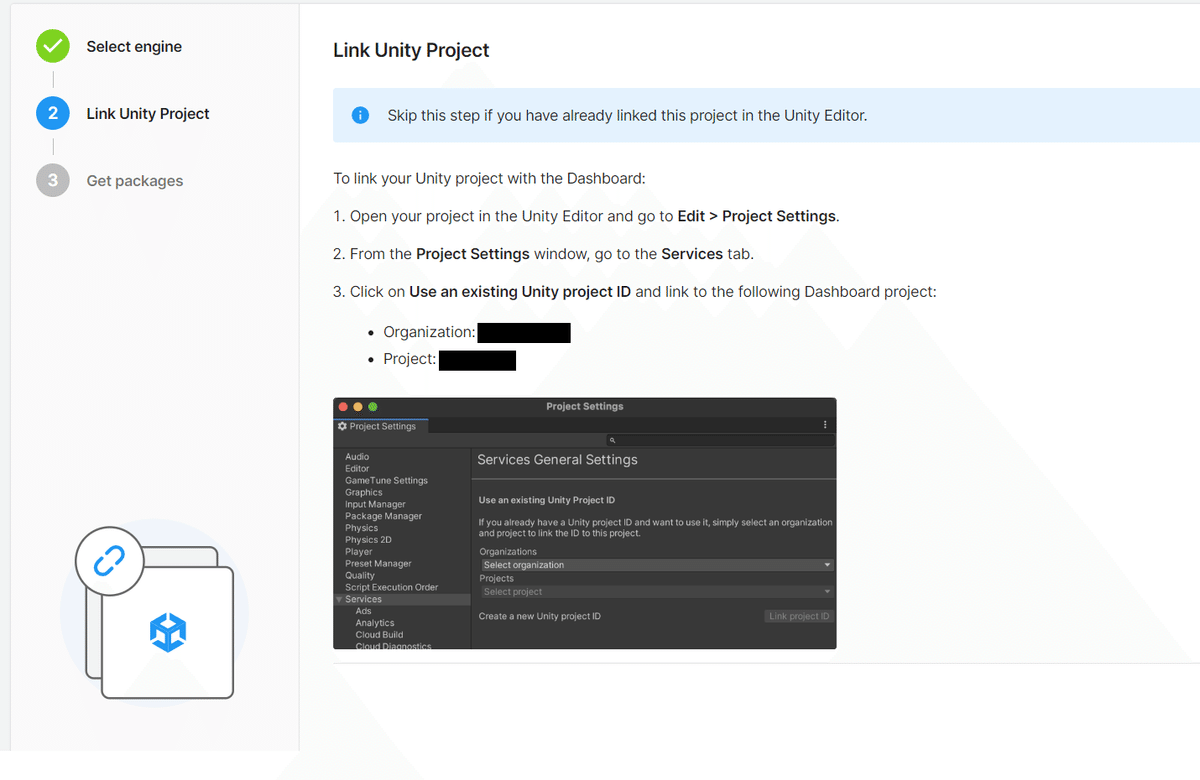
セットアップの際にUnityとLinkするための情報が出てくるので、案内に従って設定を実施。
次はリンクを参考にMixamoの無料3DモデルをUnityにインポートする。
補足するとMixamoの上部メニューのCharctersからAmyとMichelleを検索して、リンクで指定の形式でダウンロード。アニメーションは不要とあるので、スキップ。
ダウンロードしたfbxファイルをRenameして(e.g. Amy.fbx)、指定のフォルダにインポート。
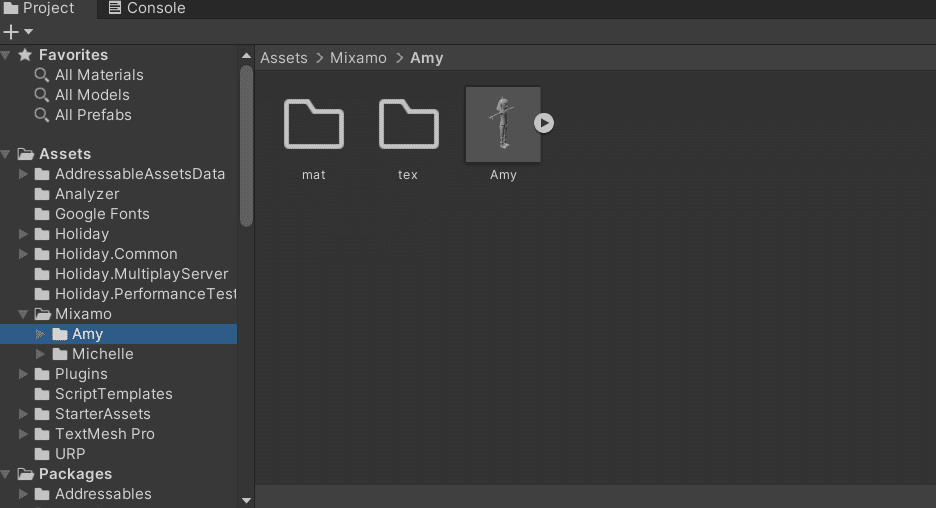
そして/Assets/Holiday/App/Avatarsのディレクトリで、avatarのprefabsを作成する。詳細の手順はReadmeを参照。
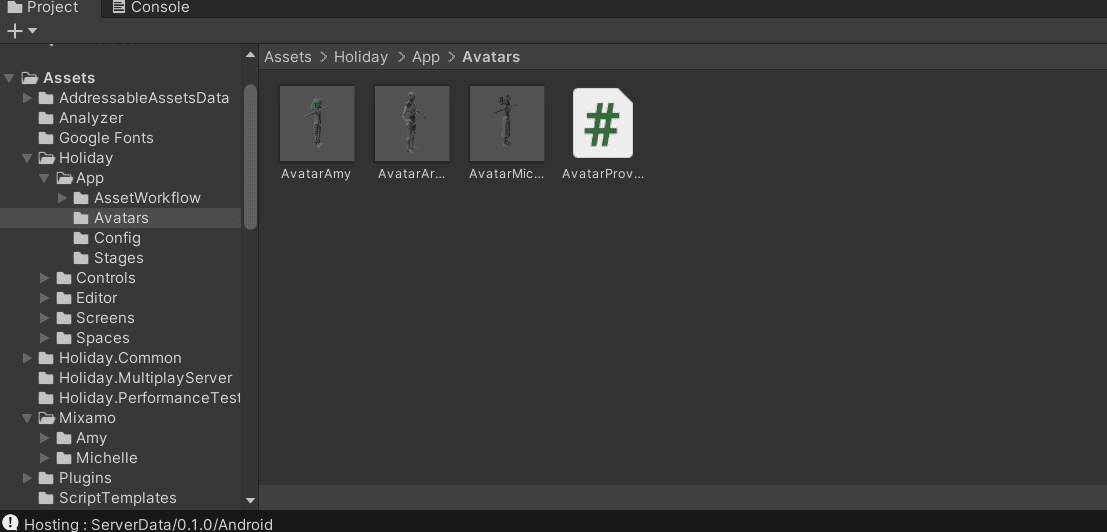
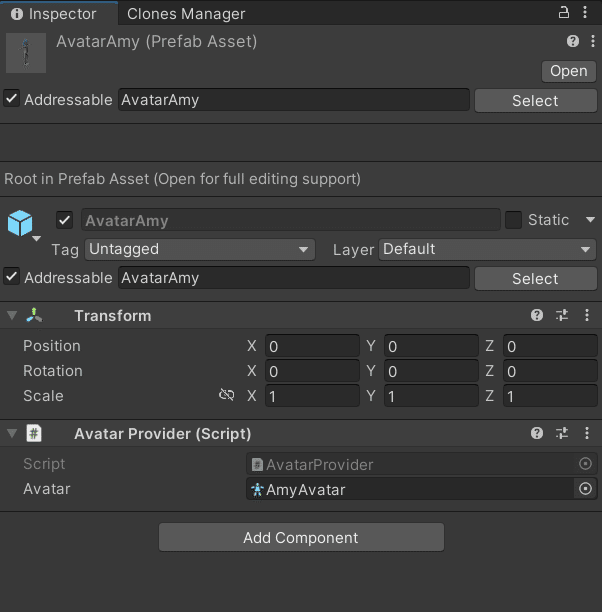
作成したPrefabのAddressablesにチェックを入れ、AvatarAmyと設定する。またPrefabのPositionを(0, 0, 0)にしておかないと、動かしたときに動作が変になるので注意する。同様の手順でMichelleのPrefabも作成する。
/Assets/Holiday/App/ConfigのディレクトリでChatConfigファイルを作成。プロジェクトで右クリック > Create > Holiday > ChatConfig で作成。VivoxのCredentialsの内容を設定する。
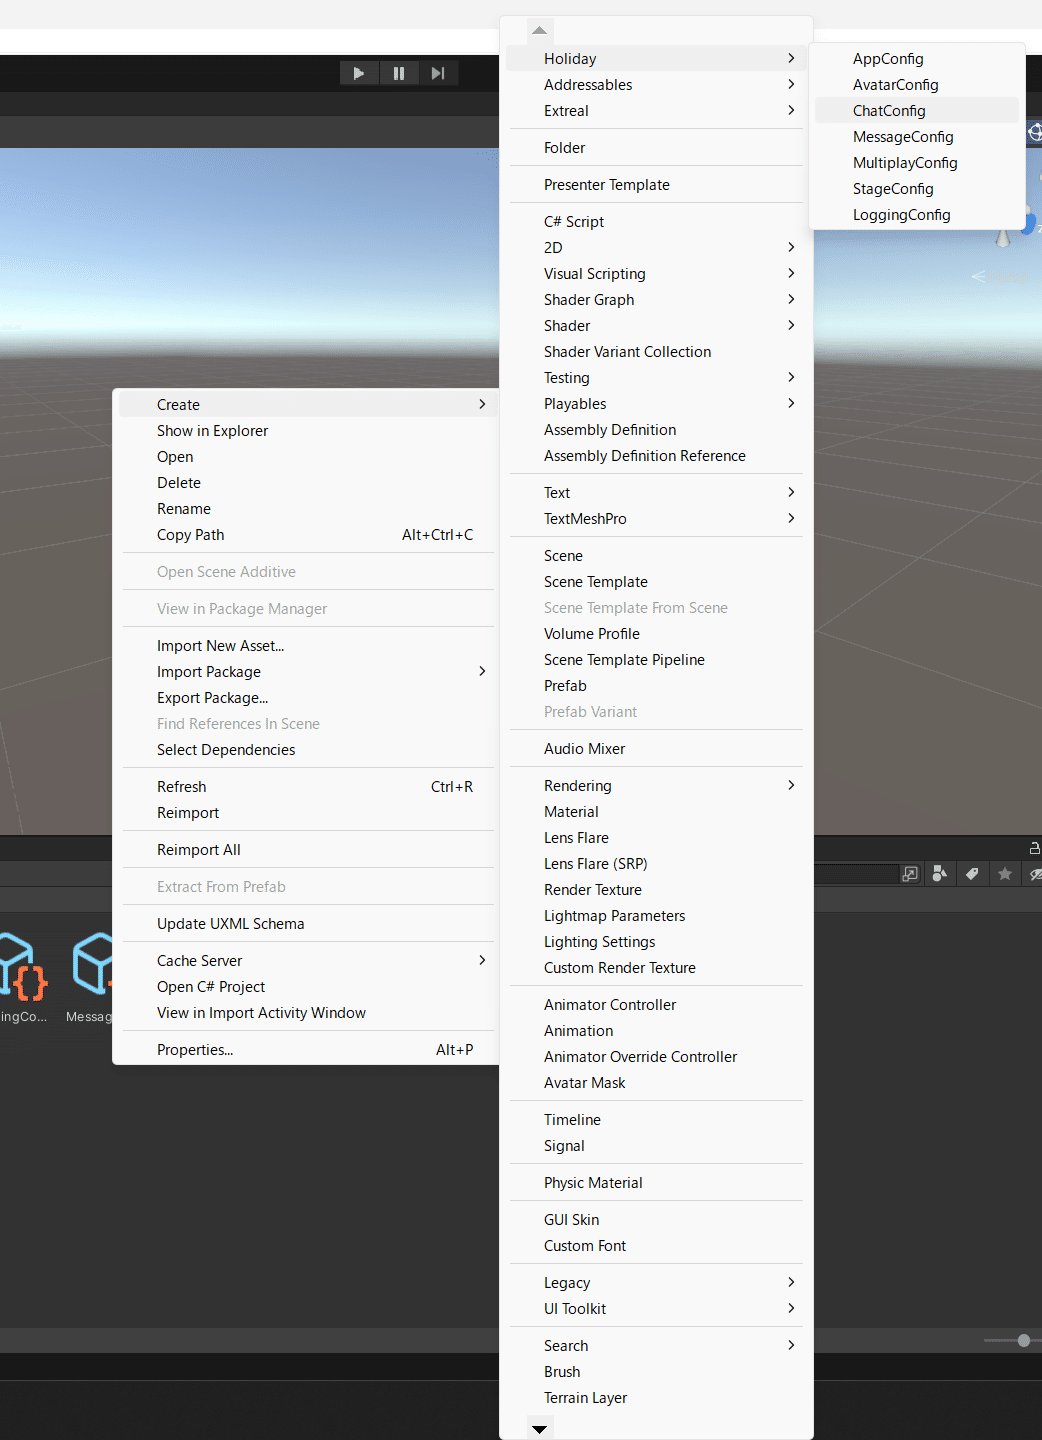
同様の手順でMultiplayConfigを作成する。こちらはデフォルト値でOK.。
そしてParrelSyncを使って複数のUnity Editorを起動する。ParrelSyncの使い方はリンクを参照。
起動したUnity Editorの一つでMultiPlayServerのシーンを実行し、他の複数のUnity EditorでAppシーンを実行する。複数のAppシーンを実行して簡単に動かしてみたデモ動画がこちら。

感想
Extrealのサンプルを動かしてみて、実際のUnity開発に使われるサービスやライブラリ(Unity Gaming ServiceやParrelSyncなど)を知れて良かった。