Python Slack SDKの使い方

概要
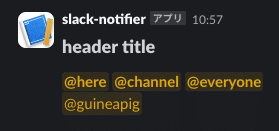
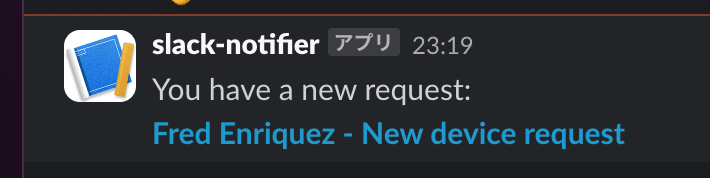
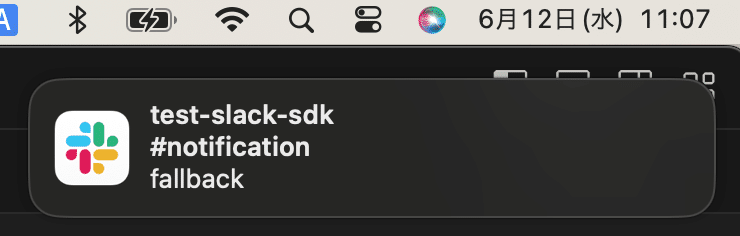
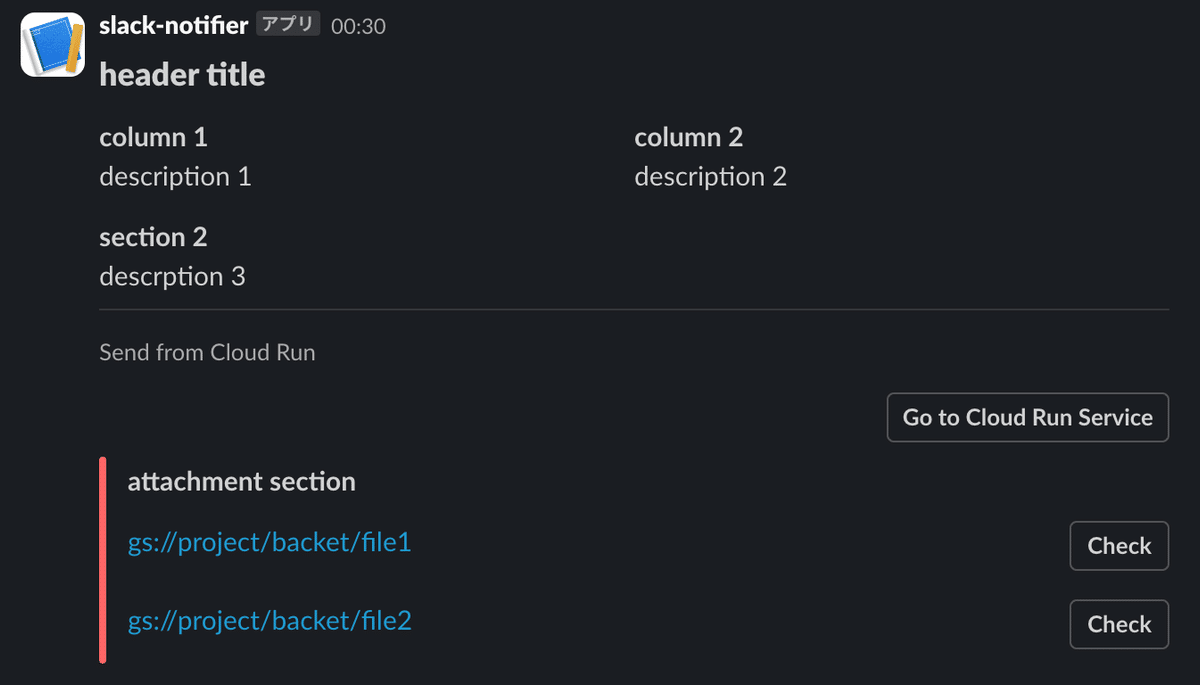
Python Slack SDKとIncoming Webhooksを利用したコーディングについて解説します。最終的には下図のような通知をslackチャンネルに送れます。

手順
Incoming Webhooksの設定
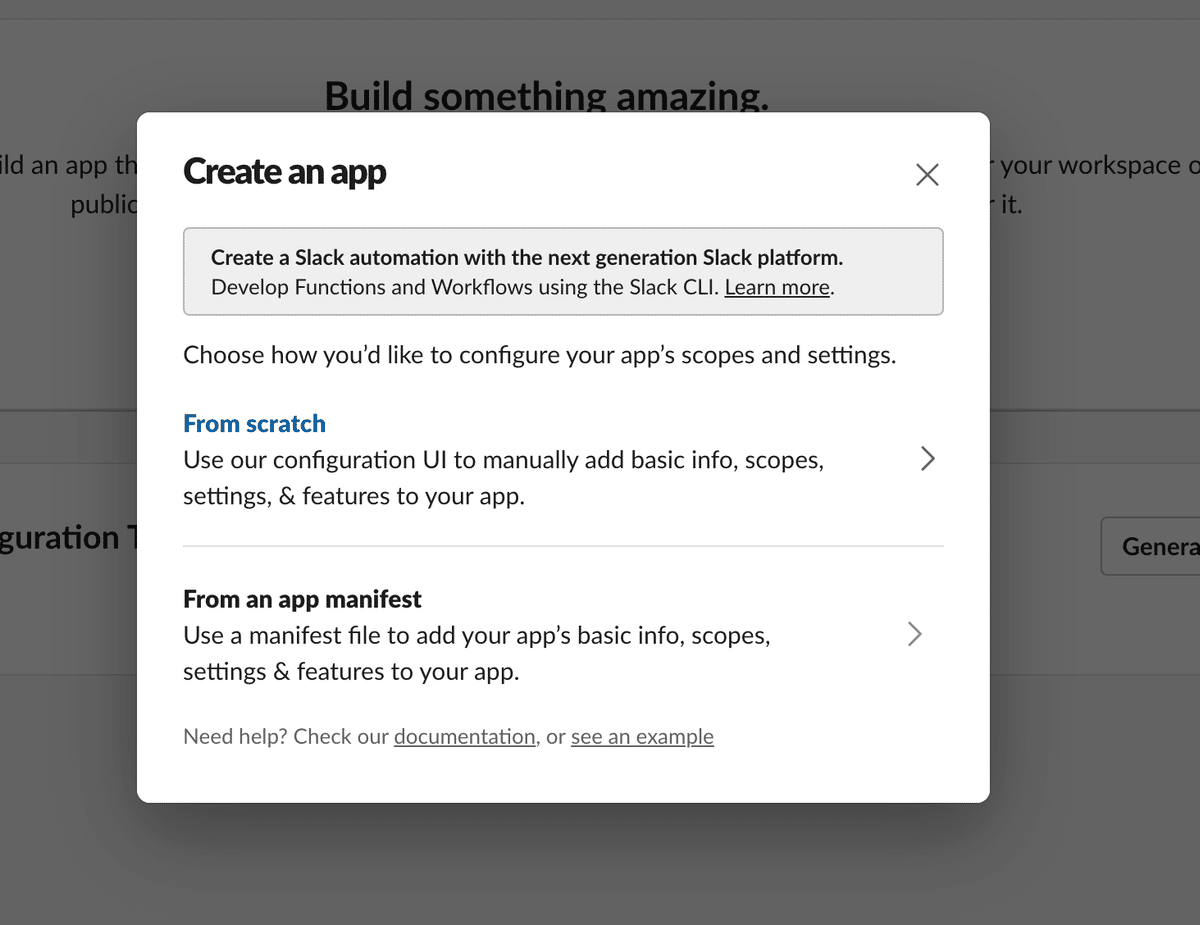
https://api.slack.com/apps?new_app=1 にアクセスしてFrom scrathでアプリを作成
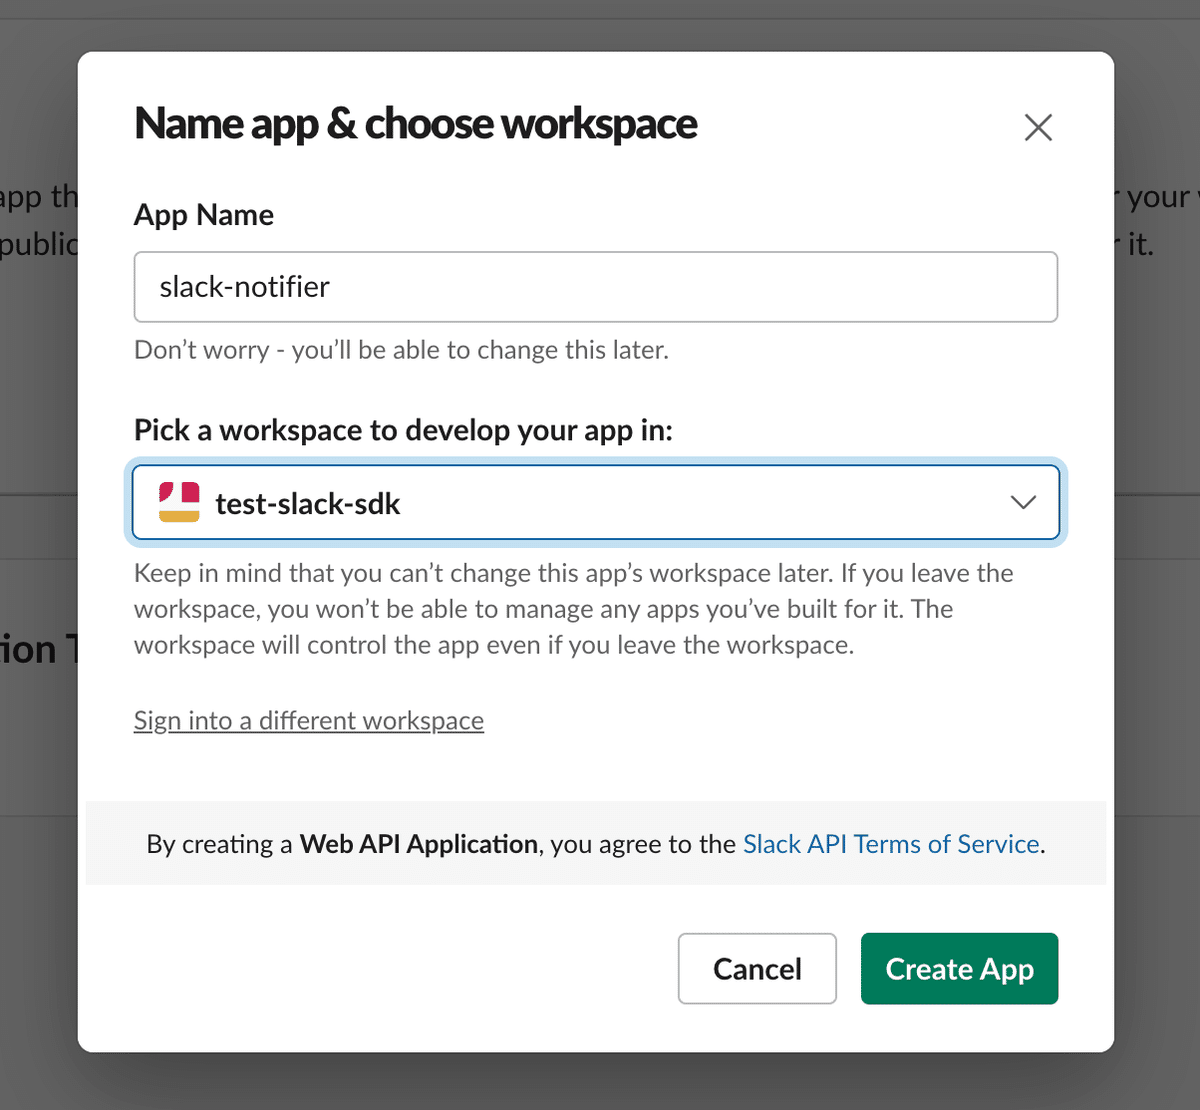
App Nameとworkspaceを選択してCreate App
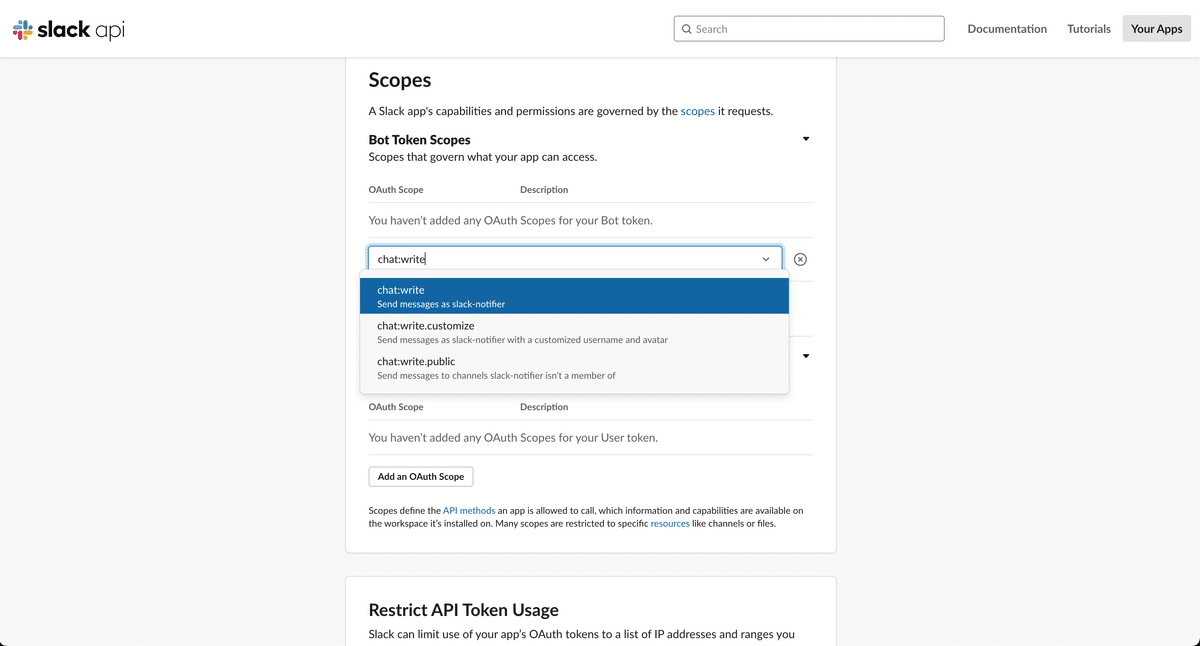
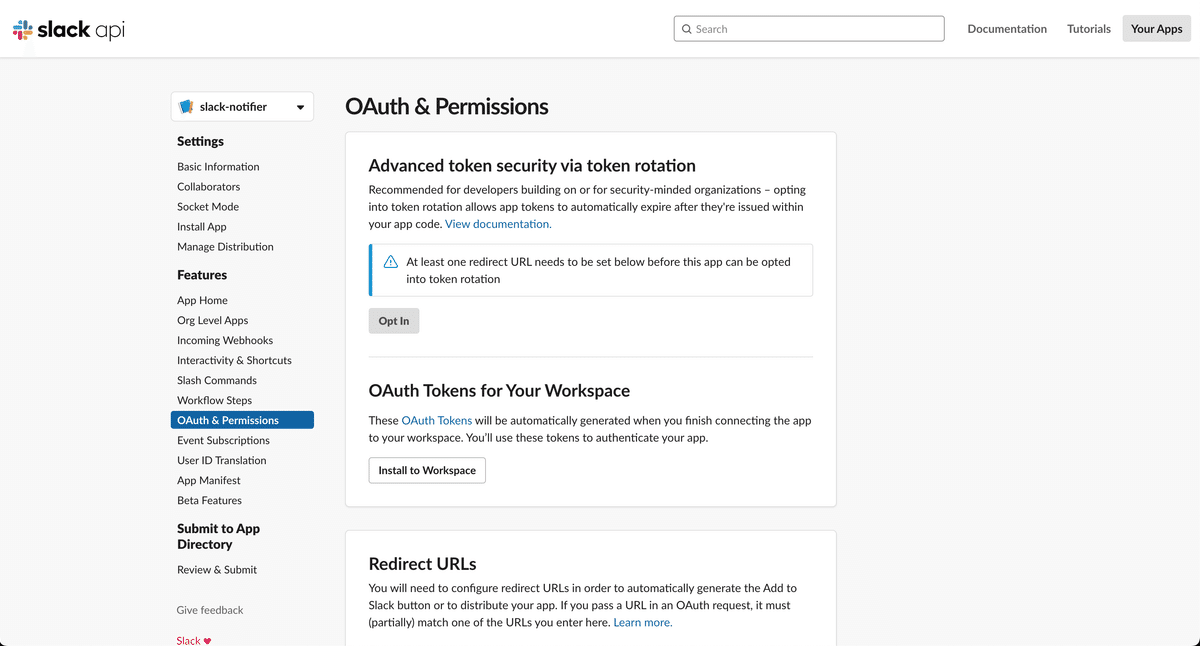
OAuth & Permissionsでchat:writeを選択
Install to Workspace
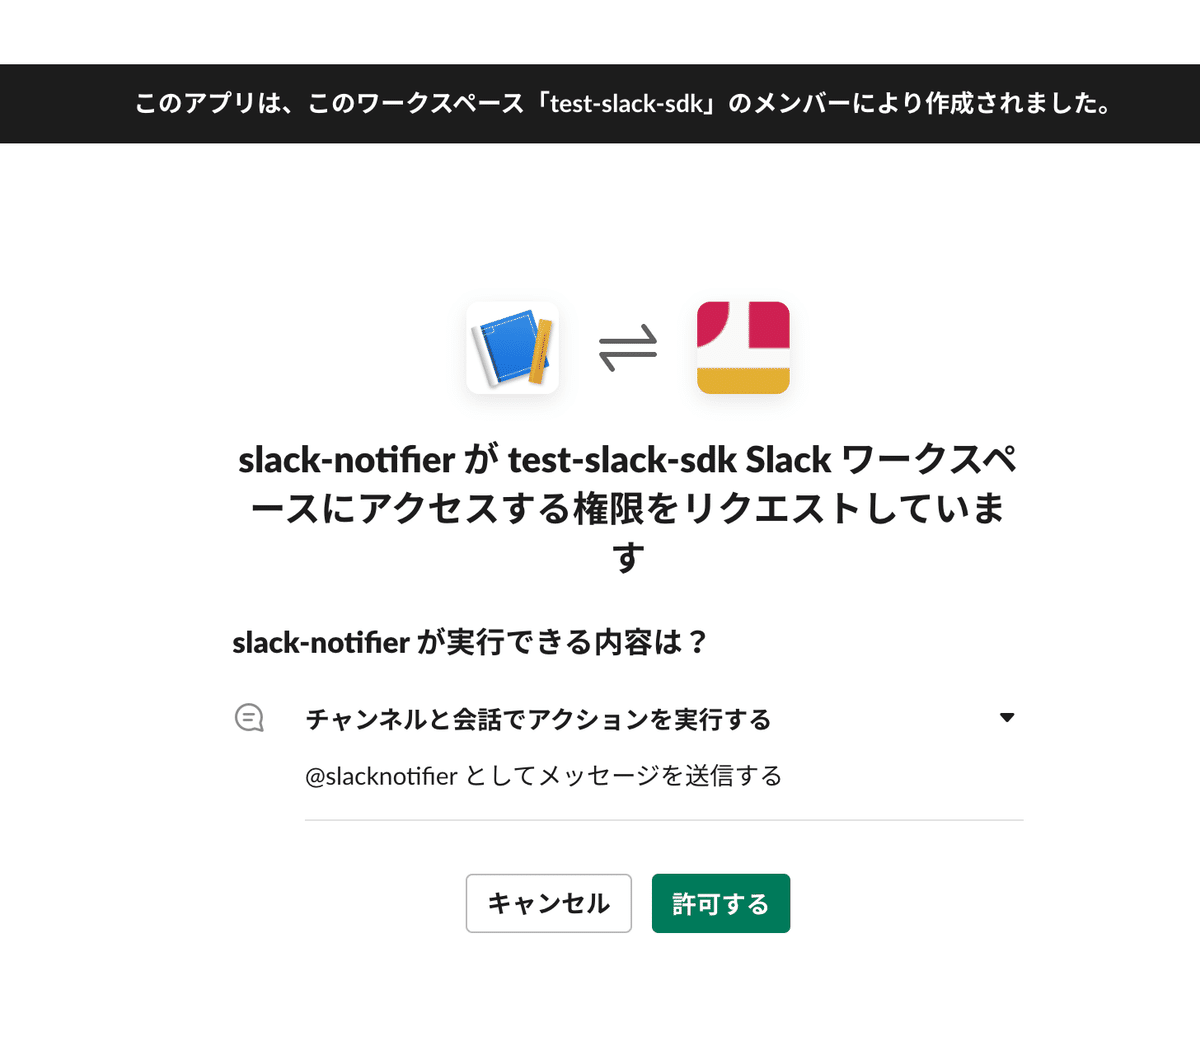
許可する
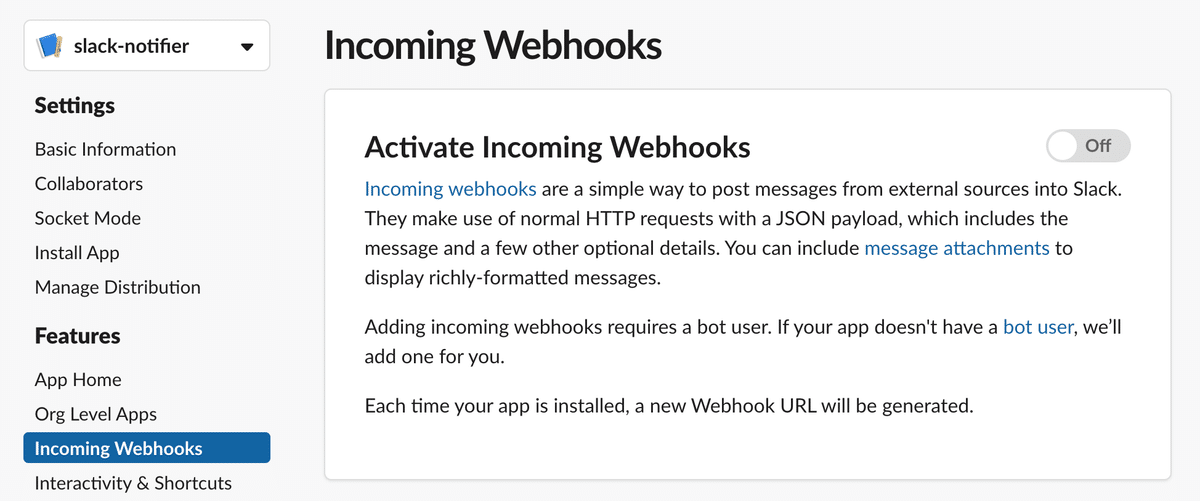
Incoming Webhooksをonにする
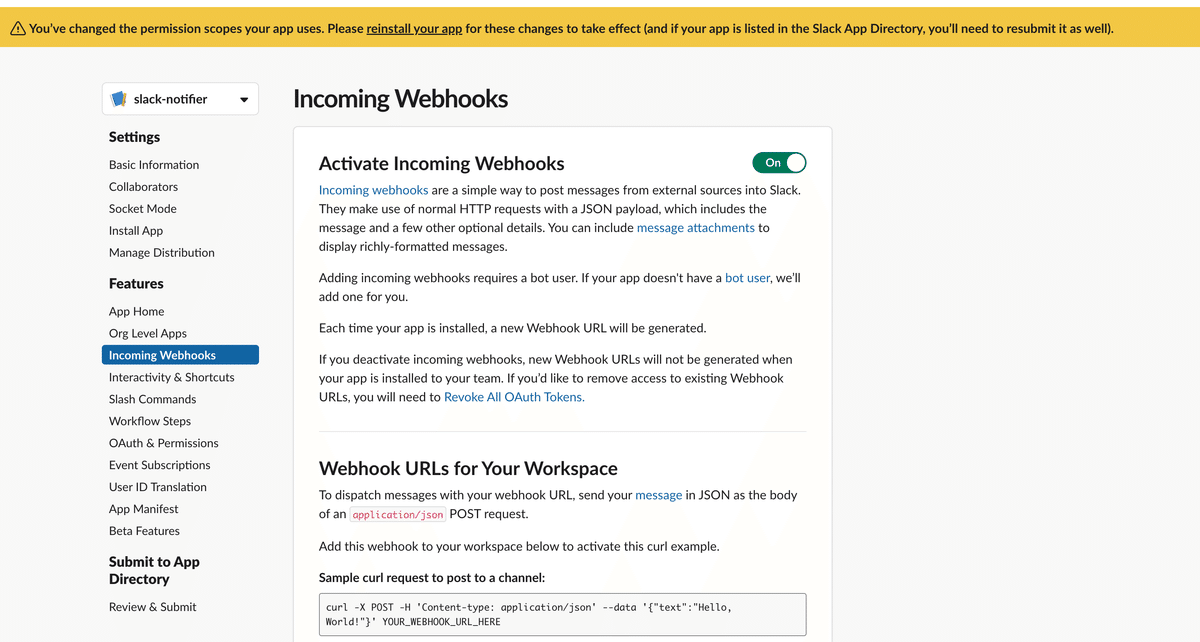
reinstall your appを選択
投稿先を選択して許可するを選択
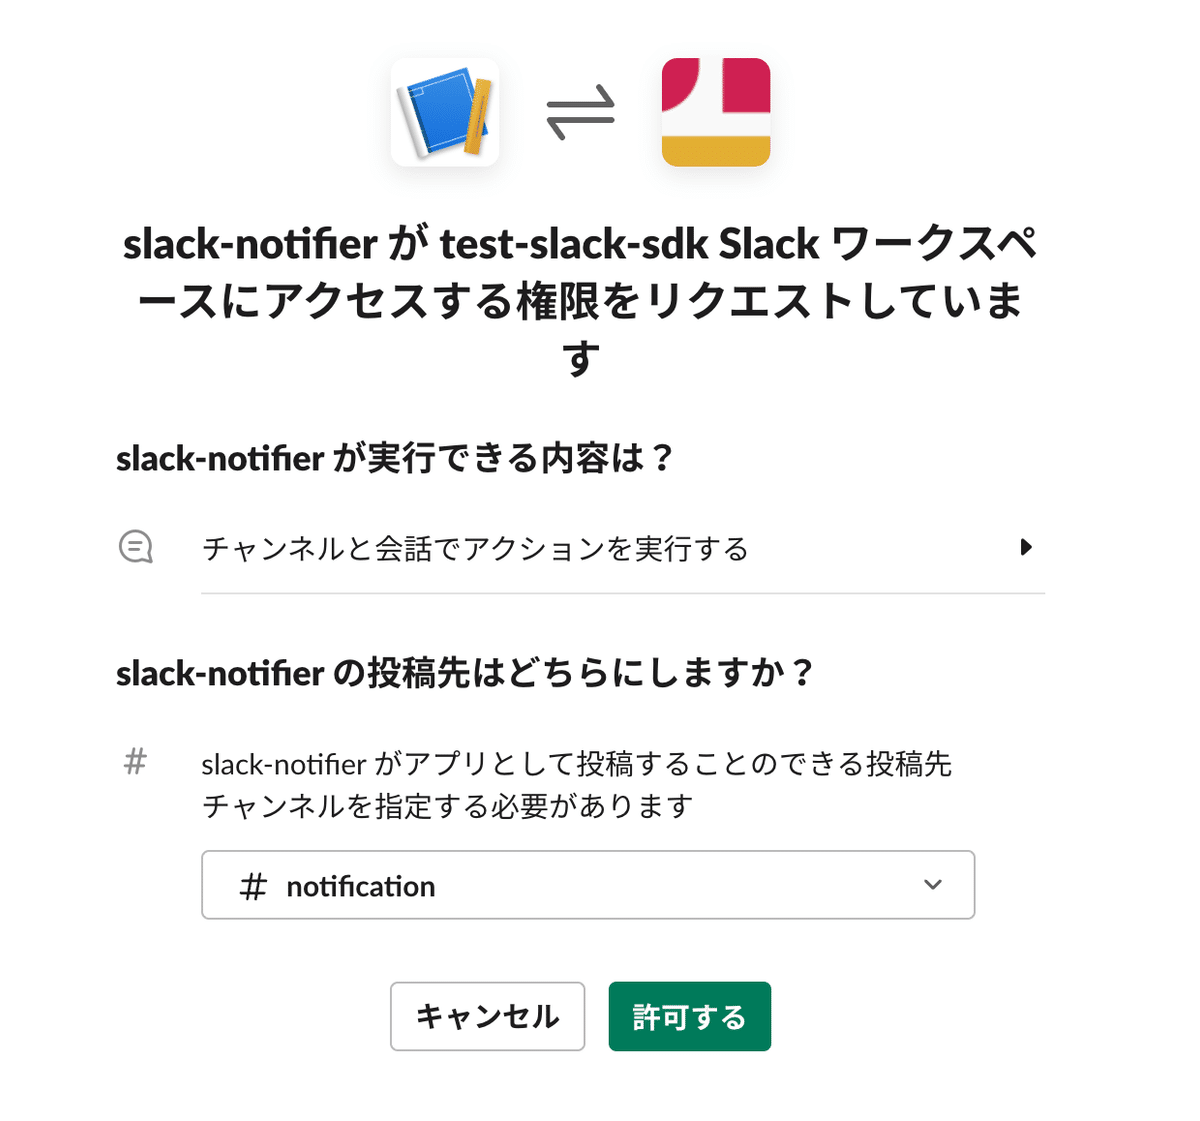
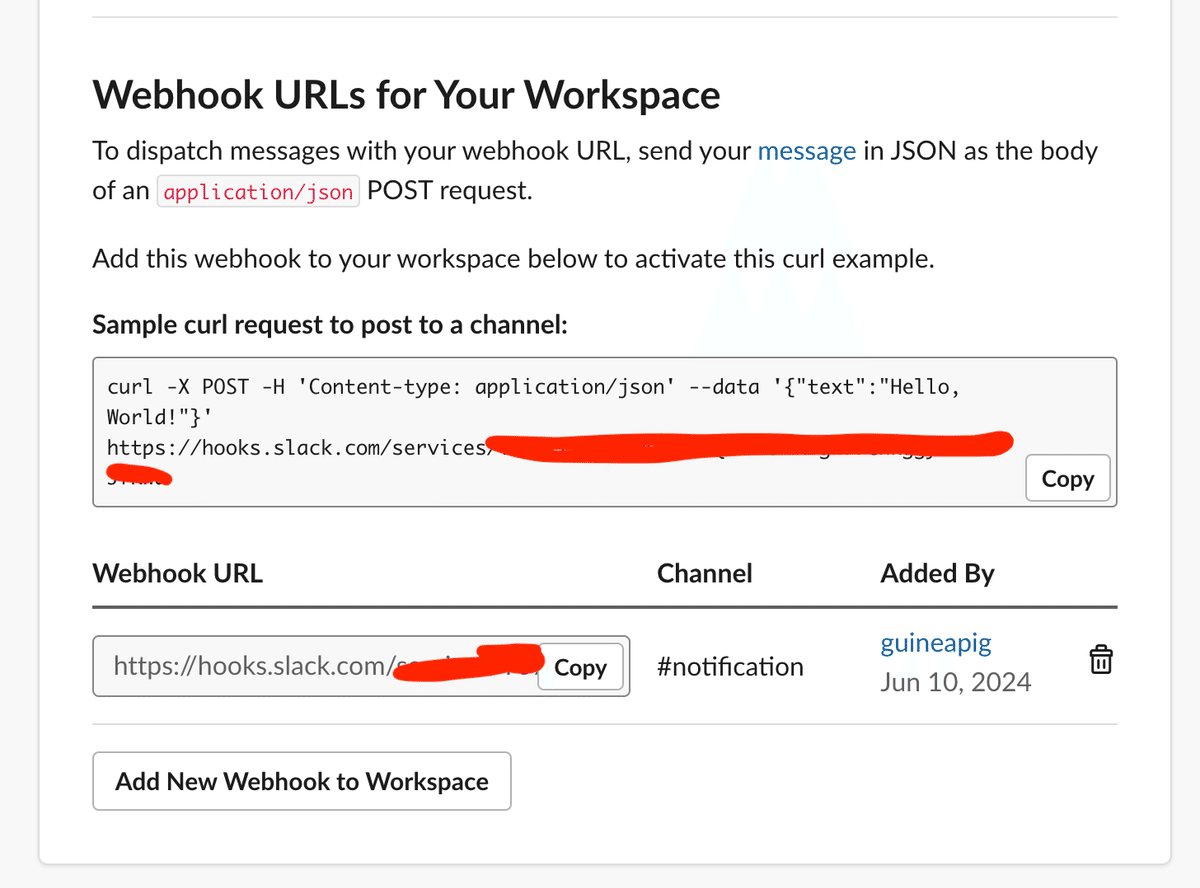
Webhook URLをCopy
ライブラリの準備
ライブラリをインストール
poetry add slack-sdkPythonスクリプトを作成。urlにコピーしたwebhook URLをいれます。
from slack_sdk.webhook import WebhookClient
url = "https://hooks.slack.com/services/T00000000/B00000000/XXXXXXXXXXXXXXXXXXXXXXXX"
webhook = WebhookClient(url)
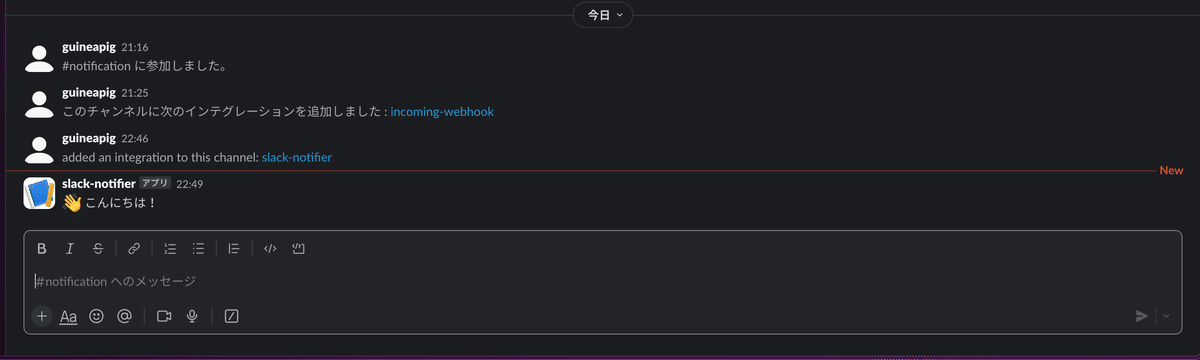
response = webhook.send(text=":wave: こんにちは!")実行して動作確認
blocksの作成
blocksを使うことでよりリッチなメッセージを送信可能。
from slack_sdk.webhook import WebhookClient
url = "https://hooks.slack.com/services/T00000000/B00000000/XXXXXXXXXXXXXXXXXXXXXXXX"
webhook = WebhookClient(url)

response = webhook.send(
    text="fallback",
    blocks=[
        {
            "type": "section",
            "text": {
                "type": "mrkdwn",
                "text": "You have a new request:\n*<fakeLink.toEmployeeProfile.com|Fred Enriquez - New device request>*"
            }
        }
    ]
)
Block Kit Builder の左側をポチポチして作成すると楽。
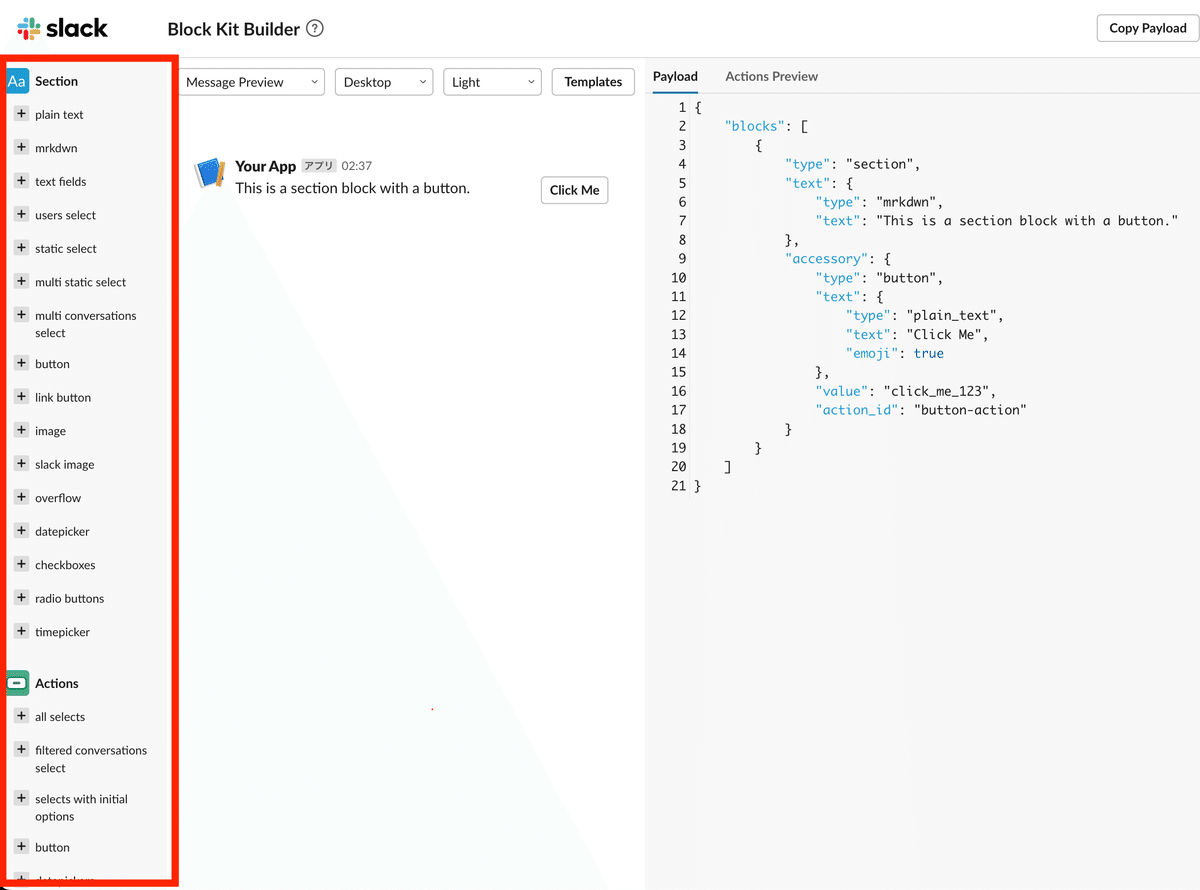
試しにこのようなblocksを作成。blocksの中身をコピーしてPythonスクリプトのblocks=[]の中にペーストして実行。
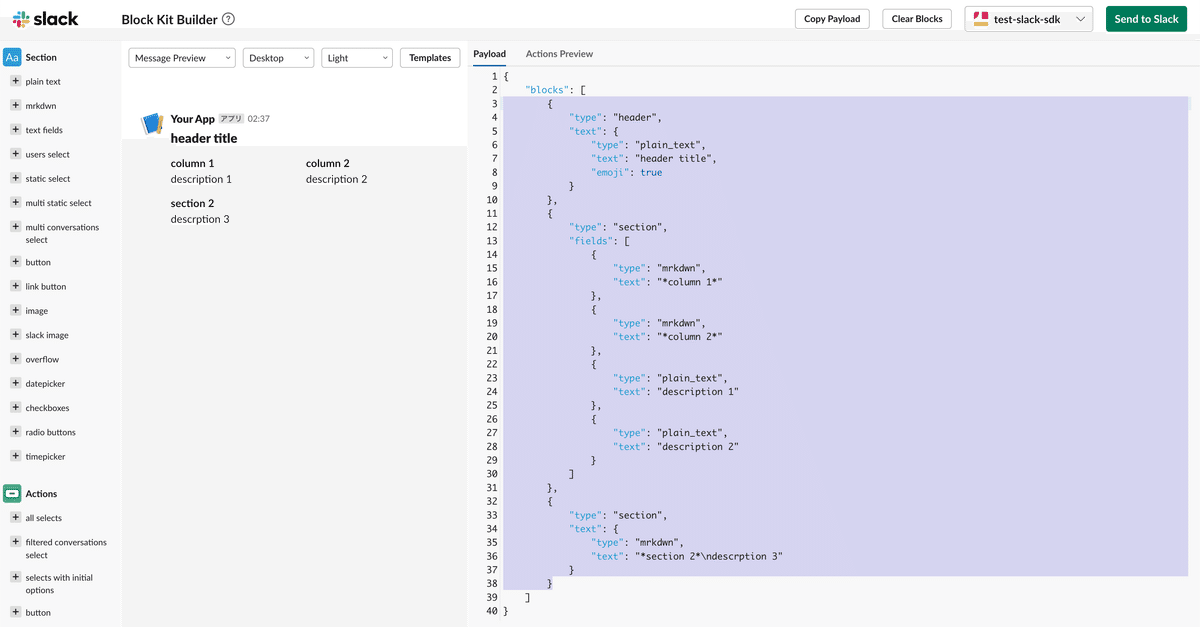
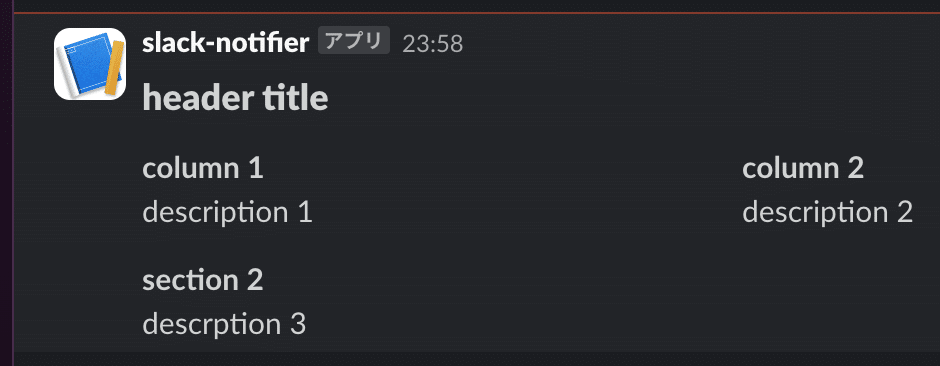
同じメッセージを送信できています。
Block Kit Builder ではboolがtrueだがpythonではTrueにしなければいけないことに留意
textはblocksを持つ場合は以下のようにフォールバックとして働くため、使用されることが公式で推奨されています。
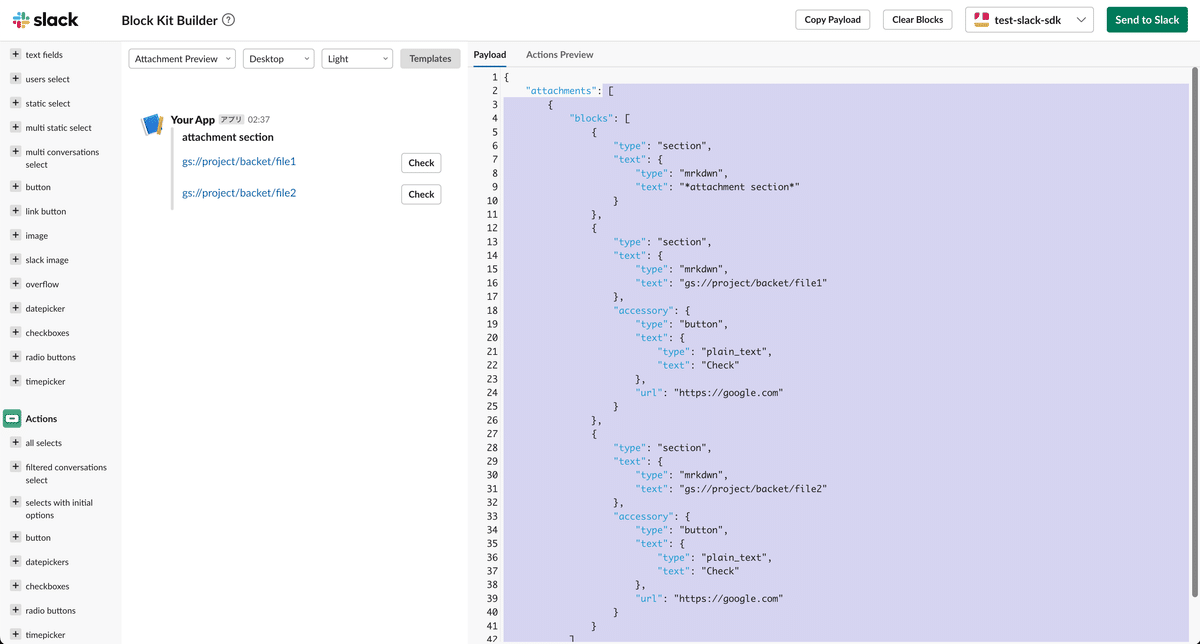
Attachmentsの作成
response = webhook.send(
    text="fallback",
    blocks=[
        # 省略
    ],
    attachments = [
        # paste here
    ]
)
ボタンでURL押せるのは便利ですね。
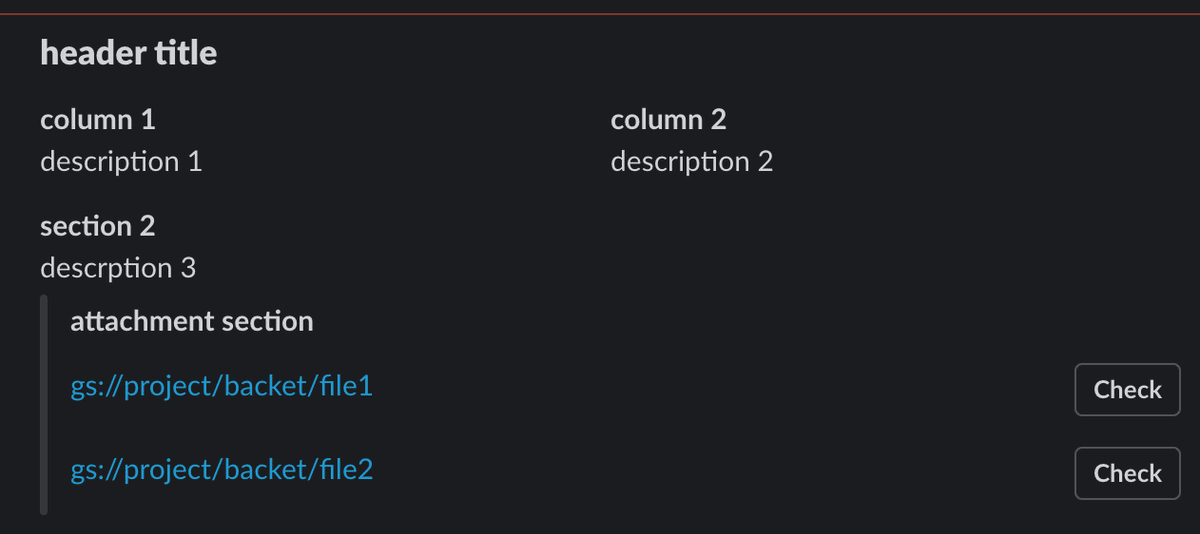
最終形とスクリプトを貼っておくので参考にしていただければ幸いです。
from slack_sdk.webhook import WebhookClient
url = "https://hooks.slack.com/services/T00000000/B00000000/XXXXXXXXXXXXXXXXXXXXXXXX"
webhook = WebhookClient(url)

response = webhook.send(
    text="fallback",
    blocks=[
		{
			"type": "header",
			"text": {
				"type": "plain_text",
				"text": "header title"
			}
		},
		{
			"type": "section",
			"fields": [
				{
					"type": "mrkdwn",
					"text": "*column 1*"
				},
				{
					"type": "mrkdwn",
					"text": "*column 2*"
				},
				{
					"type": "plain_text",
					"text": "description 1"
				},
				{
					"type": "plain_text",
					"text": "description 2"
				}
			]
		},
		{
			"type": "section",
			"text": {
				"type": "mrkdwn",
				"text": "*section 2*\ndescrption 3"
			}
		},
		{
			"type": "divider"
		},
		{
			"type": "context",
			"elements": [
				{
					"type": "plain_text",
					"text": "Send from Cloud Run"
				}
			]
		},
        {
			"type": "section",
			"text": {
				"type": "mrkdwn",
				"text": " "
			},
			"accessory": {
				"type": "button",
				"text": {
					"type": "plain_text",
					"text": "Go to Cloud Run Service"
				}
			}
		}
    ],
    attachments = [
		{
            "color": "#ff6666",
			"blocks": [
				{
					"type": "section",
					"text": {
						"type": "mrkdwn",
						"text": "*attachment section*"
					}
				},
				{
					"type": "section",
					"text": {
						"type": "mrkdwn",
						"text": "gs://project/backet/file1"
					},
					"accessory": {
						"type": "button",
						"text": {
							"type": "plain_text",
							"text": "Check",
						},
						"url": "https://google.com",
					}
				},
				{
					"type": "section",
					"text": {
						"type": "mrkdwn",
						"text": "gs://project/backet/file2"
					},
					"accessory": {
						"type": "button",
						"text": {
							"type": "plain_text",
							"text": "Check",
						},
						"url": "https://google.com",
					}
				}
			]
		}
	]
)
print(response.body)
メンションの作成
以下の表記でメンションを送れます。
ユーザーへのメンションだけ<@UXXXXXXXXXX>になることだけ注意してください。(UXXXXXXXXXXはユーザーID)
		{
			"type": "section",
			"fields": [
				{
					"type": "mrkdwn",
					"text": "<!here> <!channel> <!everyone> <@UXXXXXXXXXX>"
				}
			]
		},