
[Unity Shader Graph]今さら人には聞けないNormal mapの貼り方(初心者)

unity version 2021.3.24f1
blender3.3
RPはURPを使用しています。
Built-inRPの場合はPackage ManagerからShaderGraphのインストールが必要です。
参考元
1、blenderでNormal mapをベイクする
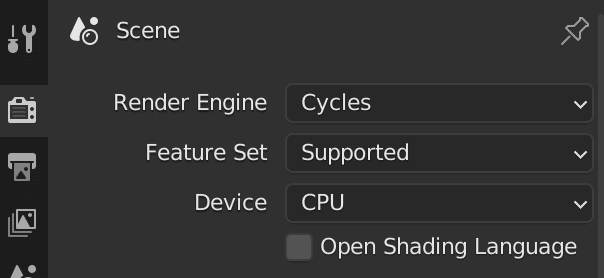
Render EngineをCyclesにする
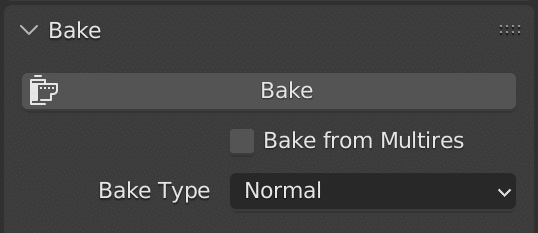
Bake TypeをNormalにする
Selected to Activeにチェックを入れる
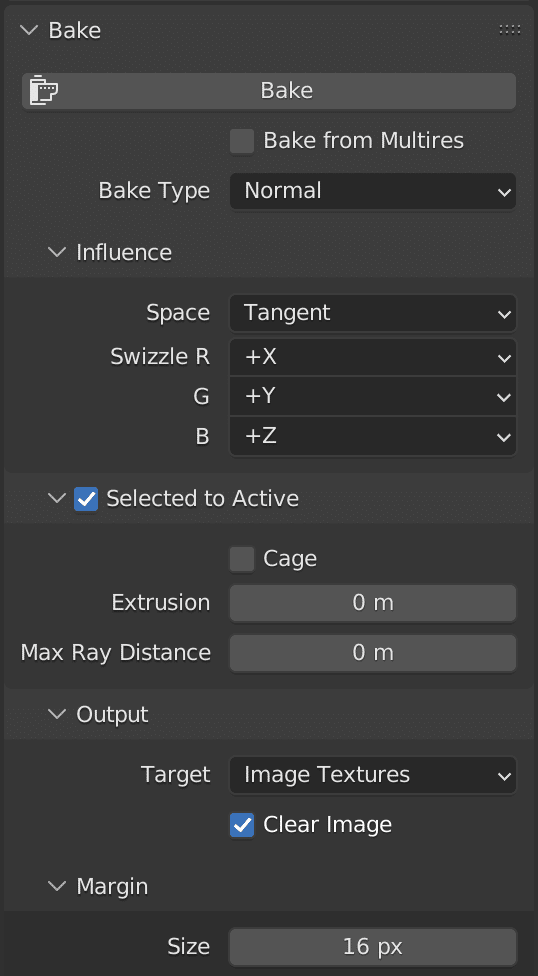
立体のついたオブジェクトを選択し
ベイク先のオブジェクトを選択する
※ベイク先をアクティブの状態にする(アクティブは明るい色でハイライトされる)

Shadingタブを選択しImage Textureノードを作成する
作成したノードを選択する
※ノードは繋がっている必要はないです
※テクスチャはなんでも良いが上書きされるので新規テクスチャを割り当てるのが良いです

ベイクボタンを押す

Texture Paintタブを選択し
ベイクしたNormal mapを保存する

2、UnityにTextureをインポートする
ProjectウィンドウにTextureをドラッグ&ドロップする
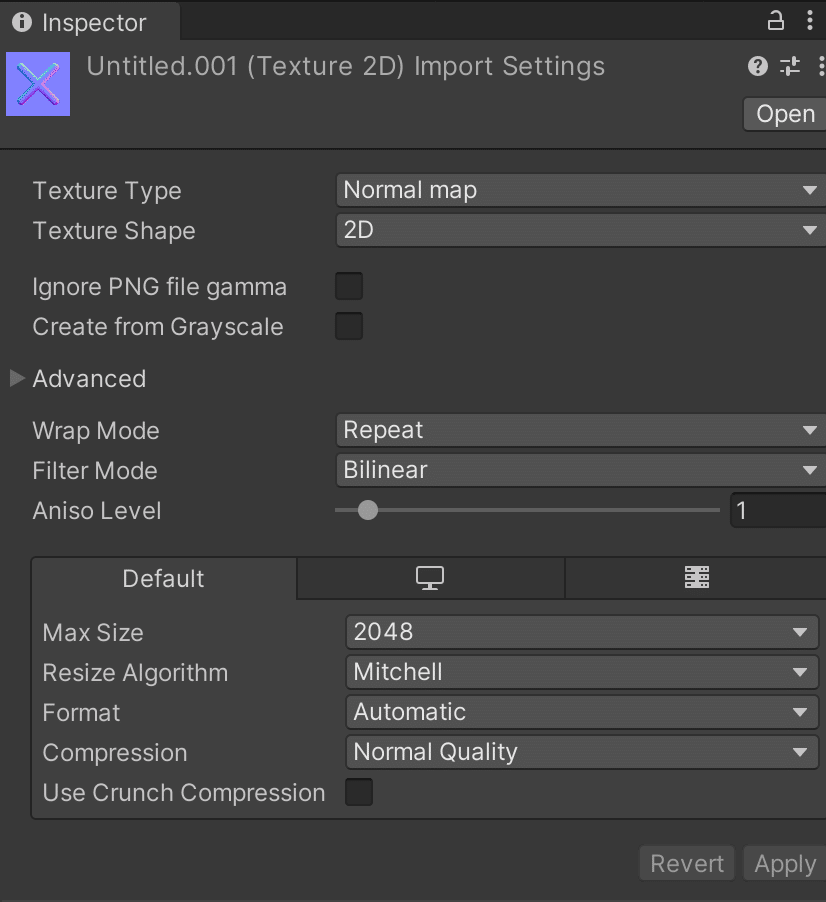
インポートしたテクスチャを選択し
InspectorウィンドウでTexture TypeをNormal mapにする
※意外と忘れがちなのでうまく貼れてない時は確認してみる
3、ShaderGraphを作成する
Projectウィンドウで右クリックから
Create >> Shader Graph >> URP >> Lit Shader Graphを作成する
できたShader Graphをダブルクリックでウィンドウが開く
作成するノード
Texture 2D Asset:テクスチャを出力する
Sample Texture 2D:UV情報をもとにテクスチャを貼るノード
Normal Strength:Normal mapの強さを調整するノード(値-1~1)
(このノードはなくても問題ありません)
4、ノードを繋げる
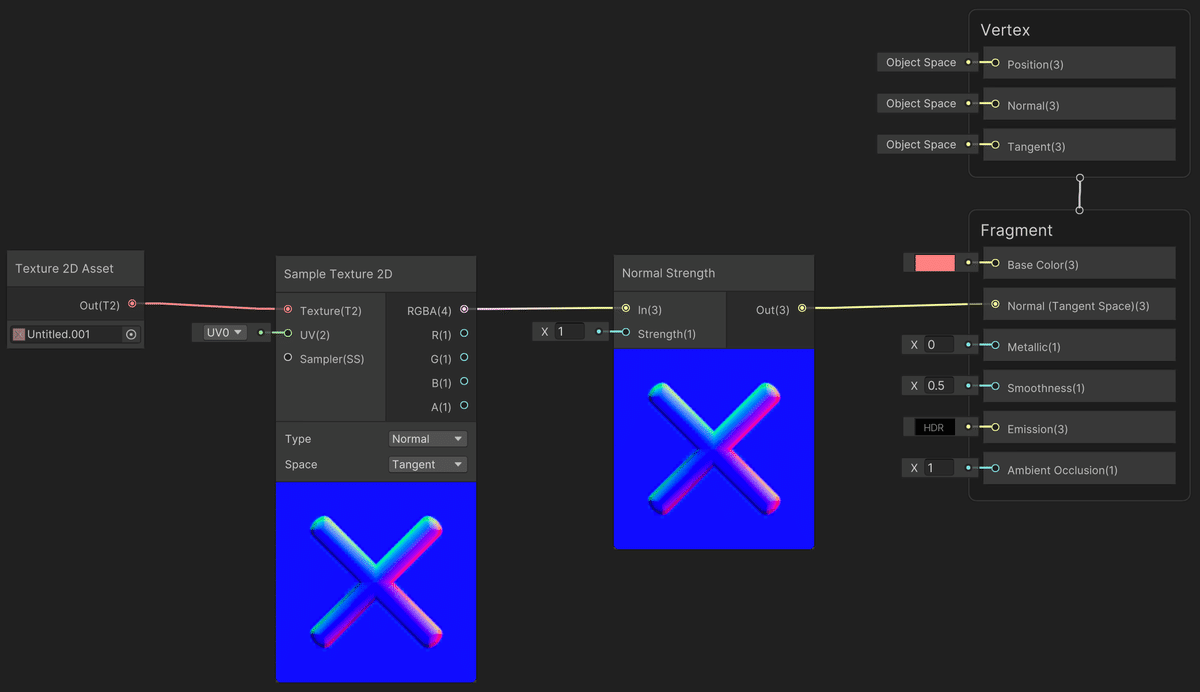
Texture 2D AssetをSample Texture 2Dに繋げる
Sample Texture 2DのTypeをNormalにする
※これも忘れがちなのでうまく貼れてない時は確認するSample Texture 2DをNormal Strengthに繋げる
Normal StrengthをFragmentのNormalに繋げる
5、オブジェクトを作成する
ProjectウィンドウのShader Graphを右クリックし
Create >> Materialを作成するHierarchyウィンドウで右クリックから
3D Object >> Quadを作成する作成したオブジェクトを選択しInspectorウィンドウのMesh RendererのMaterialsに作成したMaterialをドラッグ&ドロップする
説明が間違っている可能性がありますので自分でも調べて確認してみてください
補足
グレースケールをNormal mapとして貼ることもできる
