
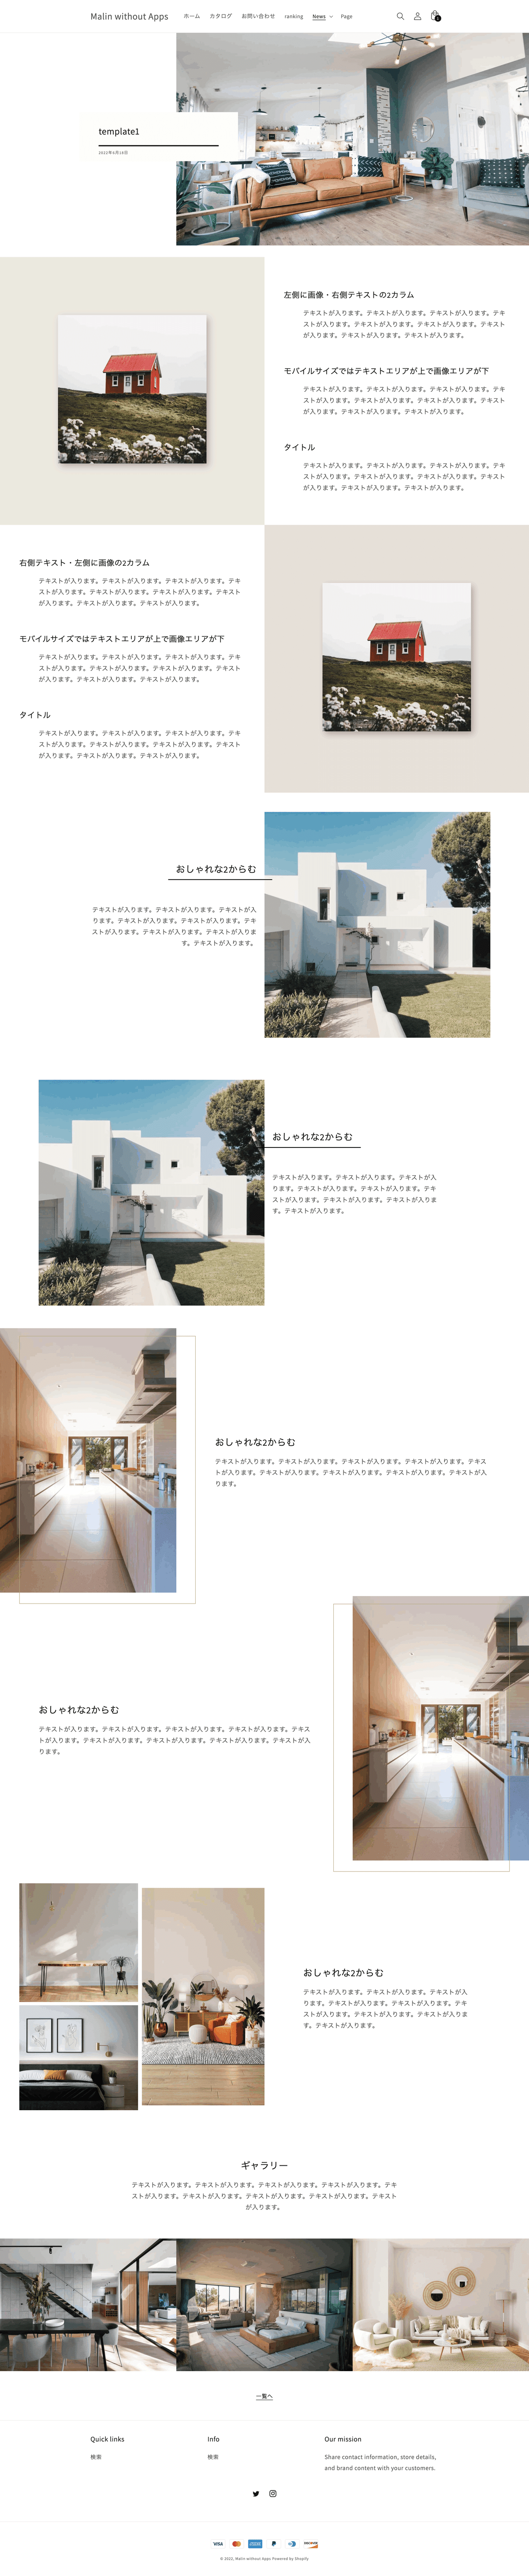
[Shopify]コピペで簡単♪特集記事のテンプレート1◆ブログをカスタマイズ

こんにちは。Shopify専門エンジニアのまりん(@crowd37cord)です。
特集記事のテンプレートを作成してみました♪
特集はブログ記事を使って作成します♪
HTMLのテンプレートコードでお好きなレイアウトでブログをカスタマイズしてみて下さいね^^
対象テーマ:Dawn
Debutでも使えたので多分どのテーマでも使えると思います。一度No.1のコードでお試しください。
✔️今回のテンプレート
デモページ
PW:stahsk40jw1Mf
◆PC版
◆モバイル

✔️テンプレート目次
全部で8個用意しました。


✔️設置方法
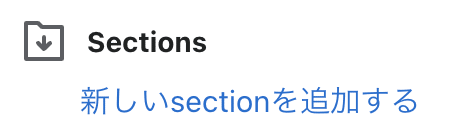
Step1 新規セクション追加
管理画面>コード編集>Section>新規追加
ファイル名何でもOK
→今回main-article-template1にしました
下記のテンプレートコードをコピペして下さい。
◆Liquidテンプレート
{{ 'article-template1.css' | asset_url | stylesheet_tag }}
<article class="article-malin-template1" itemscope itemtype="http://schema.org/BlogPosting">
<div class="article__hero-container" {{ block.shopify_attributes }}>
{%- for block in section.blocks -%}
{%- case block.type -%}
{%- when 'title'-%}
<header
class="article_cover" {{ block.shopify_attributes }}>
<div class="content_col">
<div class="grid__onethird order-sp2">
<div class="article_header_wrap">
<div class="article_header_txtbox">
<h1>{{ article.title | escape }}</h1>
<span class="circle-divider caption-with-letter-spacing" itemprop="dateCreated pubdate datePublished">{{ article.published_at | time_tag: format: 'date' }}</span>
{%- if block.settings.blog_show_author -%}
<span class="caption-with-letter-spacing" itemprop="author" itemscope itemtype="http://schema.org/Person">
<span itemprop="name">{{ article.author }}</span>
</span>
{%- endif -%}
</div>
</div>
</div>
<div class="grid__twothird order-sp1">
<div class="header_img"><img src="{{ article.image | img_url: 'master' }}" loading="lazy" alt="{{ article.image }}"></div>
</div>
</div>
</header>
{%- endcase -%}
{%- endfor -%}
</div>
{%- for block in section.blocks -%}
{%- case block.type -%}
{%- when '@app' -%}
<div class="page-width page-width--narrow">
{% render block %}
</div>
{%- when 'content'-%}
<div class="malin_content" itemprop="articleBody" {{ block.shopify_attributes }}>
{{ article.content }}
</div>
{%- endcase -%}
{%- endfor -%}
<div class="article-template__back element-margin-top center">
<a href="{{ blog.url }}" class="article-template__link link animate-arrow">
一覧へ
</a>
</div>
</article>
<script type="application/ld+json">
{
"@context": "http://schema.org",
"@type": "Article",
"articleBody": {{ article.content | strip_html | json }},
"mainEntityOfPage": {
"@type": "WebPage",
"@id": {{ request.origin | append: page.url | json }}
},
"headline": {{ article.title | json }},
{% if article.excerpt != blank %}
"description": {{ article.excerpt | strip_html | json }},
{% endif %}
{% if article.image %}
{% assign image_size = article.image.width | append: 'x' %}
"image": [
{{ article | img_url: image_size | prepend: "https:" | json }}
],
{% endif %}
"datePublished": {{ article.published_at | date: '%Y-%m-%dT%H:%M:%SZ' | json }},
"dateCreated": {{ article.created_at | date: '%Y-%m-%dT%H:%M:%SZ' | json }},
"author": {
"@type": "Person",
"name": {{ article.author | json }}
},
"publisher": {
"@type": "Organization",
{% if settings.share_image %}
{% assign image_size = settings.share_image.width | append: 'x' %}
"logo": {
"@type": "ImageObject",
"height": {{ settings.share_image.height | json }},
"url": {{ settings.share_image | img_url: image_size | prepend: "https:" | json }},
"width": {{ settings.share_image.width | json }}
},
{% endif %}
"name": {{ shop.name | json }}
}
}
</script>
{% schema %}
{
"name": "t:sections.main-article.name",
"tag": "section",
"class": "section",
"blocks": [
{
"type": "@app"
},
{
"type": "title",
"name": "t:sections.main-article.blocks.title.name",
"limit": 1,
"settings": [
{
"type": "checkbox",
"id": "blog_show_author",
"default": false,
"label": "t:sections.main-article.blocks.title.settings.blog_show_author.label"
}
]
},
{
"type": "content",
"name": "t:sections.main-article.blocks.content.name",
"limit": 1
}
]
}
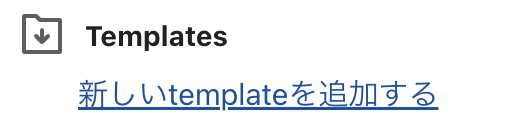
{% endschema %}Step2 新規Jsonテンプレートファイルを作成
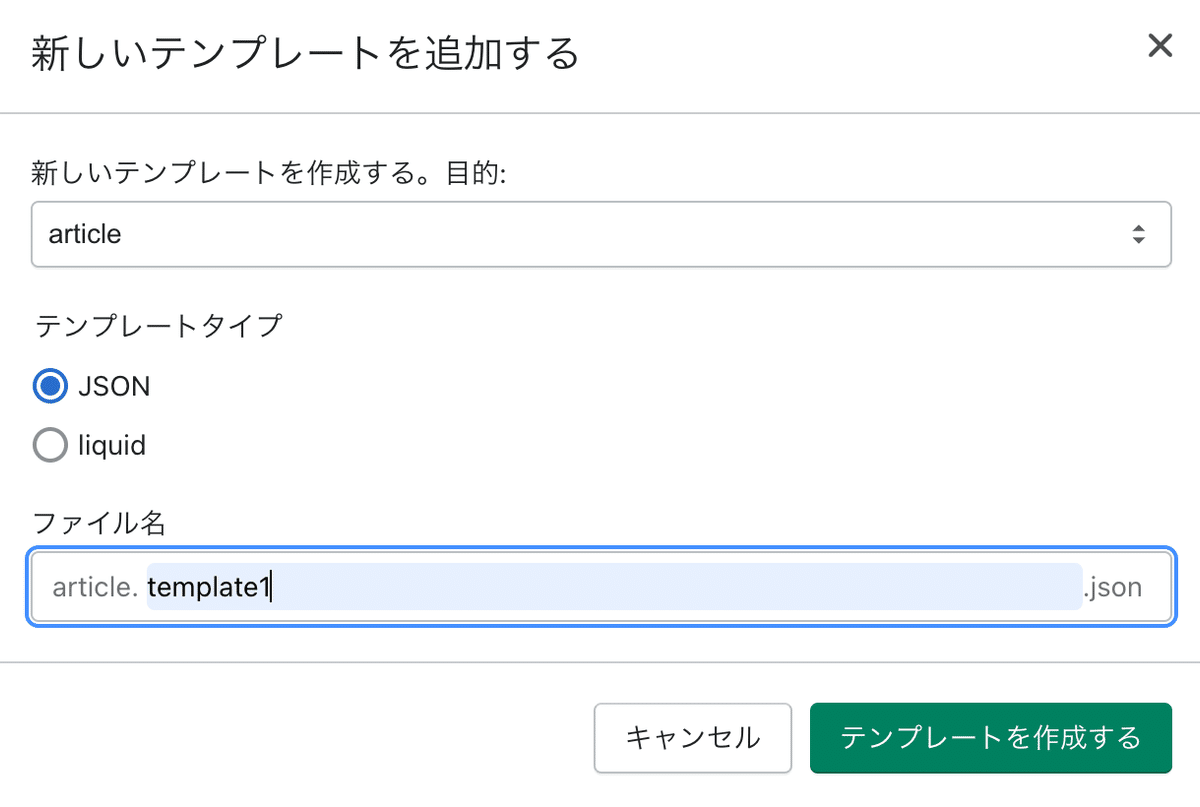
テンプレート:article
タイプ:JSON
ファイル名:template1
ファイル作成後、下記のコードをコピペして下さい。
◆Template Jsonファイル
{
  "sections": {
    "main": {
      "type": "main-article-template1",
      "blocks": {
        "title": {
          "type": "title",
          "settings": {
            "blog_show_date": true,
            "blog_show_author": false
          }
        },
        "content": {
          "type": "content",
          "settings": {}
        }
      },
      "block_order": [
        "title",
        "content"
      ],
      "settings": {}
    }
  },
  "order": [
    "main"
  ]
}
Step3 AssetにCSS追加
1)下記のファイルをダウンロード。
◆CSSテンプレート
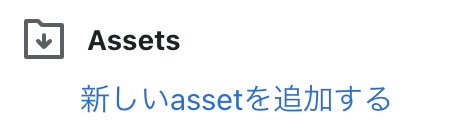
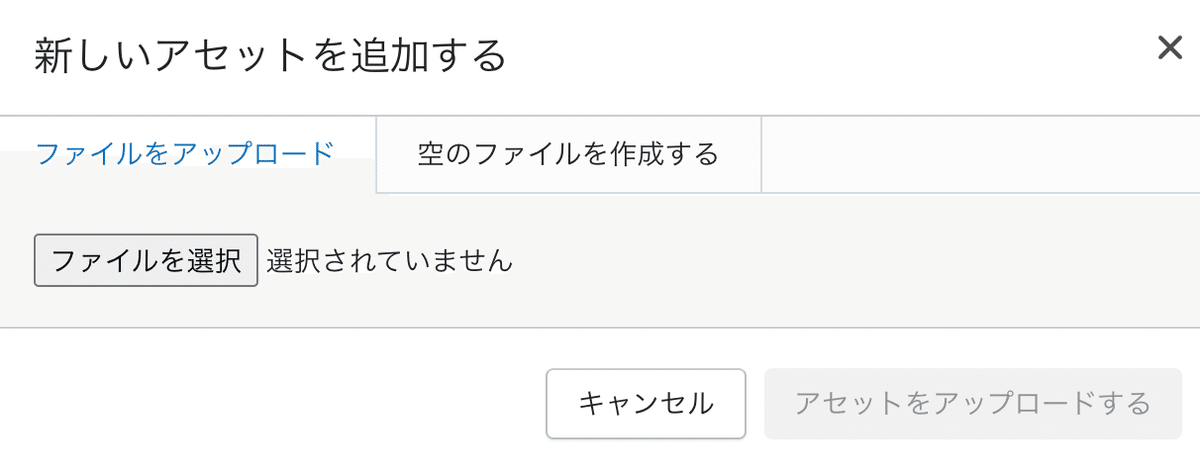
2)ダウンロードしたCSSファイルをAssetsにアップロード
Step4 ブログ作成画面でテンプレート選択
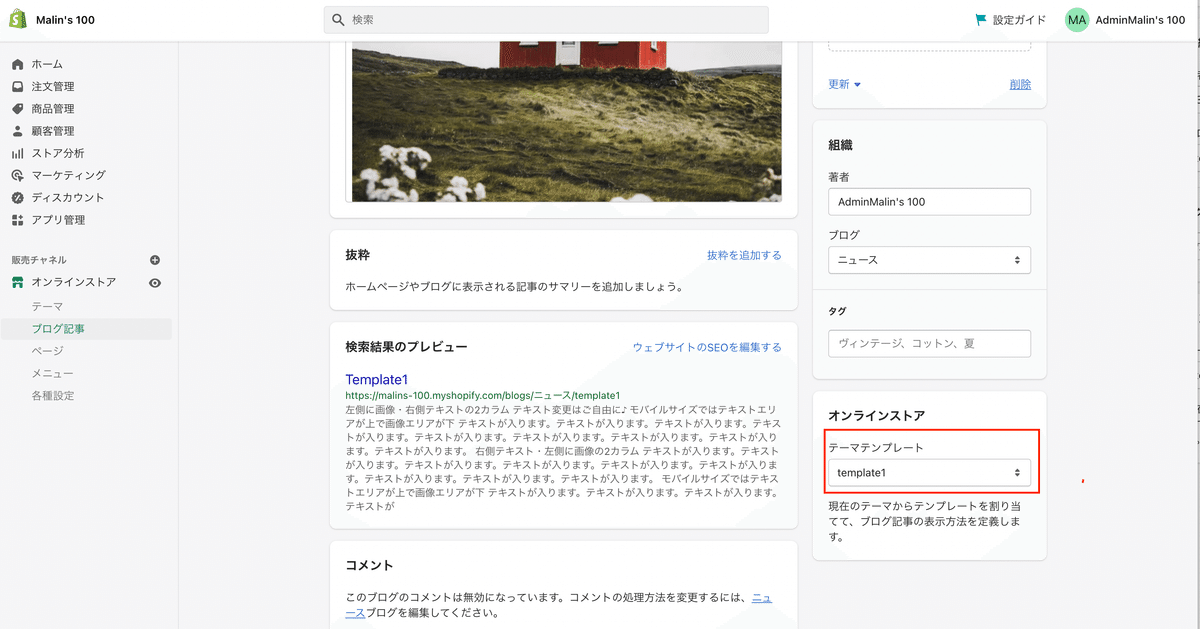
先ほど作成したtemplate1を選択。
以上で設定は完了です!
あとは次にご紹介する各種テンプレートコードを組み合わせてオリジナルレイアウトでブログを作成してみて下さいね♪
✔️各種テンプレート
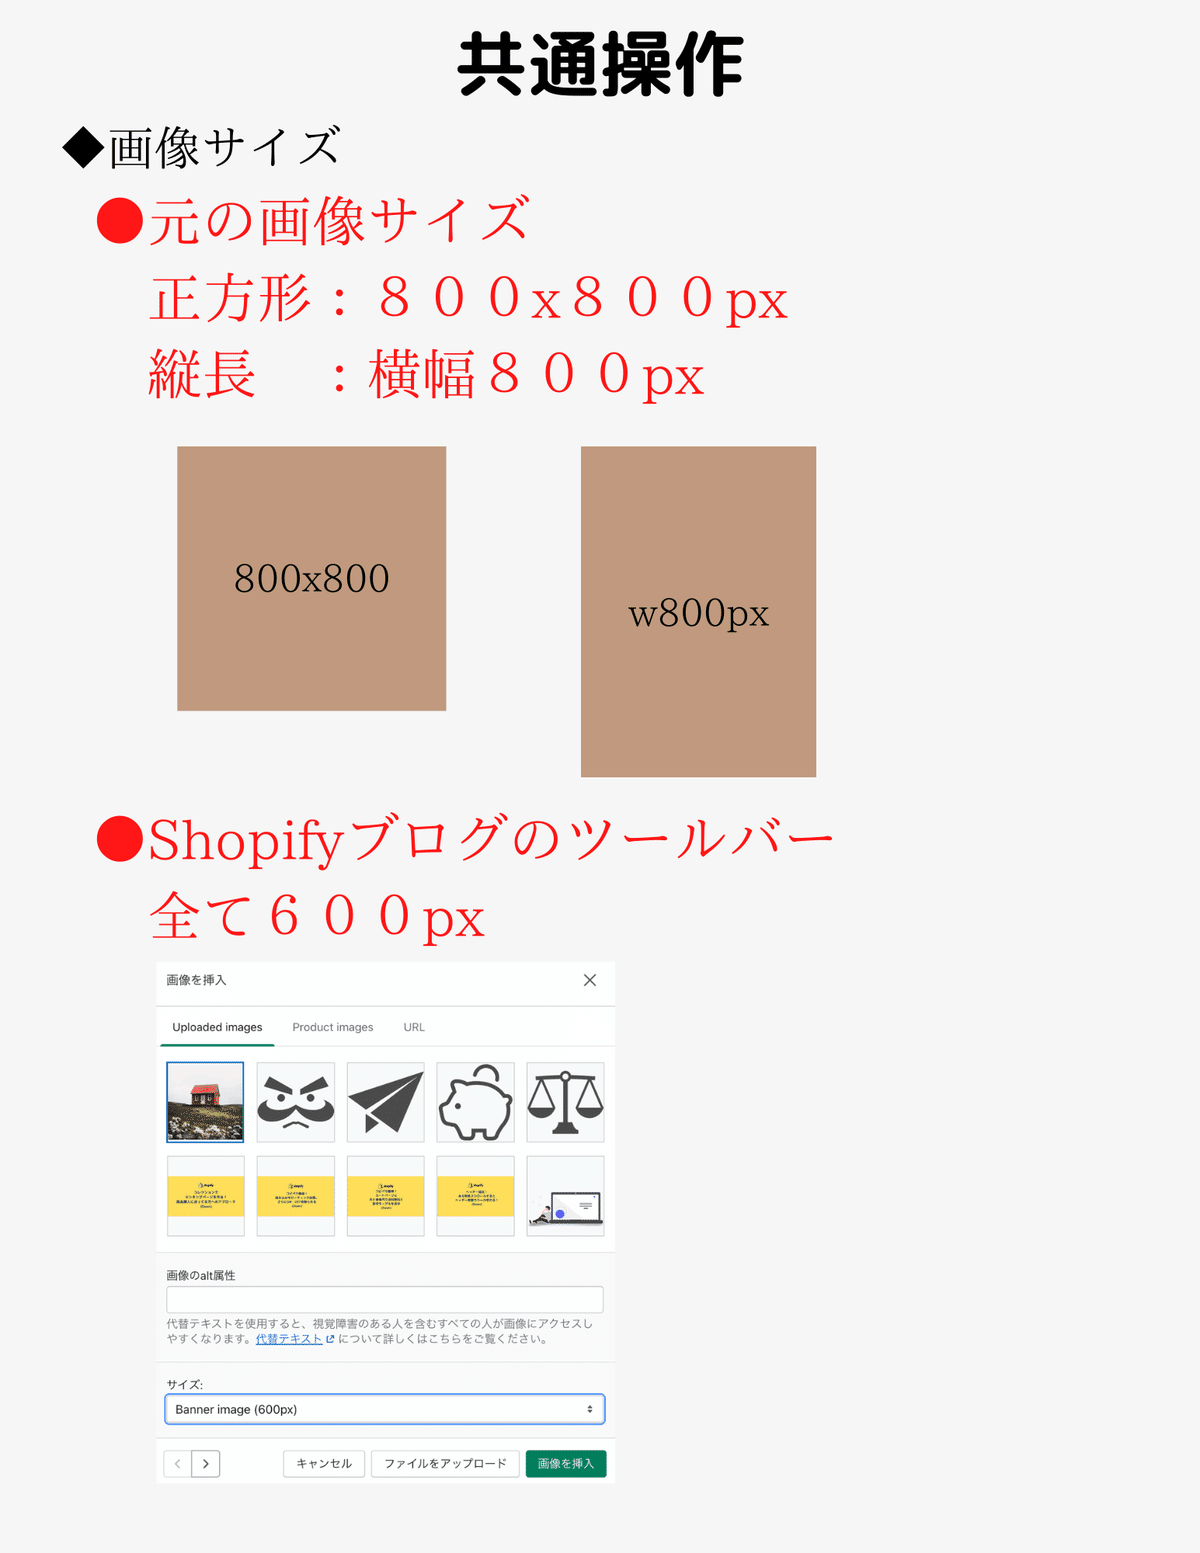
【共通操作】

HTMLコード編集画面にコードコピペした後、「<>」で戻って、
①imageという文言をダブルクリック
②ツールバーの画像選択をクリック
して画像を設定して下さい。
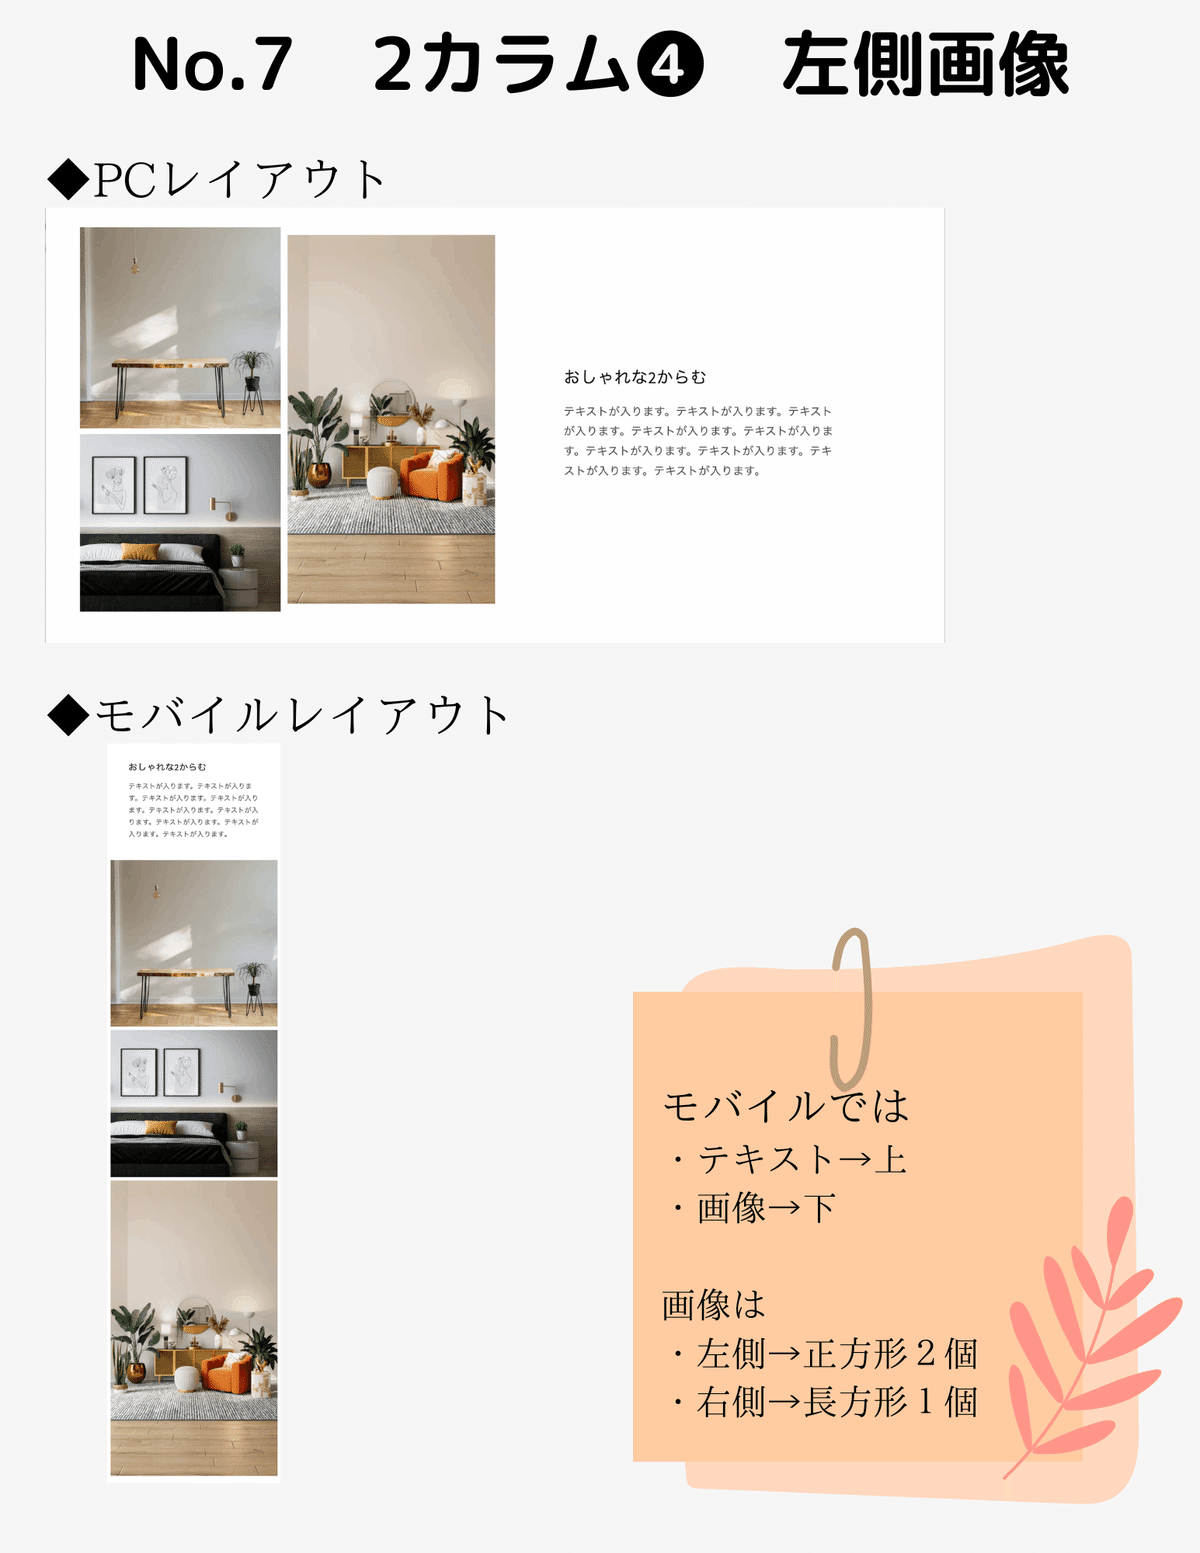
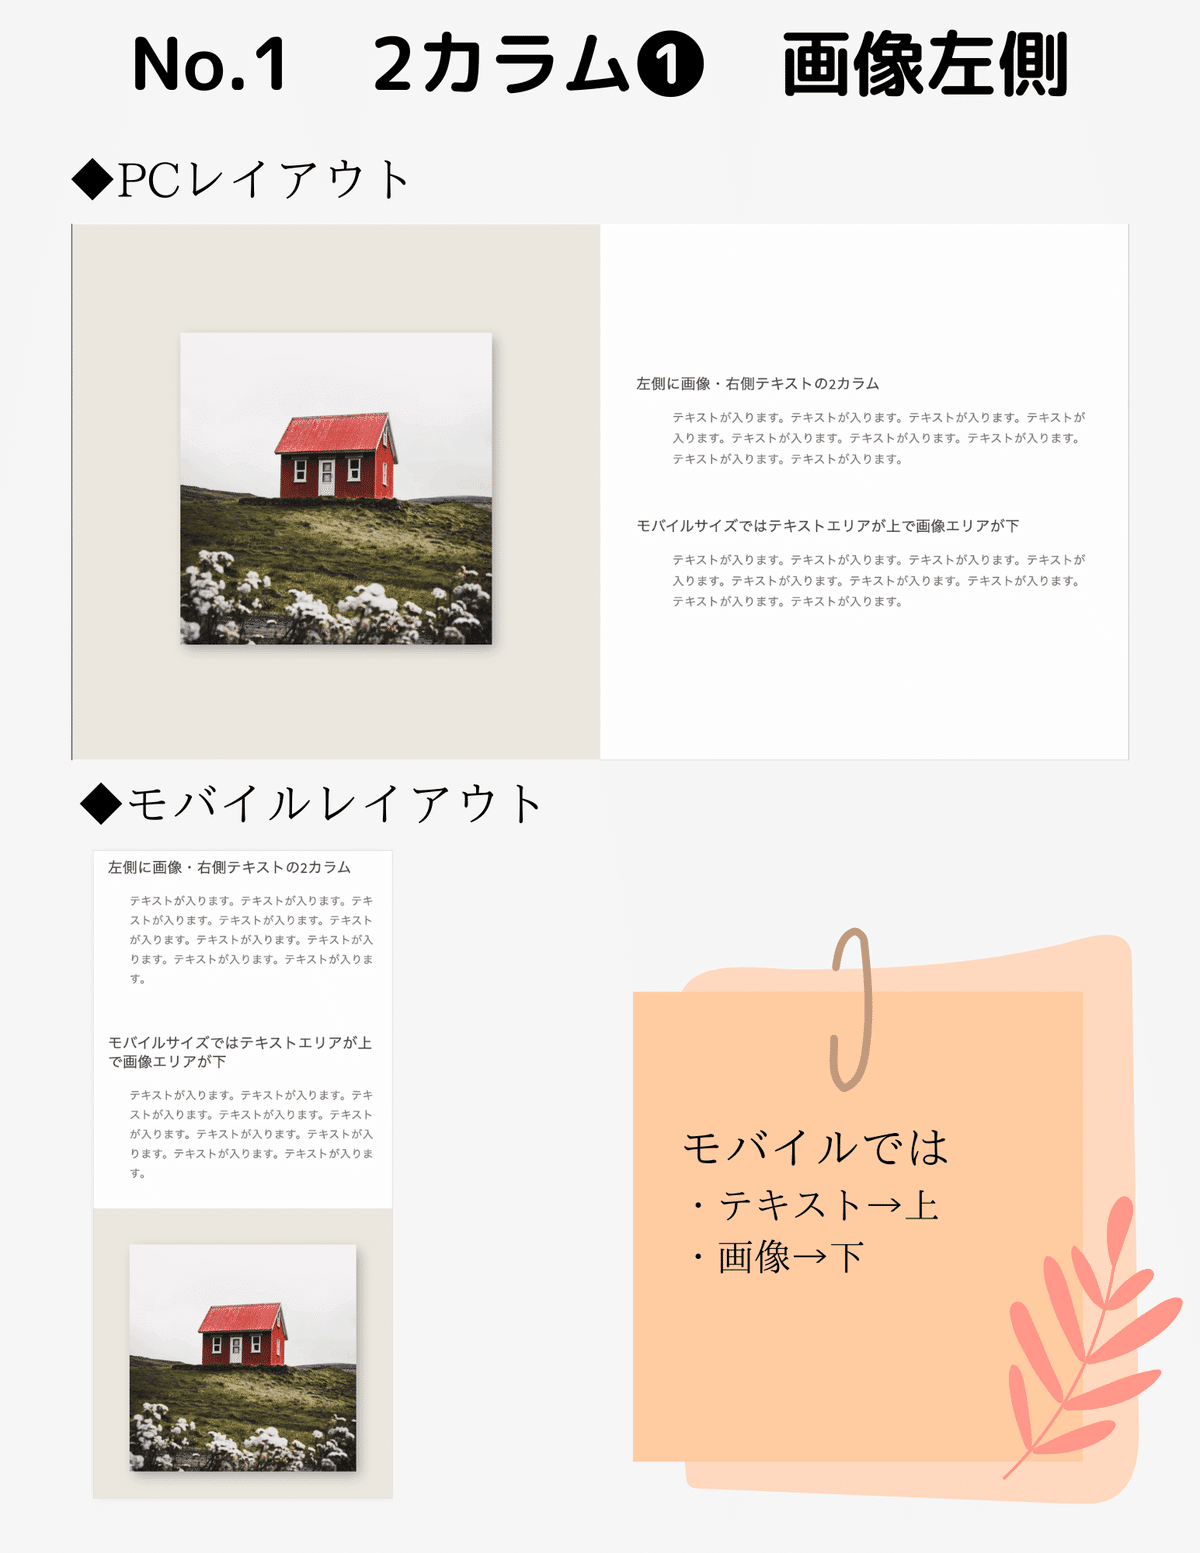
【No.1】2カラム❶ 左側画像
◆テンプレートコード
<!-- ▼ここから▼ -->
<div class="flame_2col_img">
<div class="content_col">
<div class="grid_half img_field order-sp2" style="background: #ece9df;">image</div>
<div class="grid_half txt_field order-sp1">
<h3>左側に画像・右側テキストの2カラム</h3>
<p>テキストが入ります。テキストが入ります。テキストが入ります。テキストが入ります。テキストが入ります。テキストが入ります。テキストが入ります。テキストが入ります。テキストが入ります。</p>
<br>
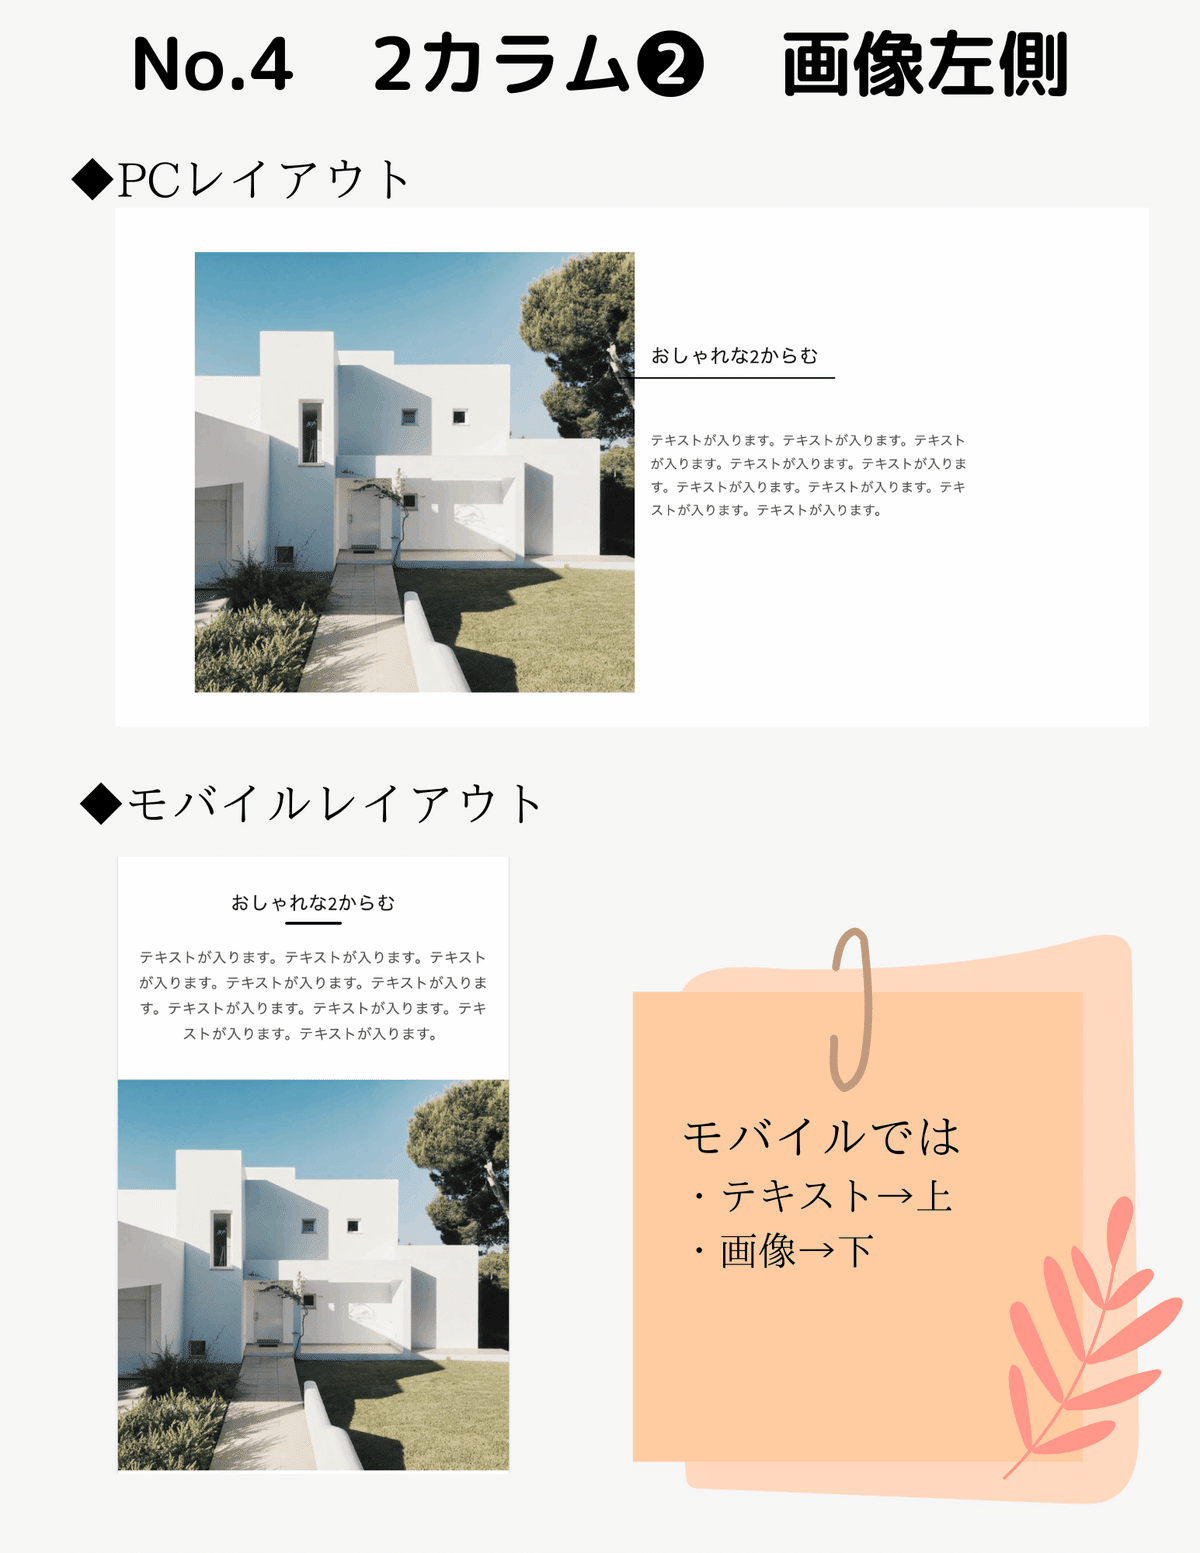
<h3>モバイルサイズではテキストエリアが上で画像エリアが下</h3>
<p>テキストが入ります。テキストが入ります。テキストが入ります。テキストが入ります。テキストが入ります。テキストが入ります。テキストが入ります。テキストが入ります。テキストが入ります。</p>
<br>
<h3>モバイルサイズではテキストエリアが上で画像エリアが下</h3>
<p>テキストが入ります。テキストが入ります。テキストが入ります。テキストが入ります。テキストが入ります。テキストが入ります。テキストが入ります。テキストが入ります。テキストが入ります。</p>
</div>
</div>
</div>
<!-- ▲ここまで▲ --> 下記の部分は必要に応じて追加・削除して下さい。
3つぐらいまでがちょうど良いです
<br>
<h3>モバイルサイズではテキストエリアが上で画像エリアが下</h3>
<p>テキストが入ります。テキストが入ります。テキストが入ります。テキストが入ります。テキストが入ります。テキストが入ります。テキストが入ります。テキストが入ります。テキストが入ります。</p>
◆画像の背景カラー変更する場合は
ここの
<div class="grid_half img_field order-sp2" style="background: #ece9df;">image</div>この部分のカラーコードを書き換えして下さい♪
background: #ece9df;#ece9df【No.2】2カラム❶ 左側画像

[No.2〜No.8のテンプレートコード]
※No.1のコードで上手くいかなかった場合は、ご購入をご遠慮くださいね。
※コードのみのご紹介で解説などはしておりません。
※返金&サポートはしておりません。
ここから先は
Amazonギフトカード5,000円分が当たる
この記事が参加している募集
この記事が気に入ったらチップで応援してみませんか?