
話題の生成AIを使って、質の良いアウトプットを作る方法

どういうわけか会社に行きたくない病が発生していて、ここ数日は家と近くのカフェを往復する毎日。やりがいのある楽しい設計の仕事と、隙を見つけては国内外の生成AIのプロンプトを調べている。
この記事のサムネイルは、そんな調査結果を経て自分で作り込んだもの。会社のみんなや知り合いに見せると、「これどうやって作ってるんですか?」と驚かれる。
せっかくなので、このぐらいのクオリティを誰でも得られるようにしたい。
そこでAIに渡すプロンプトとパラメータの設定方法をまとめたのが、このnoteというわけだ。
使用したAIはMidjourney
Midjourneyは、テキストから多様なスタイルの画像を生成するAI。パラメータを指定することで、写真、絵画、アニメなどいろいろな表現が可能。生成AIの中では、個人的に初心者でも使いやすいUIだと感じている。
生成AIはプロンプトが命
どんなに高度なAIでも、利用者が投げかける指示によって結果が変わってくる。生成AIが何を作るべきか?指示する唯一の手段がプロンプトであり、明確なプロンプトはより期待に沿った結果を生み出す。
結局は、利用者の言語化スキル(≒国語力といってもいいかもしれない)に依存してしまうのは否めない。ただ、次のようなことを気をつけるだけで、品質は格段に上がると思う。
曖昧な表現を避ける
日本語よりも英語の方が曖昧になりにくい細部にこだわる
具体的な言葉でそのシーンや特徴を指示するストーリーを提供する
文脈(コンテキスト)に流れを持たせる
参考までに、プロンプトと結果についてご覧いただきたい。

Sleek, towering skyscrapers made of glass and steel are illuminated by neon lights in various colors. In the center of a deck leading from an escalator to the second floor, a girl stands alone, gazing at the sky. She has long, flowing black hair and quietly observes the futuristic city. Below, bustling streets are filled with people and robots, and elevated walkways connect the buildings. The sky is a deep blue, and stars are about to begin twinkling. The image should be in a portrait style, focusing on the upper body of the girl, captured in a frontal shot. --ar 16:9 --niji 6
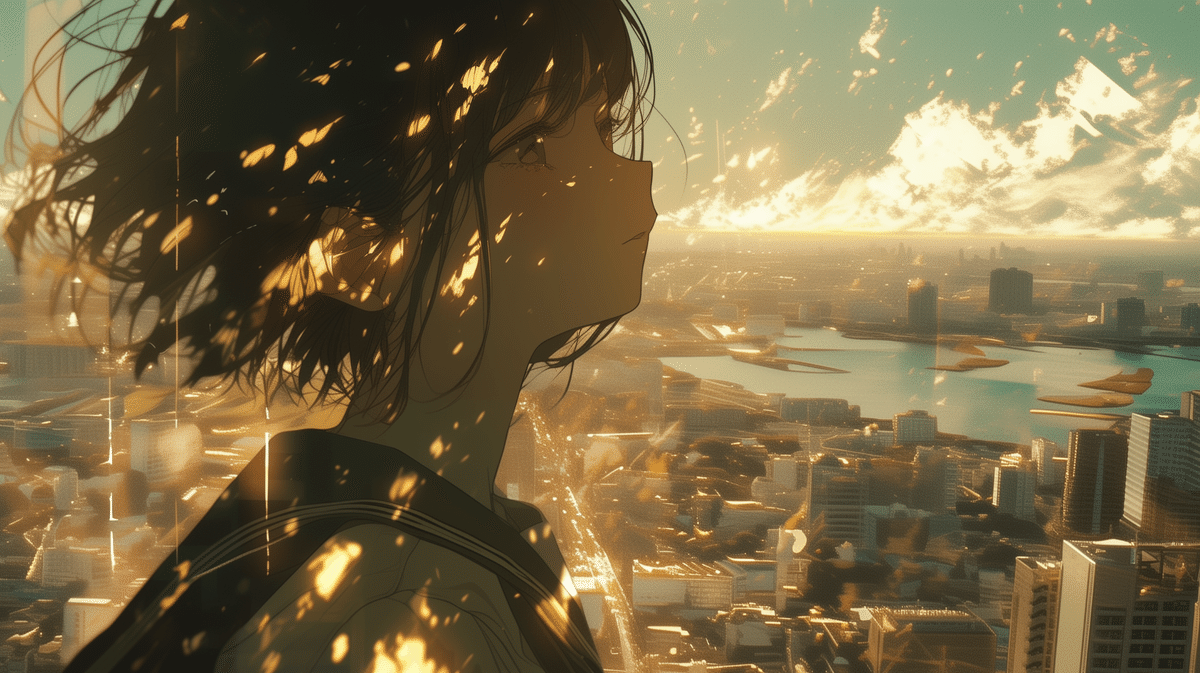
At 1 PM, Yokohama Station. The girl is on the 50th floor, looking out at the cityscape through a large glass window in front of her. Sunlight shines on the glass. It is a photo-style illustration of her face taken from the side, shot with an ultra-wide-angle lens. --ar 16:9 --style raw --s 800 --niji 6
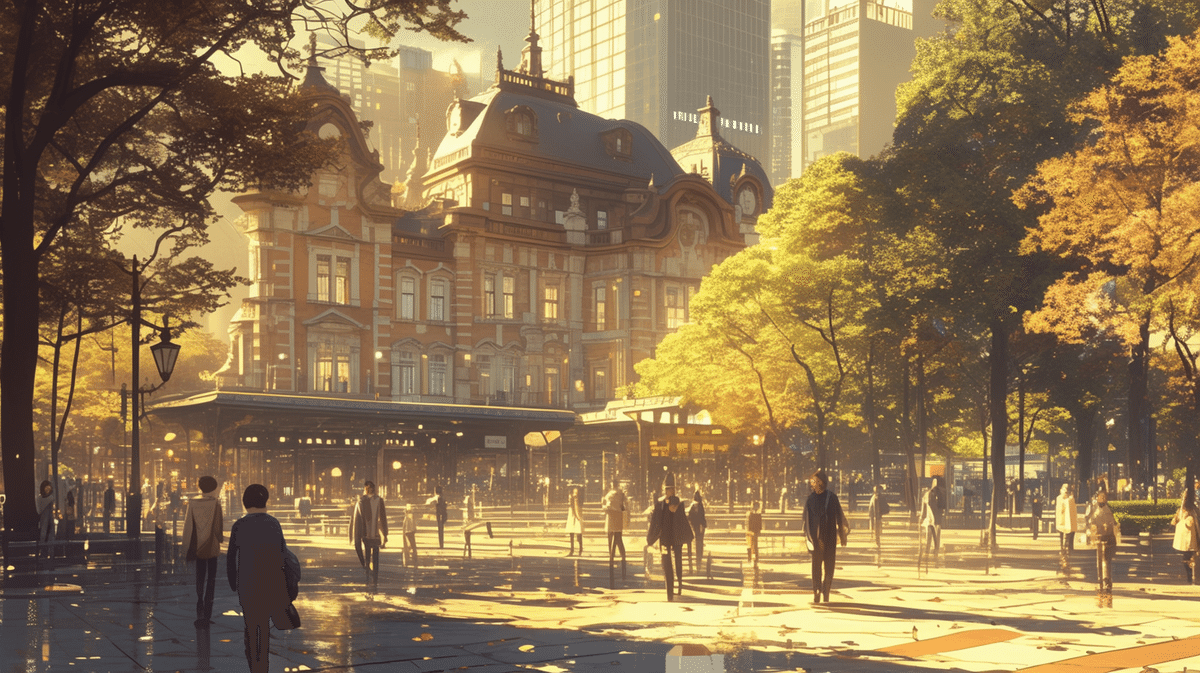
At 6 AM, the start of a new day. In the plaza of Tokyo Station bathed in morning sunlight, a few scattered people, some commuting to work or school. With tired expressions, they hurry by. --ar 16:9 --niji 6 --s 1000
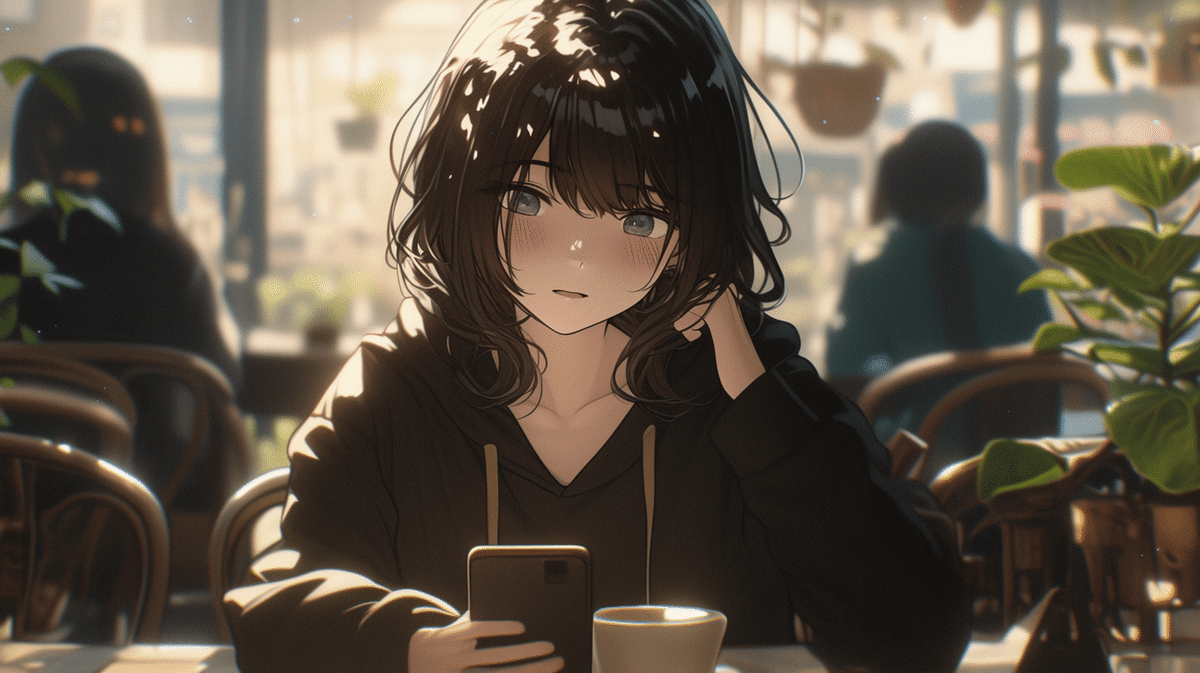
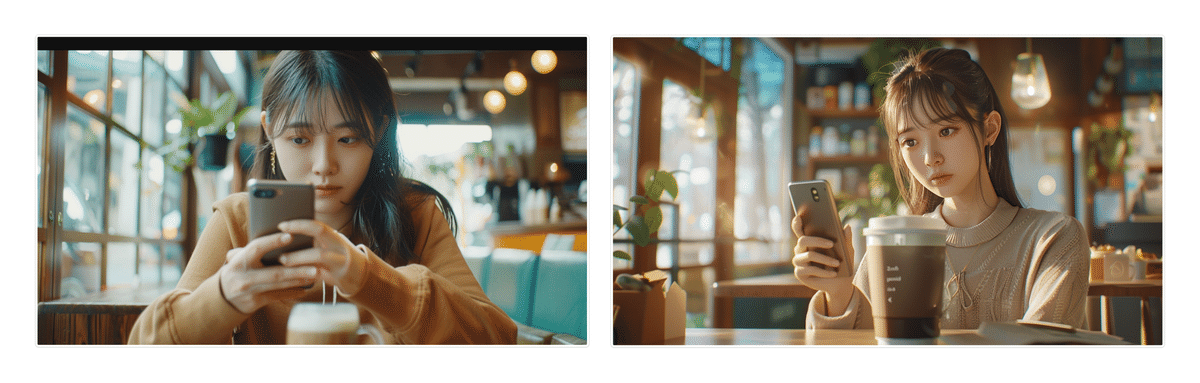
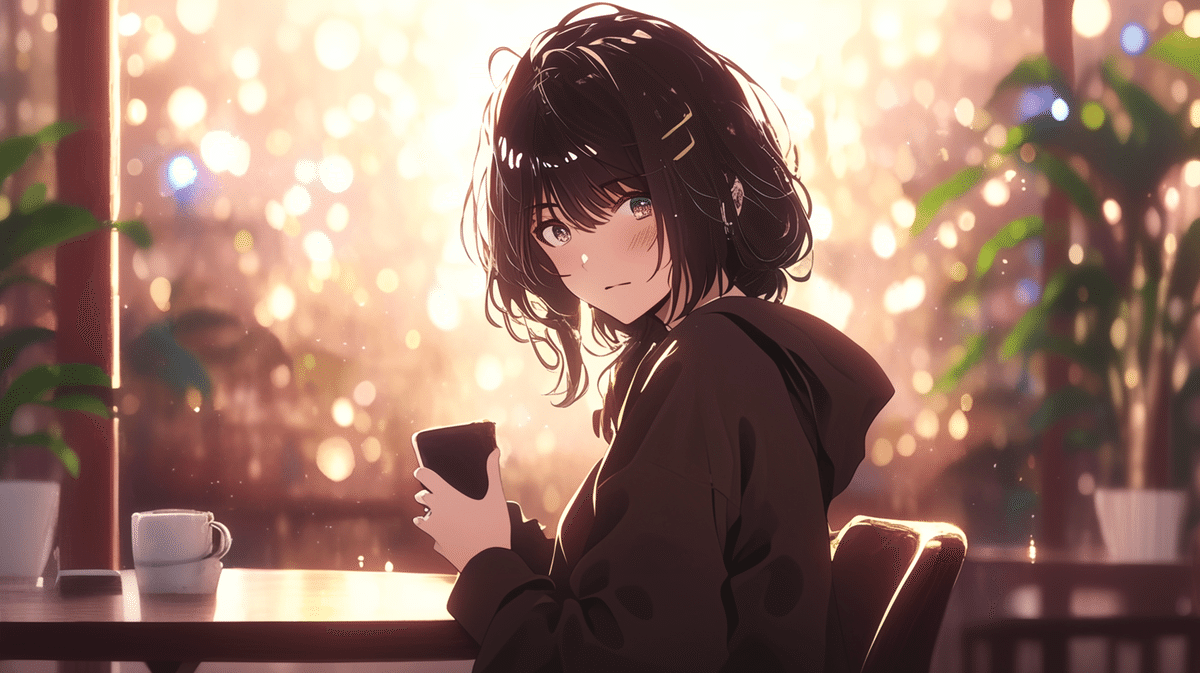
At 3 PM, inside a cafe, a girl is sitting at a table drinking the coffee she ordered. In her right hand, she holds a smartphone, looking at its screen with thoughtful eyes. There is no one else around her. The scene is focused on her face from the front, showing her from the bust up. --ar 16:9 --style raw --s 700 --niji 6
こんな感じの画像を生成できる。このプロンプトの末尾をよく見ると、「--」から始まる文字列が書いてある。実は、言語化の次に大事なもの、それがこのパラメータの指定だったりする。以降では、プロンプト4を使ってその内容を説明したい。
覚えておくと便利なパラメータ
プロンプト4には「--ar 16:9 --style raw --s 700 --niji 6 」という文字列が指定されているが、それぞれ次のような意味になる。
1. アスペクト比を指定する --ar
アウトプットの横と縦の比率を指定するもので、指定なしだと1:1になっている。僕は「--ar 16:9」と指定することが多い。
2.スタイルを指定する --style
画像のテーマを指定するためのもので、代表例は「--style raw」。これを指定すると、画像が生っぽく実写のような仕上がりになる。指定ありとなしの場合の違いはこちら。
3.スタイライズを指定する --s
よりスタイリッシュで美的な画像に仕上げるためのもので、0-1000の範囲で指定する。1000にすると強度が強い状態。僕はこの数値を「--s 700」などで指定することが多い。
4.生成モードを指定する --niji 6
日本のアニメやマンガ風の画像に仕上げるためのもの。僕は生っぽくて実写的な表現よりも、アニメ風の表現が好みなので必ず指定してしまう。※これはお好みで選択してもらえたらと思う。
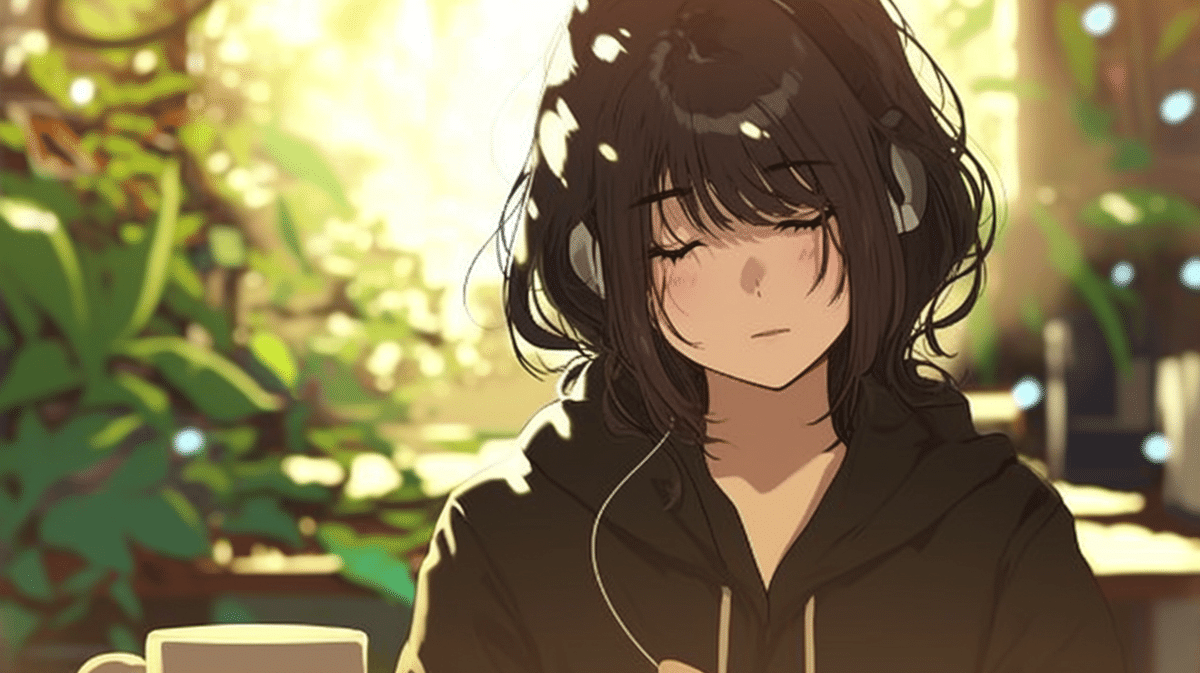
5.参照元を指定する --cref
気に入った画像をもとに、構図違いや表情差分などを作りたい場合に使用するもの。「--cref URL」という形で記述することで、そのプロンプトに対して参照元を指定する働きとなる。例えば、プロンプト4の画像を参照し、目を閉じながらヘッドホンで音楽を聴いているシーンを作る場合、次のような記述となる。
Closed eyes, Listening music Headphones. --ar 16:9 --style raw --s 400 --niji 6 --cref 参照元URL
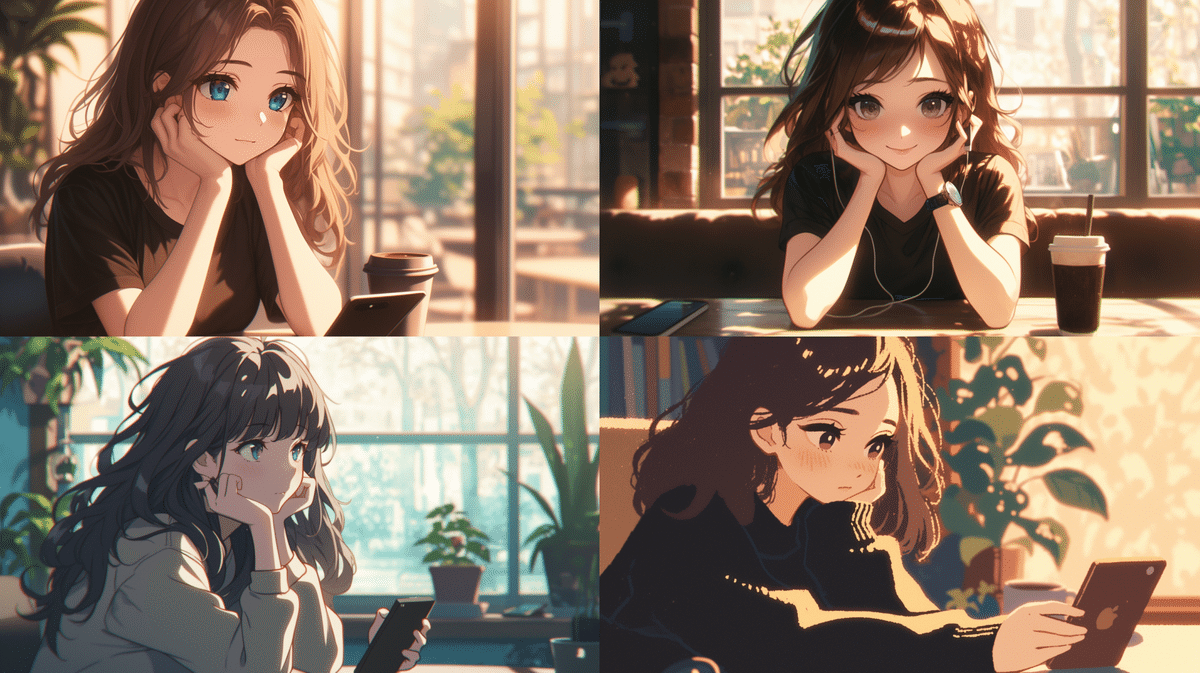
シーンや表情を変化させる
参照元を使って、別のシーンや表情の違いなどの変化を持たせることも可能だ。基準となる画像を指定しているため、同じキャラクターが登場する静止画を見ているような雰囲気を味わえる。
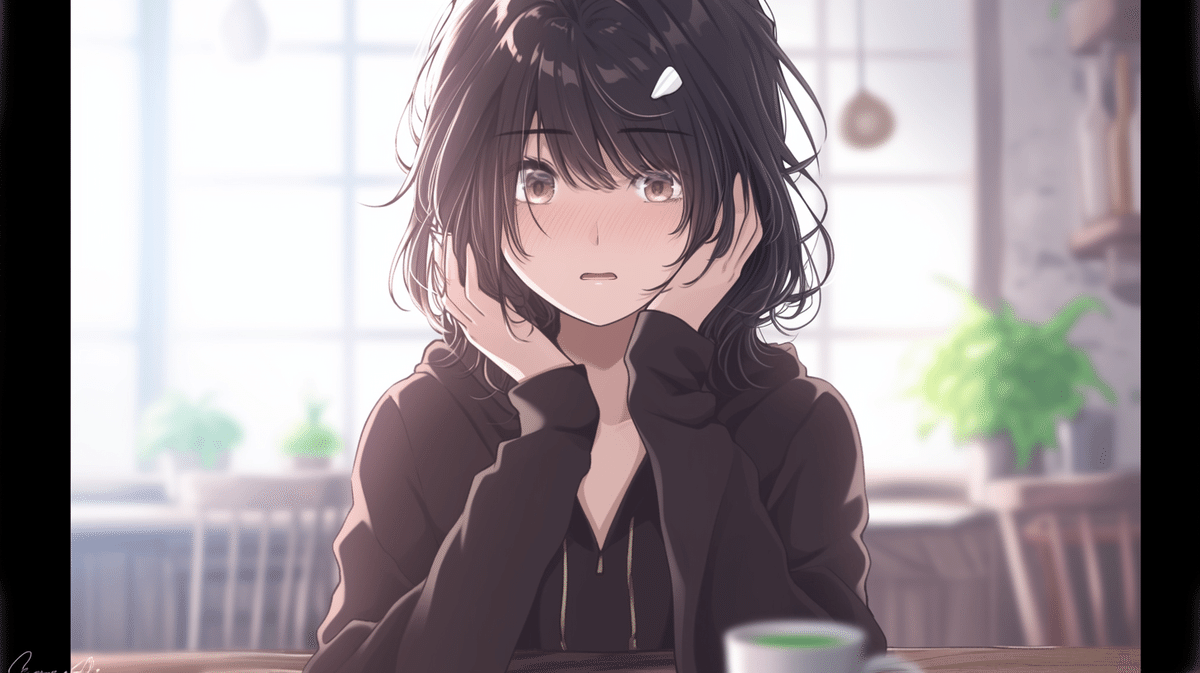
何かを期待する
The look on her face showed that she was expecting something. --ar 16:9 --style raw --s 700 --niji 6 --cref 参照元URL
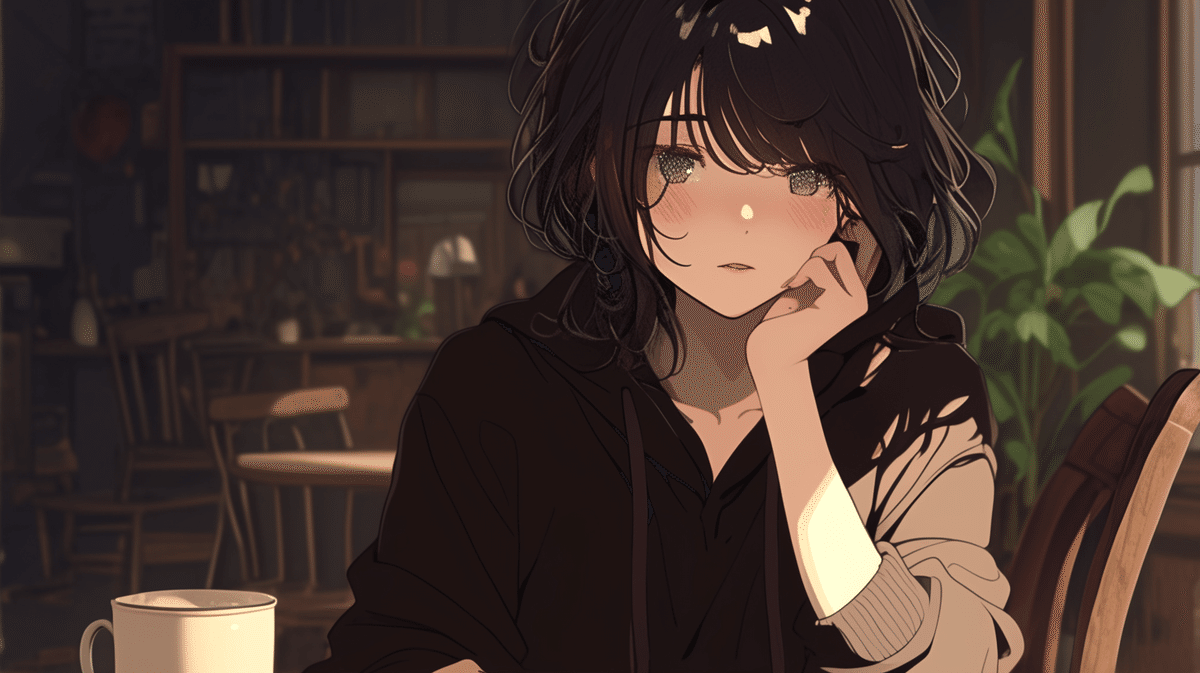
考えごとをする
She made a pensive gesture. --ar 16:9 --style raw --s 700 --niji 6 --cref 参照元URL
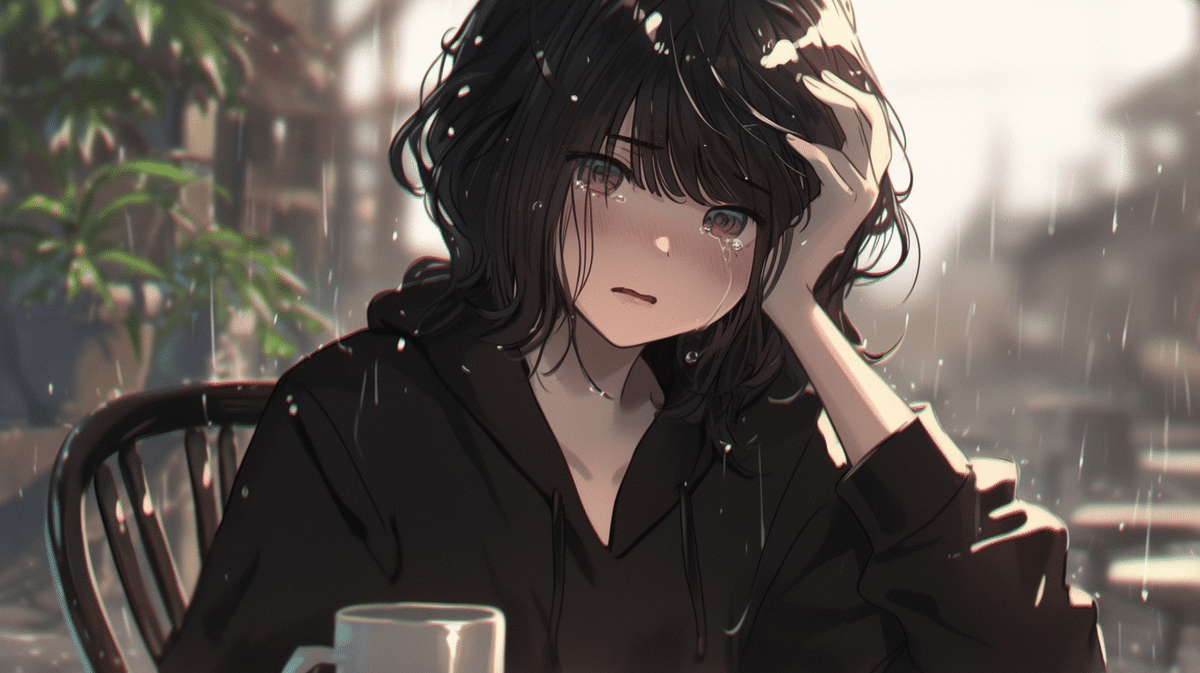
涙を堪える
She is holding back tears, burdened by sadness and painful emotions. --ar 16:9 --style raw --s 700 --niji 6 --cref 参照元URL
自信に溢れる
Full of confidence in herself. --ar 16:9 --style raw --s 700 --niji 6 --cref 参照元URL
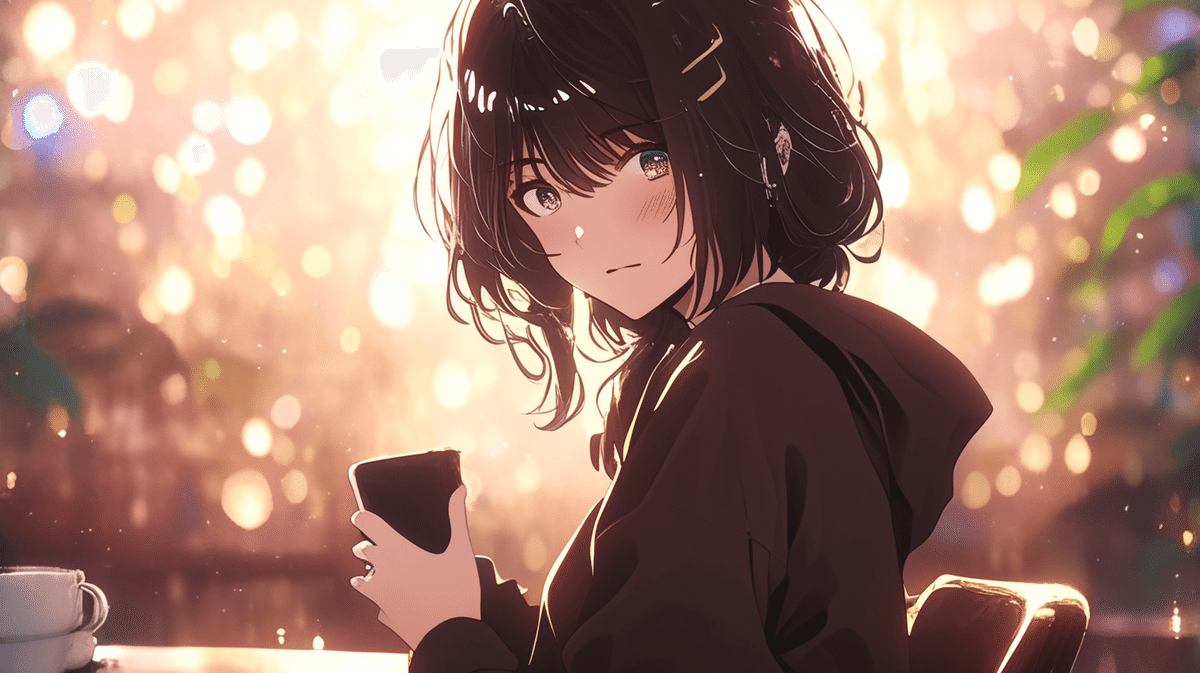
Zoom Outを使って奥行きを生成する
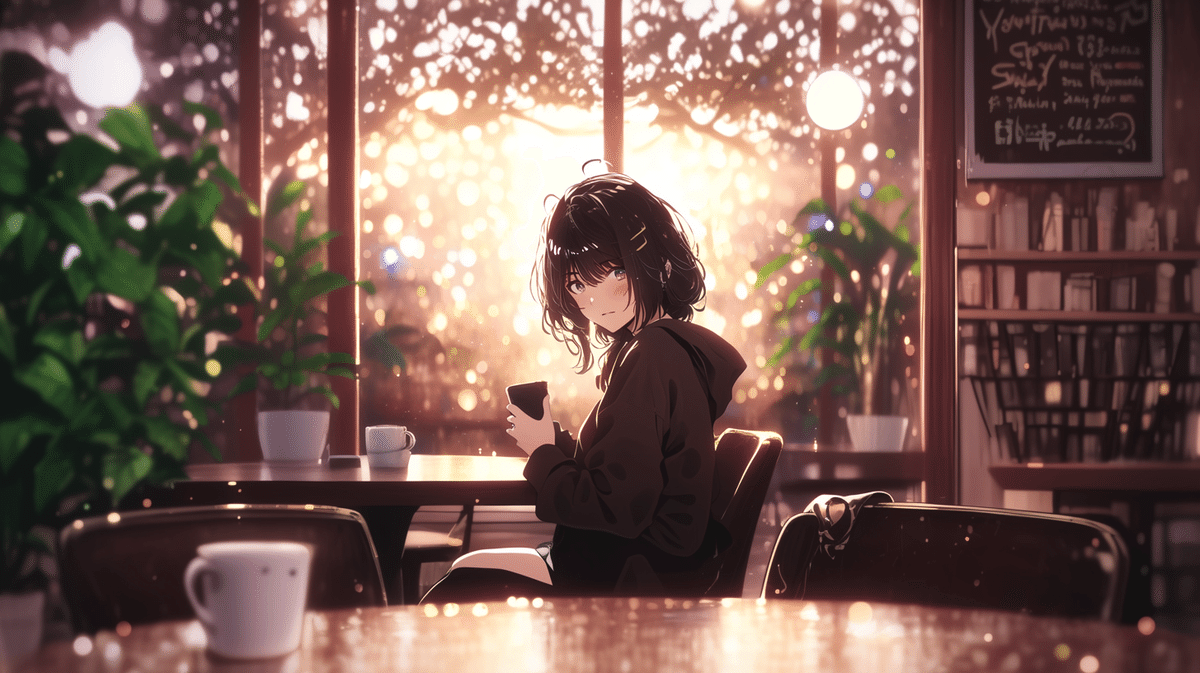
この元画像に対して、奥行きを感じられるような仕上がりにする機能もある。下図の「Zoom Out」を選択だけでOK。
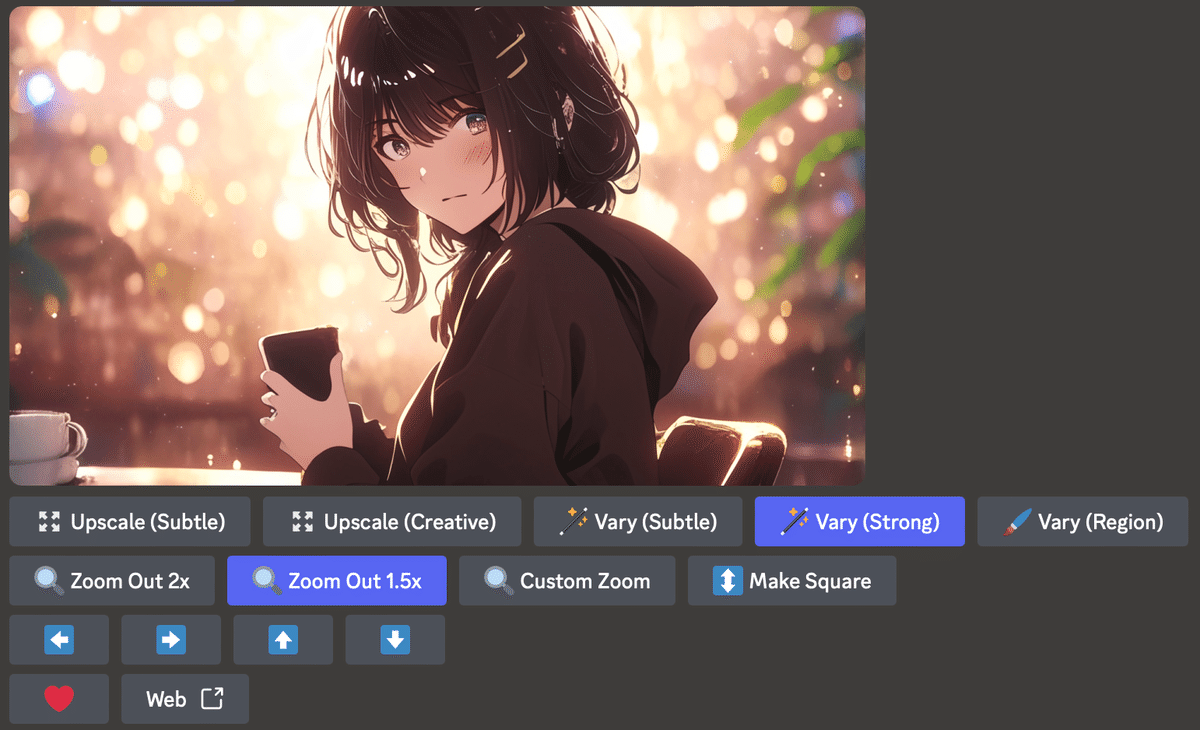
すると、このような感じで周辺画像が生成される。
さらにZoom Outを実行すると、全体を見渡すような引きのアングルとなる。周辺のボケ感まで加工してくれるので驚きだ。
追記:ショート動画にしてみる
以上、説明してきたのが、質のよい画像を作るときにコツというわけだ。そして、最近知った動画生成AIの「Luma Dream Machine」に、この生成AIで作った画像を入れて実行してみると…
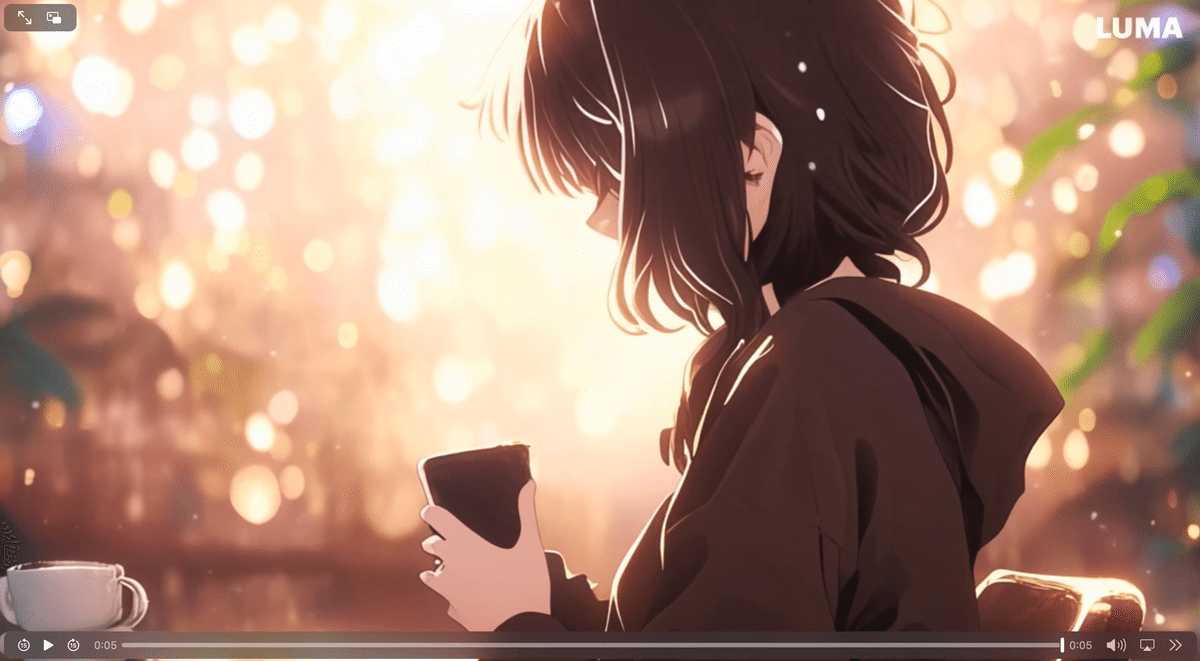
ショート動画が完成してしまう。
Luma についてはまだ調べきれていないので、この記事も後日アップデートしておく予定。
現時点では、言語化スキルと適切なパラメータの指定さえできれば、高品質な画像生成は簡単にできてしまう。そして、精度はイマイチだけど、上のようなショート動画の生成も可能。この技術が1年後にどうなっているかを考えると恐ろしいばかりだ。