
HardhatチュートリアルのDappsを動かしてみる

前回は、Hardhatのチュートリアルに沿ってローカルとテストネットでトークンを発行しました。
今回は、チュートリアルにあるDappsをローカルで動かしていきます。
GitHubはこちらです。
レポジトリをクローンして、hardhatの依存関係をインストールします。
$ git clone https://github.com/NomicFoundation/hardhat-boilerplate.git
$ cd hardhat-boilerplate
$ npm install
インストールが完了したら、Hardhatのテストネットワークを起動します。
$ npx hardhat node

You are using a version of Node.js that is not supported by Hardhat, and it may work incorrectly, or not work at all.

Please, make sure you are using a supported version of Node.js.

To learn more about which versions of Node.js are supported go to https://hardhat.org/nodejs-versions
Started HTTP and WebSocket JSON-RPC server at http://127.0.0.1:8545/

Accounts
========

WARNING: These accounts, and their private keys, are publicly known.
Any funds sent to them on Mainnet or any other live network WILL BE LOST.

Account #0: 0xf39Fd6e51aad88F6F4ce6aB8827279cffFb92266 (10000 ETH)
Private Key: 0xac0974bec39a17e36ba4a6b4d238ff944bacb478cbed5efcae784d7bf4f2ff80

...
コントラクトをローカルにデプロイしていきます。
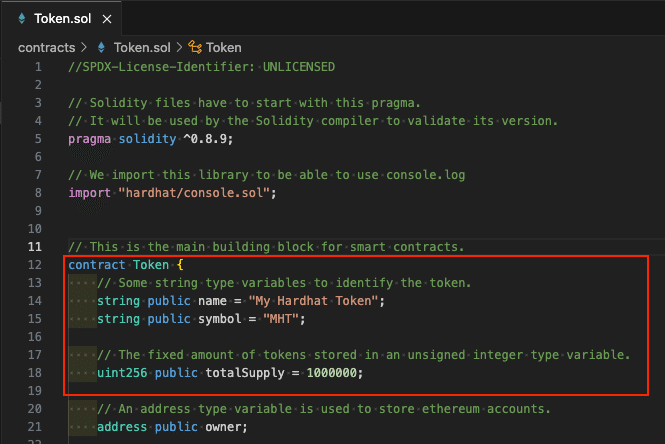
contractsフォルダーのToken.solを開きます。
contracts
 - Token.sol
デフォルトでは、トークンが以下になっています。
name: My Hardhat Token
symbol: MHT
totalSupply: 1000000
これは「My Hardhat Token」トークンを、1000000枚発行するためのコントラクトになります。
そのままでも大丈夫ですが、今回はトークンを変更します。
この記事では、以下にしました。
name: IT Beach Token
symbol: IBT
totalSupply: 100000

テストネットを立ち上げたままで、ターミナルの別タブを開きデプロイコマンドを実行します。
$ npx hardhat run scripts/deploy.js --network localhost

You are using a version of Node.js that is not supported by Hardhat, and it may work incorrectly, or not work at all.

Please, make sure you are using a supported version of Node.js.

To learn more about which versions of Node.js are supported go to https://hardhat.org/nodejs-versions
Deploying the contracts with the account: 0xf39Fd6e51aad88F6F4ce6aB8827279cffFb92266
Account balance: 10000000000000000000000
Token address: 0x5FbDB2315678afecb367f032d93F642f64180aa3
先ほど立ち上げたテストネットのアカウントにIBTトークンが、10000枚発行されました。
$ npx hardhat node

You are using a version of Node.js that is not supported by Hardhat, and it may work incorrectly, or not work at all.

Please, make sure you are using a supported version of Node.js.

To learn more about which versions of Node.js are supported go to https://hardhat.org/nodejs-versions
Started HTTP and WebSocket JSON-RPC server at http://127.0.0.1:8545/

Accounts
========

WARNING: These accounts, and their private keys, are publicly known.
Any funds sent to them on Mainnet or any other live network WILL BE LOST.

Account #0: 0xf39Fd6e51aad88F6F4ce6aB8827279cffFb92266 (10000 ETH)
Private Key: 0xac0974bec39a17e36ba4a6b4d238ff944bacb478cbed5efcae784d7bf4f2ff80

...
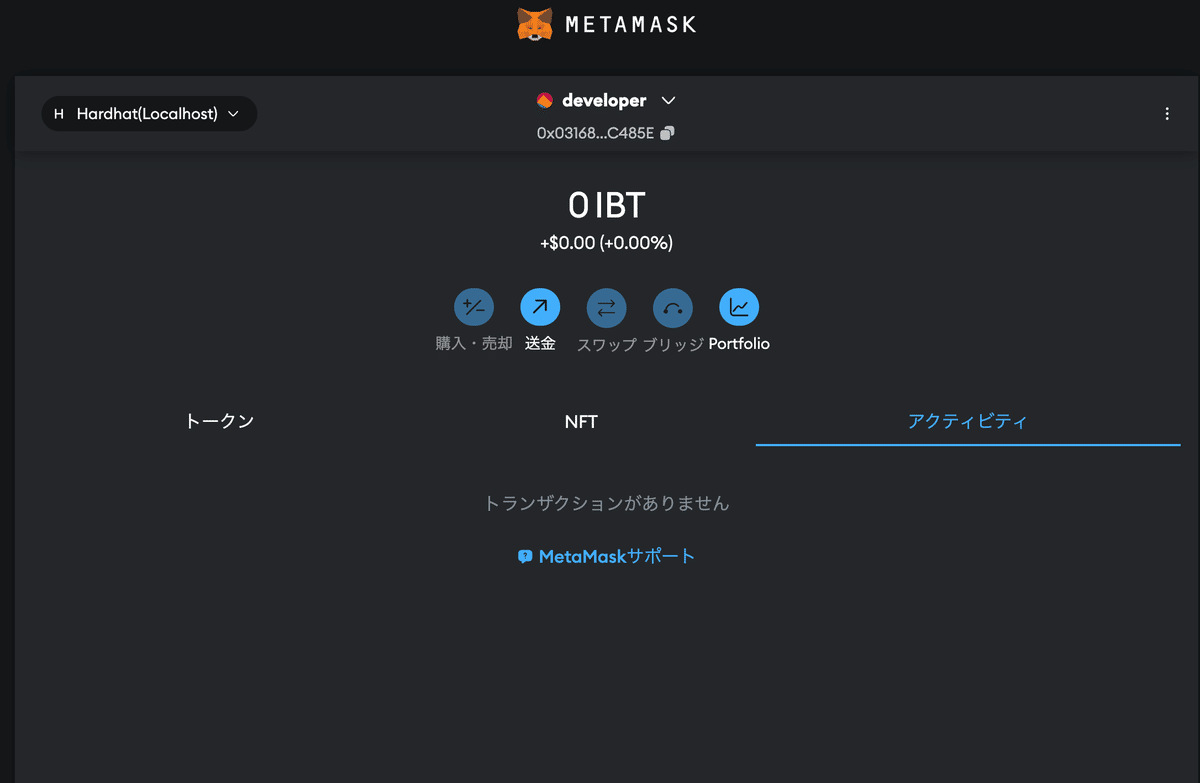
IBTトークンをメタマスクにインポートして表示できるようにします。
メタマスクは開発用のアカウントを作成するのをおすすめします。
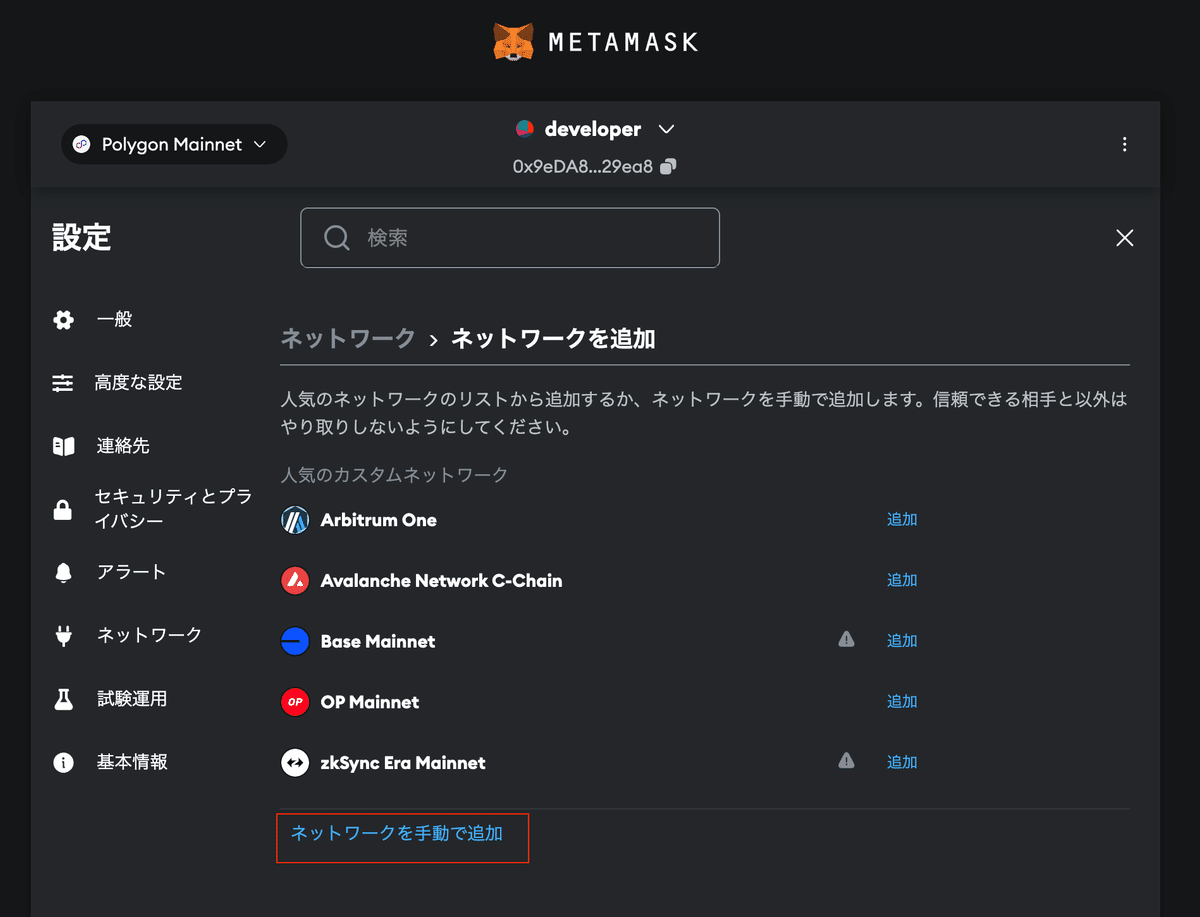
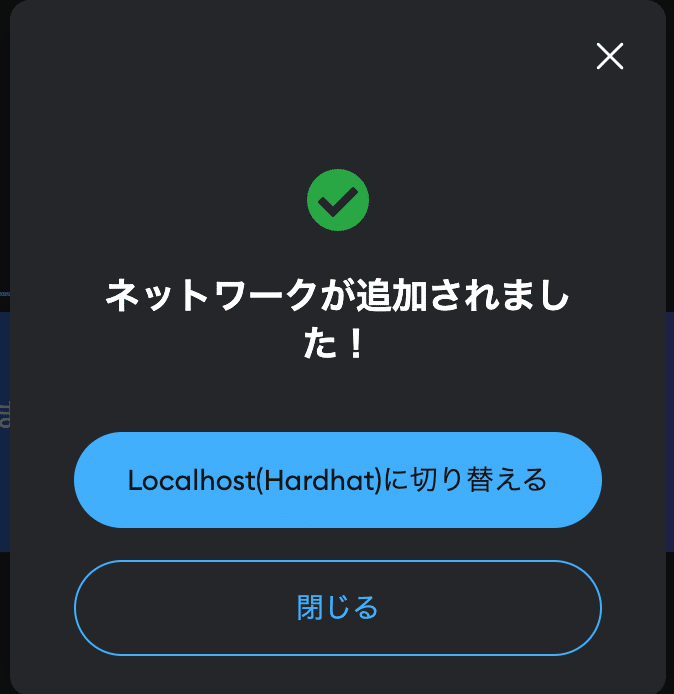
ネットワークを追加します。
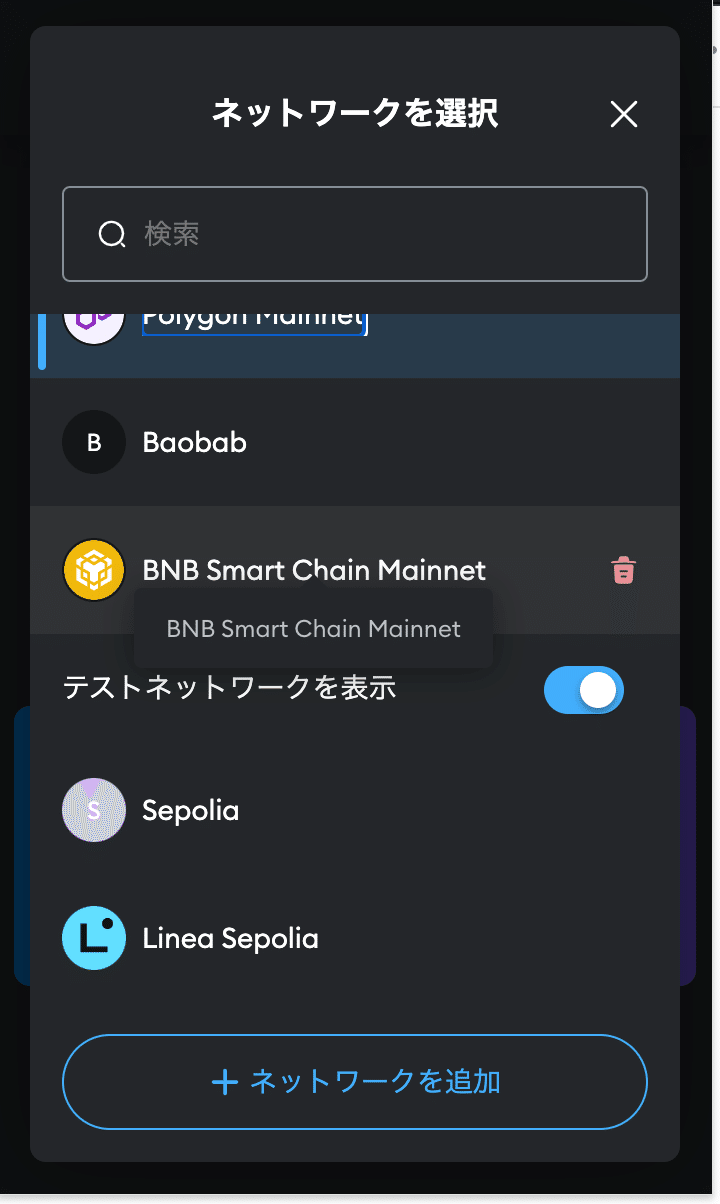
ネットワークを手動で追加を押します。
ネットワーク情報を入れます。
ネットワーク名: Localhost(Hardhat)
任意の名前
新しいRPC URL: http://127.0.0.1:8545/
HardhatのRPC URL
チェーンID: 31337
Hardhatの開発用チェーンID
通貨記号: IBT
設定したシンボル名
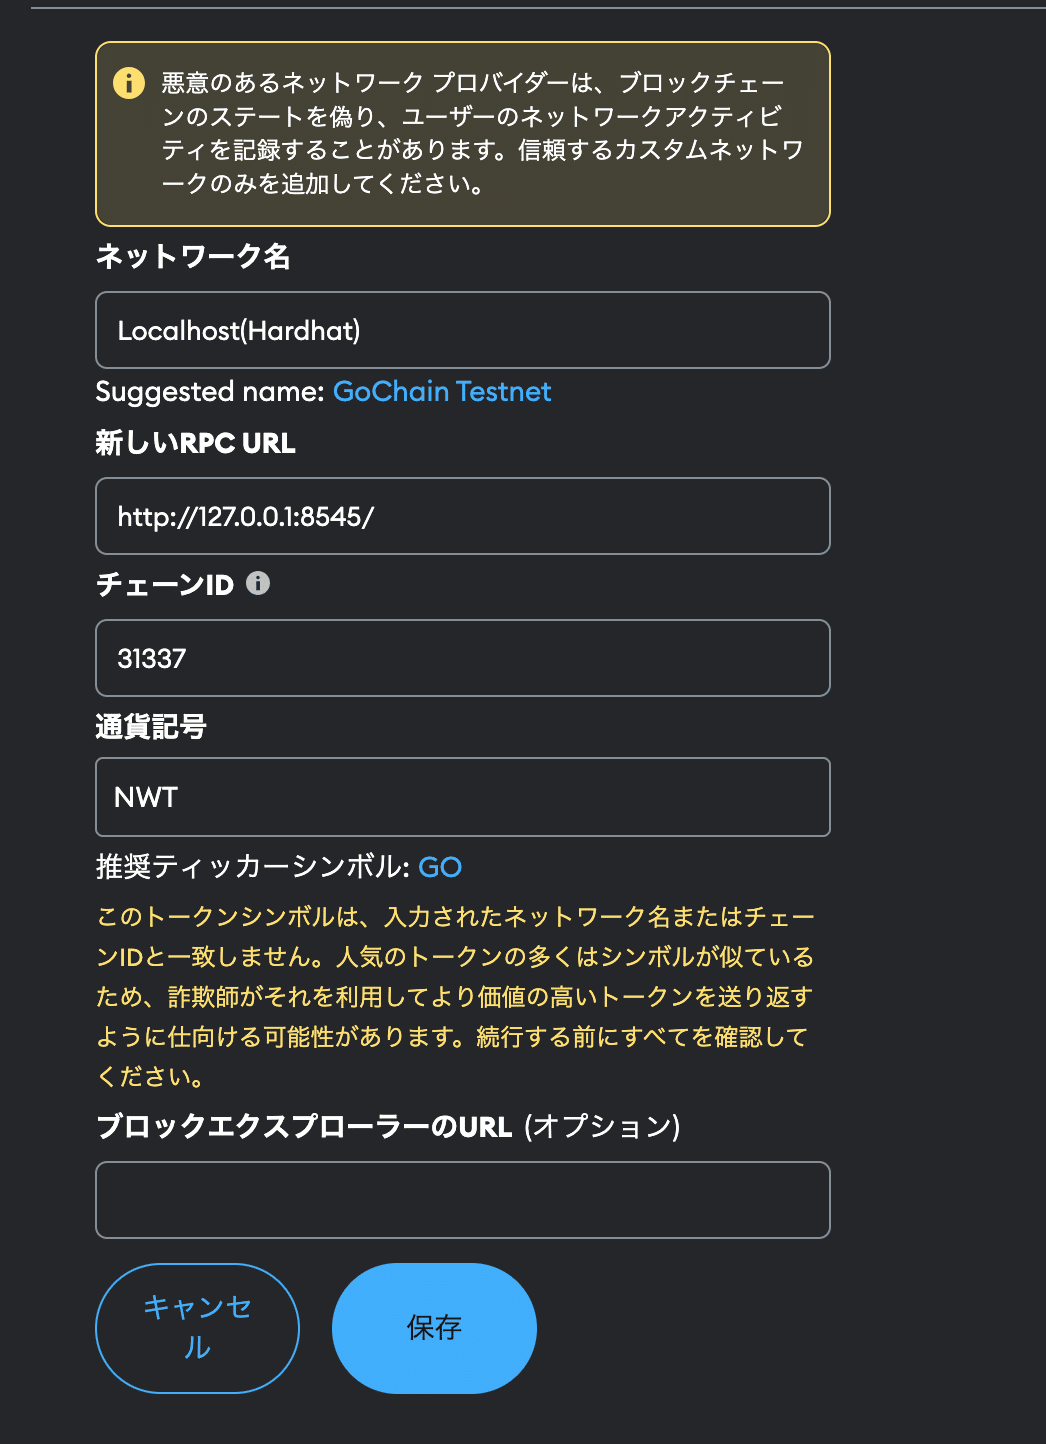
保存するとネットワークが追加されました。
Localhost(Hardhat)に切り替えます。
メタマスクにIBTトークンが表示できました。
ここからはフロントエンドを立ち上げていきます。
フォルダーを移動して、依存関係をインストールした後にstartコマンドでフロントを立ち上げます。
% cd frontend
% npm install
% npm start
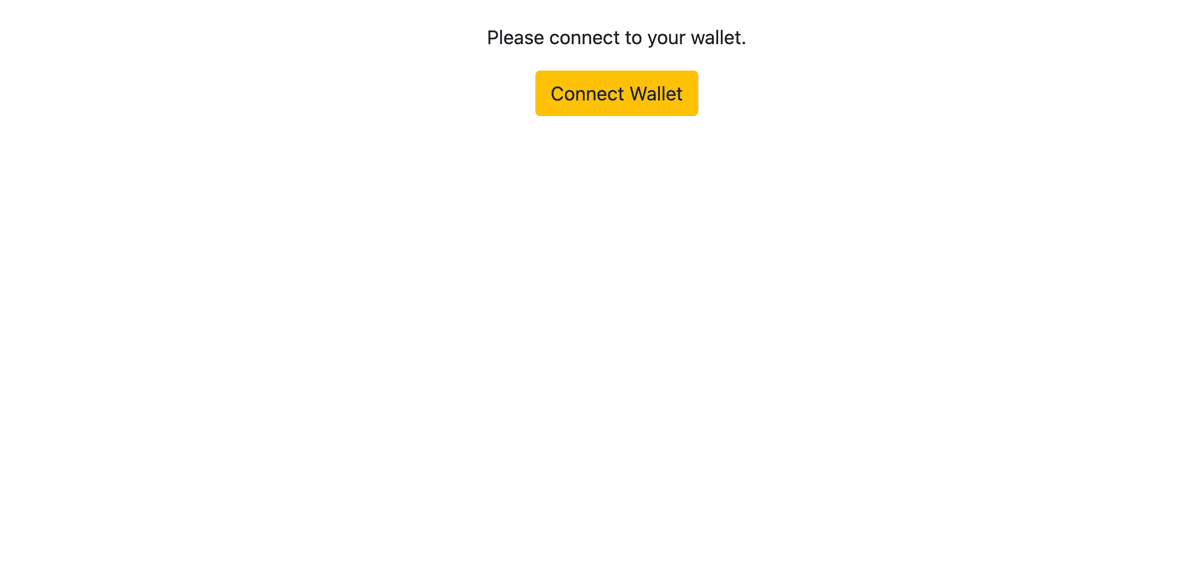
画面が表示されました。

メタマスクのネットワークをHardhatに切り替えます。

Coonect Walletを押して、ウォレットを接続します。
次へを押してメタマスクを接続します。
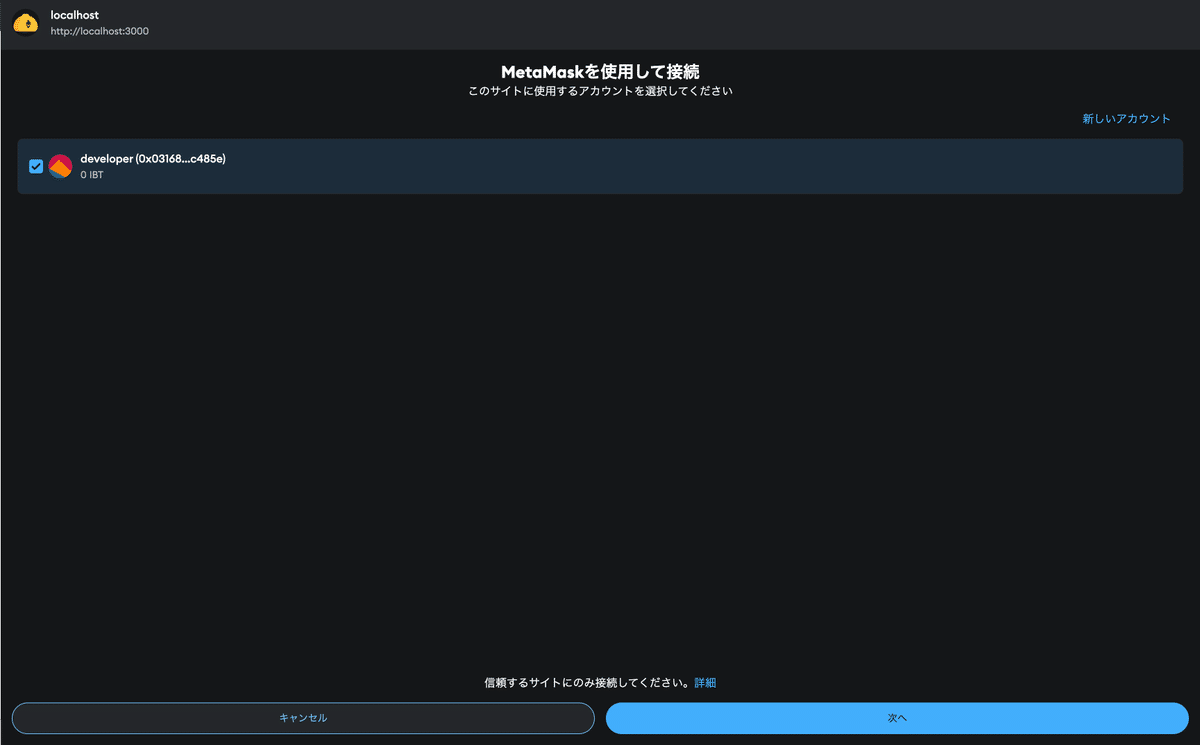
接続します。
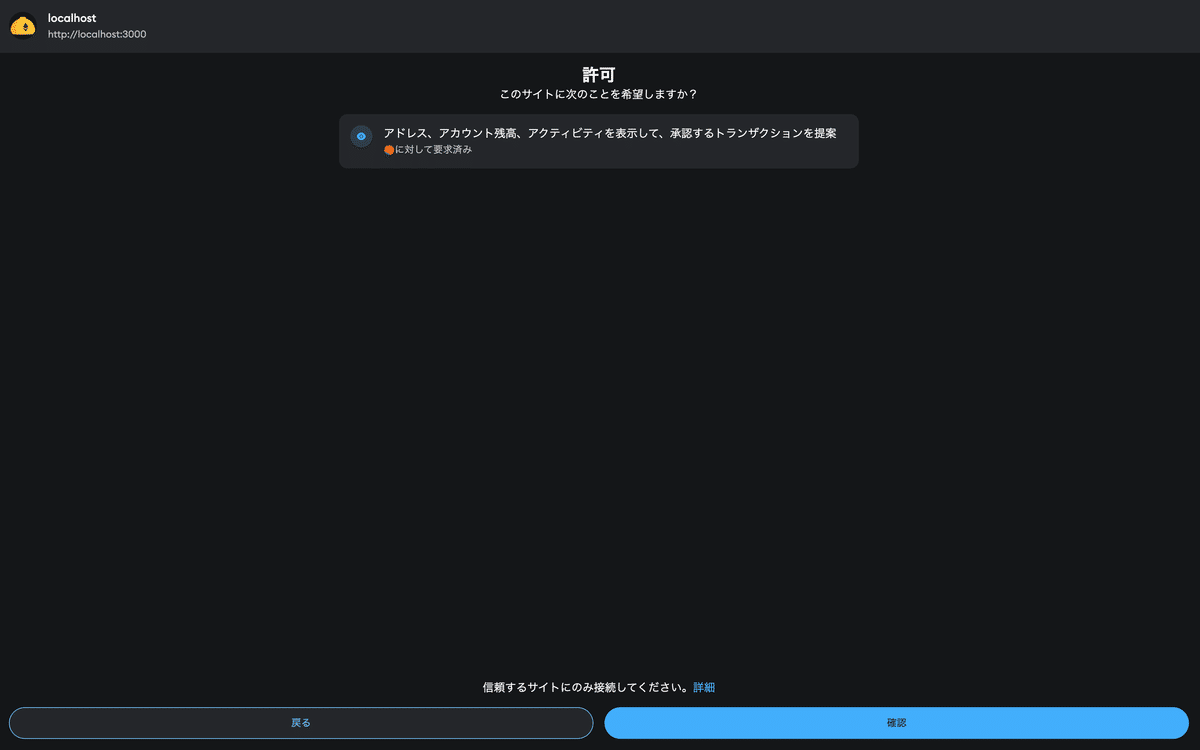
接続できました。
ログインしたアカウントは、トークンを持っていません。
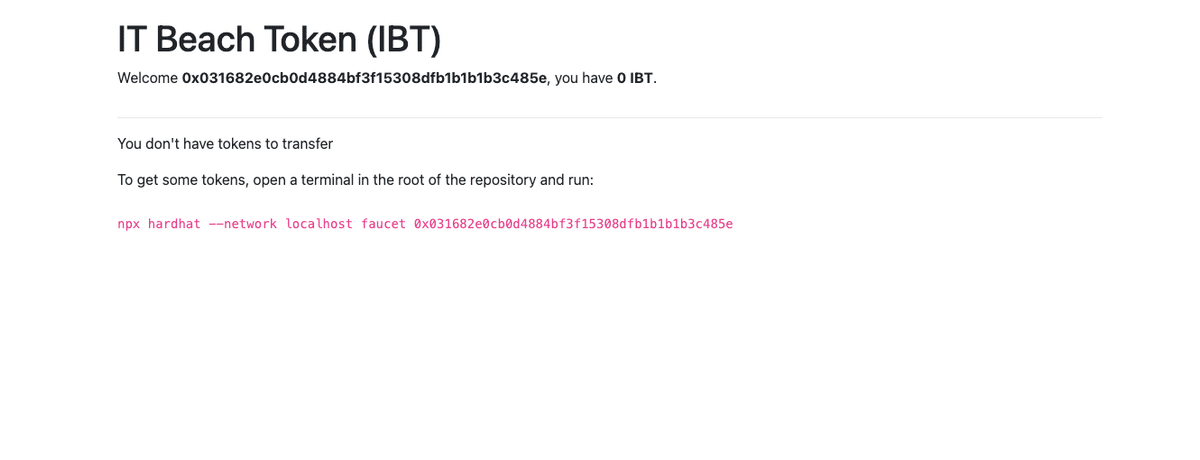
faucetを実行することで、100IBTをアカウントに付与できます。
ターミナルから、コマンドを実行します。
$ npx hardhat --network localhost faucet 0x9eda810a110e2f84462326f9cbe3996afde29ea8
トークンが付与されると画面が切り替わります。
アカウトは、100IBTを持っています。
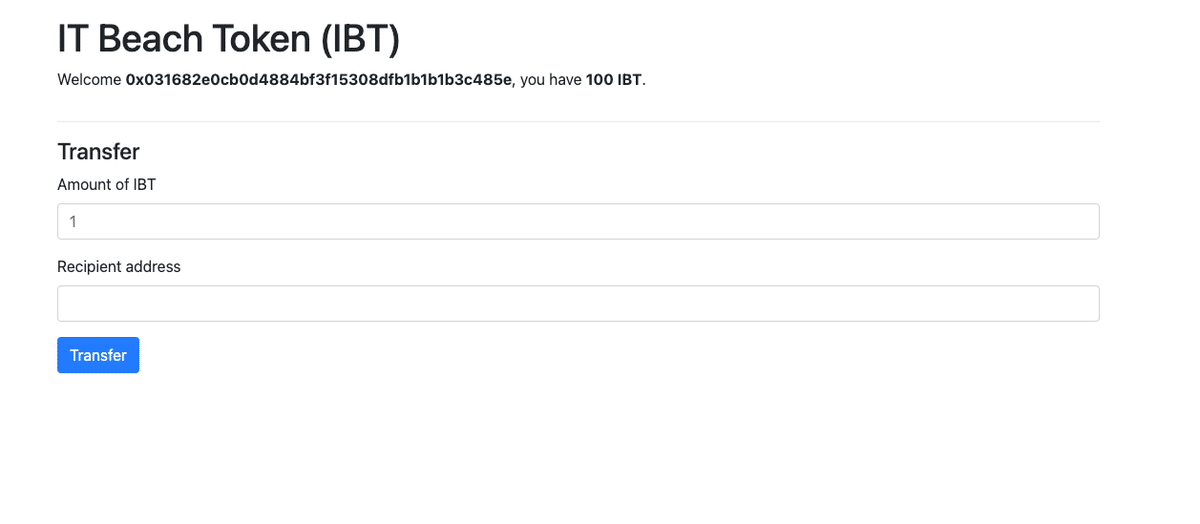
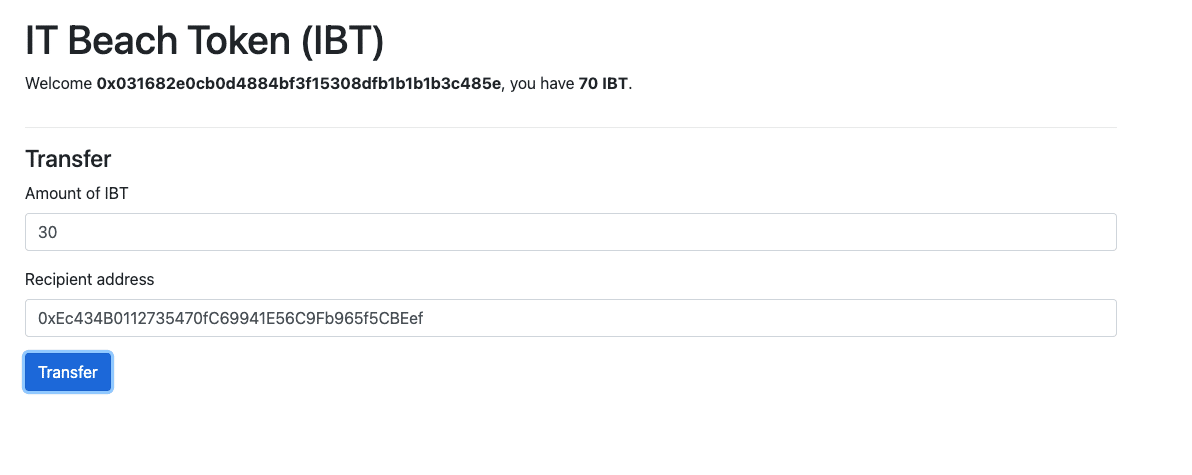
別のメタマスクアカウントに20NWTトークンを送ってみます。
送りたいトークン量とウォレットアドレスを入力して、Transferを押します。
確認を押します。
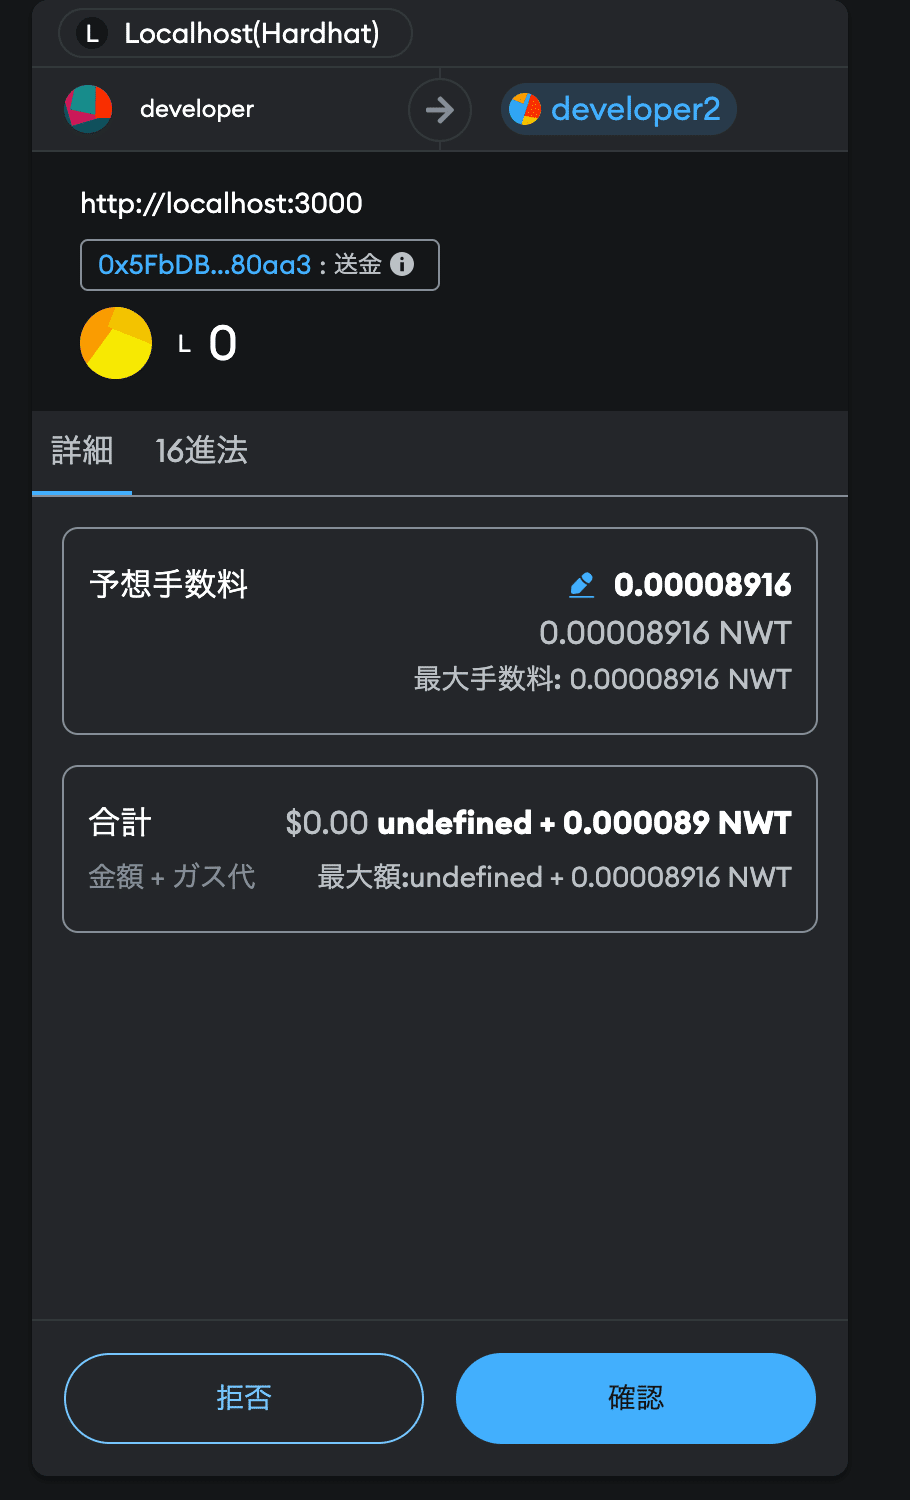
指定したアドレスにトークンを送信できました!
30IBTをアカウント#0に送信したため、残りの70IBTが表示されます。
メタマスクを確認して、送信したことを確認できました。

以上がHardhatのチュートリアルにあるDappsを動かすところまでの解説でした。