
[UIデザイナーが学ぶ]Three.jsのマテリアルの基本的な話

普段はメーカーでプログラムなど一切書かないUIデザイナーとして勤務しております。
あまり業務では利用しませんが、Three.jsのマテリアルについて学び直しているので、備忘録的にまとめています。
マテリアルの実装方法
利用したいマテリアルのインスタンを作成して、メッシュに渡します。
プロパティはマテリアルのインスタンス作成時にコンストラクタにわたすのでも良いですし、後から個別に指定してもOKです。
const material = new THREE.MeshBasicMaterial({
  map: colorTexture,
  color: 0x19ca6c
});

// もしくは
// const material = new THREE.MeshBasicMaterial();
// material.map = colorTexture
// material.color = new THREE.Color(0x19ca6c);

const sphere = new THREE.Mesh(new THREE.SphereGeometry(0.5, 16, 16), material);
マテリアルの種類
次にマテリアルの種類です。
マテリアルによって利用できるプロパティも描画負荷も異なります。
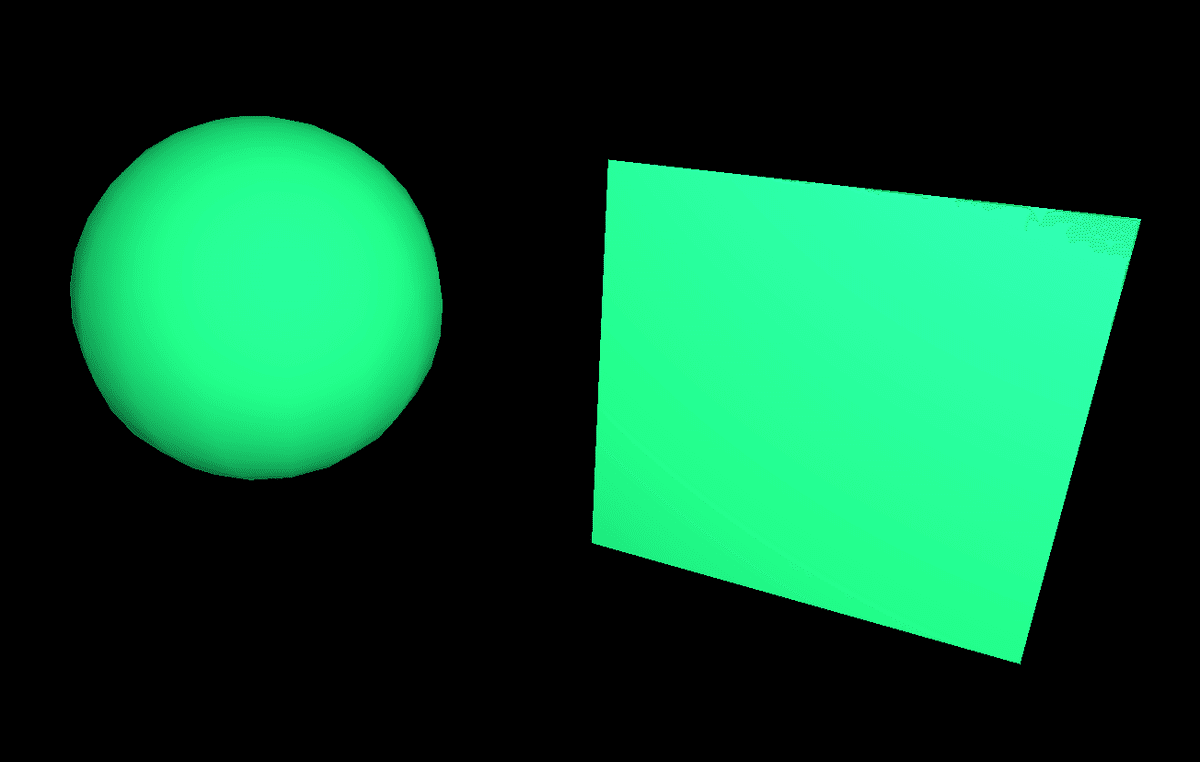
MeshBasicMaterial
一番基本的なマテリアルです。

ライティング考慮しない為、影もつきませんが最も軽量です。
単純な色やテクスチャを表示するのに適しています。
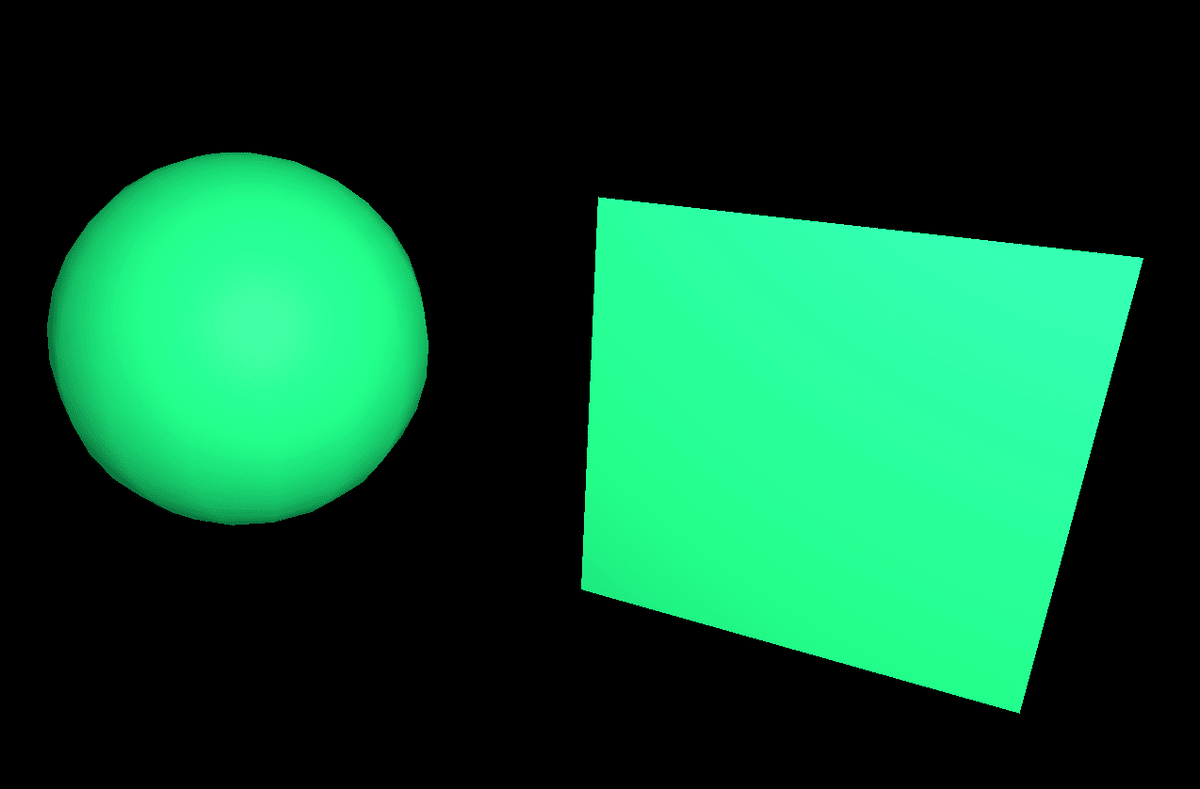
MeshLambertMaterial
陰影を必要とするマテリアルなので、ライトが必要です。
陰影があるマテリアルのなかで最も処理が軽いです。
MeshLambertMaterialは、光が物体に当たって広がる(拡散する)効果を計算しますが、光が鏡のように反射する効果は計算しません。
未処理の木材や石のようなマットな表面をリアルに見せることができますが、ニス塗りの木材のような光沢のある表面はリアルに見せることができません。
具体的な例
適しているもの: 未処理の木材、石、布などのマットな表面
適していないもの: ニス塗りの木材、金属、ガラスなどの光沢のある表面
MeshPhongMaterial
MeshLambertMaterialと似ていますが、MeshPhongMaterialは表面光も反射します。
ライティングとスペキュラ反射をサポートします。
影の計算も行いますが、MeshStandardMaterialよりは軽量です。
MeshPhongMaterialはshininess、specularプロパティなどMeshLambertMaterialに無いプロパティを利用できます。
material.shininess = 100;
material.specular = new THREE.Color(0x19ca6c);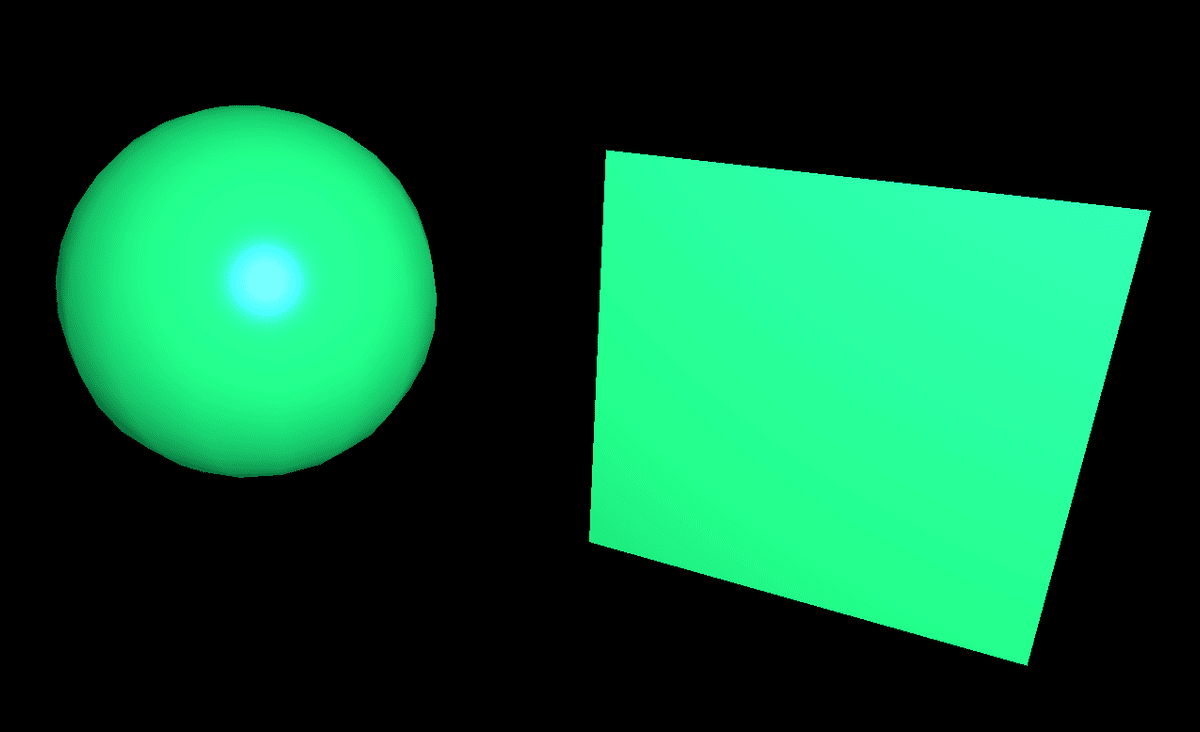
MeshStandardMaterial
物理ベースのレンダリング原理を使用します。
MeshLambertMaterialやMeshPhongMaterialと同様に、ライトをサポートしますが、よりリアルなアルゴリズムと、粗さや金属性などのパラメーターを利用できます。
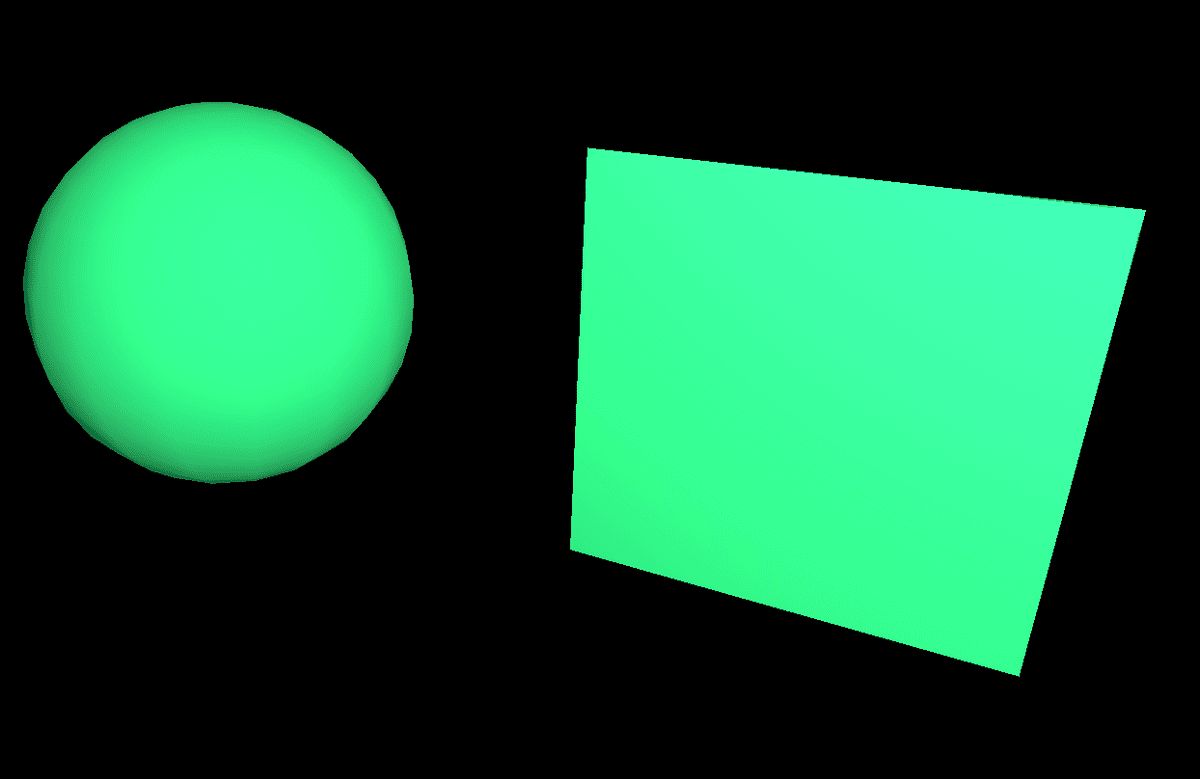
roughness、metalnessなどのプロパティを利用することができます。
material.roughness = 0.0;
material.metalness = 0.7;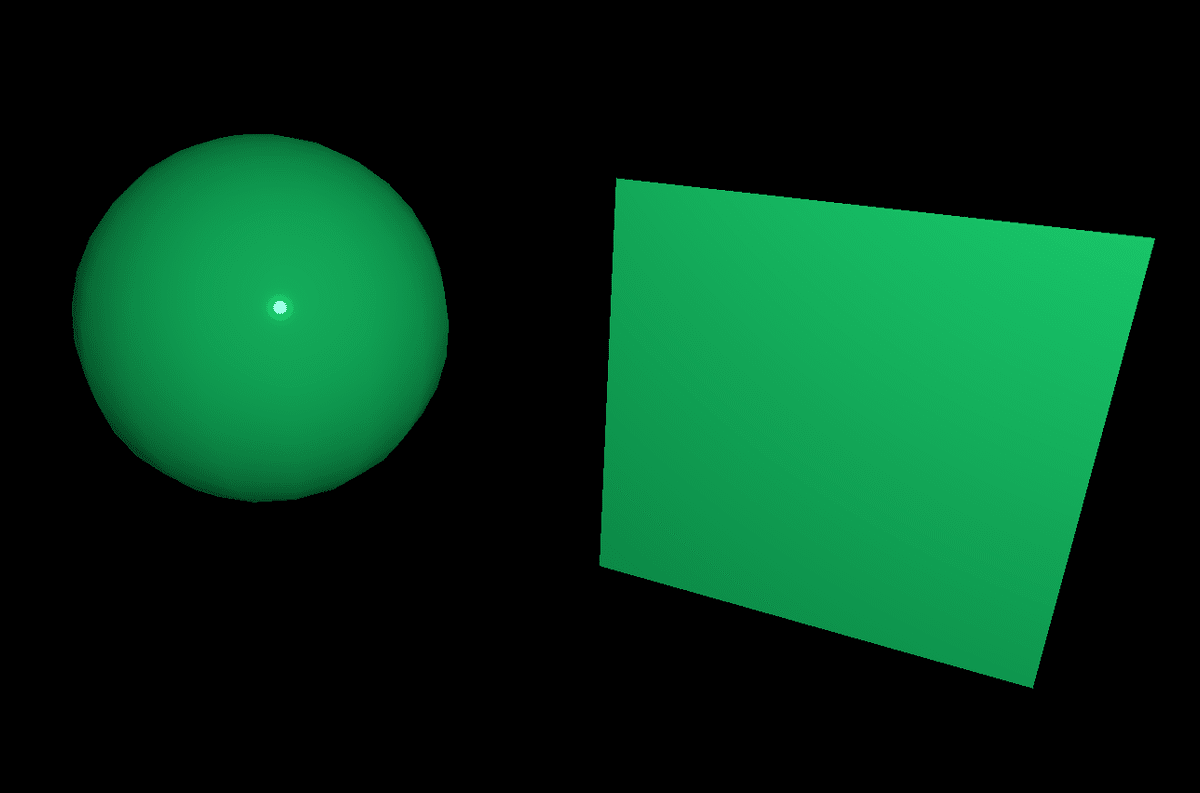
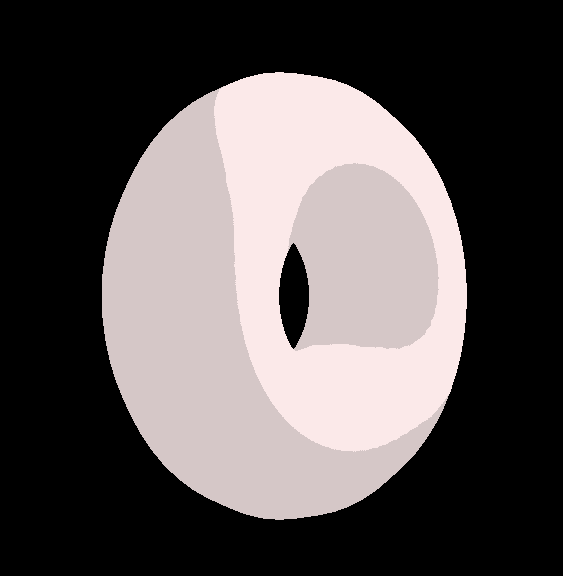
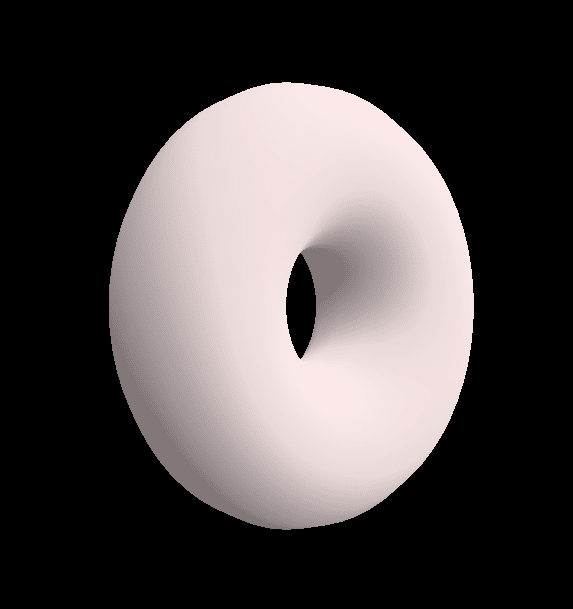
MeshMatcapMaterial
MeshMatcapMaterialは、マテリアルの色とシェーディングをエンコードする MatCapテクスチャによって定義されます。
MatCapには球体のように見える参照テクスチャが必要です。
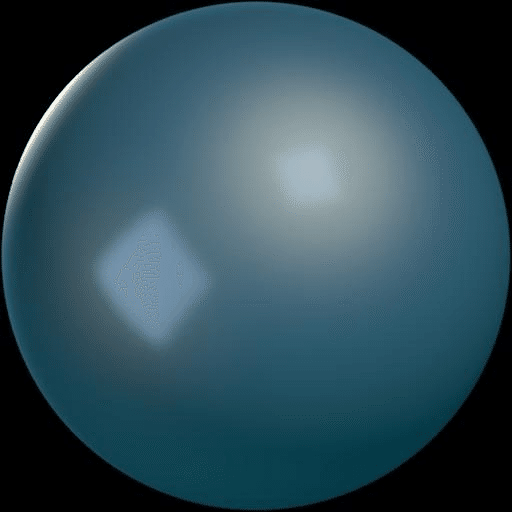
matcapプロパティにテクスチャを指定します。
const material = new THREE.MeshMatcapMaterial()
material.matcap = matcapTexture
表示はこんな感じです。
メッシュは照らされているように見えますが、これはテクスチャによって作り出された錯覚です。シーンには光は不要です。
その為、カメラの向きに関係なく結果が同じになります。

MeshPhysicalMaterial
MeshPhysicalMaterialはMeshStandardMaterialと似ていますが、クリアコート、光沢、虹彩、透過などのより高度な物理ベースのレンダリング プロパティを提供します。

◎clearcoat(クリアコート)
クリアコートは、自動車の塗装やカーボンファイバー、濡れた表面などに見られる透明な反射層を再現します。これにより、別の透明な層を追加しなくても、そのような見た目を簡単に作り出せます。
material.clearcoat = 1;
material.clearcoatRoughness = 0;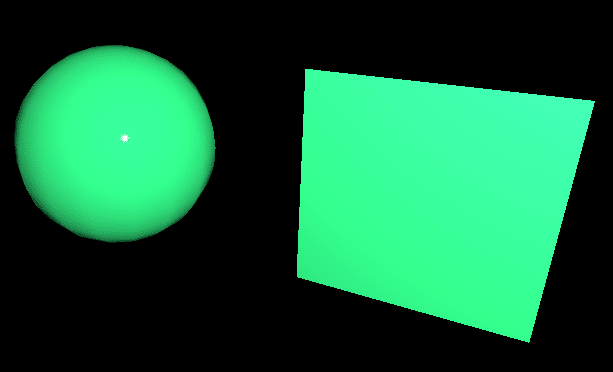
◎sheen(光沢)
布地や生地の素材を表現するために使用できます。素材が柔らかく感じられます。
material.sheen = 1;
material.sheenRoughness = 0.25;
material.sheenColor.set(0.1, 1, 0.1);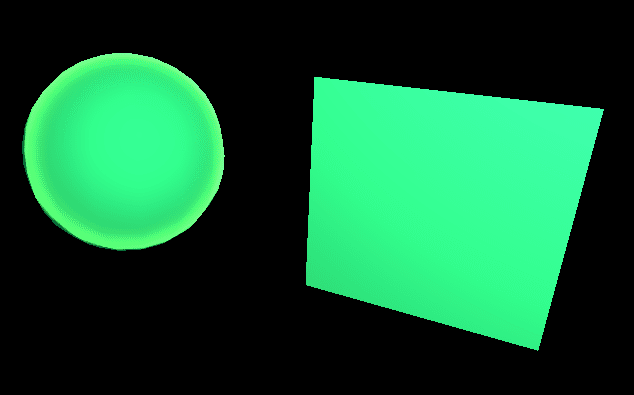
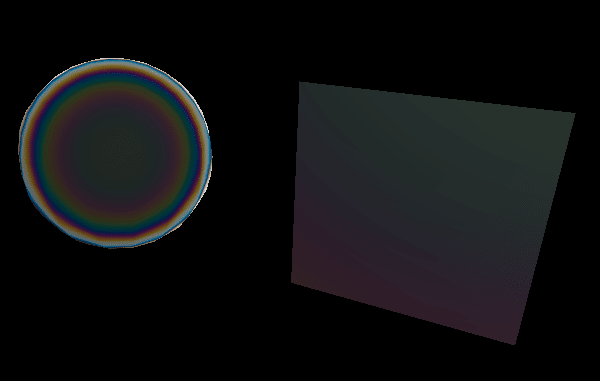
◎Iridescence(虹色効果)
見る角度や照明の角度に応じて色合いが変化する効果をレンダリングできます。これは、シャボン玉、油膜、または多くの昆虫の羽に見られます。
結果がわかりやすいように黒色マテリアルにします。
const material = new THREE.MeshPhysicalMaterial({
  color: 0x000000,
});
material.iridescence = 1
material.iridescenceIOR = 1
material.iridescenceThicknessRange = [ 100, 800 ]
油が浮いているような表現ができます。
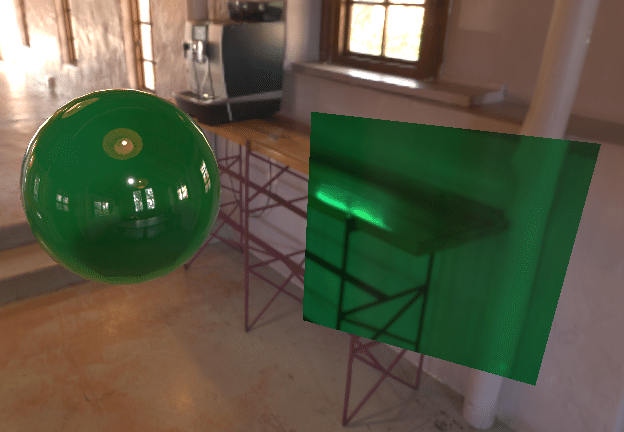
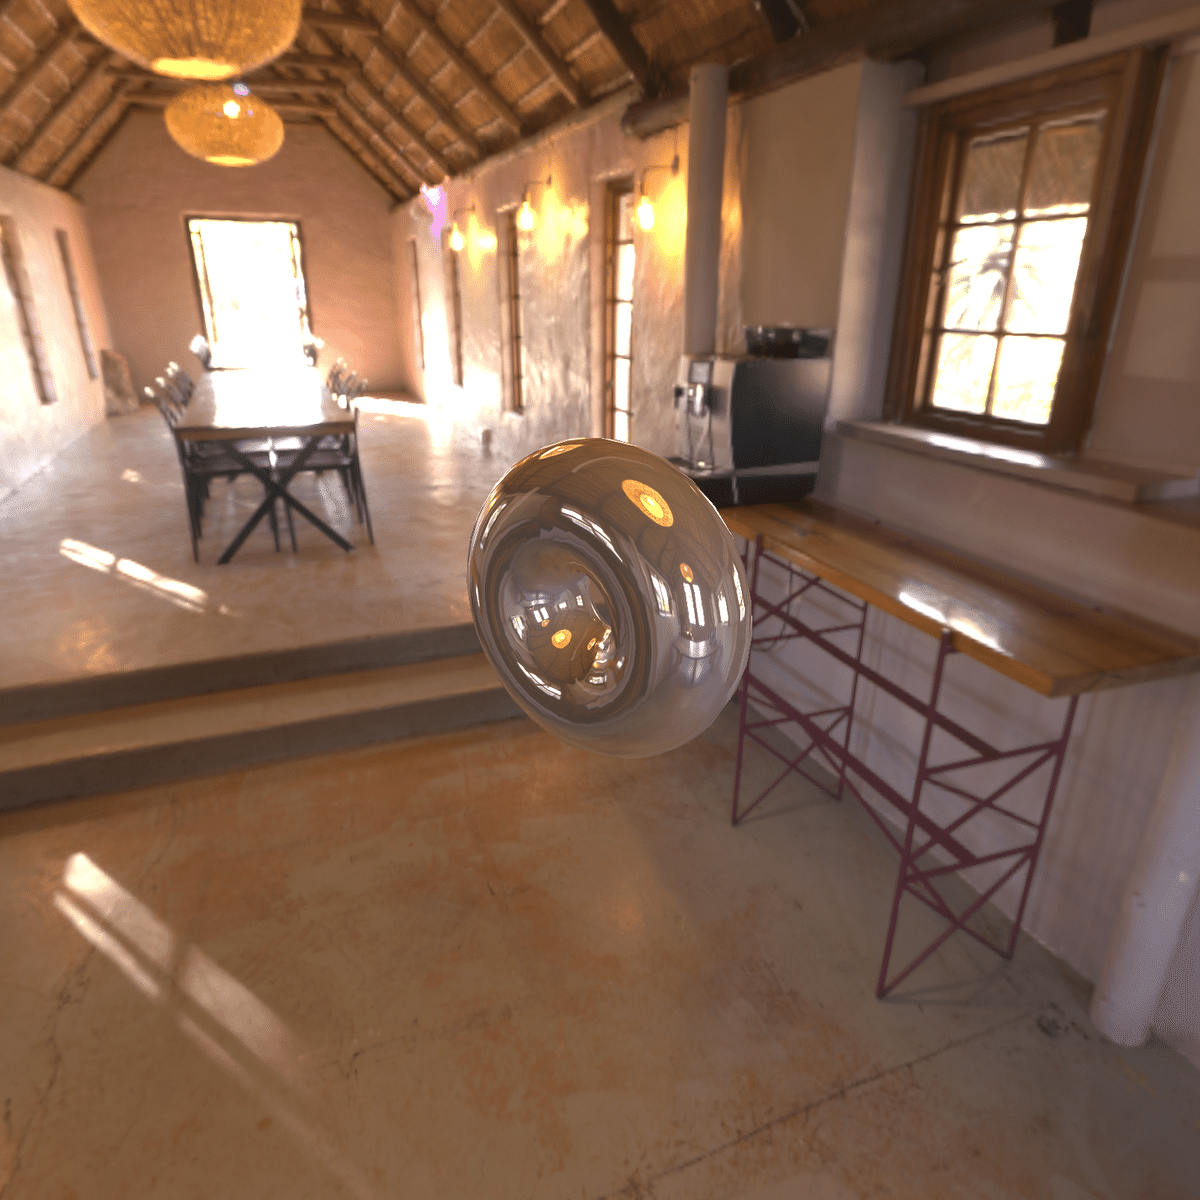
◎transmission(物理ベースの透明度)
物理ベースのtransmissionは、ガラスのような薄く透明な表面に対して、よりリアルなオプションを提供します。
const material = new THREE.MeshPhysicalMaterial({
  color: 0x19ca6c,
});
material.transmission = 1;
material.ior = 1.5;
material.thickness = 1;

// 以下の設定を入れたほうがわかりやすい。マテリアルのroughnessが高いと透過に見えない
material.metalness = 0
material.roughness = 0
透過がわかりやすいように、シーンに環境マッピングしたものでレンダリングしてみました。
opacityとtransmissionの違い
transmission
用途: 物理ベースレンダリング(PBR)でリアルな透明度を表現するために使用されます。
特徴: 光の屈折や内部反射をシミュレートします。ガラスや水のような透明な物体に適しています。
設定: MeshPhysicalMaterialでのみ使用可能です。
例: ガラス、透明なプラスチック
const material = new THREE.MeshPhysicalMaterial({
  color: 0x19ca6c,
  transmission: 1.0, // 高い透明度
  ior: 1.5, // 屈折率
  thickness: 1.0, // 厚み
});
opacity
用途: 単純な透明度を制御するために使用されます。
特徴: 物体全体の透明度を一律に設定します。屈折や内部反射はシミュレートしません。
設定: ほとんどのマテリアルで使用可能です(例: MeshBasicMaterial, MeshStandardMaterial)。
例: 半透明の布、霧
const material = new THREE.MeshBasicMaterial({
color: 0x19ca6c,
opacity: 0.5, // 半透明
transparent: true, // 透明を有効にする
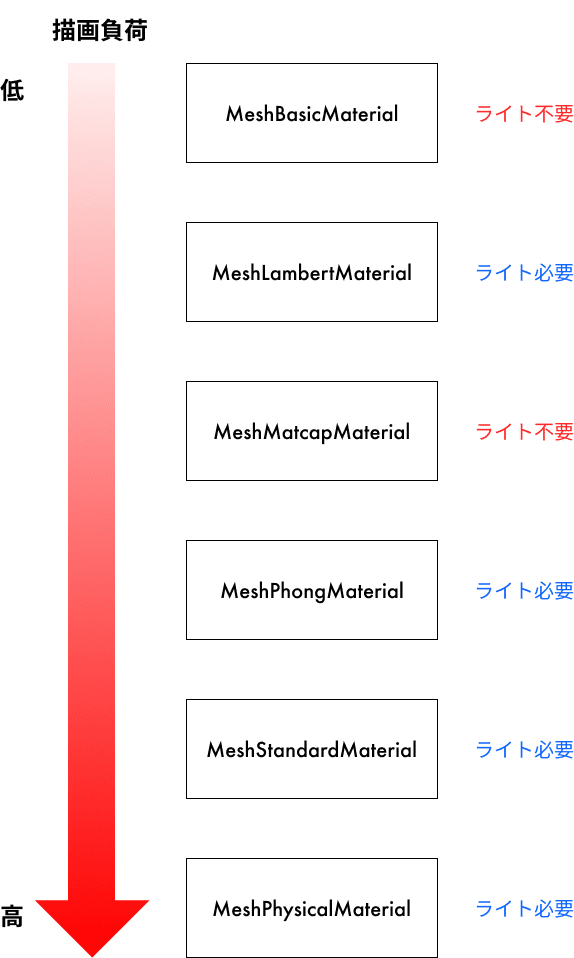
});マテリアル描画負荷
間違っているかもしれませんが、各マテリアルの処理負荷です。
利用目的によって負荷の低いマテリアルを選択する必要がありそうです。
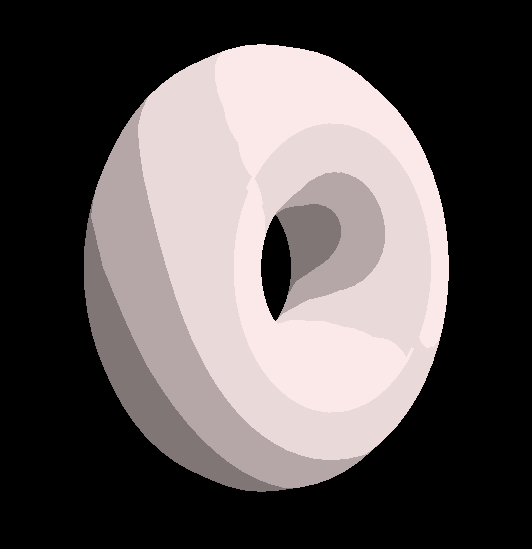
MeshToonMaterial
少し毛色の違うマテリアルですが、MeshToonMaterialは面白い表現ができます。
const material = new THREE.MeshToonMaterial({
  color: 0xffeded,
});
gradientMapを利用することで、ライティングの強さに基づいて色を選択するためのグラデーションを提供します。これにより、滑らかなシェーディングではなく、段階的なシェーディング効果を実現します。
以下のような1px画像を用意して、gradientMapに設定します。
例の画像では4色の画像を用意しました。

const textureLoader = new THREE.TextureLoader();
const gradientTexture = textureLoader.load(
  "textures/gradients/gradientMap.png"
);

const material = new THREE.MeshToonMaterial({
  color: parameters.materialColor,
  gradientMap: gradientTexture,
});
適応後こちらですが、想像した表現と少し違っています。
理由としては、WebGLはテクスチャ上の最も近いピクセルを選択する代わりに、自動でピクセルを補間しようとするからです。
magFilterを追加することで、以下のような想像した表現を実現することができます。
const textureLoader = new THREE.TextureLoader();
const gradientTexture = textureLoader.load("textures/gradients/gradientMap.png");
gradientTexture.magFilter = THREE.NearestFilter;

const material = new THREE.MeshToonMaterial({
  color: parameters.materialColor,
  gradientMap: gradientTexture,
});
magFilterを利用することで、隣接するピクセルで補間せずにテクスチャの中から最も近いピクセルが使用されるようになります。
環境マッピング
最後に、シーンへの環境マッピングです。
環境マッピングはライトとしても利用できるので使いこなせると便利ですし、マテリアルにリアリティをもたせることができます。
実装方法
かなり省略してますが、環境マッピングする場合はRGBELoaderを利用します。
RGBELoaderは、Three.jsライブラリの一部で、Radiance RGBE (.hdr) 形式の画像を読み込むためのローダーです。この形式は高ダイナミックレンジ(HDR)画像を扱うために使用されます。
import { RGBELoader } from "three/examples/jsm/loaders/RGBELoader.js";

``` 中略 ```

const scene = new THREE.Scene();

``` 中略 ```
const material = new THREE.MeshStandardMaterial();
material.color = new THREE.Color(0xFFFFFF);
material.roughness = 0.0;
material.metalness = 0.7;

``` 中略 ```
// 環境マッピング
const rgbeLoader = new RGBELoader();
rgbeLoader.load("/textures/thatched_roof_room_2k.hdr", (texture) => {
  texture.mapping = THREE.EquirectangularReflectionMapping;
  scene.background = texture;
  scene.environment = texture;
});
利用したhdr画像はこちらです。
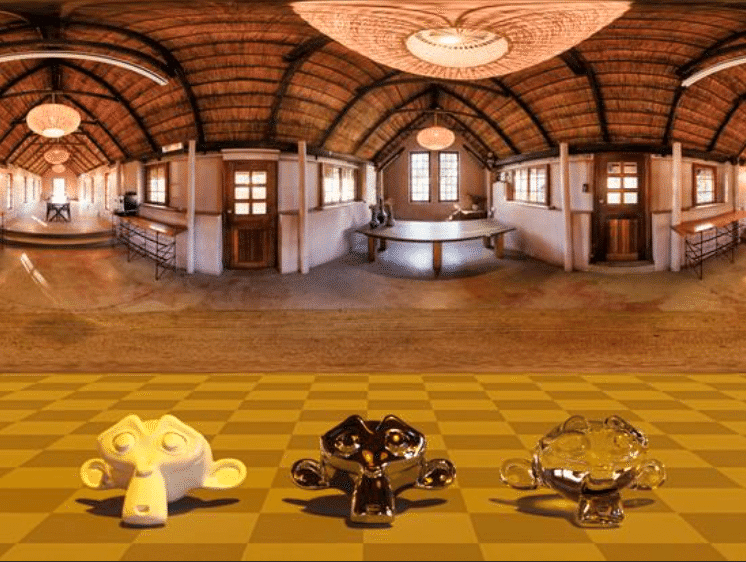
表示はこんな感じ。
マテリアルは種類が多く、設定できるプロパティも多いので覚えるのが大変そうですが、使ってみて少しずつ覚えていこうと思います。