
rootを維持してアップデート! Pixel Flasher紹介

Pixelの便利なツールを見つけたので紹介します
「PixelFlasher」です
1 ダウンロード
ここから最新版をダウンロードします
2 設定
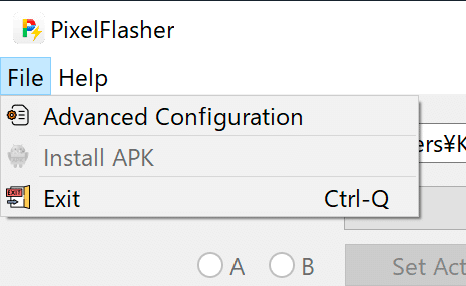

3 使用
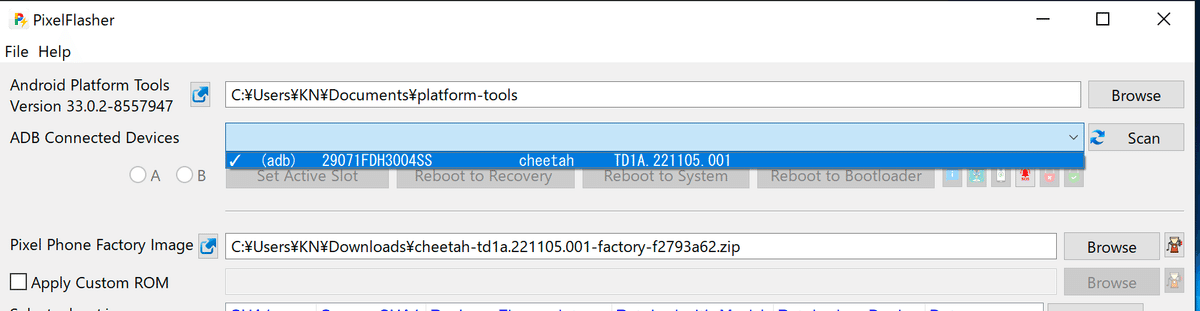
PixelのUSBデバッグをオンにしてPCと接続
Scanしてからデバイスを選択します
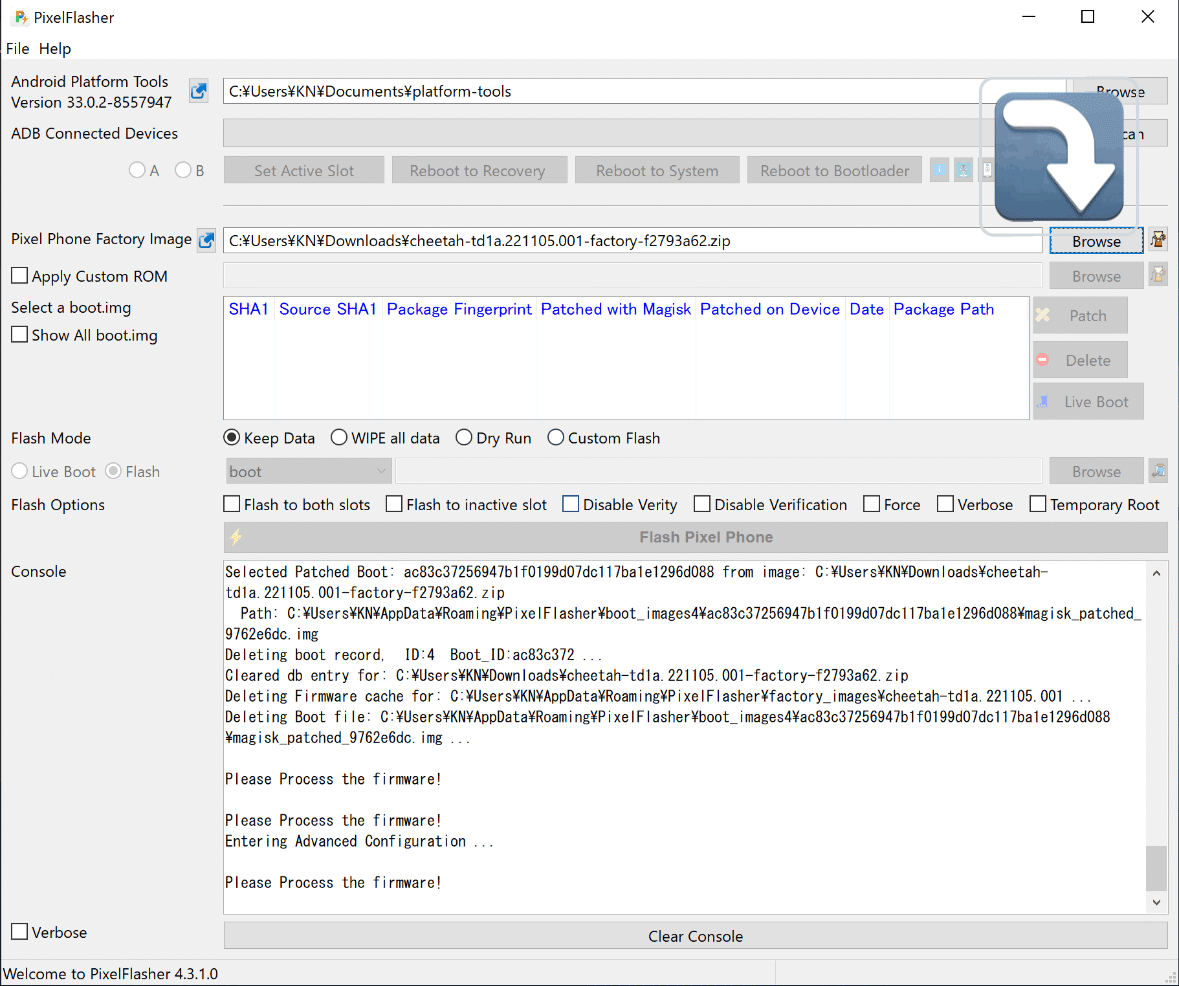
BrowseからダウンロードしたFactory Imageを選択

横の小さいボタンでbootを抽出
bootを選択してPatchをクリック
この時点で端末にMagiskアプリがインストールされてないとエラーがでます

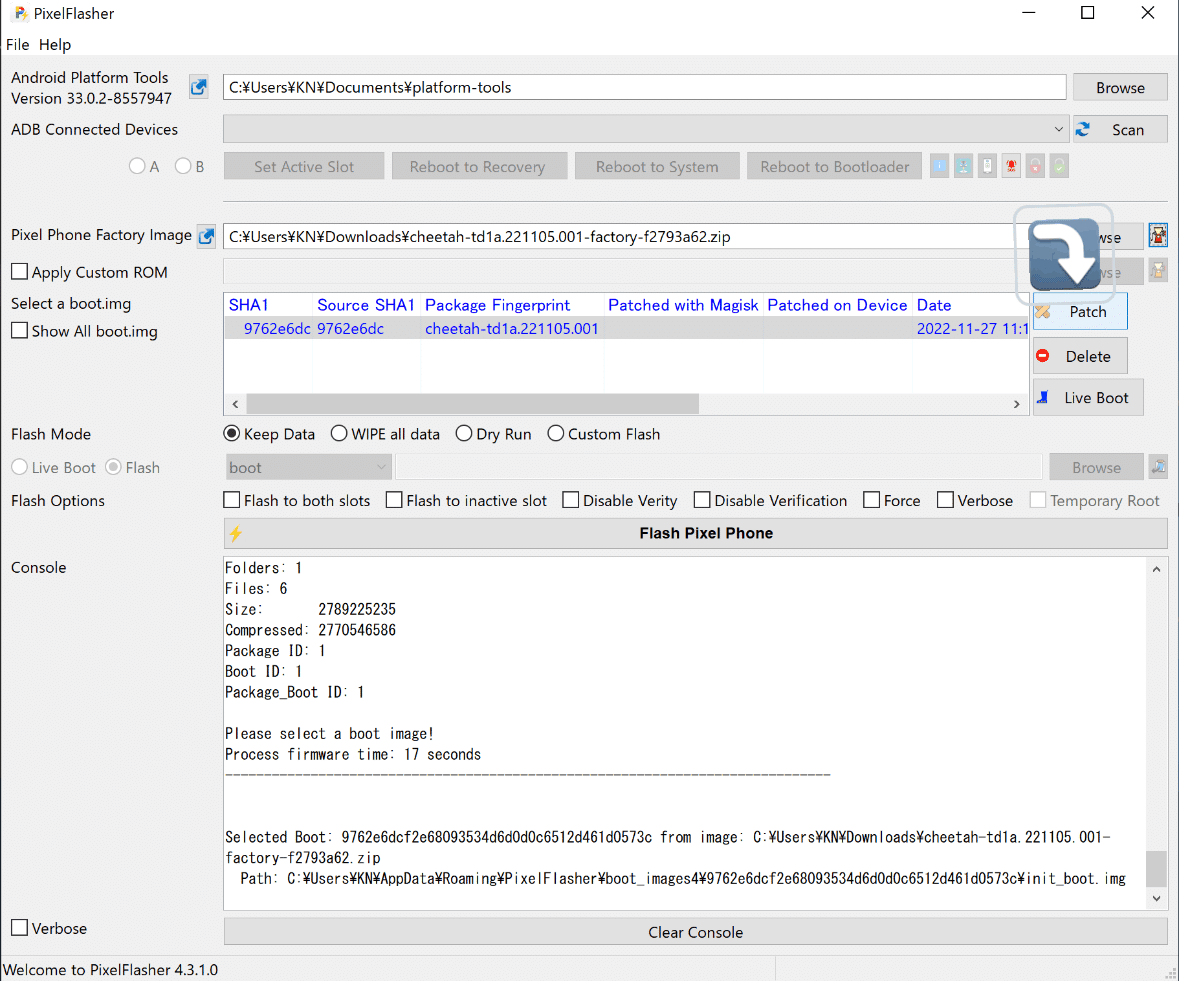
Patchされたbootを選択してFlash Pixel Phoneをクリックでインストール開始
カスタムカーネルを導入していてDisable VerifyとDisable Verificationが必要な場合もFlash Optionsから対応できます
また、初めてDisable VerifyとDisable Verificationを有効にする場合はKeep DataではなくWIPE all dataにしないと起動しません
そのあとは数分で起動すると思います
お疲れ様でした