
NovelAIインペイントを使ったちょっとすごい裏技!

NAIのインペイントを使った裏技のご紹介です!画像を別のサイズに拡張したいという時ありませんか?縦長を横長にしたり、綺麗に生成した人物をwide viewにしたり、NAIで画像拡張をする方法を思いつきましたのでご報告します
方法は簡単!!!
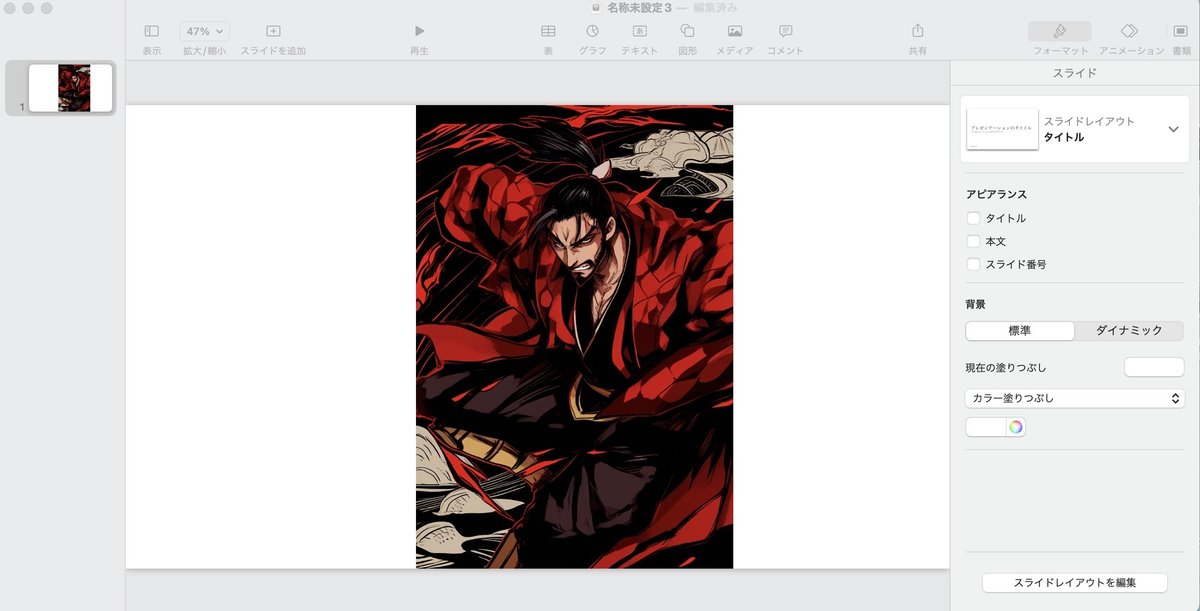
①拡張したい画像をプレゼンテーションアプリ等に読み込む
拡張したい画像をcanvaやkeynoteなど、なんでもいいので画像を読み込んで編集できるアプリで読み込みます。その際、キャンバスのサイズは拡張したいサイズを選んでください。画像が読み込めて出力サイズが選べればペイントツールでもなんでもいいです。
②画像を画面の好きな場所に好きなサイズで配置する
その画像をどこにどのように配置したいか、位置やサイズ、角度などを調整します
余白部分が拡張される部分になります
③画像を書き出す
余白のある状態でjpeg, png 等のimageとして書き出してください
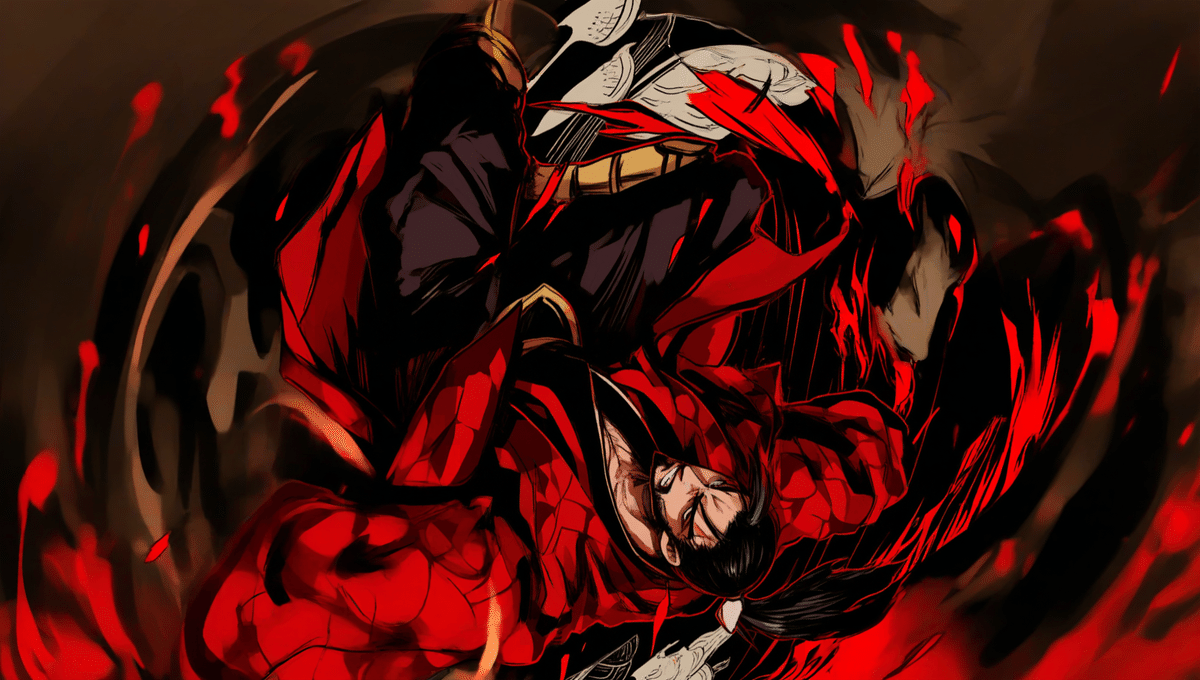
↓余白のある状態で書き出された画像

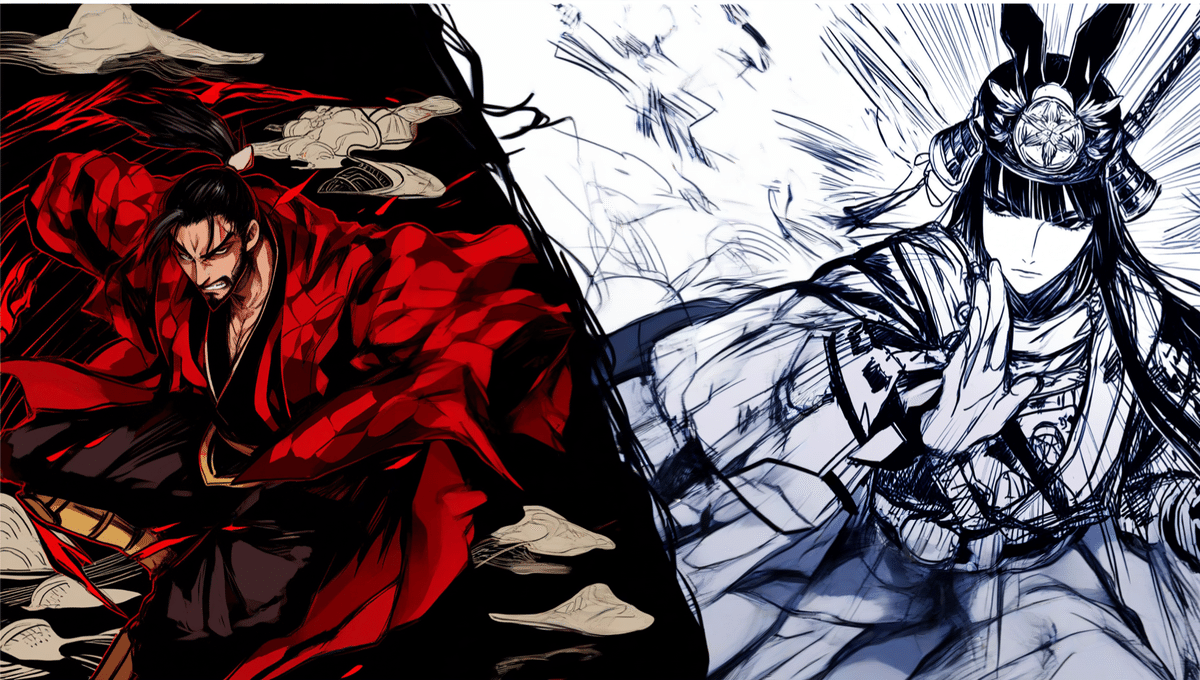
④この画像をNAIのimage2imageで取り込みます
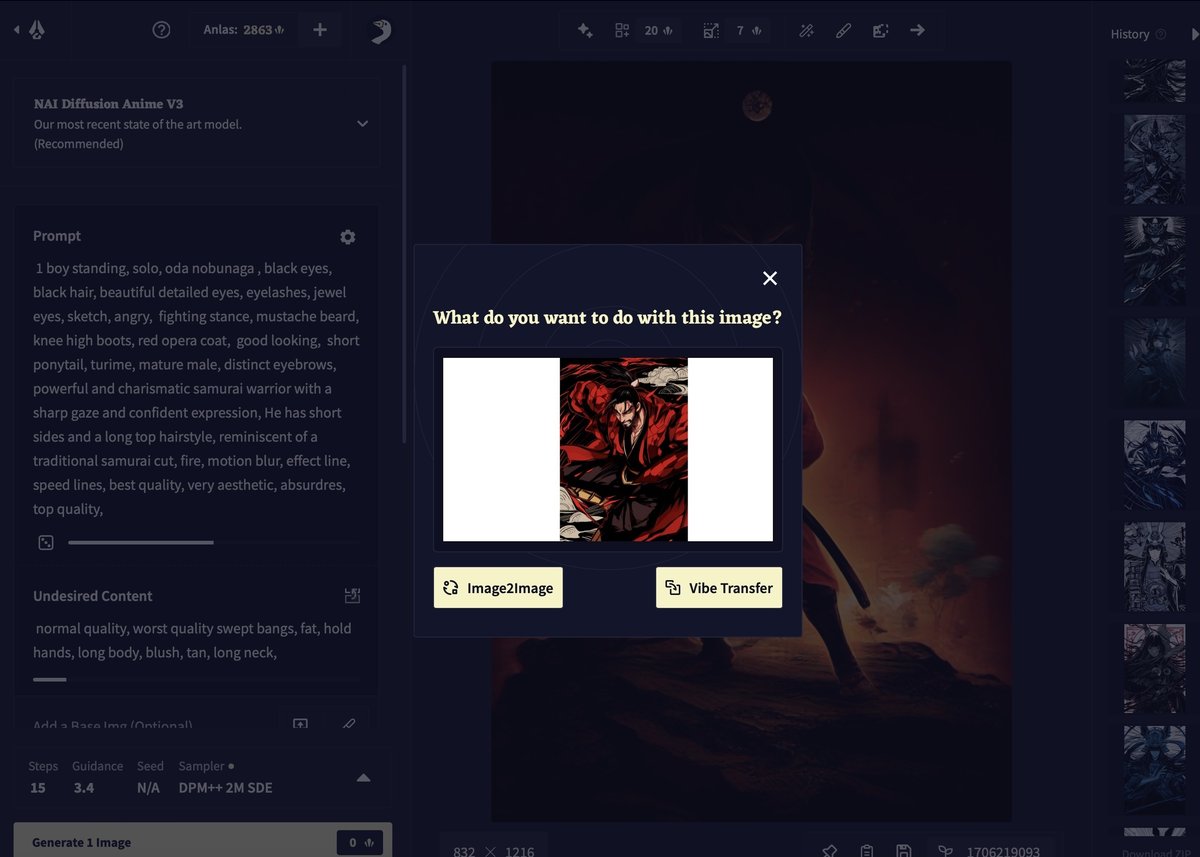
⑤インペイント機能で余白の部分を塗り倒します
はみ出しても大丈夫!太いペンでぐりぐり

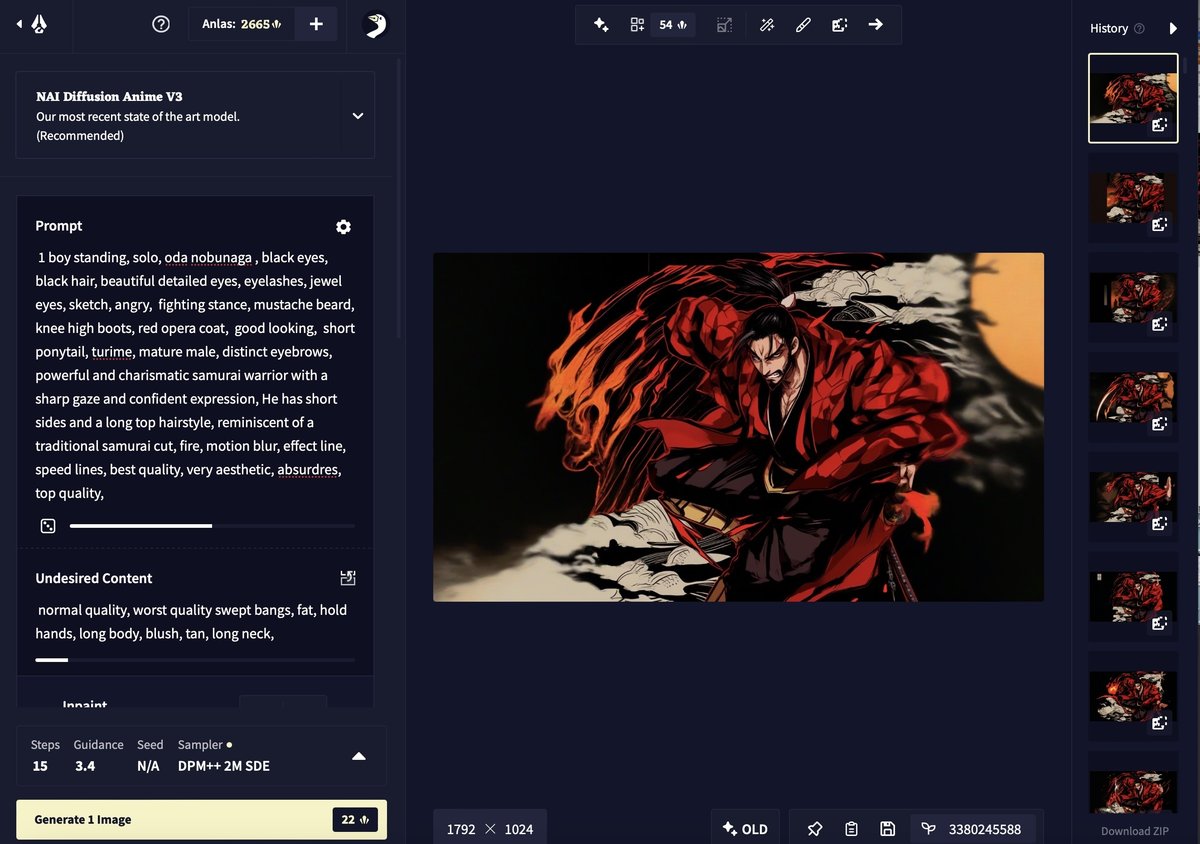
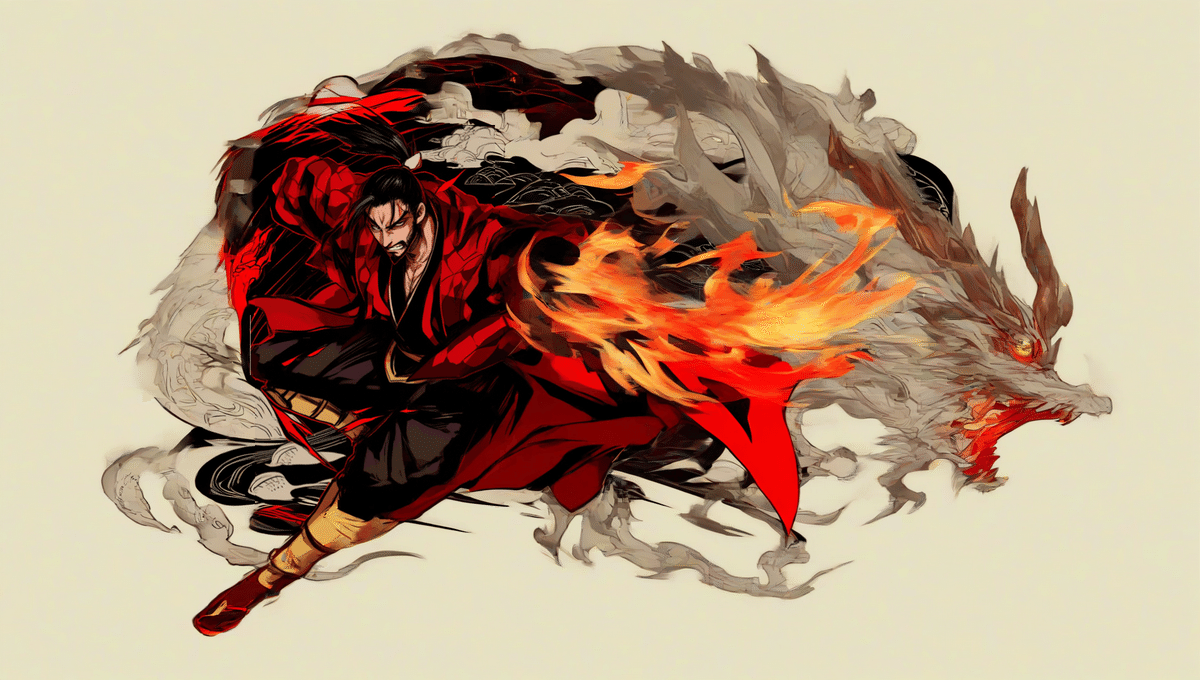
⑥保存して「generate1image」インペイント画像を生成します
出来上がり✨
綺麗に余白背景が埋まりました!canva等でも似た機能はあるのですが、やはり修正はNAI✨が一番綺麗だと思います!
tips
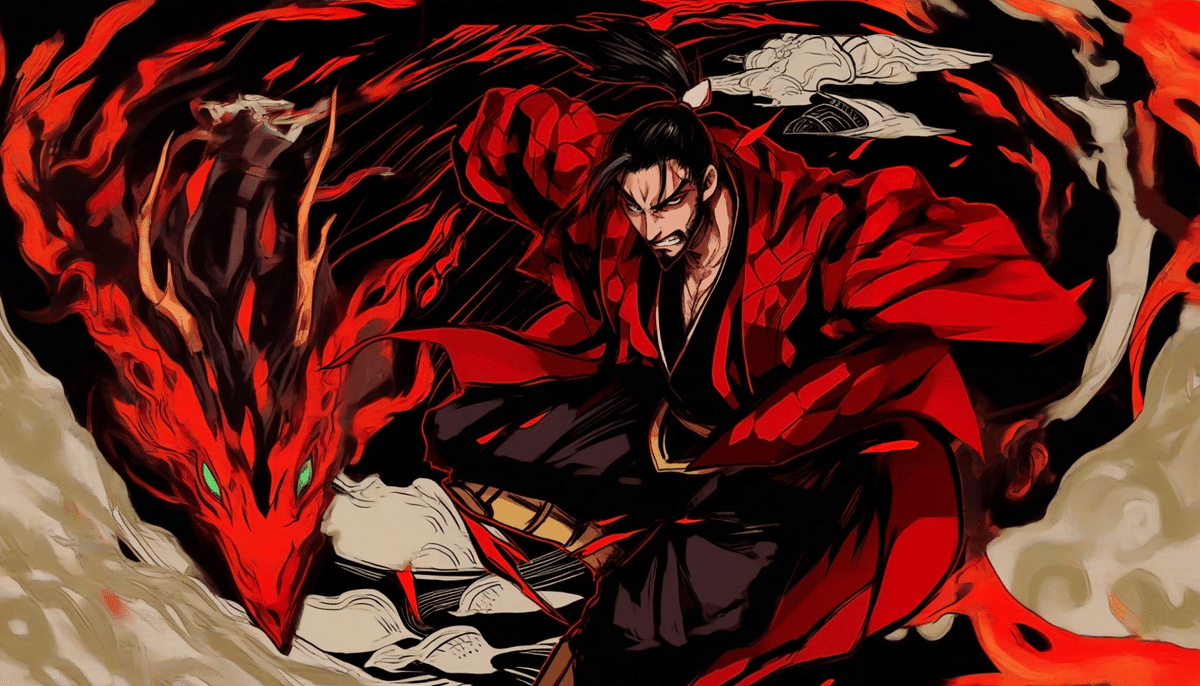
①プロンプトにfire dragon等入れるとこんな風に望みのものを背景に出せます


他のツールのインペイントでも同じ方法でバリエーション画像が作れると思います
最後までご覧いただきありがとうございました
この方法を紹介するときは引用していただけると助かります😊