【Linux】 カーネル再構築手順

機器のVer


gccバージョンアップ
gcc は C や C++ といったプログラミング言語で書かれたプログラムをインストールする為に必要なソフトウェア(コンパイラー)。gccはversion: 4.9.0以上が必要になっています。
コマンド
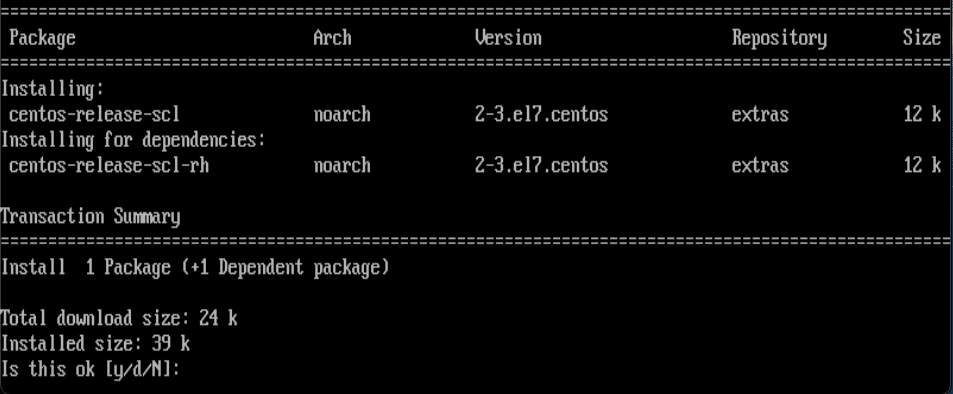
# yum install -y centos-release-scl
# yum install -y devtoolset-10
# scl enable devtoolset-10 bash
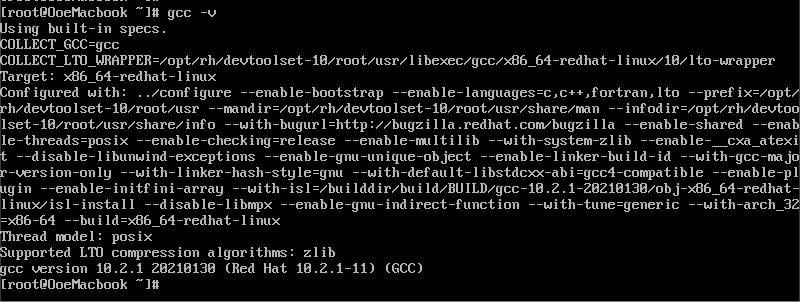
# gcc -v
# yum info devtoolset-10
# yum info devtoolset-10-gcc
# yum info devtoolset-10-gcc-c++# yum install -y centos-release-scl
SCLリポジトリーを追加する。各種ソフトウェアと関連ツール、開発ツールをCentOS向けに提供する。
# yum install -y devtoolset-10
gcc10をインストール。GCCの公式サイトに行くとダウンロードページへのリンクもあります。
# scl enable devtoolset-10 bash
scl でLinuxシステムで優先して使用することを指示し、デフォルト設定がToolset gcc になる。

Ver確認
# gcc -v
# yum info devtoolset-10
# yum info devtoolset-10-gcc
# yum info devtoolset-10-gcc-c++


カーネル再構築
カーネルのVerは必要に応じて変えてください。
コマンド
# yum update
# yum groupinstall "Development Tools"
# yum install -y ncurses-devel make bc bison flex elfutils-libelf-devel openssl-devel grub2
# cd /usr/src/  (ダウンロードするディレクトリに移動)
# wget https://cdn.kernel.org/pub/linux/kernel/v6.x/linux-6.0.9.tar.xz
# tar -xvf linux-6.0.9.tar.xz
# cd linux-6.0.9/
# cp -p /boot/config-3.10.0-514.el7.x86_64 ./.config
# yes "" | make oldconfig (all ok の意味)
# make (コンパイルは数時間)
# make modules_install
# make install
# yum update
インストールされている全てのパッケージを最新にアップデート
# yum install -y ncurses-devel make bc bison flex elfutils-libelf-devel openssl-devel grub2
カーネルのコンパイルに必要な開発ツールをインストール
# cd /usr/src/
ダウンロードするディレクトリに移動
# wget https://cdn.kernel.org/pub/linux/kernel/v6.x/linux-6.0.9.tar.xz
WEBからファイルをダウンロード。コマンドがなければインストールする。
# tar -xvf linux-6.0.9.tar.xz
解凍
# cd linux-6.0.9/
ディレクトリの移動
# cp -p /boot/config-3.10.0-514.el7.x86_64 ./.config
実行中のカーネル設定( .config )を/boot ディレクトリから新しいカーネルにコピー
# yes "" | make oldconfig (all ok の意味)
自動でチェックを行う。確認は入らない。確認を入れる場合は、oldconfig の代わりに、configやmenuconfig を使用する。
# make (コンパイルは長い)
カーネルとモジュールのコンパイル。数時間かかる
# make modules_install
モジュールのインストール
# make install
カーネルをインストール
# ls /boot
新しいかカーネルのエントリを確認
# grub2-editenv list
起動するカーネルを確認
# reboot
システムを再起動して、新しいカーネルで動作するかを確認
# grub2-set-default 0
デフォルトのカーネルを変更。
# grub2-mkconfig -o /boot/grub2/grub.cfg
設定ファイルの変更
# reboot
# uname -r
再起動してカーネルバージョンの確認
以上
いいなと思ったら応援しよう!