gradio 入門 (1) - 事始め
「gradio」の使い方をまとめました。
1. gradio
「Gradio」は、Web UIを簡単に構築できるPythonライブラリです。
2. はじめてのWeb UIの作成
Web UIの作成手順は、次のとおりです。
(1) パッケージのインストール。
# パッケージのインストール
pip install gradio
(2) シンプルなWeb UIを作成して起動。
名前を入力して、名前へのあいさつを出力するWeb UIになります。
import gradio as gr

# あいさつの関数
def greet(name):
    return "Hello " + name + "!"

# Interfaceの作成
demo = gr.Interface(
    fn=greet,
    inputs="text",
    outputs="text"
)

# 起動
demo.launch()
3. Interface
「Interface」は、関数をUIでラップするためのクラスです。
主なパラメータは、次のとおりです。
・fn : ラップする関数
・inputs : 入力コンポーネント ("text"、"image"、"audio"など)
・outputs : 出力コンポーネント ("text"、"image"、"label"など)
4. コンポーネント
「inputs」と「outputs」には、「コンポーネント」を指定することもできます。コンポーネントは、コンポーネント属性でカスタマイズできます。
以下では、inputsにコンポーネント「TextBox」 を指定し、行数に2、プレースホルダーに"Name Here..."を指定しています。
import gradio as gr

# あいさつの関数
def greet(name):
    return "Hello " + name + "!"

# Interfaceの作成
demo = gr.Interface(
    fn=greet,
    inputs=gr.Textbox(
        lines=2,  # 行数
        placeholder="Name Here..."  # プレースホルダ
    ),
    outputs="text",
)

# 起動
demo.launch()
5. 複数の入出力
「inputs」と「outputs」には、複数のコンポーネントを指定することもできます。これによって、複数の入出力を持つ関数をラップすることができます。
以下では、複数の入出力を行っています。
import gradio as gr

# あいさつの関数
def greet(name, is_morning, temperature):
    salutation = "Good morning" if is_morning else "Good evening"
    greeting = f"{salutation} {name}. It is {temperature} degrees today"
    celsius = (temperature - 32) * 5 / 9
    return greeting, round(celsius, 2)

# Interfaceの作成
demo = gr.Interface(
    fn=greet,
    inputs=["text", "checkbox", gr.Slider(0, 100)],
    outputs=["text", "number"],
)

# 起動
demo.launch()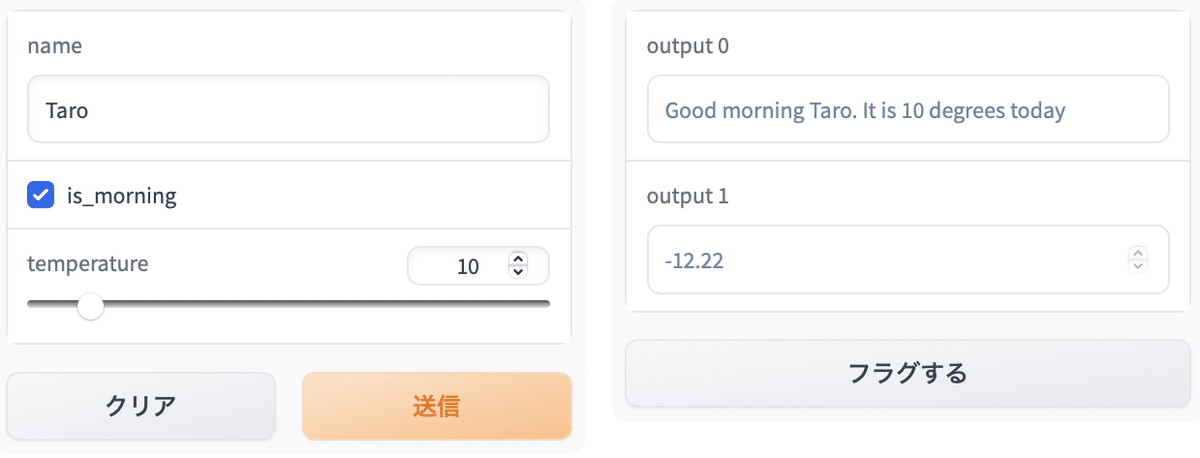
6. 画像の入出力
「gradio」は、「Image」「DataFrame」「Video」「Label」など、様々なコンポーネントをサポートしています。
以下では、画像の入出力を行っています。
import numpy as np
import gradio as gr

# セピア化の関数
def sepia(input_img):
    sepia_filter = np.array([
        [0.393, 0.769, 0.189],
        [0.349, 0.686, 0.168],
        [0.272, 0.534, 0.131]
    ])
    sepia_img = input_img.dot(sepia_filter.T)
    sepia_img /= sepia_img.max()
    return sepia_img

# Interfaceの作成
demo = gr.Interface(
    fn=sepia,
    inputs=gr.Image(shape=(200, 200)),
    outputs="image"
)

# 起動
demo.launch()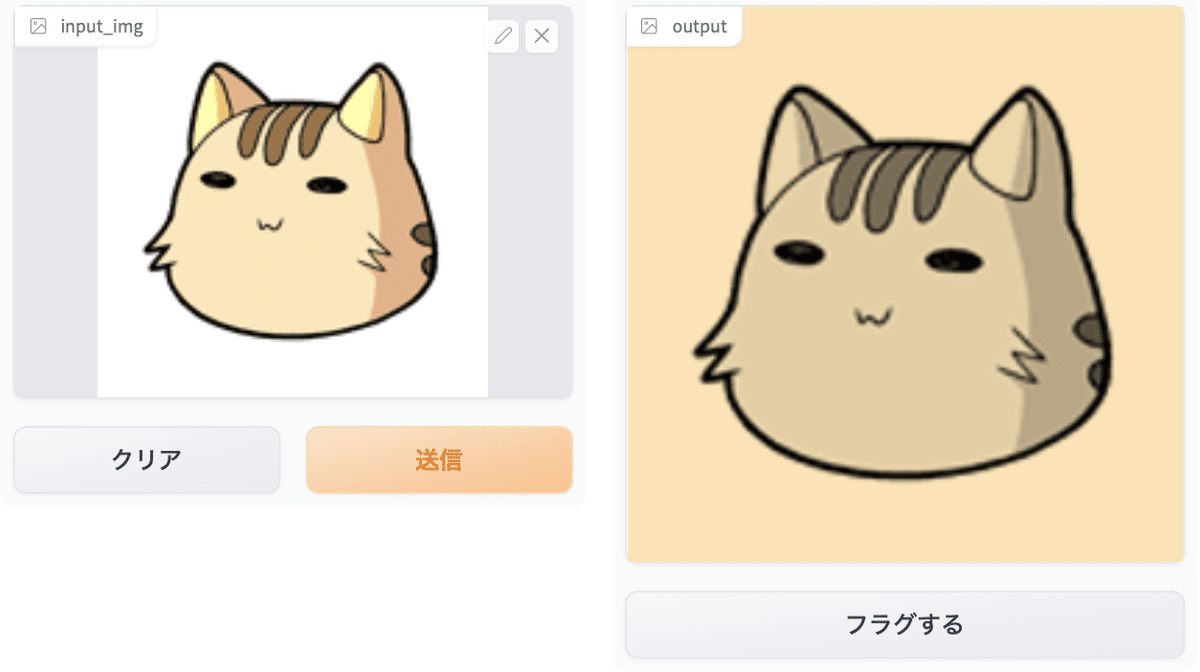
7. Blocks
gradioはアプリを構築するため、「Interface」の他に「Blocks」も提供します。
・Interface : 関数をUIでラップするための高レベルクラス。
・Blocks : より柔軟なレイアウトとデータフローを実現するための低レベルクラス。
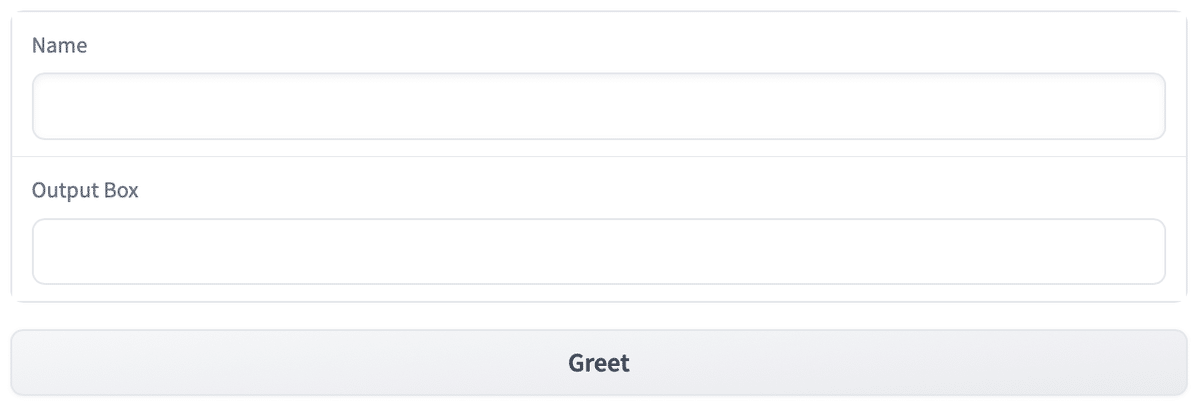
以下では、「はじめてのWeb UIの作成」を「Blocks」で書き直しています。
import gradio as gr

# あいさつの関数
def greet(name):
    return "Hello " + name + "!"

# Blocksの作成
with gr.Blocks() as demo:
    # UI
    name = gr.Textbox(label="Name")
    output = gr.Textbox(label="Output Box")
    greet_btn = gr.Button("Greet")

    # イベントハンドラー
    greet_btn.click(fn=greet, inputs=name, outputs=output)

# 起動
demo.launch()
「Blocks」はwithで作成します。このブロック内で作成したコンポーネントは自動的に「Blocks」に追加されます。「Button」のclock()のパラメータは、「Interface」と同様、ラップする関数、入力コンポーネント、出力コンポーネントの3つになります。
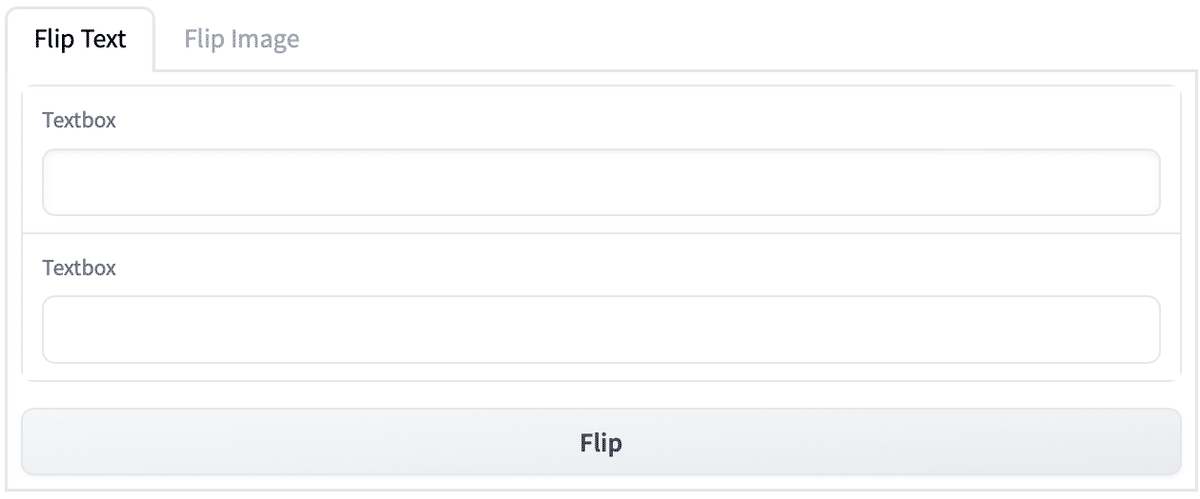
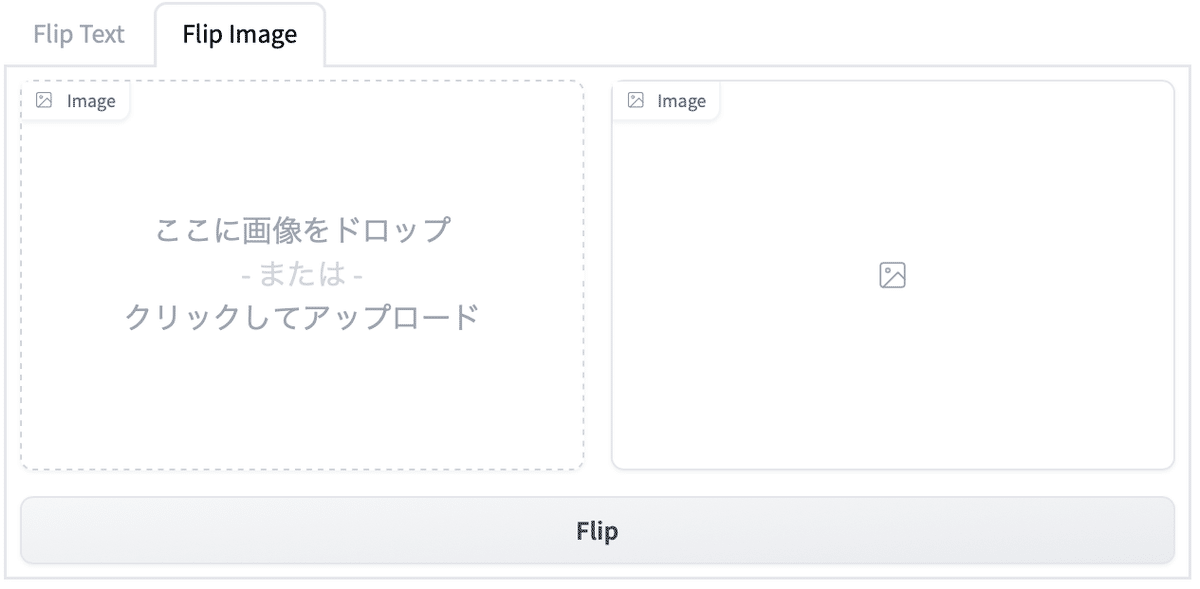
8. 複雑なBlocksの例
以下は、より複雑な「Blocks」の例になります。
import numpy as np
import gradio as gr

# テキストフリップの関数
def flip_text(x):
    return x[::-1]

# 画像フリップの関数
def flip_image(x):
    return np.fliplr(x)

# Blocksの作成
with gr.Blocks() as demo:
    # UI
    gr.Markdown("Flip text or image files using this demo.")
    with gr.Tabs():
        # Flip Textタブ
        with gr.TabItem("Flip Text"):
            text_input = gr.Textbox()
            text_output = gr.Textbox()
            text_button = gr.Button("Flip")

        # Flip Imageタブ
        with gr.TabItem("Flip Image"):
            with gr.Row():
                image_input = gr.Image()
                image_output = gr.Image()
            image_button = gr.Button("Flip")

    # イベントリスナー
    text_button.click(flip_text, inputs=text_input, outputs=text_output)
    image_button.click(flip_image, inputs=image_input, outputs=image_output)

# 起動
demo.launch()