Google Colab で OpenFlamingo v2 を試す

「Google Colab」で「OpenFlamingo v2」を試したのでまとめました。
【注意】Google Colab Pro/Pro+ の ハイメモリで動作確認しています。
1. OpenFlamingo v2
「OpenFlamingo」は、DeepMindの「Flamingo」をオープンソースで再現したモデルです。「OpenFlamingo」の中核は、LLMの学習と評価を可能にするフレームワークです。
・マルチモーダルモデル
・マルチモーダルデータセット
・学習するためのPythonフレームワーク
・評価ベンチマーク
2. OpenFlamingo モデル
MPTおよびRedPajamaベースの5つのモデルが提供されています。
・openflamingo/OpenFlamingo-3B-vitl-mpt1b-langinstruct
・openflamingo/OpenFlamingo-3B-vitl-mpt1b
・openflamingo/OpenFlamingo-9B-vitl-mpt7b
・openflamingo/OpenFlamingo-4B-vitl-rpj3b-langinstruct
・openflamingo/OpenFlamingo-4B-vitl-rpj3b
3. Multimodal-C4 データセット
「Multimodal-C4」データセットは、T5モデルの学習に使用されたテキストのみのC4データセットを拡張したものです。約7,500万のドキュメントで構成され、約4億の画像と38億のトークンが含まれます。
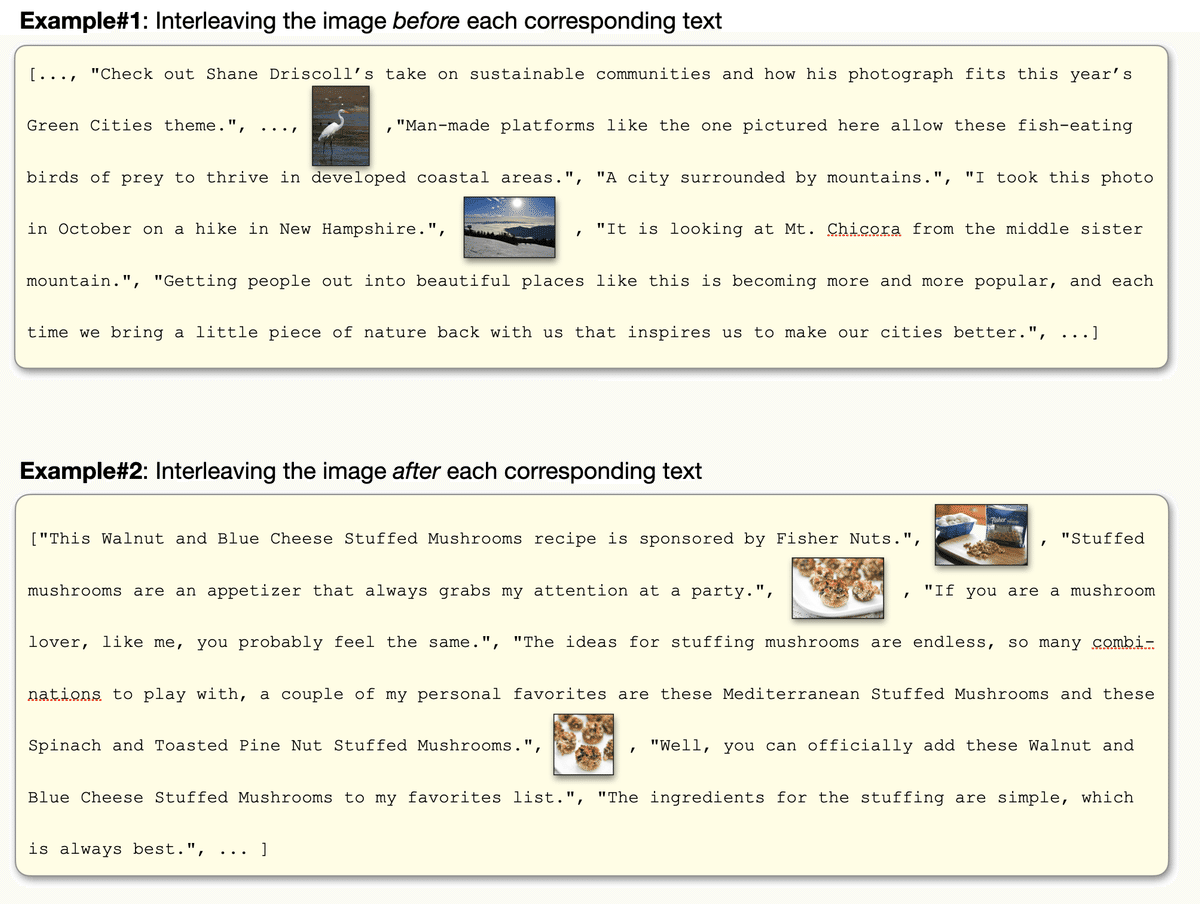
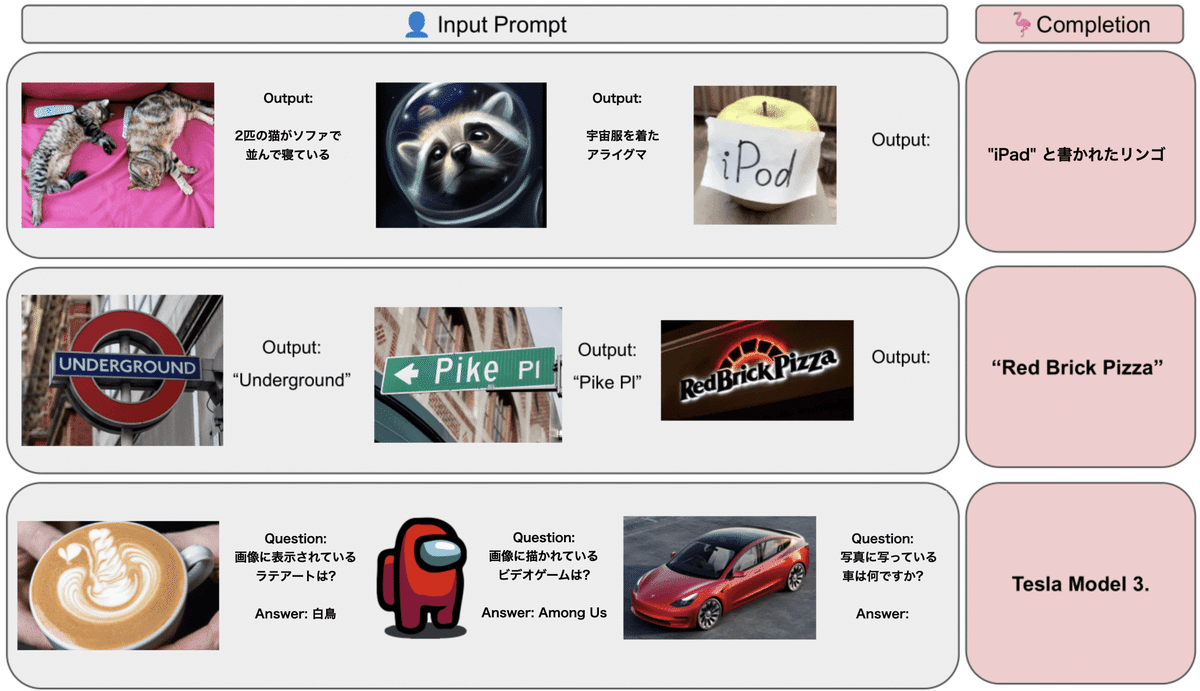
4. プロンプト書式
「OpenFlamingo」は、「視覚的質問応答」「画像説明文生成」「画像分類」などのタスクで利用できます。プロンプトの書式の例は、次のとおりです。わかりやすさのため日本語訳してます。精度向上のためFew-Shotが推奨されています。
5. Colabでの実行
Google Colabでの実行手順は、次のとおりです。
(1) メニュー「編集→ノートブックの設定」で、「ハードウェアアクセラレータ」で「GPU」で「ハイメモリ」を選択。
(2) パッケージのインストール。
# パッケージのインストール
!pip install open-flamingo
(3) モデルとイメージプロセッサーとトークナイザーの準備。
from open_flamingo import create_model_and_transforms

# モデルとイメージプロセッサーとトークナイザーの準備
model, image_processor, tokenizer = create_model_and_transforms(
    clip_vision_encoder_path="ViT-L-14",
    clip_vision_encoder_pretrained="openai",
    lang_encoder_path="togethercomputer/RedPajama-INCITE-Base-3B-v1",
    tokenizer_path="togethercomputer/RedPajama-INCITE-Base-3B-v1",
    cross_attn_every_n_layers=2
)
(4) OpenFlamingoのチェックポイントの取得。
from huggingface_hub import hf_hub_download
import torch

# OpenFlamingoのチェックポイントの取得
checkpoint_path = hf_hub_download(
    "openflamingo/OpenFlamingo-4B-vitl-rpj3b",
    "checkpoint.pt"
)
model.load_state_dict(torch.load(checkpoint_path), strict=False)
(5) 画像の準備。
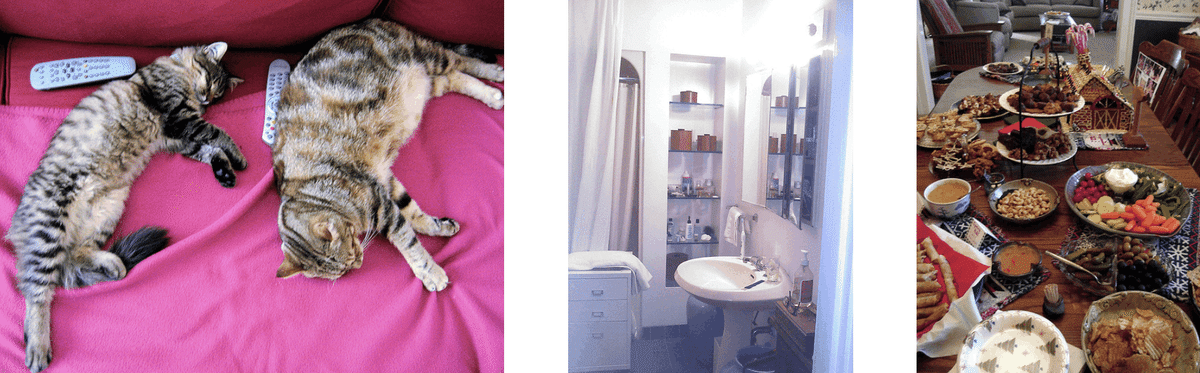
画像説明文生成を行う画像を用意します。Few-Shot用のデモ画像2枚も用意します。
from PIL import Image
import requests

# 画像の準備
demo_image_one = Image.open(
    requests.get(
        "http://images.cocodataset.org/val2017/000000039769.jpg",
        stream=True
    ).raw
)

demo_image_two = Image.open(
    requests.get(
        "http://images.cocodataset.org/test-stuff2017/000000028137.jpg",
        stream=True
    ).raw
)

query_image = Image.open(
    requests.get(
        "http://images.cocodataset.org/test-stuff2017/000000028352.jpg",
        stream=True
    ).raw
)
(6) 画像の前処理
OpenFlamingoの画像を、batch_size x num_media x num_frames x Channels x height x width のtorch tensorに変換します。
# 画像の前処理
vision_x = [
    image_processor(demo_image_one).unsqueeze(0),
    image_processor(demo_image_two).unsqueeze(0),
    image_processor(query_image).unsqueeze(0)
]
vision_x = torch.cat(vision_x, dim=0)
vision_x = vision_x.unsqueeze(1).unsqueeze(0)
vision_x.shapetorch.Size([1, 3, 1, 3, 224, 224])(7) テキストの前処理。
テキストでは、画像の場所を示す<image>、テキスト終端を示す <|endofchunk|> というスペシャルトークンを使います。paddingトークンは左側にある必要があります。
# テキストの前処理
tokenizer.padding_side = "left"
lang_x = tokenizer(
    ["<image>An image of two cats.<|endofchunk|><image>An image of a bathroom sink.<|endofchunk|><image>An image of"],
    return_tensors="pt",
)
プロンプトは画像説明生成用のFew-Shotのプロンプトになります。
<image>An image of two cats.<|endofchunk|>
<image>An image of a bathroom sink.<|endofchunk|>
<image>An image of
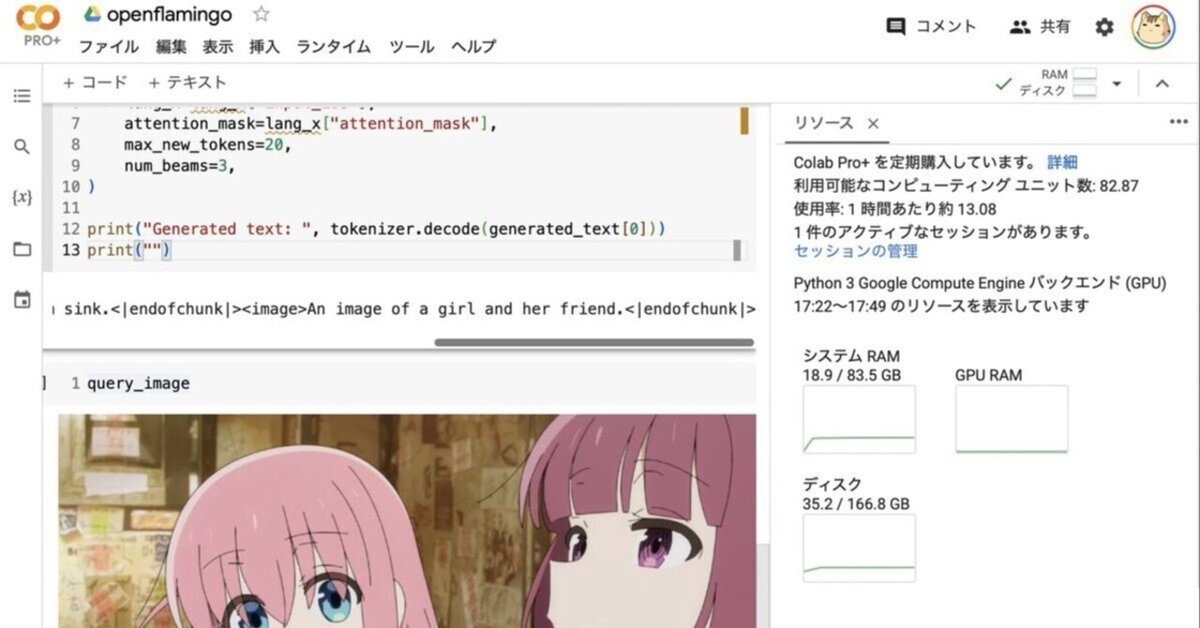
(8) 画像説明生成。
# 画像説明生成
generated_text = model.generate(
    vision_x=vision_x,
    lang_x=lang_x["input_ids"],
    attention_mask=lang_x["attention_mask"],
    max_new_tokens=20,
    num_beams=3,
)

print("Generated text: ", tokenizer.decode(generated_text[0]))
Generated text: <image>An image of two cats.<|endofchunk|><image>An image of a bathroom sink.<|endofchunk|><image>An image of a holiday buffet.<|endofchunk|><image>An image of a holiday buffet.<|endofchunk|>
(ホリデービュッフェの画像)