Google Colab で Stable Cascade を試す

「Google Colab」で「Stable Cascade」を試したので、まとめました。
【注意】Google Colab Pro/Pro+のA100で動作確認しています。
1. Stable Cascade
「Stable Cascade」は、「Würstchen」ーキテクチャをベースにした新しいテキスト画像変換モデルです。3段階のアプローチにより、一般消費者向けハードウェアでの学習とファインチューニングが簡単にできます。非商用利用のみを許可する非商用ライセンスの下でリリースされます。
ファインチューニング、ControlNet、LoRA学習用のスクリプトを Stability AI の GitHub で公開しています。
2. Colabでの実行
Colabでの実行手順は、次のとおりです。
(1) Colabのノートブックを開き、メニュー「編集 → ノートブックの設定」で「GPU」の「A100」を選択。
(2) パッケージのインストール。
# パッケージのインストール
!pip install git+https://github.com/kashif/diffusers.git@wuerstchen-v3
(3) パイプラインの準備。
import torch
from diffusers import StableCascadeDecoderPipeline, StableCascadePriorPipeline

# パイプラインの準備
prior = StableCascadePriorPipeline.from_pretrained(
    "stabilityai/stable-cascade-prior",
    torch_dtype=torch.bfloat16
).to("cuda")
decoder = StableCascadeDecoderPipeline.from_pretrained(
    "stabilityai/stable-cascade",
    torch_dtype=torch.float16
).to("cuda")
(4) 画像生成。
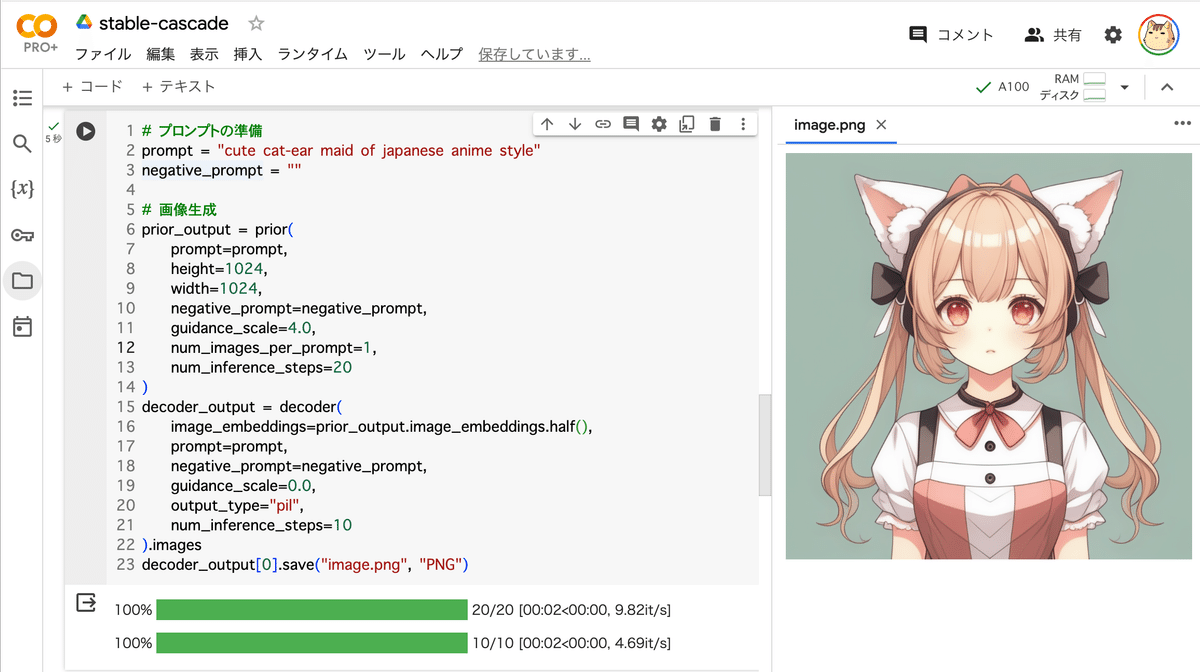
# プロンプトの準備
prompt = "cute cat-ear maid of japanese anime style"
negative_prompt = ""

# 画像生成
prior_output = prior(
    prompt=prompt,
    height=1024,
    width=1024,
    negative_prompt=negative_prompt,
    guidance_scale=4.0,
    num_images_per_prompt=1,
    num_inference_steps=20
)
decoder_output = decoder(
    image_embeddings=prior_output.image_embeddings.half(),
    prompt=prompt,
    negative_prompt=negative_prompt,
    guidance_scale=0.0,
    output_type="pil",
    num_inference_steps=10
).images
decoder_output[0].save("image.png", "PNG")
cute cat-ear maid of japanese anime style
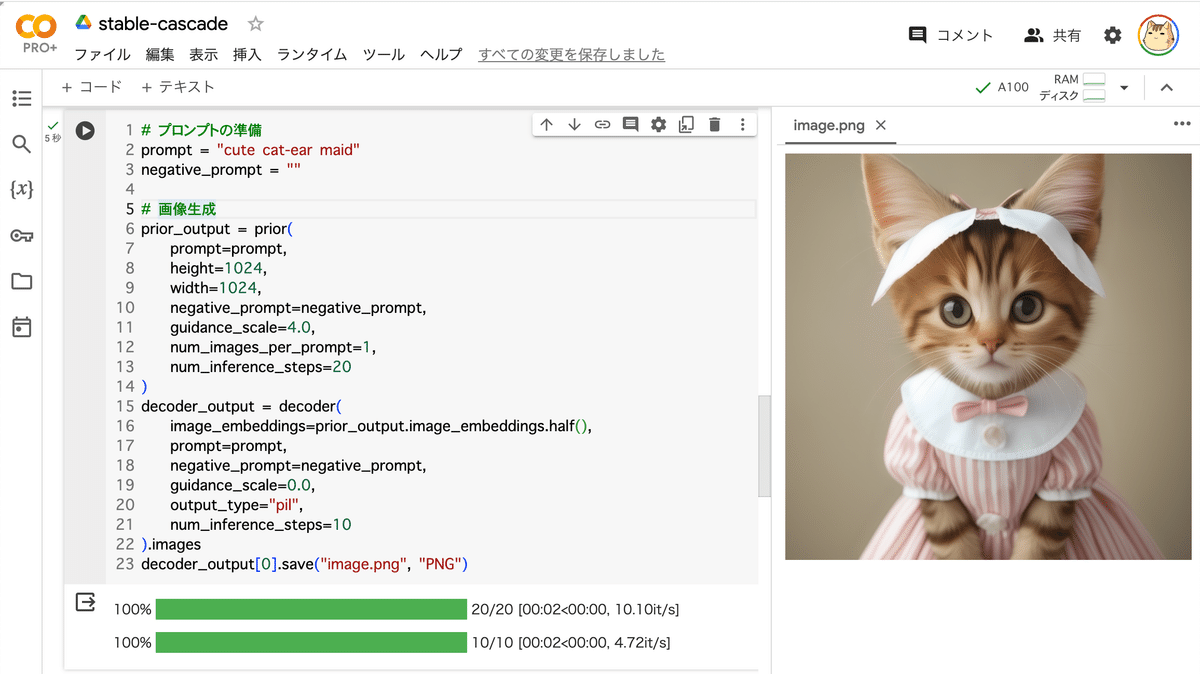
cute cat-ear maid
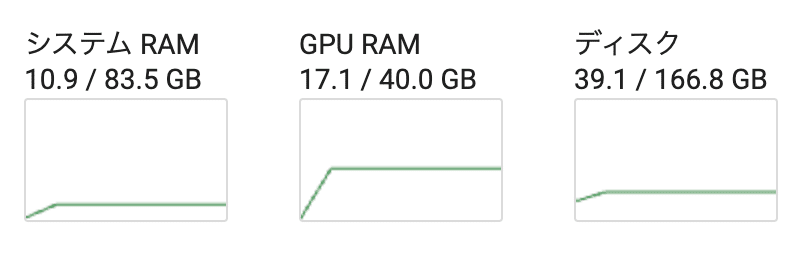
メモリ消費量は、次のとおりです。