Stable Diffusion Dreambooth Concepts Library による DreamBoothの ファインチューニング

「Stable Diffusion Dreambooth Concepts Library」 で Dreamboothの学習用と推論用のColabノートブックが提供されてたので、試してみました。
1. Stable Diffusion Dreambooth Concepts Library
「Stable Diffusion Dreambooth Concepts Library」は、「DreamBooth」のファインチューニングでオブジェクト (object)や画風 (style)を追加学習させたモデルのコレクションです。
DreamBoothの学習用および推論用のColabノートブックも提供されています。
2. 学習の実行
DreamBooth学習用ノートブックでの学習の手順は、次のとおりです。
2.1 DreamBoothの学習用ノートブックを開く
はじめに、DreamBoothの学習用ノートブックを開きます。
2.2. Initial setup
次に、各種パッケージをインストールします。
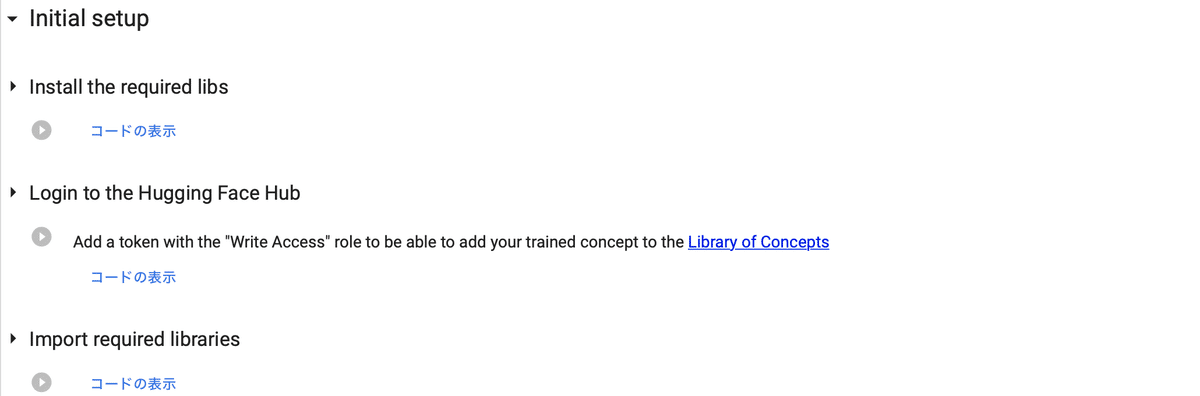
(1) 「Install the request libs」のセルを実行。
パッケージがインストールします。
(2) 「Login to the Hugging Face Hub」のセルを実行。
HuggingFaceにログインします。リンク先のHuggingFaceのトークンをテキストボックスにコピペします。
(3) 「Import required library」のセルを実行。
パッケージをインポートします。
2.3 Settings for teaching your new concept
次に、学習させるコンセプトを設定します。
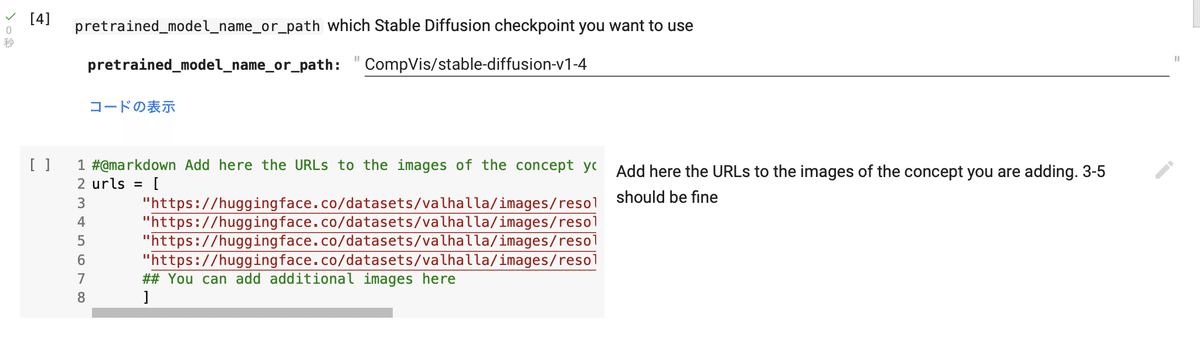
(1) 「pretrained_model_name_or_path」 でベースとなるStable Diffusionモデル (CompVis/stable-diffusion-v1-4) を選択して、セルを実行。
(2) 次のセルで、3枚〜5枚の入力画像のURLを設定し、そのセルと次の「Setup and check the images you have just added」を実行。
#@markdown Add here the URLs to the images of the concept you are adding. 3-5 should be fine
urls = [
      "https://huggingface.co/datasets/valhalla/images/resolve/main/2.jpeg",
      "https://huggingface.co/datasets/valhalla/images/resolve/main/3.jpeg",
      "https://huggingface.co/datasets/valhalla/images/resolve/main/5.jpeg",
      "https://huggingface.co/datasets/valhalla/images/resolve/main/6.jpeg",
      ## You can add additional images here
      ]
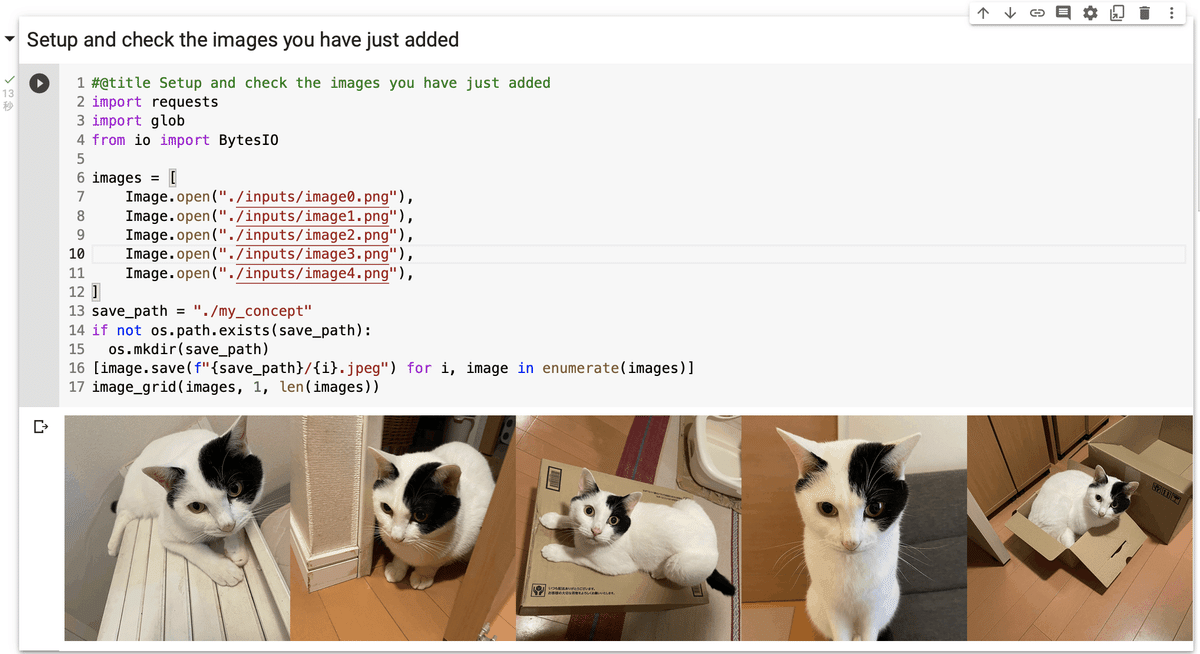
◎ Googleドライブから入力画像を読み込む方法
Googleドライブから入力画像 ("/content/drive/My Drive/work/inputs/image0〜4.png") を直接読み込みたい場合は、次のコードを追加して実行します。
# Googleドライブのマウントと作業フォルダへの移動
from google.colab import drive
drive.mount('/content/drive')
%cd '/content/drive/My Drive/work'
# 追加画像の準備
import requests
import glob
from io import BytesIO
images = [
Image.open("./inputs/image0.png"),
Image.open("./inputs/image1.png"),
Image.open("./inputs/image2.png"),
Image.open("./inputs/image3.png"),
Image.open("./inputs/image4.png"),
]
save_path = "./my_concept"
if not os.path.exists(save_path):
os.mkdir(save_path)
[image.save(f"{save_path}/{i}.jpeg") for i, image in enumerate(images)]
image_grid(images, 1, len(images))
読み込んだ画像が表示されます。
(3) 「Settings for your newly created concept」のセルで以下を設定して実行。
・instance_prompt : a photo of sks cat
オブジェクトまたは画風が何であるかの適切な説明と、イニシャライザ ワード sks を含むプロンプトを指定します。
今回は猫 (cat)を指定しました。
・prior_preservation : なし
コンセプトクラス(toy, dog, painting)を指定します。これにより、品質が向上し、学習時間を犠牲にして汎化に役立ちます。
今回はなしとしました。
2.4 Teach the model the new concept (fine-tuning with Dreambooth)
学習を実行します。一連のセルを実行してください。
15分〜2 時間ほどかかります。
3. 推論の実行
推論の手順は、次のとおりです。
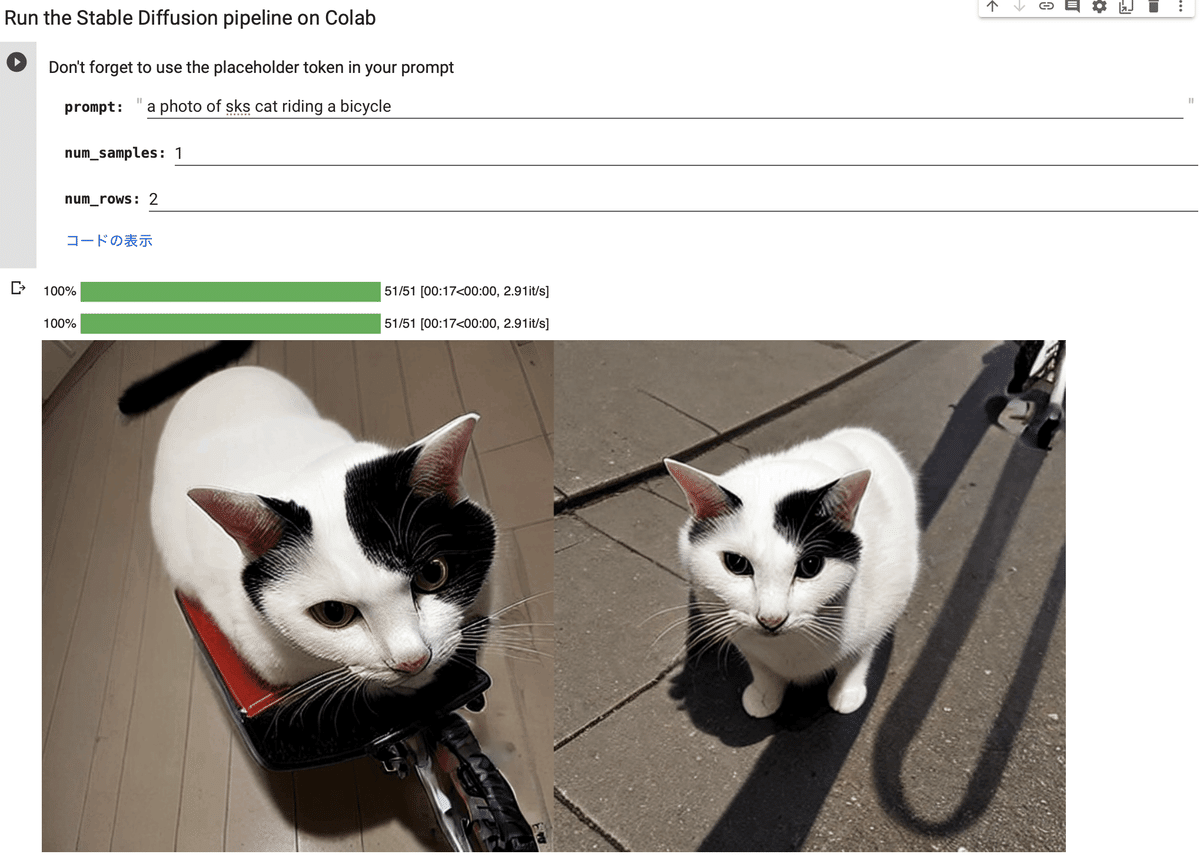
(1) 「Set up the pipeline」のセルを実行。
(2) 「Run the Stable Diffusion pipeline on Colab」のセルをプロンプトを設定して実行。