react-native-fs の使い方
「react-native-fs」の使い方をまとめました。
前回
1. react-native-fs
「react-native-fs」は、React Nativeアプリからネイティブファイルシステムにアクセスするためのライブラリです。
2. ファイルの読み書き
(1) React Nativeプロジェクトの生成。
npx react-native init my_app
cd my_app
(2) パッケージのインストール。
npm install react-native-fs(3) コードの編集。
import React from 'react';
import { Button, View } from 'react-native';
import RNFS from 'react-native-fs';

// アプリ
const App = () => {

  // ファイルの書き込み
  const onWriteFile = async () => {
    const path = RNFS.DocumentDirectoryPath + '/test.txt';
    try {
      await RNFS.writeFile(path, 'This is a test file', 'utf8');
      console.log('Success');
    } catch (e) {
      console.log(e);
    }
  };

  // ファイルの読み込み
  const onReadFile = async () => {
    const path = RNFS.DocumentDirectoryPath + '/test.txt';
    try {
      const contents = await RNFS.readFile(path, 'utf8');
      console.log(contents);
    } catch (e) {
      console.log(e);
    }
  };

  // ファイルの削除
  const onDeleteFile = async () => {
    const path = RNFS.DocumentDirectoryPath + '/test.txt';
    try {
      await RNFS.unlink(path);
      console.log('Success');
    } catch (e) {
      console.log(e);
    }
  };

  // ディレクトリの読み込み
  const onReadDir = async () => {
    const dirPath = RNFS.DocumentDirectoryPath;
    try {
      const result = await RNFS.readDir(dirPath);
      result.forEach(file => {
        console.log(`Name: ${file.name}, Path: ${file.path}`);
      });
    } catch (e) {
      console.log(e);
    }
  };

  return (
    <View style={{ flex: 1, justifyContent: 'center', alignItems: 'center' }}>
      <View style={{marginVertical: 10}}>
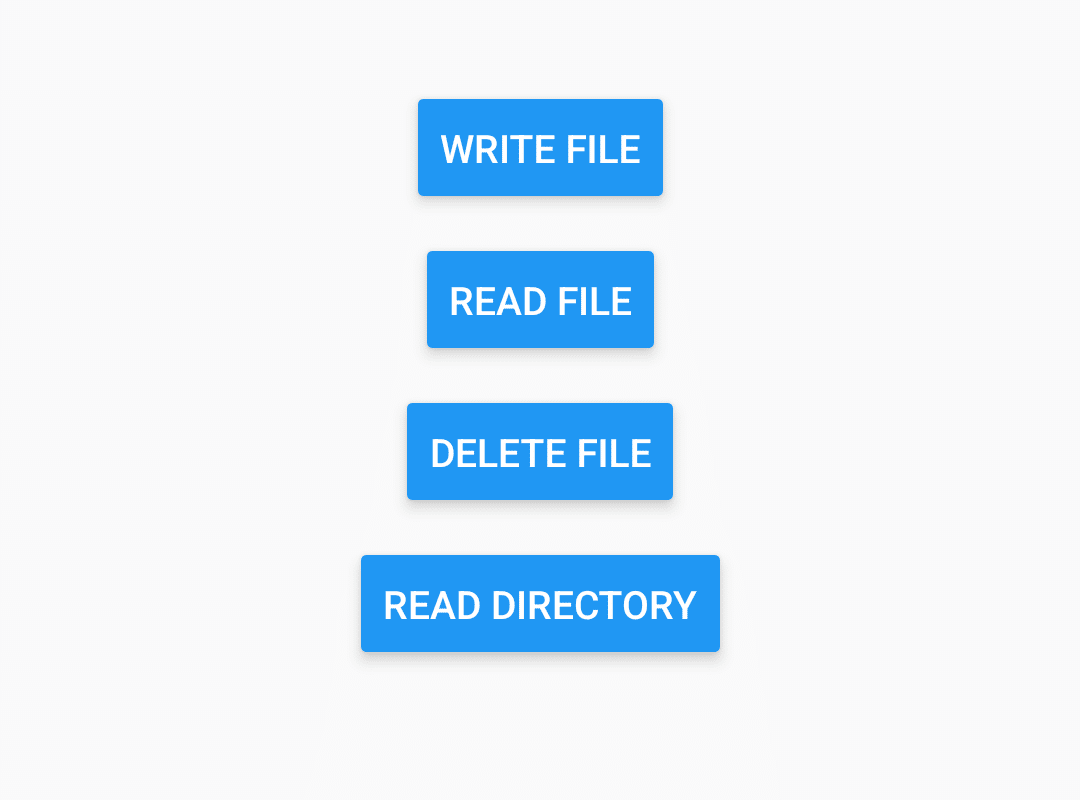
        <Button title="Write File" onPress={onWriteFile} />
      </View>
      <View style={{marginVertical: 10}}>
        <Button title="Read File" onPress={onReadFile} />
      </View>
      <View style={{marginVertical: 10}}>
        <Button title="Delete File" onPress={onDeleteFile} />
      </View>
      <View style={{marginVertical: 10}}>
        <Button title="Read Directory" onPress={onReadDir} />
      </View>
    </View>
  );
};

export default App;
・DocumentDirectoryPath : ドキュメントディレクトリへの絶対パス
・CachesDirectoryPath : キャッシュディレクトリへの絶対パス
・MainBundlePath : メインバンドルディレクトリへの絶対パス (Androidでは利用不可)
・DownloadDirectoryPath : ダウンロードディレクトリへの絶対パス (AndroidおよびWindowsのみ)
・TemporaryDirectoryPath : 一時ディレクトリへの絶対パス (AndroidではCaching-Directoryにフォールバック)
・LibraryDirectoryPath : NSLibraryDirectoryへの絶対パス (iOSのみ)
・ExternalCachesDirectoryPath : 外部キャッシュディレクトリへの絶対パス (Androidのみ)
・ExternalDirectoryPath : 外部ファイル、共有ディレクトリへの絶対パス (Androidのみ)
・ExternalStorageDirectoryPath : 外部ストレージ、共有ディレクトリへの絶対パス (Androidのみ)
・PicturesDirectoryPath : 画像ディレクトリへの絶対パス (Windowsのみ)
・RoamingDirectoryPath : ローミングディレクトリへの絶対パス (Windowsのみ)
(4) コードの実行。
npm start
【おまけ】 expo-file-system
React Nativeのファイルアクセスとしては、「expo-file-system」も提供されています。「expo-file-system」の機能は限定的なため、基本的に「react-native-fs」を使うで問題なさそうです。
