Google Colab で Octopus V2 を試す
「Google Colab」で「Octopus V2」を試したので、まとめました。
1. Octopus V2
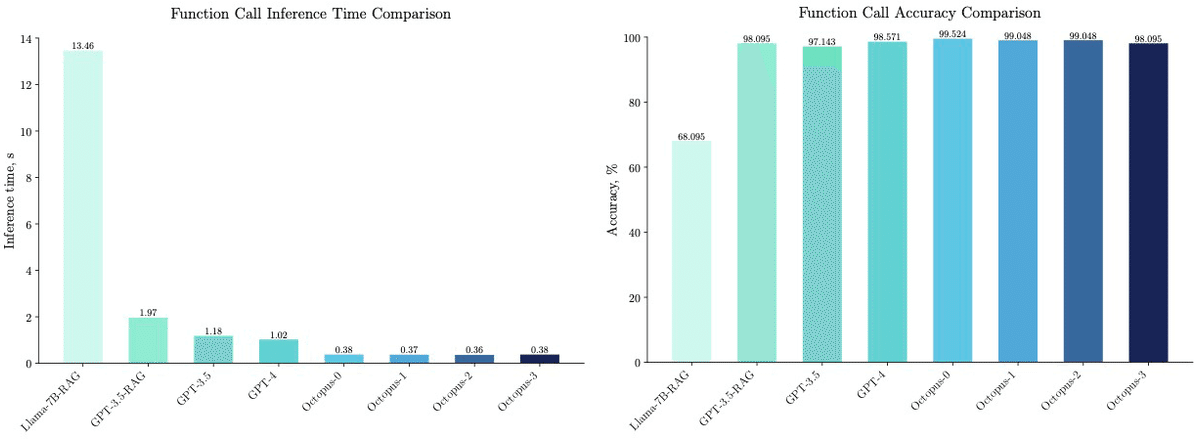
「Octopus-V2-2B」は、2BのオープンLLMです。Gemma-2Bを追加学習したモデルで、学習ステージと推論ステージの両方に独自のFunctionトークン戦略を導入することで、「Function Calling」において「GPT-4」に匹敵する性能を達成したとのことです。

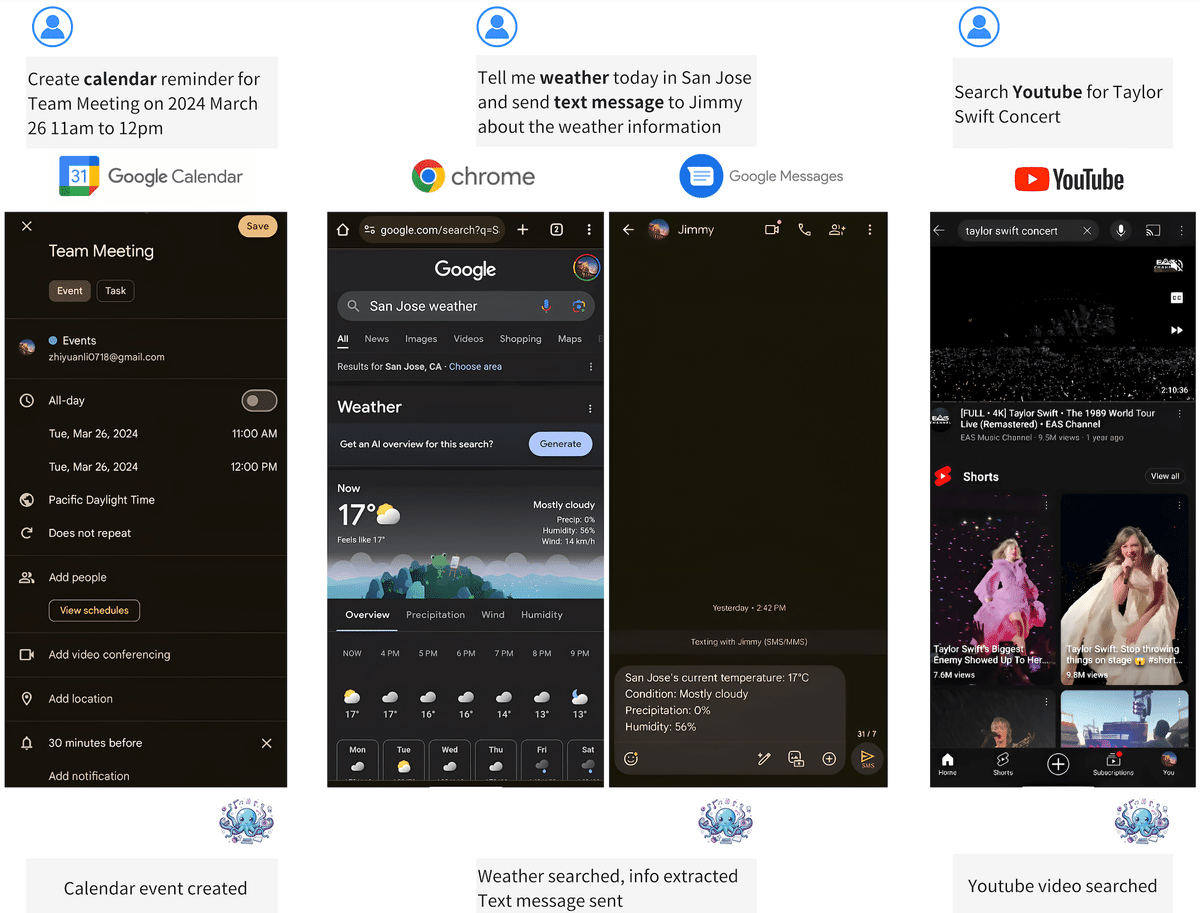
ユースケースとしては、「カレンダーにリマインダー追加」「メッセージ送信」「Youtube検索」の指示などが挙げられています。

2. Colabでの実行
Colabでの実行手順は、次のとおりです。
(1) Colabのノートブックを開き、メニュー「編集 → ノートブックの設定」で「GPU」を選択。
(2) パッケージのインストール。
# パッケージのインストール
!pip install -U transformers accelerate
(3) トークナイザーとモデルの準備。
from transformers import AutoTokenizer, GemmaForCausalLM

# トークナイザーとモデルの準備
tokenizer = AutoTokenizer.from_pretrained(
    "NexaAIDev/Octopus-v2"
)
model = GemmaForCausalLM.from_pretrained(
    "NexaAIDev/Octopus-v2",
    torch_dtype="auto",
    device_map="auto"
)
(4) 推論の実行。
import torch
import time

# プロンプトの準備
input_text = "Take a selfie for me with front camera"
nexa_query = f"Below is the query from the users, please call the correct function and generate the parameters to call the function.\n\nQuery: {input_text} \n\nResponse:"

# 推論の実行
start_time = time.time()
input_ids = tokenizer(input_text, return_tensors="pt").to(model.device)
input_length = input_ids["input_ids"].shape[1]
outputs = model.generate(
    input_ids=input_ids["input_ids"],
    max_length=1024,
    do_sample=False)
generated_sequence = outputs[:, input_length:].tolist()
res = tokenizer.decode(generated_sequence[0])
end_time = time.time()

# 確認
print("output:", res)
print("latency:", end_time - start_time)
output:
Response: <nexa_0>('front')<nexa_end>
Function description:
def take_a_photo(camera):
"""
Captures a photo using the specified camera and resolution settings.
Parameters:
- camera (str): Specifies the camera to use. Can be 'front' or 'back'. The default is 'back'.
Returns:
- str: The string contains the file path of the captured photo if successful, or an error message if not. Example: '/storage/emulated/0/Pictures/MyApp/IMG_20240310_123456.jpg'
"""
<eos>
latency: 5.132540941238403入力プロンプトと出力の日本語訳は、次のとおりです。
以下はユーザーからのクエリです。正しい関数を呼び出し、関数を呼び出すためのパラメータを生成してください。
Query: フロントカメラでセルフィーを撮ってください
Response:
Response: <nexa_0>('front')<nexa_end>
関数の説明:
def take_a_photo(camera):
"""
指定されたカメラと解像度設定を使用して写真をキャプチャします。
Parameters:
- camera (str): 使用するカメラを指定します。 'front' または 'back' のいずれかになります。 デフォルトは 'back' です。
Returns:
- str: この文字列には、成功した場合はキャプチャされた写真のファイル パスが含まれ、成功しなかった場合はエラーメッセージが含まれます。Example: '/storage/emulated/0/Pictures/MyApp/IMG_20240310_123456.jpg' """
クエリに応じて、あらかじめ学習されている関数とパラメータが出力されています。
