three.js 入門 (9) - ラインの描画

以下の記事が面白かったので、ざっくり翻訳しました。
・Drawing lines – three.js docs
前回
1. ラインの描画
ラインの描画手順は、次のとおりです。
(1) レンダラー、シーン、カメラを生成。
// レンダラーの生成
const renderer = new THREE.WebGLRenderer();
renderer.setSize(window.innerWidth, window.innerHeight);
document.body.appendChild(renderer.domElement);

// カメラの生成
const camera = new THREE.PerspectiveCamera(45, window.innerWidth / window.innerHeight, 1, 500);
camera.position.set(0, 0, 100);
camera.lookAt(0, 0, 0);

// シーンの生成
const scene = new THREE.Scene();
(2) 青いマテリアルの生成。
ラインのマテリアルは、「LineBasicMaterial」または「LineDashedMaterial」を使用する必要があります。
// 青いマテリアルの生成
const material = new THREE.LineBasicMaterial({color: 0x0000ff});
(3) 3頂点を持つジオメトリの生成。
連続する頂点の各ペア間にラインが描画されますが、最初と最後の間にラインが描画されることはありません(線は閉じられていません)。
// 3頂点を持つジオメトリの生成
const points = [];
points.push(new THREE.Vector3(-10, 0, 0));
points.push(new THREE.Vector3(0, 10, 0));
points.push(new THREE.Vector3(10, 0, 0));
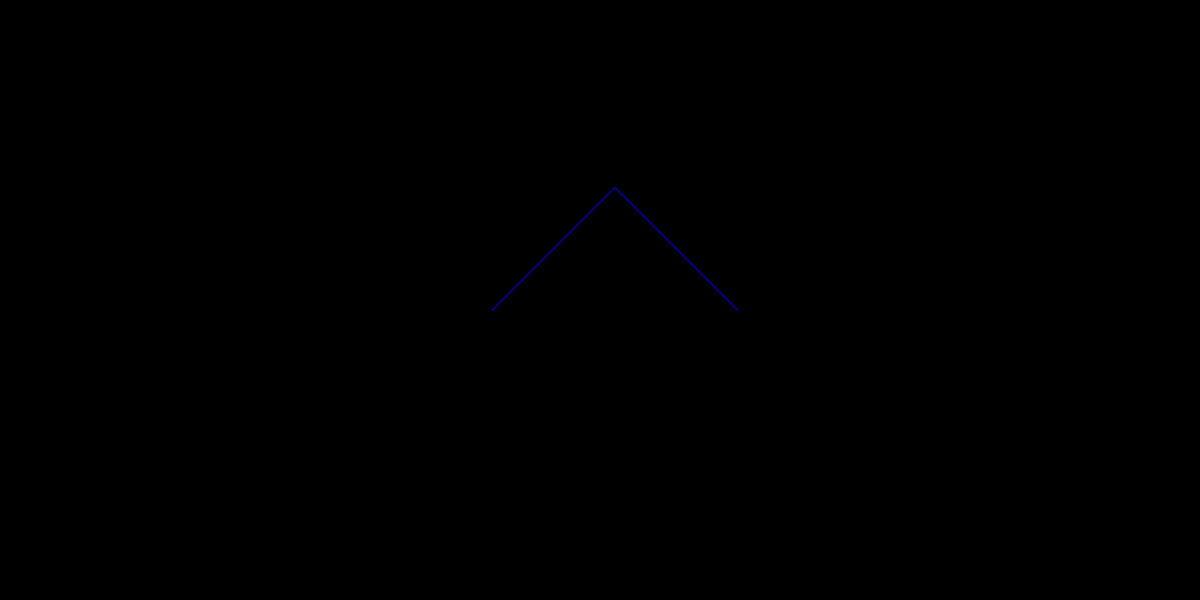
const geometry = new THREE.BufferGeometry().setFromPoints(points);(4) ラインの生成。
マテリアルとジオメトリでラインを生成します。
// ラインの生成
const line = new THREE.Line(geometry, material);
(5) シーンに追加してレンダーを呼び出す。
scene.add(line);
renderer.render(scene, camera);
2本の青いラインで作られた上向きの矢印が表示されます。