React Native の expo-file-system の使い方
「React Native」の「expo-file-system」の使い方をまとめました。
前回
1. expo-file-system
「expo-file-system」は、「React Native」アプリのファイルシステムにアクセスするためのExpoライブラリです。モバイルデバイス上のローカルストレージに対して、ファイルの読み書き、ディレクトリの作成・削除、ファイルの移動などの操作が行えます。
2. ファイルの読み書き
ファイルの読み書きの手順は、次のとおりです。
2-1. React Nativeプロジェクトの作成
(1) React Nativeプロジェクトの作成。
最新版はビルドエラーになったので、1つ前をバージョン指定しています。
npx react-native init my_app --version 0.75.3
cd my_app
(2) パッケージのインストール。
npx install-expo-modules
npm install expo-file-system
2-2. iOSのセットアップ
(1) podのインストール。
cd ios
pod install
cd ..
(2) Xcodeで署名し、iPhoneにインストールできることを確認。
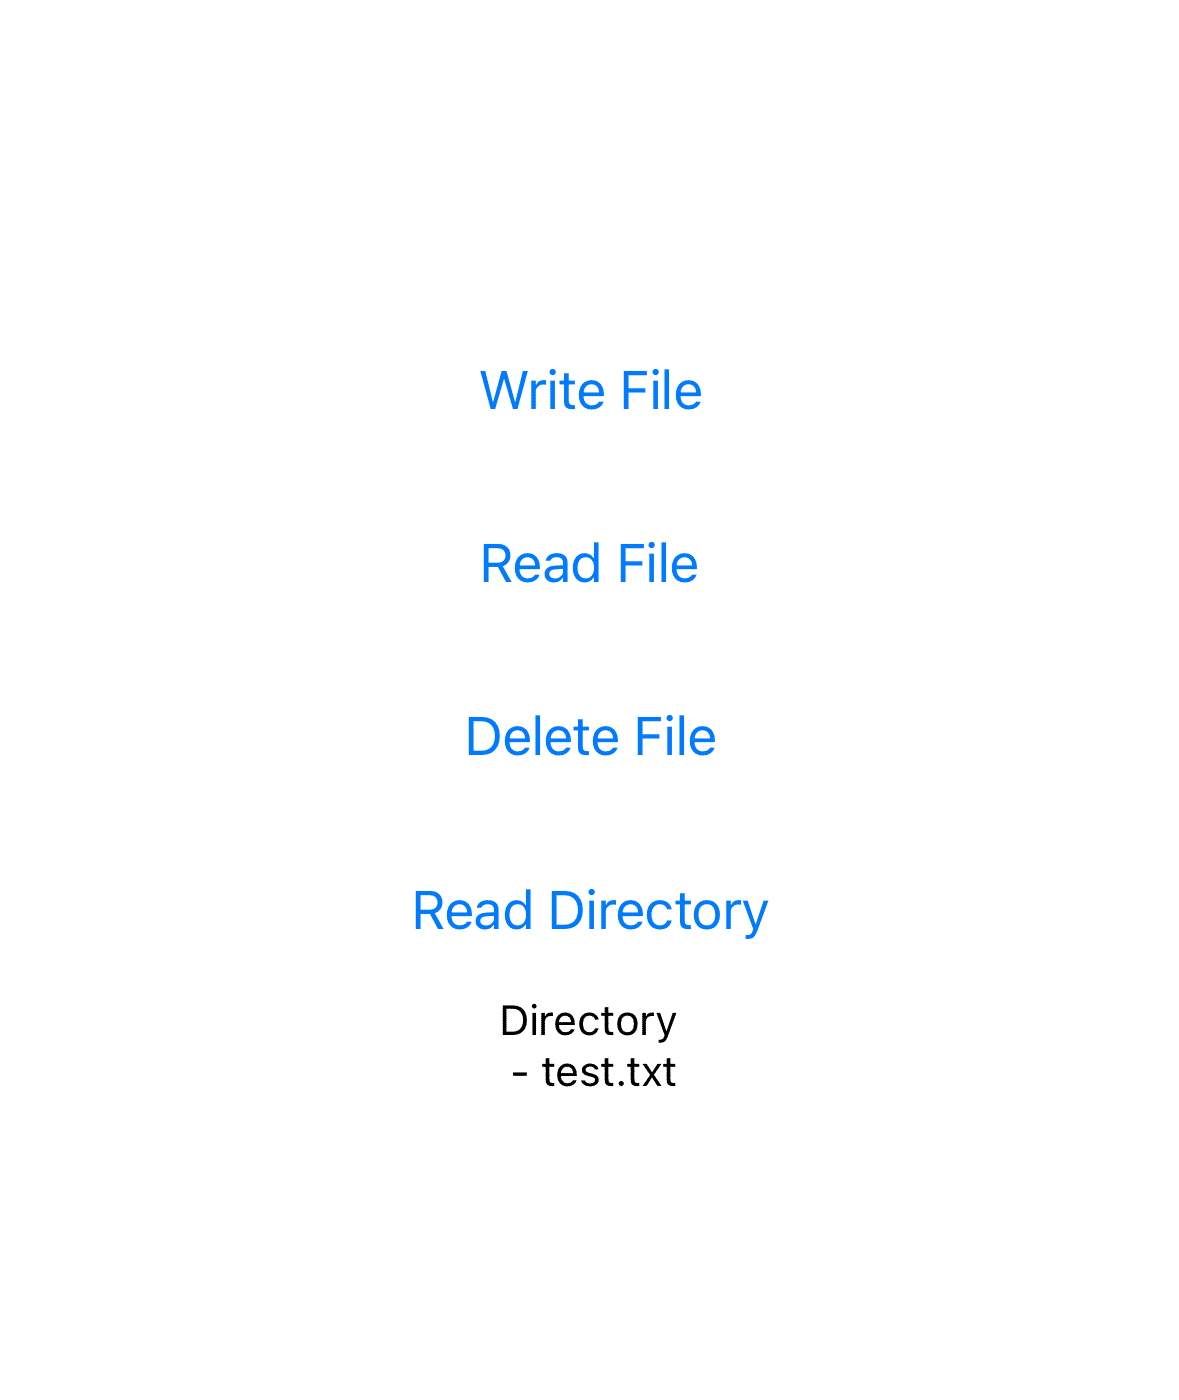
2-3. ファイルの読み書き
(1) コードの編集。
・App.tsx
import React, {useState} from 'react';
import { Button, View, Text } from 'react-native';
import * as FileSystem from 'expo-file-system';

// アプリ
const App = () => {
  const [message, setMessage] = useState('');

  // ファイルの書き込み
  const onWriteFile = async () => {
    const path = FileSystem.documentDirectory + 'test.txt';
    const content = 'This is a test file';
    try {
      await FileSystem.writeAsStringAsync(path, content, {
        encoding: FileSystem.EncodingType.UTF8,
      });
      setMessage('Write File\n' + content + '\n' + path);
    } catch (e) {
      console.log(e);
      setMessage('Error');
    }
  };

  // ファイルの読み込み
  const onReadFile = async () => {
    const path = FileSystem.documentDirectory + 'test.txt';
    try {
      const content = await FileSystem.readAsStringAsync(path, {
        encoding: FileSystem.EncodingType.UTF8,
      });
      setMessage('Read File\n' + content + '\n' + path);
    } catch (e) {
      console.log(e);
      setMessage('Error');
    }
  };

  // ファイルの削除
  const onDeleteFile = async () => {
    const path = FileSystem.documentDirectory + 'test.txt';
    try {
      await FileSystem.deleteAsync(path);
      setMessage('Delete File\n' + path);
    } catch (e) {
      console.log(e);
      setMessage('Error');
    }
  };

  // ディレクトリの読み込み
  const onReadDir = async () => {
    const dirPath = FileSystem.documentDirectory;
    try {
      if (dirPath) {
        const result = await FileSystem.readDirectoryAsync(dirPath);
        let messageContent = 'Directory';
        result.forEach((file) => {
          messageContent += `\n - ${file}`;
        });
        setMessage(messageContent);
      }
    } catch (e) {
      console.log(e);
      setMessage('Error');
    }
  };

  return (
    <View style={{ flex: 1, justifyContent: 'center', alignItems: 'center' }}>
      <View style={{ marginVertical: 10 }}>
        <Button title="Write File" onPress={onWriteFile} />
      </View>
      <View style={{ marginVertical: 10 }}>
        <Button title="Read File" onPress={onReadFile} />
      </View>
      <View style={{ marginVertical: 10 }}>
        <Button title="Delete File" onPress={onDeleteFile} />
      </View>
      <View style={{ marginVertical: 10 }}>
        <Button title="Read Directory" onPress={onReadDir} />
      </View>
      <Text>{ message }</Text>
    </View>
  );
};

export default App;
フォルダパスは、次のとおりです。
・FileSystem.bundleDirectory : バンドルアセットが保存されるディレクトリ
・FileSystem.cacheDirectory : 一時ファイルが保存されるディレクトリ
・FileSystem.documentDirectory : ユーザードキュメントが保存されるディレクトリ
(2) コードの実行。
npm start
3. ファイルのダウンロード
ファイルのダウンロードの手順は、次のとおりです。
(1) コードの編集。
・App.tsx
import React, { useEffect, useState } from 'react';
import { View, Image, ActivityIndicator } from 'react-native';
import * as FileSystem from 'expo-file-system';

// アプリ
const App = () => {
  const [imageUri, setImageUri] = useState<string | null>(null);
  const [loading, setLoading] = useState<boolean>(true);

  // 初期化
  useEffect(() => {
    // 画像の読み込み
    const loadImage = async () => {
      try {
        // URL
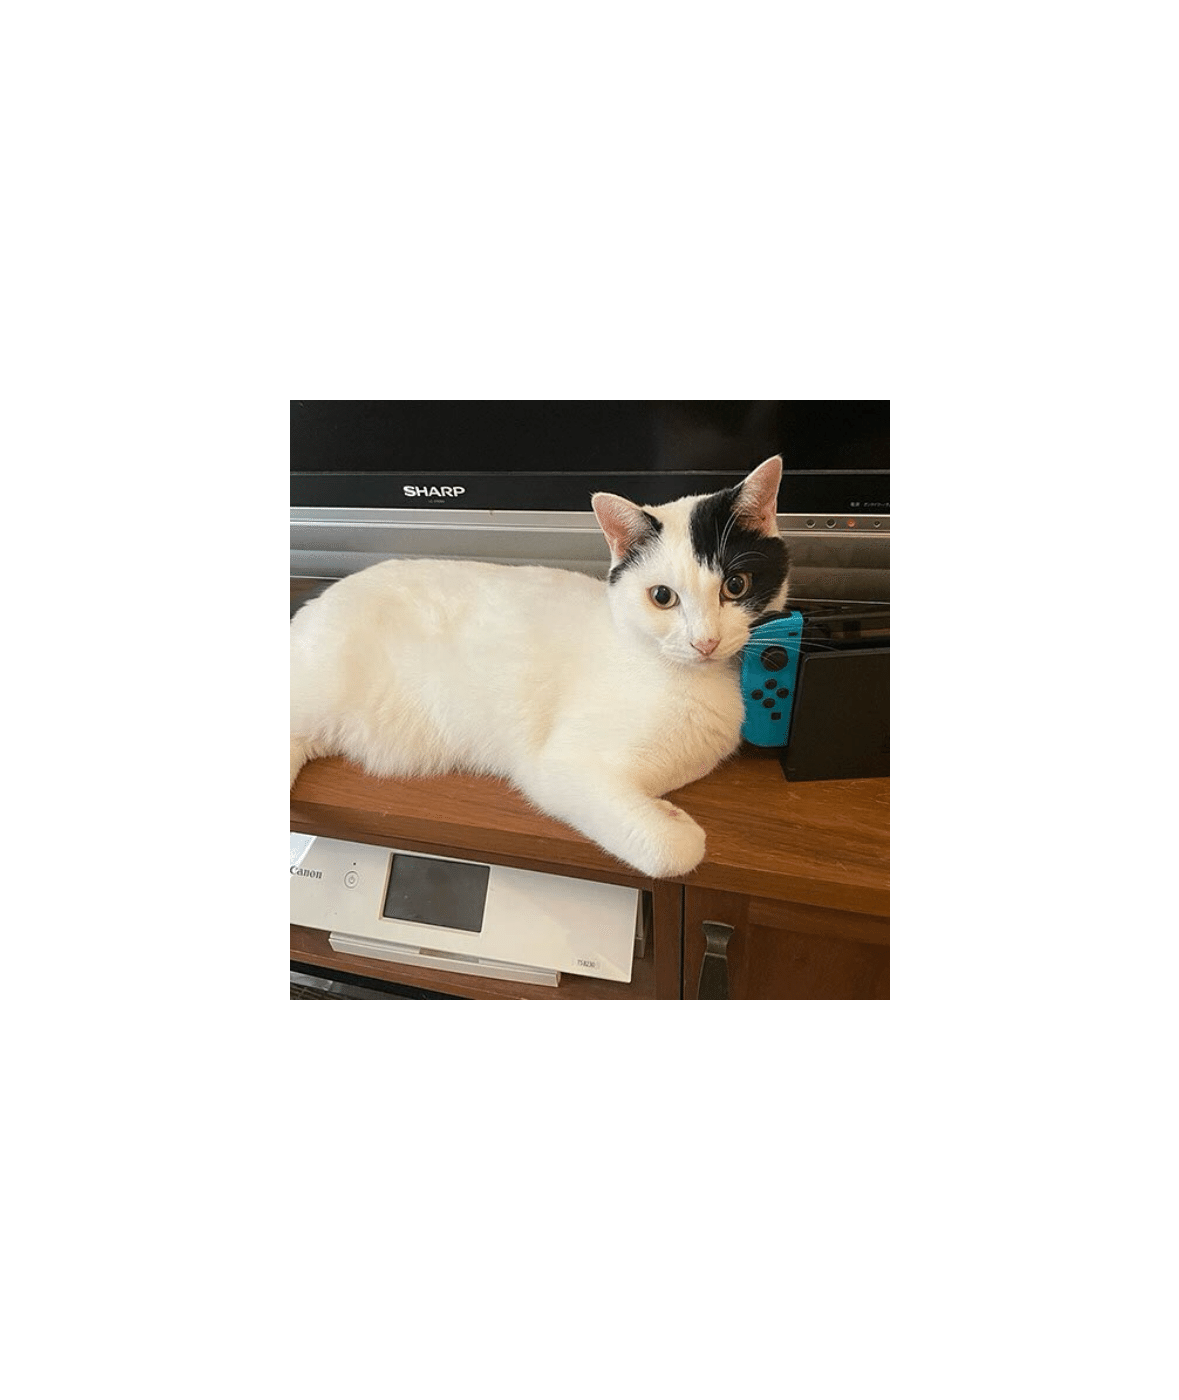
        const remoteImageUri = 'https://assets.st-note.com/img/1726143192-1tzIZ38wnDCuXBphiHJge6jk.jpg';

        // 画像のダウンロード
        const filename = remoteImageUri.split('/').pop() || 'image.jpg';
        const localUri = `${FileSystem.cacheDirectory}${filename}`;
        const downloadResult = await FileSystem.downloadAsync(
          remoteImageUri,
          localUri
        );

        // ローカルURLの指定
        if (downloadResult.status === 200) {
          setImageUri(downloadResult.uri);
        } else {
          throw new Error('Download failed');
        }
      } catch (error) {
        console.error('画像の読み込みに失敗しました:', error);
      } finally {
        setLoading(false);
      }
    };

    // 画像の読み込みの実行
    loadImage();
  }, []);

  // UI
  return (
    <View style={{ flex: 1, justifyContent: 'center', alignItems: 'center' }}>
      {loading ? (
        <ActivityIndicator size="large" color="#0000ff" />
      ) : (
        imageUri && <Image source={{ uri: imageUri }} style={{ width: 200, height: 200 }} />
      )}
    </View>
  );
};

export default App;
(2) コードの実行。
npm start
