
Google Colab で Gemini 2.0 の Multimodal Live API を試す

「Google Colab」で「Gemini 2.0」の「Multimodal Live API」を試したので、まとめました。
1. Multimodal Live API
「Multimodal Live API」は、テキストとオーディオとビデオの入力と、オーディオとテキストの出力を使用した低遅延の双方向インタラクションを可能にします。これにより、いつでもモデルを中断できる、自然で人間のような音声会話が可能になります。モデルのビデオ理解機能によりコミュニケーションモダリティが拡張され、カメラ入力やスクリーンキャストを共有して、それらについて質問できるようになります。
2. Multimodal Live API の主な機能
「Multimodal Live API」の主な機能は、次のとおりです。
・マルチモダリティ
モデルは見たり、聞いたり、話したりできます。
・低遅延のリアルタイムインタラクション
モデルは高速な応答を提供できます。
・セッションメモリ
モデルは単一のセッション内のすべてのインタラクションのメモリを保持し、以前に聞いたり見たりした情報を呼び出します。
・Function Calling・Code Execution・Search as a Tool のサポート
モデルを外部サービスやデータ ソースと統合できます。
「Multimodal Live API」は、サーバー間通信用に設計されています。Webアプリやモバイルアプリの場合は、「Daily」からの統合を使用することを推奨します。
3. Text-to-Text
「Google Colab」で「Multimodal Live API」の「Text-to-Text」を行う手順は、次のとおりです。
(1) パッケージのインストール。
# パッケージのインストール
!pip install -U -q google-genai
(2) 「Google AI Studio」からAPIキーを取得し、Colabのシークレットマネージャーに登録し、以下のセルを実行。
from google.colab import userdata
import os

# APIキーの準備
os.environ['GOOGLE_API_KEY'] = userdata.get("GOOGLE_API_KEY")
(3) クライアントの準備。
現在、「Multimodal Live API」を使用するには、クライアントバージョンに「v1alpha」を指定する必要があります。
from google import genai

# クライアントの準備
client = genai.Client(http_options= {'api_version': 'v1alpha'})
(4) 「Text-to-Text」の実行。
generation_config で "response_modalities": ["TEXT"] を設定して、モデルにテキスト出力するように指示します。
# Text-to-Textの実行
config={
    "generation_config": {"response_modalities": ["TEXT"]}
}
async with client.aio.live.connect(model="gemini-2.0-flash-exp", config=config) as session:
  message = "Hello? Gemini are you there?"
  print("> ", message, "\n")
  await session.send(message, end_of_turn=True)

  # テキスト応答の場合、モデルがターン完了するとループから抜け出す
  turn = session.receive()
  async for chunk in turn:
    if chunk.text is not None:
      print(f'- {chunk.text}')
> Hello? Gemini are you there?
- Yes
- , I'm here! How can I help you today?主なAPIは、次のとおりです。
・client.aio.live.connect()
「Multimodal Live API」とのWebSocket接続を確立します。接続が成功すると、BidiGenerateContentStream を返します。このオブジェクトを使って、モデルとの双方向インタラクションを行います。
・session.send()
ユーザーからの入力(テキスト、音声など)をモデルに送信します。
・session.receive()
モデルからの出力(テキスト、音声など)を受信します。
4. Text-to-Audio
「Google Colab」で「Multimodal Live API」の「Text-to-Audio」を行う手順は、次のとおりです。
(1) waveをファイル保存する関数の準備。
Colabでwaveを再生するには、ファイル保存するのが簡単です。
import contextlib
import wave

# waveをファイル保存する関数
@contextlib.contextmanager
def wave_file(filename, channels=1, rate=24000, sample_width=2):
    with wave.open(filename, "wb") as wf:
        wf.setnchannels(channels)
        wf.setsampwidth(sample_width)
        wf.setframerate(rate)
        yield wf
(2) Text-to-Audioの実行。
generation_config で "response_modalities": ["AUDIO"] を設定して、モデルにオーディオ出力するように指示します。モデルから応答を受け取ったら、オーディオをwaveファイルに書き出します。
from IPython.display import Audio

# Text-to-Audioの実行
config={
    "generation_config": {"response_modalities": ["AUDIO"]}
}
async with client.aio.live.connect(model="gemini-2.0-flash-exp", config=config) as session:
  file_name = 'audio.wav'
  with wave_file(file_name) as wav:
    message = "Hello? Gemini are you there?"
    print("> ", message, "\n")
    await session.send(message, end_of_turn=True)

    first = True
    async for response in session.receive():
      if response.data is not None:
        model_turn = response.server_content.model_turn
        if first:
          print(model_turn.parts[0].inline_data.mime_type)
          first = False
        print('.', end='.')
        wav.writeframes(response.data)

display(Audio(file_name, autoplay=True))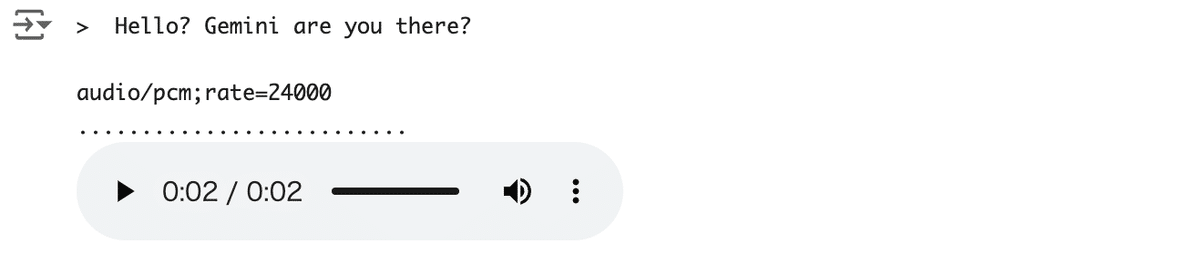
レスポンスの主なプロパティは、次のとおりです。
・data
モデルから受信した音声データのバイト列です。WAVEファイルに書き込むために使用されます。
・events
モデルから受信したイベントのリストです。
・metadata
レスポンスに関するメタデータを含む辞書です。
・server_content
モデルからの出力の詳細情報が含まれています。
・model_turn : モデルの発話に関する情報です。
・parts : 発話を構成する部分のリストです。
・inline_data : 音声データなどのインラインデータです。
・mime_type : インラインデータのMIMEタイプです。
5. 非同期タスク
「Multimodal Live API」の真の力は、リアルタイムで割り込み可能であることです。単純な一連の手順では、その力を十分に発揮することはできません。機能を実際に使用するには、送信および受信操作 (およびその他の操作) を独自の非同期タスクに移動します。
Colabの制限により、この例ではインタラクティブな非同期タスクを完全に実装していません。
次のように実装しています。
(1) 送信と受信を分離しますが、引き続き順番に実行します。
(2) これらを個別の非同期タスクで実行します。
(1) Loggerの準備。
デバッグを容易にするために、簡単なLoggerを準備します。
import logging

logger = logging.getLogger('Live')
logger.setLevel('INFO')
(2) AudioLoopの実装。
「Multimodal Live API」との双方向インタラクションを実装します。
import asyncio

# AudioLoopの実装
class AudioLoop:
  def __init__(self, config=None):
    self.session = None
    self.index = 0
    if config is None:
      config={
        "generation_config": {"response_modalities": ["AUDIO"]}
      }
    self.config = config

  # メインループ
  async def run(self):
    print("Type 'q' to quit")

    logger.debug('connect')
    async with client.aio.live.connect(model="gemini-2.0-flash-exp", config=self.config) as session:
      self.session = session

      while True:
        # Ideally these would be separate tasks.
        if not await self.send():
          break
        await self.recv()

  # 入力テキストをAPIに送信
  async def send(self):
    logger.debug('send')
    # ここでは asyncio.to_thread が重要であり、これがないと他のすべてのタスクがブロックされる
    text = await asyncio.to_thread(input, "message > ")

    # 入力が「q」を返す場合は終了
    if text.lower() == 'q':
      return False

    # モデルにメッセージを送信
    await self.session.send(text, end_of_turn=True)
    logger.debug('sent')
    return True

  # APIからオーディオを収集して再生
  async def recv(self):
    # 新しいwaveファイルを開始
    file_name = f"audio_{self.index}.wav"
    with wave_file(file_name) as wav:
      self.index += 1

      logger.debug('receive')

      # ソケットからチャンクを読み取る
      async for response in self.session.receive():
        logger.debug(f'got chunk: {str(response)}')

        server_content = response.server_content
        if server_content is None:
          logger.error(f'Unhandled server message! - {response}')
          break

        # オーディオチャンクをwaveファイルに書き込む
        model_turn = response.server_content.model_turn

        if model_turn is not None:
          for part in model_turn.parts:
            data = part.inline_data.data
            print('.', end='')
            logger.debug(f'Got pcm_data, mimetype: {part.inline_data.mime_type}')
            wav.writeframes(data)

        if response.server_content.turn_complete:
          print('\n')
          break

    display(Audio(file_name, autoplay=True))
    await asyncio.sleep(2)
次の3つのメソッドが重要です。
・run() - メインループ
次の処理を行います。
(1) 「Multimodal Live API」に接続する Websocket を開く。
(2) 初期セットアップメソッドを呼び出す。
(3) 次にメインループに入り、send が False を返すまで send と recv を交互に実行。
実際のアプリでは、メディアをストリーミングして非同期で実行します。
・send() - 入力テキストをAPIに送信
ユーザーから入力テキストを収集し、それを client_contentメッセージ (BidiGenerateContentClientContent) にラップして、モデルに送信します。
ユーザーが q を送信すると、このメソッドは False を返して終了するタイミングを知らせます。
・recv() - APIからオーディオを収集して再生
ループでオーディオチャンクを収集し、waveファイルに書き込みます。モデルが turn_completeメソッドを送信するとループが終了し、オーディオが再生されます。
Colabではシンプルさを保つため、再生する前にすべてのオーディオを収集します。実際のアプリでは、オーディオの受信を開始するとすぐに再生できます。モデルの中断も実装できます。
(3) AudioLoopの実行。
# 実行
await AudioLoop().run()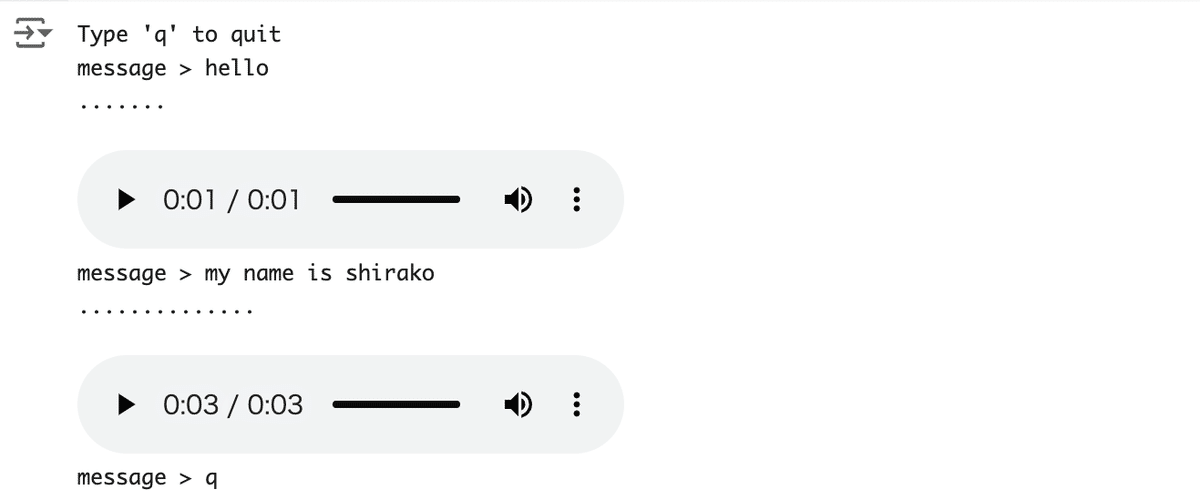
.pyで実装した完全な非同期タスクの例は、以下で参照できます。