
Firebase Extensions の Stripe によるサブスク機能を試す

「Firebase Extensions」の「Stripe」によるサブスク機能を試したので、まとめました。
1. Stripe と Run Payments with Stripe
1-1. Stripe
「Stripe」は、オンライン決済を簡単に導入することができるWebプラットフォームです。Webサイトやモバイルアプリなど、様々な場所での決済をサポートしています。
1-2. Run Payments with Stripe
「Run Payments with Stripe」は、FirebaseでStripeを利用するための拡張機能で、「1 回限りの支払い」と「定期的な支払い」を「Firebase Authentication」と同期することで、有料コンテンツへのアクセスを制御します。
2. Stripeの制限付きキーの準備
2-1. StripeのAPIキー
「Stripe」には、次の3種類のAPIキーがあります。さらに「本番環境用」と「テスト環境用」に分かれています。
・公開可能キー (pk_test_XXXX)
クライアント用のAPIキーです。Webやモバイルアプリのクライアント側コードからのパブリックアクセスが可能です。「Stripe Elements」 などを使用して決済情報を安全に収集します。
・シークレットキー (sk_test_XXXX)
サーバー用のAPIキーです。「Stripe API」を呼び出すWebやモバイルアプリのサーバー側コードでこれを安全に保管し、秘密にする必要があります。このキーをWebに公開したり、モバイルアプリに埋め込んだりしないでください。
・制限付きキー (rk_test_XXXX)
マイクロサービス用のAPIキーです。「Stripe API」を呼び出すマイクロサービスコードでこれを安全に保管し、秘密にする必要があります。このキーをWebに公開したり、モバイルアプリに埋め込んだりしないでください。
2-2. Stripeの制限付きキーの準備
「Stripeの制限付きキー」の準備の手順は、次のとおりです。
(1) Stripeでアカウントを作成してログイン。
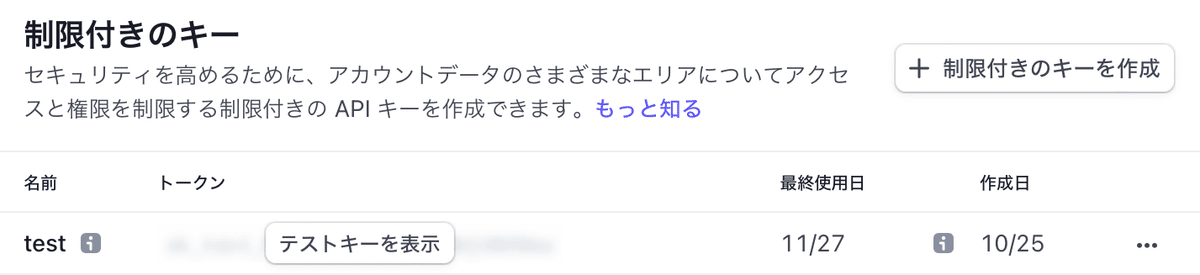
(2) テスト環境のまま、「開発者 → APIキー → 制限付きキー」の「制限付きのキーを作成」ボタンを押す。

(3) 以下の権限を設定して「キーを作成」をクリック。
・Customers (書き込み)
・Checkout Sessions (書き込み)
・Customer portal (書き込み)
・Subscriptions (読み込み)
・Prices (読み込み)
(4) 「テストキーを表示」をクリックしてキーをコピー。
3. Firebase Console での準備
「Firebase Console」 での準備の手順は、次のとおりです。
(1) 「Firebase Console」で Firebaseプロジェクトを作成。
(2) 「Firebase Extensions」の「Run Payments with Stripe」で拡張機能をFirebaseプロジェクトにインストール。
指示に従って、各種機能を有効化します。

(3) 拡張機能の設定。
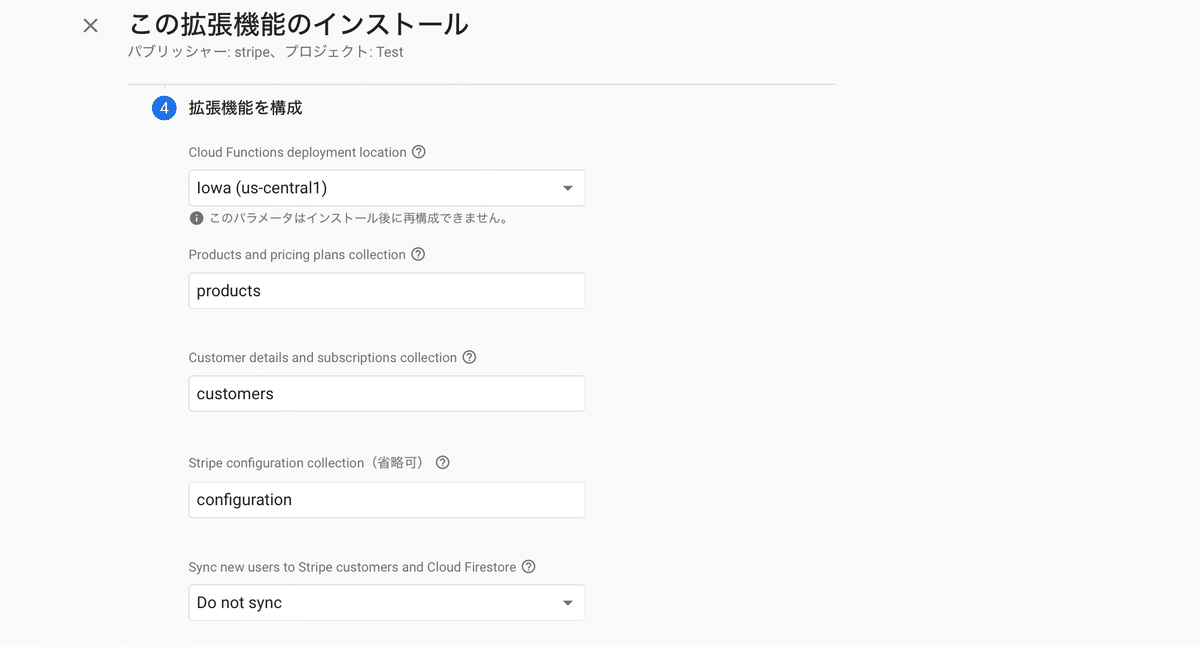
・Cloud Functions deployment location
: Cloud Functionsのロケーション
・Products and pricing plans collection : 課金プランの情報を格納するFirestoreのCollection名 (products)
・Customer details and subscriptions collection : 顧客情報と課金情報を格納するFirestoreのCollection名 (customers)
・Sync new users to Stripe customers and Cloud Firestore : Stripe上の顧客情報の作成タイミング (Sync:ユーザー作成時, Do not sync:チェックアウト時) (Do not sync)
・Automatically delete Stripe customer objects : AuthenticationまたはFirestoreのユーザー削除時に、Stripe上の顧客情報を削除するか (Auto delete)
・Stripe API key with restricted access : 作成済みの「制限付きのキー」を貼り付けてから「シークレットを作成」をクリック
・Stripe webhook secretFirebase : あとで設定
・Minimum instances for createCheckoutSession function : Cloud Functionsインスタンスの最低数 (0)
・有効なイベント :
・チャネルのロケーション
・イベントの種類 (all)
成功すると、拡張機能のインストールが完了します。
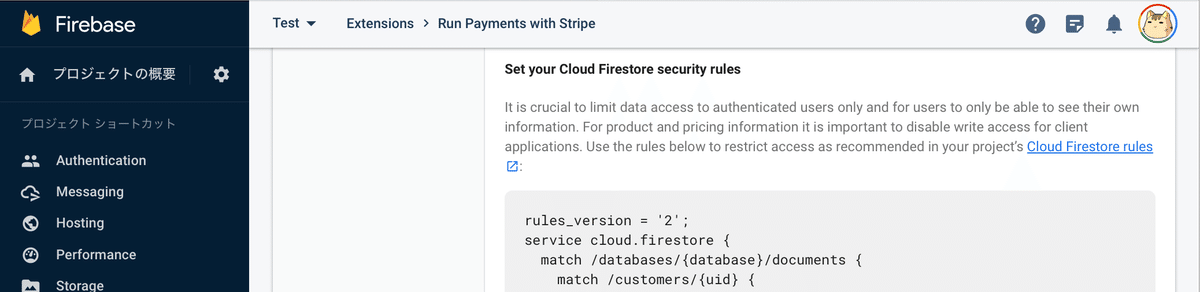
(4) 「Firebase Console」の「Extensions → Run Payments with Stripe → この拡張機能の動作」の「Set your Cloud Firestore security rules」の指示に従って、「Firestore console」で「Firestore security rules」を設定。
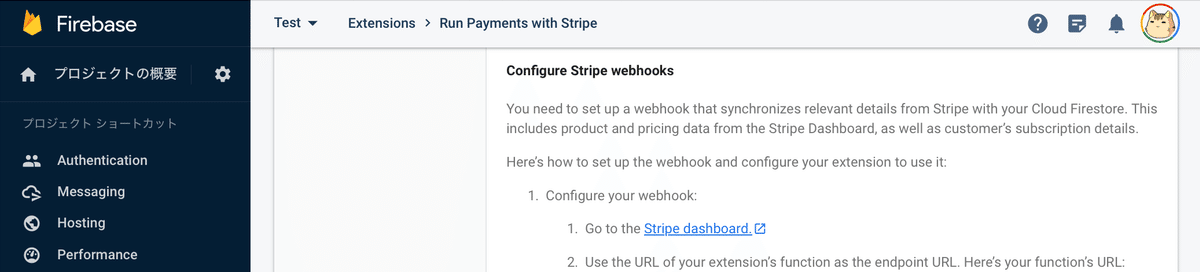
(5)「Configure Stripe webhooks」の指示に従って、「Stripeダッシュボード」で「Webhook」を設定。
4. Stripeダッシュボードでの準備
「Stripeダッシュボード」での準備の手順は、次のとおりです。
(1) 「公開ビジネス情報」で公開ビジネス情報を設定。
利用規約とプライバシーポリシーのURLは必須です (ダミーURLでも動作しました)。
(2)「カスタマーポータル」でカスタマーポータルを有効化。
(3)「Tax」で税率を設定。
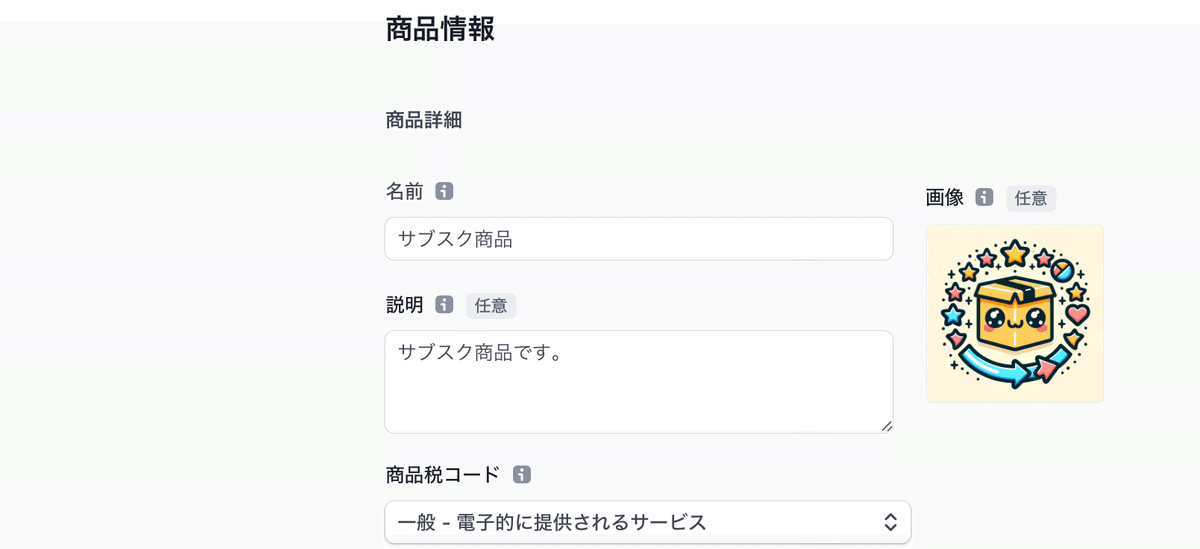
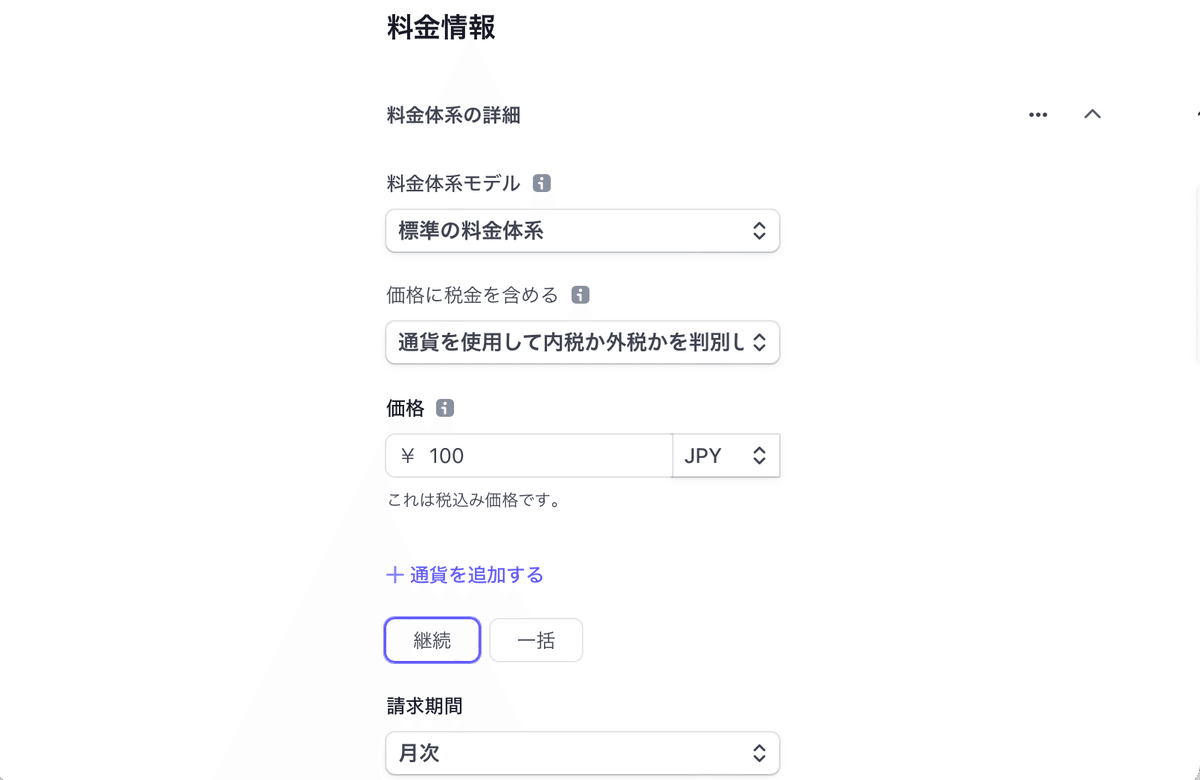
(4) 「商品カタログ」でサブスクの商品を追加。
5. デモプロジェクトの準備
デモプロジェクトの準備の手順は、次のとおりです。
(1) デモプロジェクトのクローン。
$ git clone https://github.com/stripe-samples/firebase-subscription-payments(2) Firebase CLIのインストール。
$ npm install -g firebase-tools(3) 「/public/javascript/app.js」の編集。
(3a) Firebaseプロジェクトのコンフィグを自分の環境にあわせて設定。
// Replace with your Firebase project config.
const firebaseConfig = {
apiKey: 'XXXX',
authDomain: 'XXXX',
databaseURL: 'XXXX',
projectId: 'XXXX',
storageBucket: 'XXXX',
messagingSenderId: 'XXXX',
appId: 'XXXX',
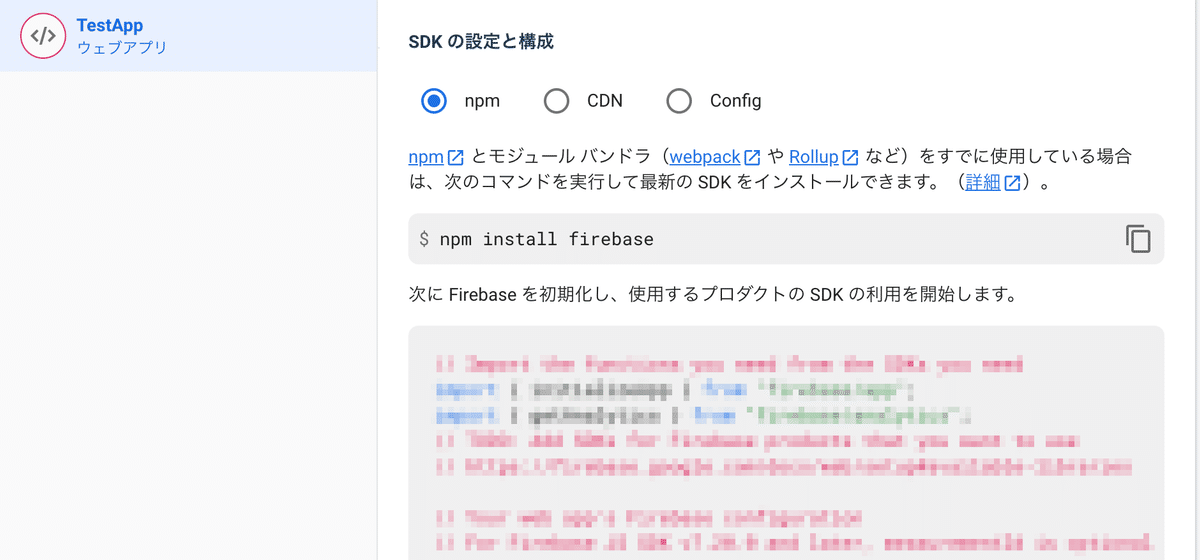
};Firebaseプロジェクトで、Webアプリを作成して、設定で閲覧できるコンフィグをコピーします。
(3b) Functionsのロケーションを自分の環境にあわせて設定。
// Replace with your cloud functions location
const functionLocation = 'us-east1';
(3c) カスタマーポータルのFunctionsの名前を変更。
バージョンアップで変更あった模様。
    // Call billing portal function
    const functionRef = firebase
      .app()
      .functions(functionLocation)
      .httpsCallable('ext-firestore-stripe-subscriptions-createPortalLink');
↓
    // Call billing portal function
    const functionRef = firebase
      .app()
      .functions(functionLocation)
      .httpsCallable('ext-firestore-stripe-payments-createPortalLink');
6. デモプロジェクトの利用
デモプロジェクトの利用の手順は、次のとおりです。
(1) デモプロジェクトの実行。
プロジェクトIDは、「firebase projects:list」で確認できます。
$ firebase serve --project <プロジェクトID>i hosting[test-295905]: Serving hosting files from: public
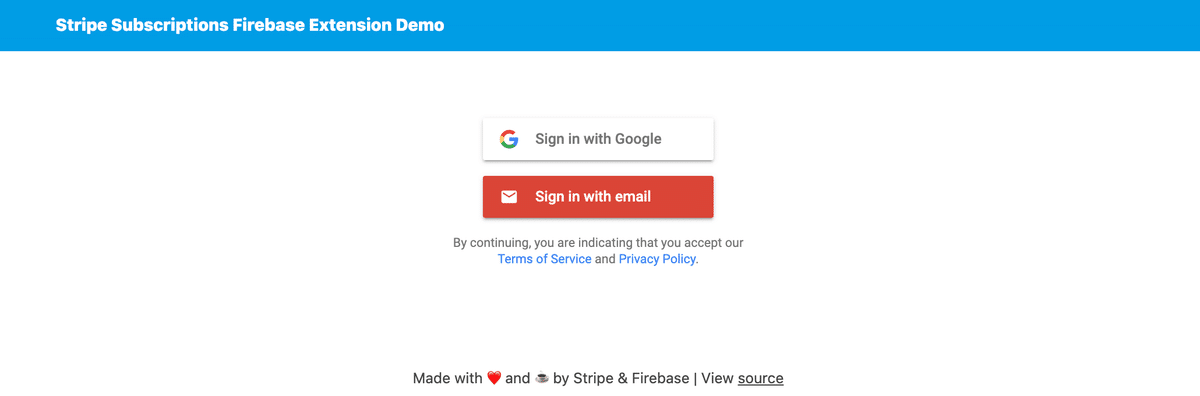
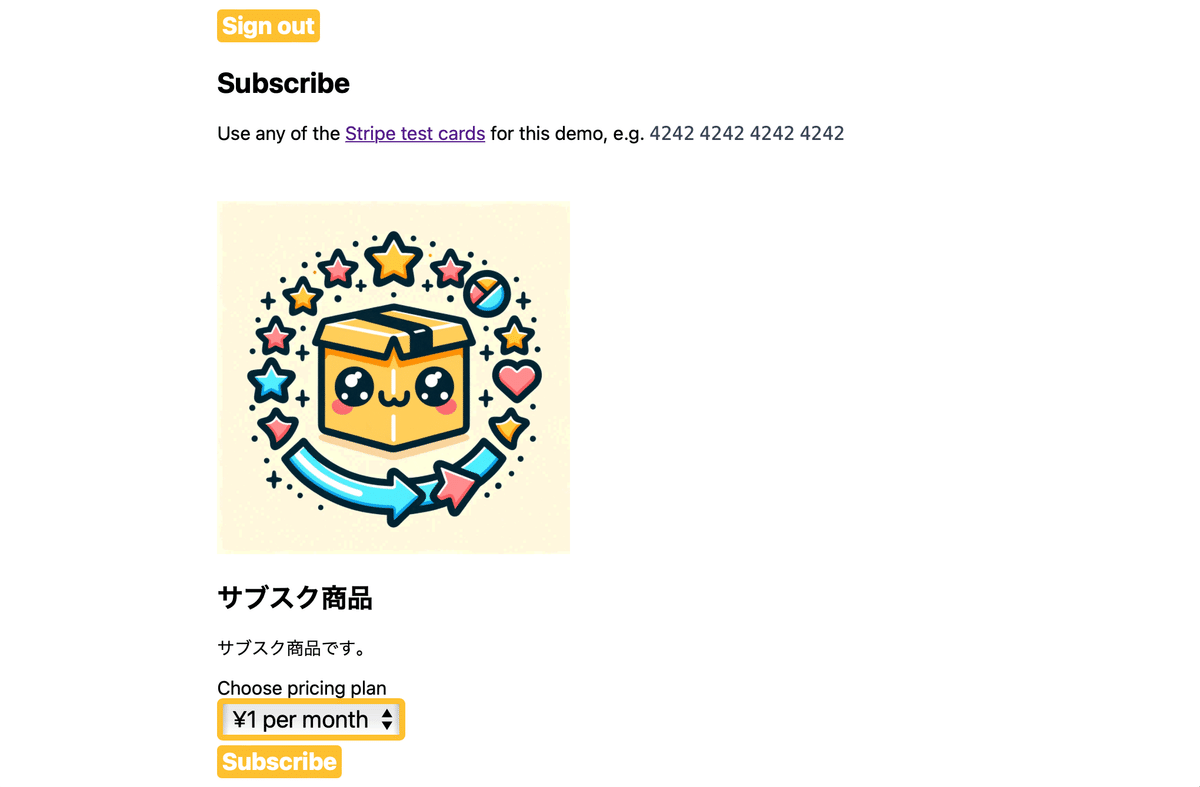
✔ hosting[test-295905]: Local server: http://localhost:5002(2) 表示されたローカルURLをブラウザで開き、Googleアカウントでログイン。
(3) 「Subscribe」ボタンを押す。
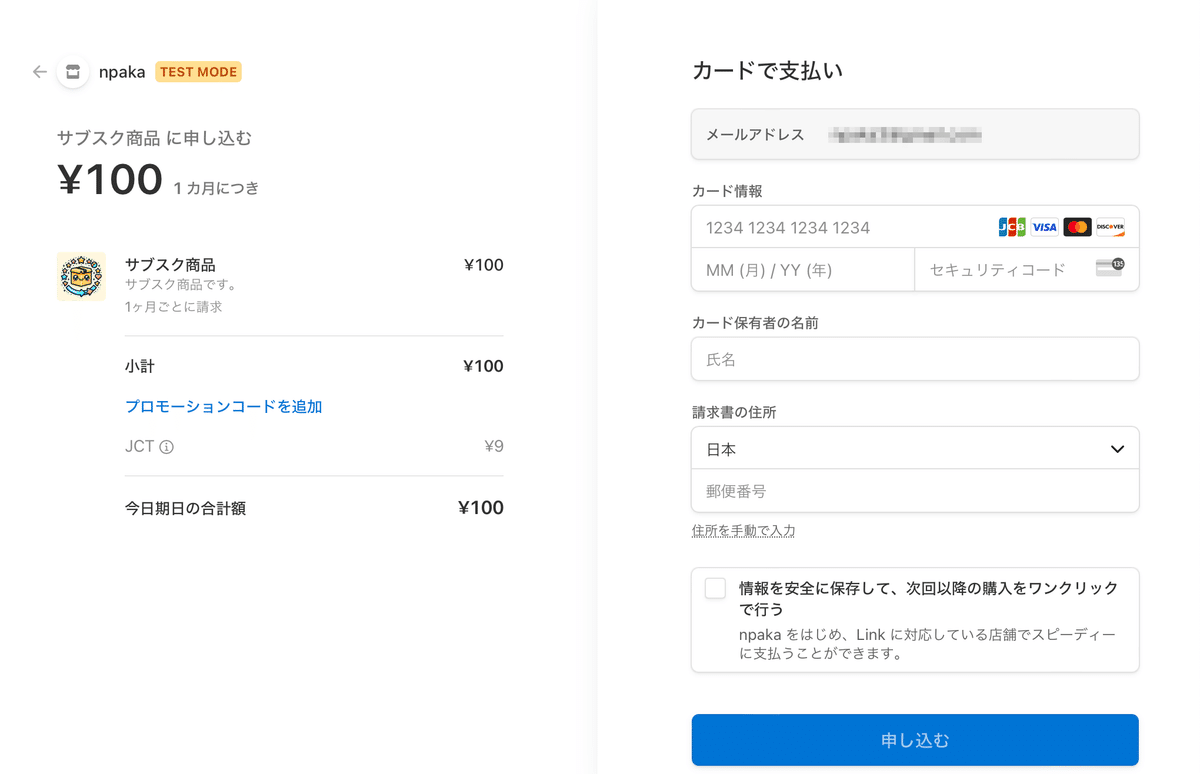
(4) Stripeで提供されているテスト用のカード番号を入力。
(5) サブスク状態になってることを確認し、カスタマーポータルを開く。
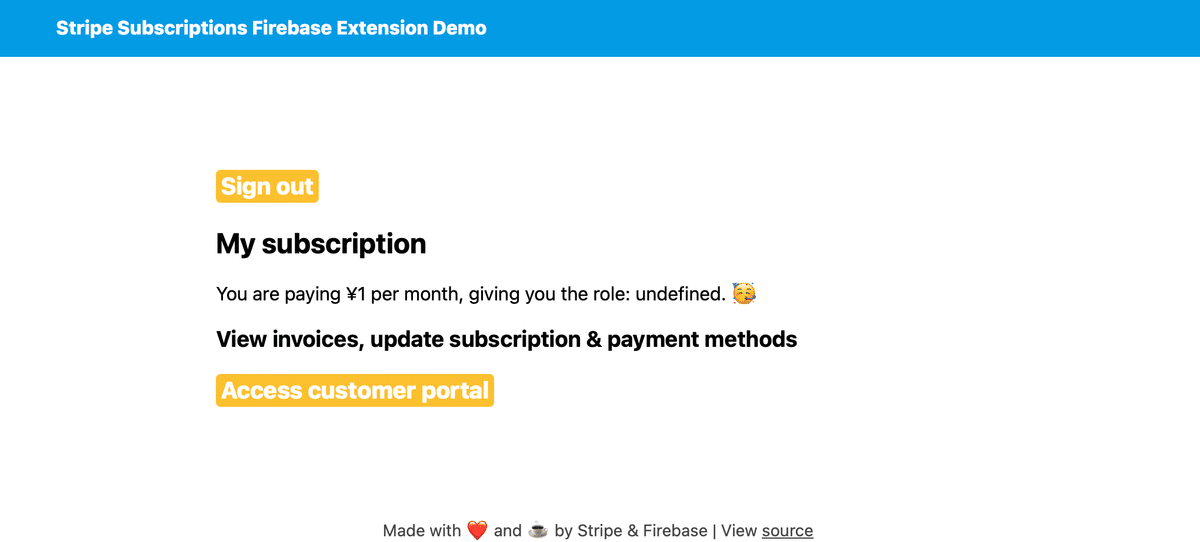
(6) サブスクを解約できることを確認。

【おまけ】 Run Payments with Stripe で追加されるリソース
「Run Payments with Stripe」インストール時にFirebaseプロジェクトに追加されるリソースは、次のとおりです。
・Cloud Functions
・createCustomer
新しいユーザーのサインアップ時に、Stripe顧客オブジェクトを作成。
・createCheckoutSession
顧客の支払い詳細を収集するためのチェックアウトセッションを作成。
・createPortalLink
ユーザーが支払いとサブスクリプションの詳細を管理するためのカスタマーポータルへのリンクを作成。
・handleWebhookEvents
Stripe-Webhookイベントを処理して、サブスクリプションステータスの同期を維持し、カスタムクレームを更新。
・onUserDeleted
Firebase-Authenticationでのユーザー削除時に、Stripe顧客オブジェクトを削除し、すべてのサブスクリプションをキャンセル。
・onCustomerDataDeleted
Cloud-Firestoreの顧客ドキュメント削除時に、Stripe顧客オブジェクトを削除し、すべてのサブスクリプションをキャンセル。
・Cloud Secret Manager secrets
以下の設定パラメータは「Cloud Secret Manager」に保存され、「Firebase Extensions」によって管理されます。
・STRIPE_API_KEY
アクセスが制限された Stripe API キー
・STRIPE_WEBHOOK_SECRET
Stripe Webhook シークレット
・Eventarc Channel
・projects/${PROJECT}/locations/${REGION}/channels/firebase
イベントが有効になっている場合、「Eventarc Channel」を使用してイベントを発行し、イベントトリガーを作成。
【おまけ】 firebaseの主なコマンド
・firebase login : ログイン
・firebase logout : ログアウト
・firebase projects:list : プロジェクト一覧
・firebase use <プロジェクトID> : プロジェクト切り替え
・firebase init : プロジェクトの初期化
・firebase serve : ローカル環境での動作確認