
STARDUST#11

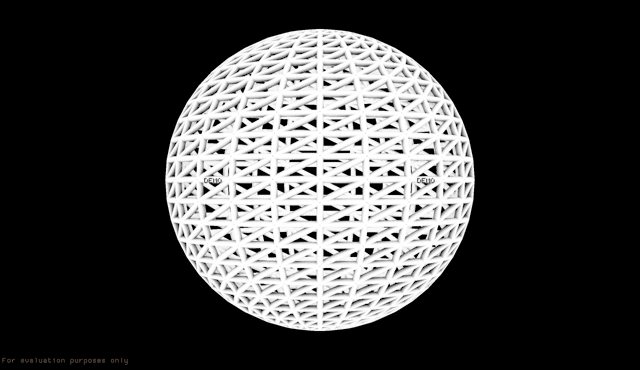
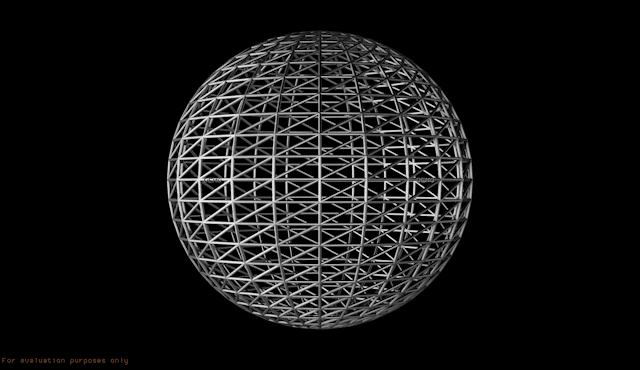
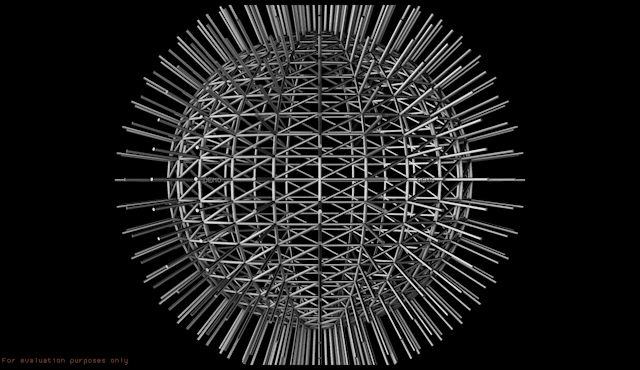
Emitterノードでの3Dモデルを使用してワイヤーフレーム映像
を作成してみます。
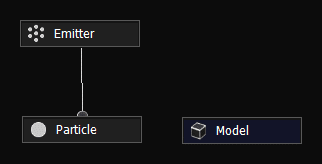
「Model」ノードを追加します。
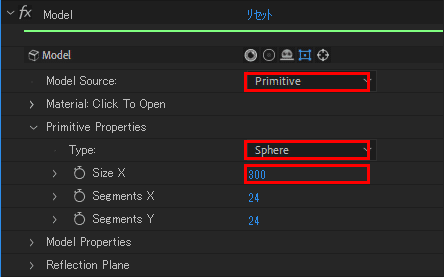
Emitterとなるオブジェクトの設定をします。
なんでもいいのですが、今回は球にしました。
「ModelSource」:Primitive
「Type」:Sphere
「SizeX」:300
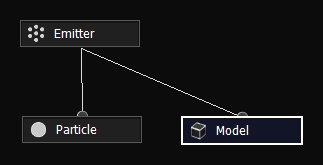
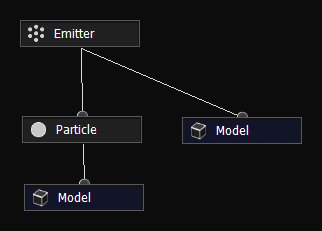
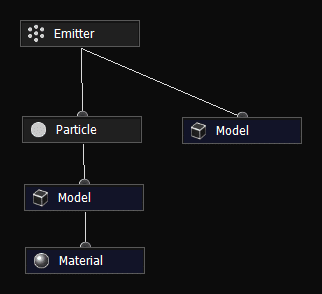
「Emitter」ノードに作成した「Model」ノードを接続します。
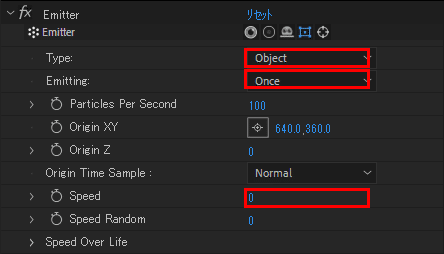
「Emitter」の設定を調整します。
「Type」:Object
「Emitting」:Once
「Speed」:0
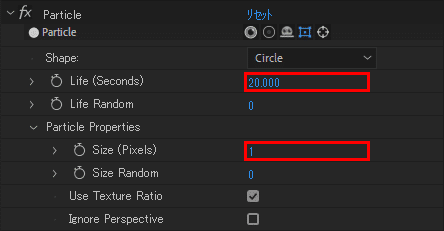
パーティクルの設定を調整します。
「Life」:20
「Size」:1
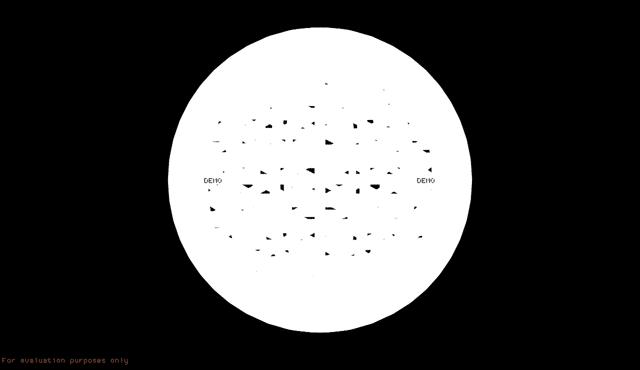
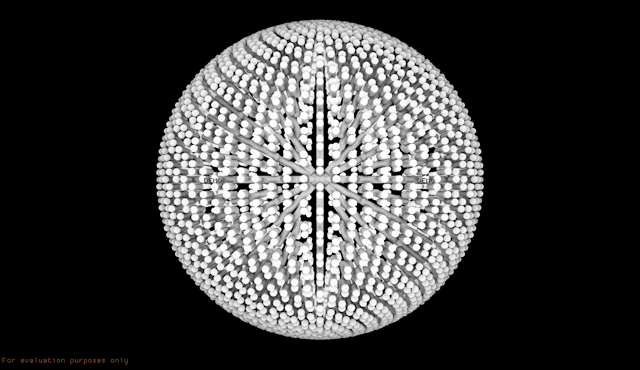
デフォルトではオブジェクトのエッジにパーティクルが配置されます。
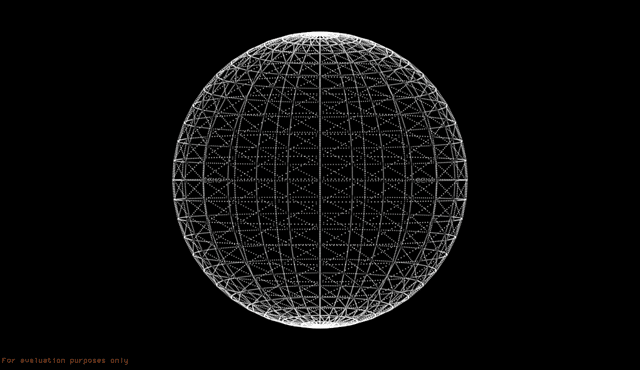
再度「Emitter」を調整します。
「Emitter」の中の「Object Properties」
「EdesSubdivide」:1
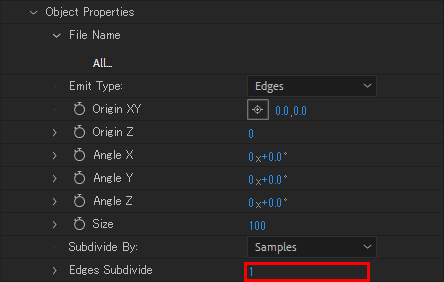
EdesSubdivideが10から1になったことにより辺に対して1つのパーティクル
が発生した状態になります。

辺に円柱のパーティクルを設定してワイヤーフレームにしようと思います。
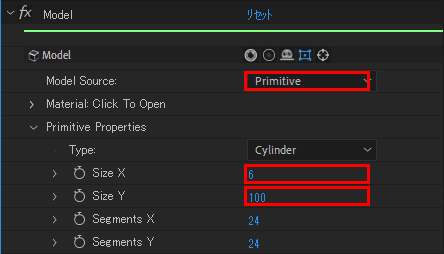
新規に「Model」を追加して円柱を作成します。
「ModelSource」:Primitive
「Type」:Cylinder
「SizeX」:6
「SizeY」:100
作成した「Model」を「Particle」に接続します。
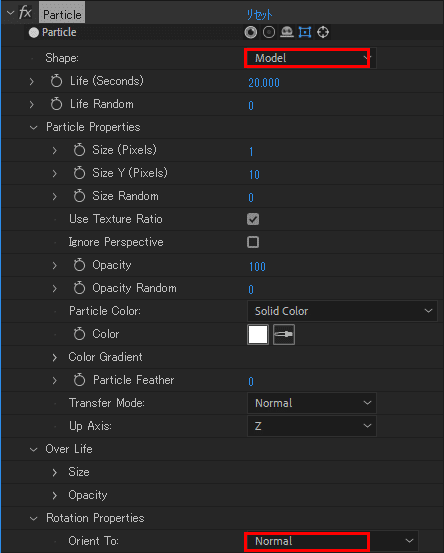
「Particle」を調整します。
「Shape」:Model
「RotationProperties」「Orient To」:Normal
円柱の向きが違いますので再度「Model」を調整します。
「Model Properties」「AngleX」90°
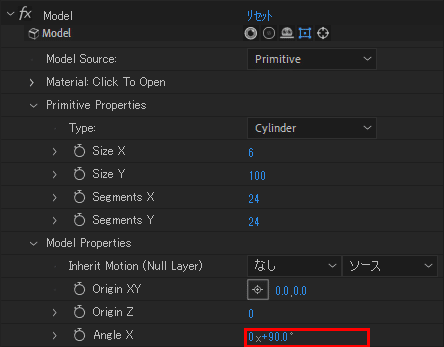
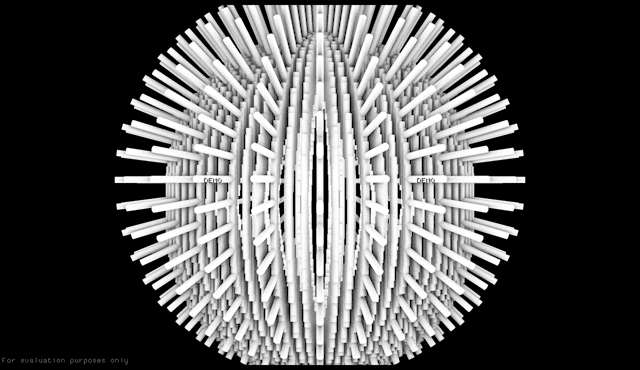
向きは治ったのですが、サイズがおかしいので
「Emitter」で修正します。
「ObjectProperties」「EdgeInheritSize」をチェック
パーテイクルが辺のサイズになりました。
少しラインが太いようなので円柱のサイズを調整しました。

質感を付けたいので円柱のモデルに「Material」を追加し接続します。
金属の質感にしたいので環境マップを設定します。
今回は以下の様なものを使用しました。
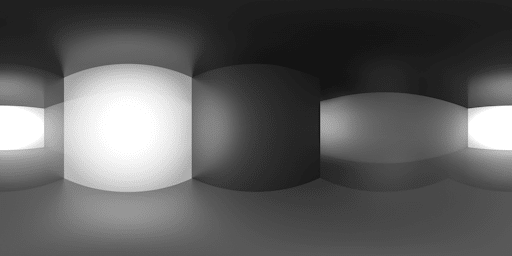
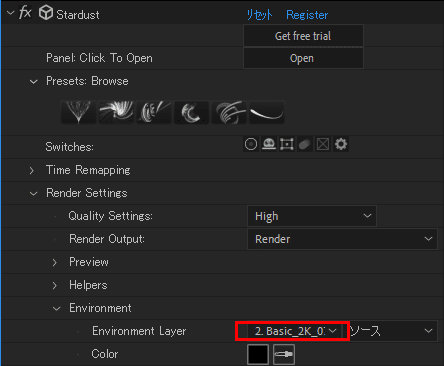
Stardustの「Emviroment」で使用するテクスチャーを指定します。
円柱のモデルの質感を調整します。
「RoughnessAmount」:80
「Reflection/Metal」「Amount」:100
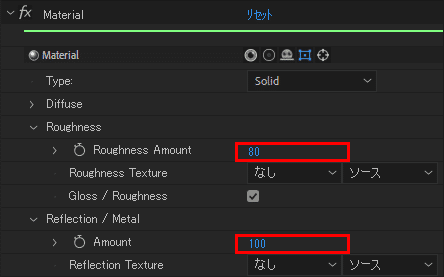
円柱のモデルに金属の質感になりました。
もうひと手間くわえて頂点部分にもパーティクルを作成したいと思います。
今までのノードを流用できるので簡単です。
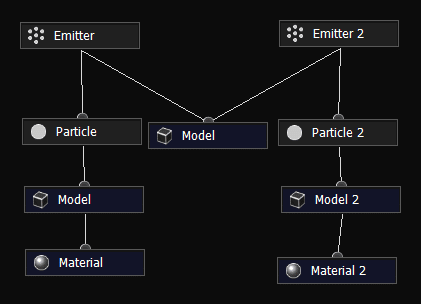
「Emitter」以下のノードを選択してCtrl+Dで複製して
再度「Model」に接続します。
同じものが二重に表示される形になりました。
複製した「Emitter」を調整します。
「ObjectProperties」「EmitType」:Vertex
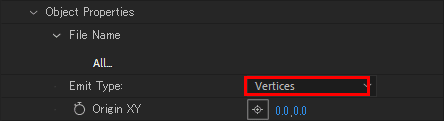
頂点に表示されるようになります。
円柱を球に変更します。
「ModelSource」:Primitive
「Type」:Sphere
「SizeX」:8
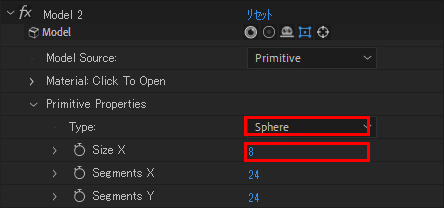
頂点部分に球が配置されました。
