
北斎折り紙の折り方(How to fold HOKUSAI Origami)

それではみなさま、心をおちつけてゆっくりゆっくり折り紙を折ってまいりましょう(^^♪
Now, everyone, let's calm down and slowly fold HOKUSAI origami.
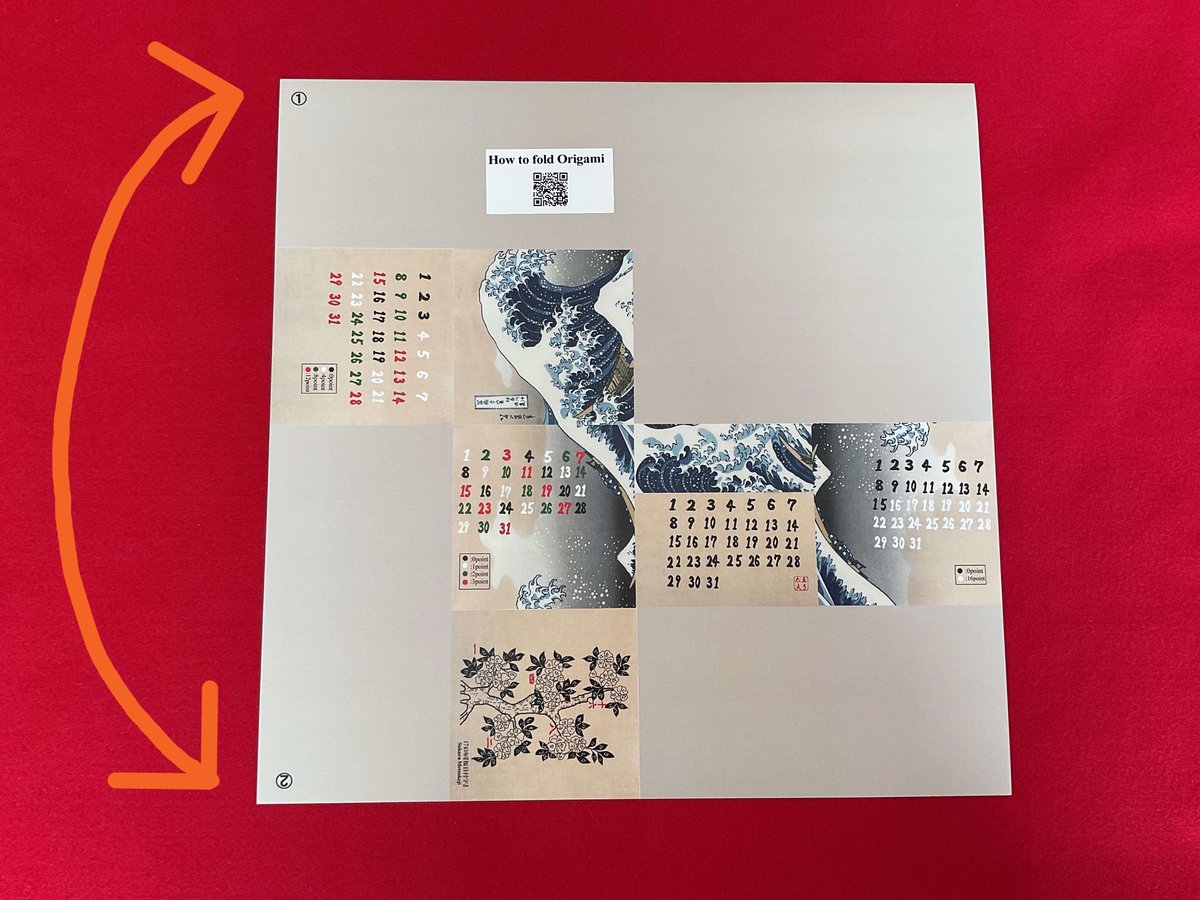
Spread it out like this and fold outside to join parts ① and ② together.

Fold the paper in half to make a crease.

Open it and rotate it 90 degrees in the direction of the arrow.

Fold the paper in half to make a crease.

Fold it along the center line and rotate it 90 degrees in the direction of the arrow.

Fold it along the center line and rotate it 90 degrees in the direction of the arrow.

Fold it along the center line and rotate it 90 degrees in the direction of the arrow.

Fold it along the center line.

Fold the corner into the center and make a crease.

Make sure to crease the orange lines firmly and turn it over.

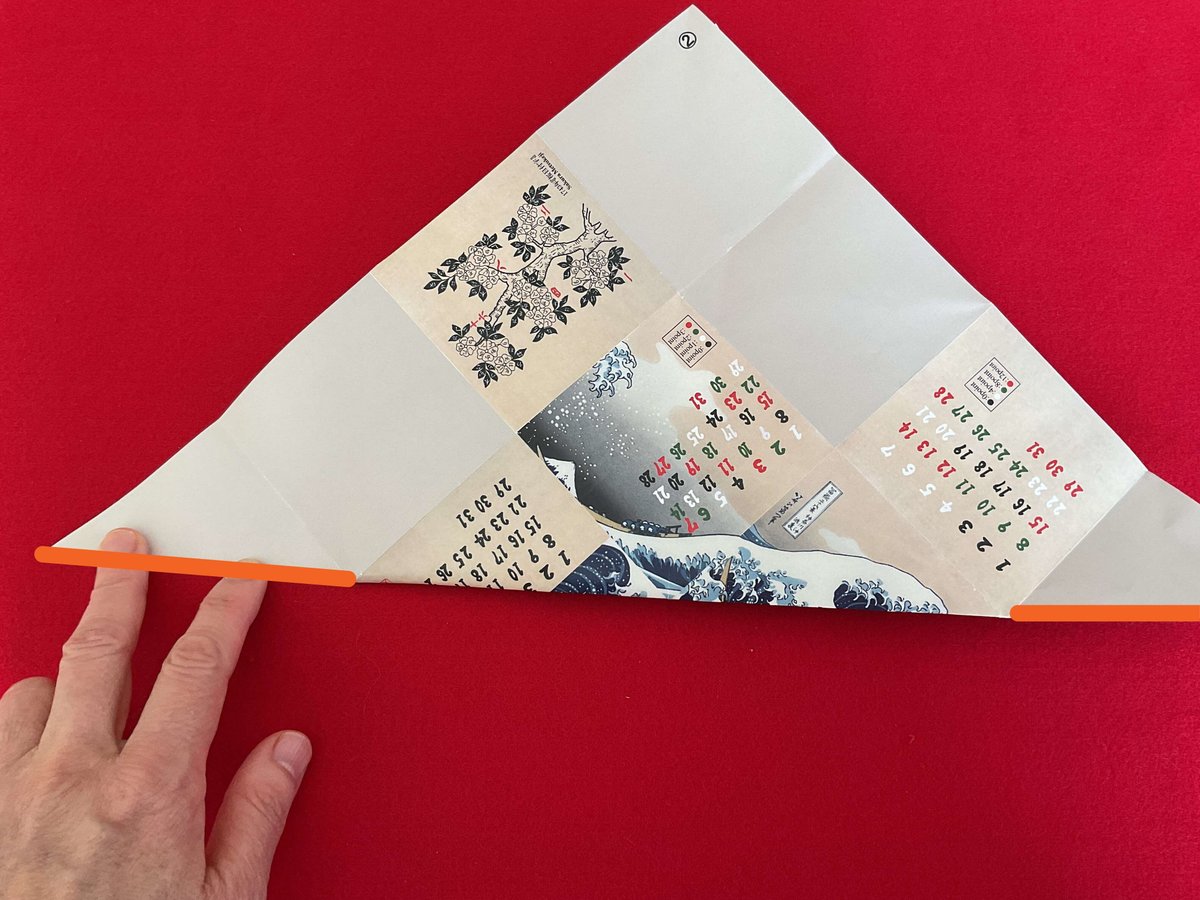
Fold the corners together to make a triangle as shown by the arrows.

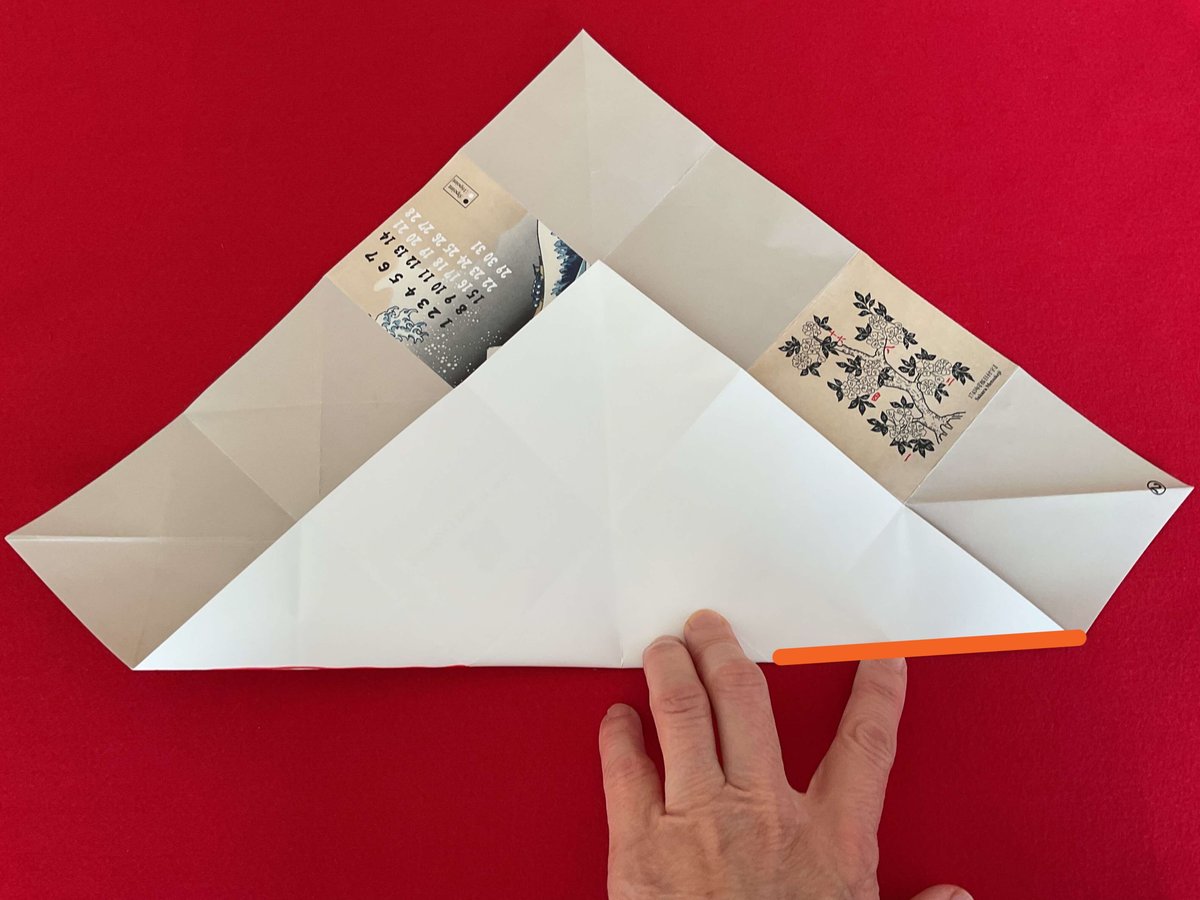
Fold the other piece in the same way.

Make sure to crease the orange lines firmly.

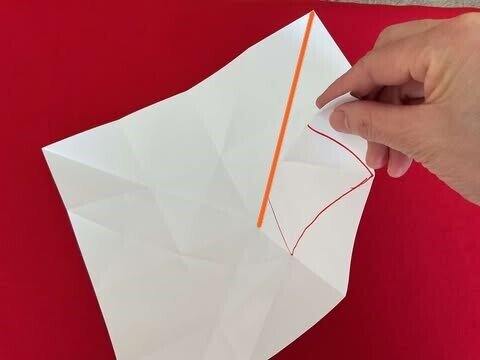
Slowly open it up and trace the square creases with a marker to make marks.
Fold it into a triangle and make a crease in the orange part.

Fold the other side into a triangle and create a crease in the orange part.

Lay it out with the picture side facing up.
Fold it into a triangle as shown in the picture, and crease the orange part.

Repeat for the other three corners.

Make a crease the orange part.

Make a crease the orange part.

Open the white side and focus on the orange line.
Pull up the line you focused on in 22 and overlap it with the orange line.

The origami will become three-dimensional when stacked, so be sure to crease the pieces firmly.

Hold the origami paper in your hands as shown in the picture.

Fold it over like the arrow.

Put the two pieces together and crease them.

Fold the two overlapping inner pieces of paper back like the arrows

Place the outer piece of paper over them.

Hold it in your hand as shown in the picture and rotate it slowly.

Fold it like the arrow.

Gradually a cube is beginning to form.

Stand it up as shown in the picture and place the outer paper on top of the paper with the red mark.

Fold the triangular piece of paper so that it meets the adjacent sides as shown by the arrow.

Similarly, fold each of the triangular pieces of paper onto the adjacent sides.

Similarly, fold each of the triangular pieces of paper onto the adjacent sides.

Yay, it's done!