
【じっくりSw1ftUI 6】導入編6〜コードテンプレートを作ろう④目次リストを作ろう
さてと、前回
までで、入り口画面が一応作れたので、次は、これから学ぶ各アプリのページに遷移できる目次リストを作ってく〜〜〜🕺
前回まででもゆーてるとおり、オイラ自身が、SwiftUIは半年ぶりに扱うので、そんな大したことはできないし、大したことをできるように本編でじっくり自分の学びを組み込んでいくための
コードテンプレート
を作ってるだけだから、そんなに身構えずに
💃気軽に参考にしてもらえたら幸い🕺
今回は、
ListViewとNavigationLinkの合わせ技
って感じをイメージしてもらえたらいいかなって感じ👀
操作
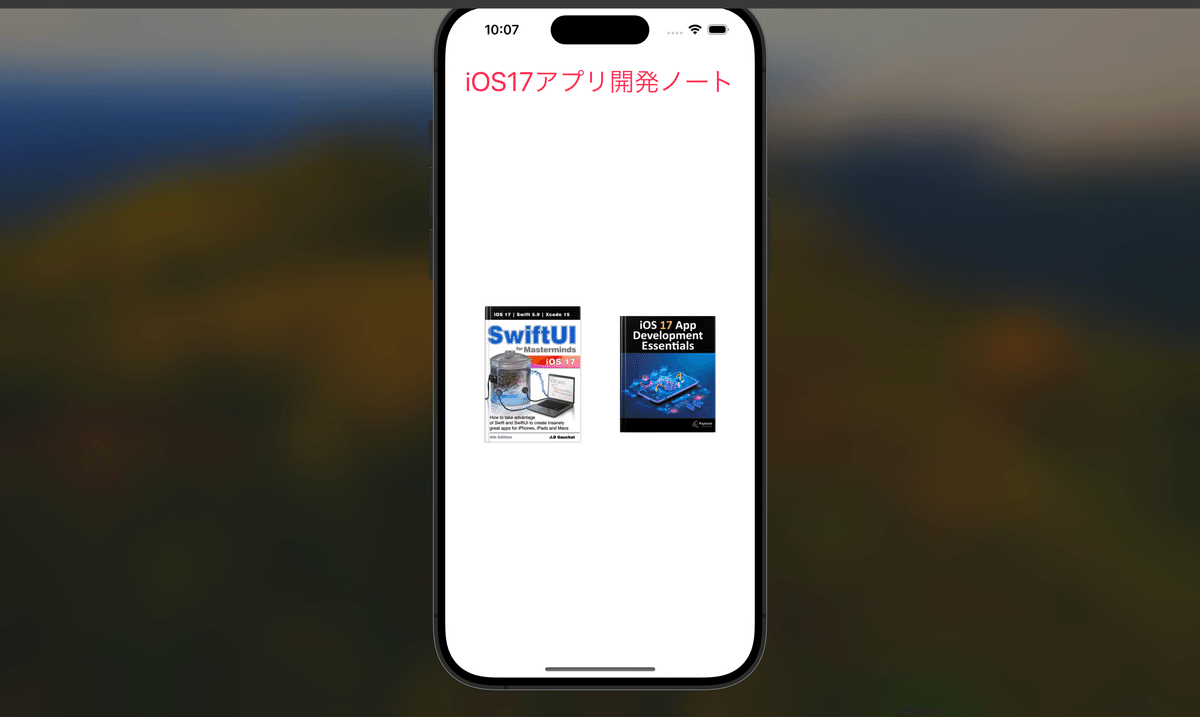
前回までの操作で、
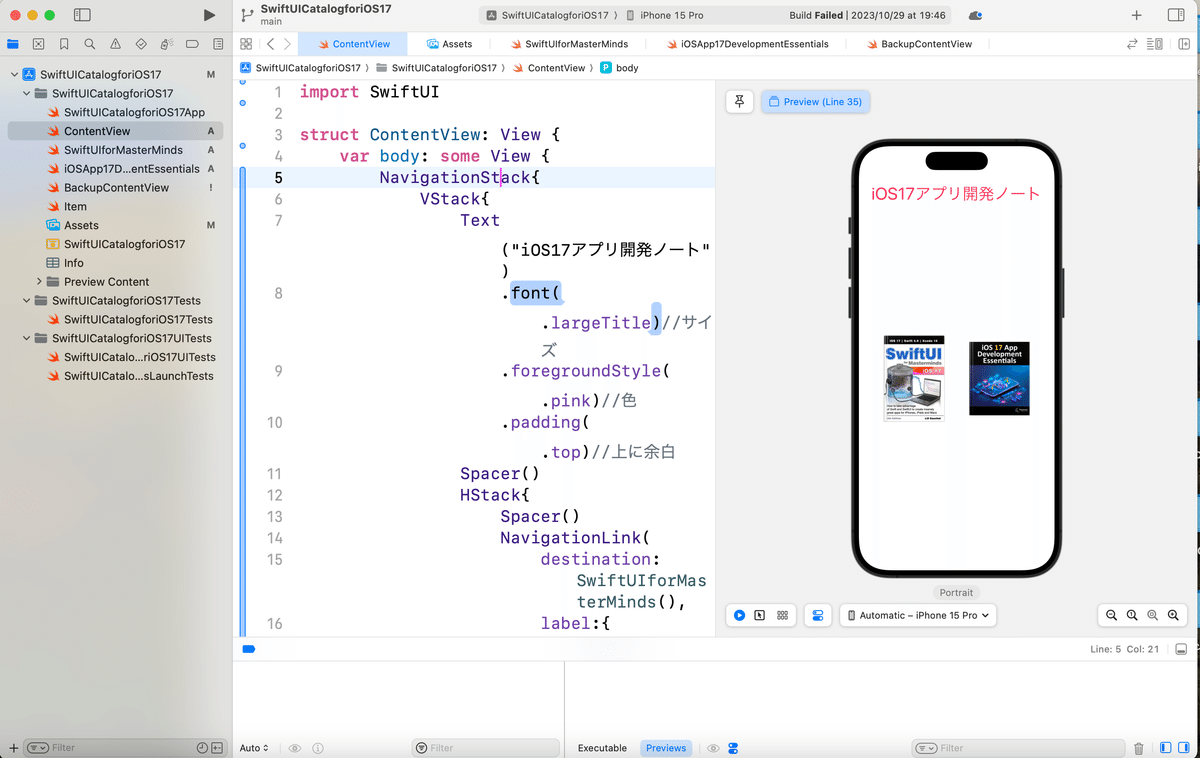
今回は、各イメージボタンを押した時に遷移する遷移先の
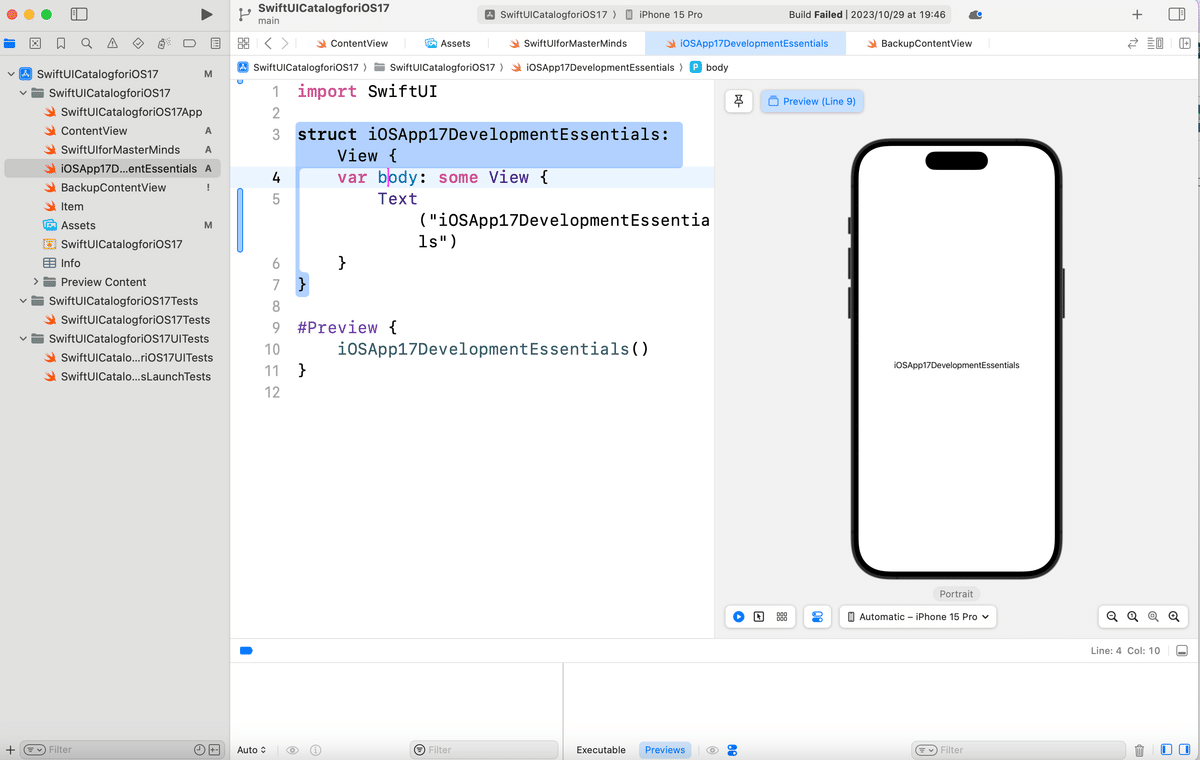
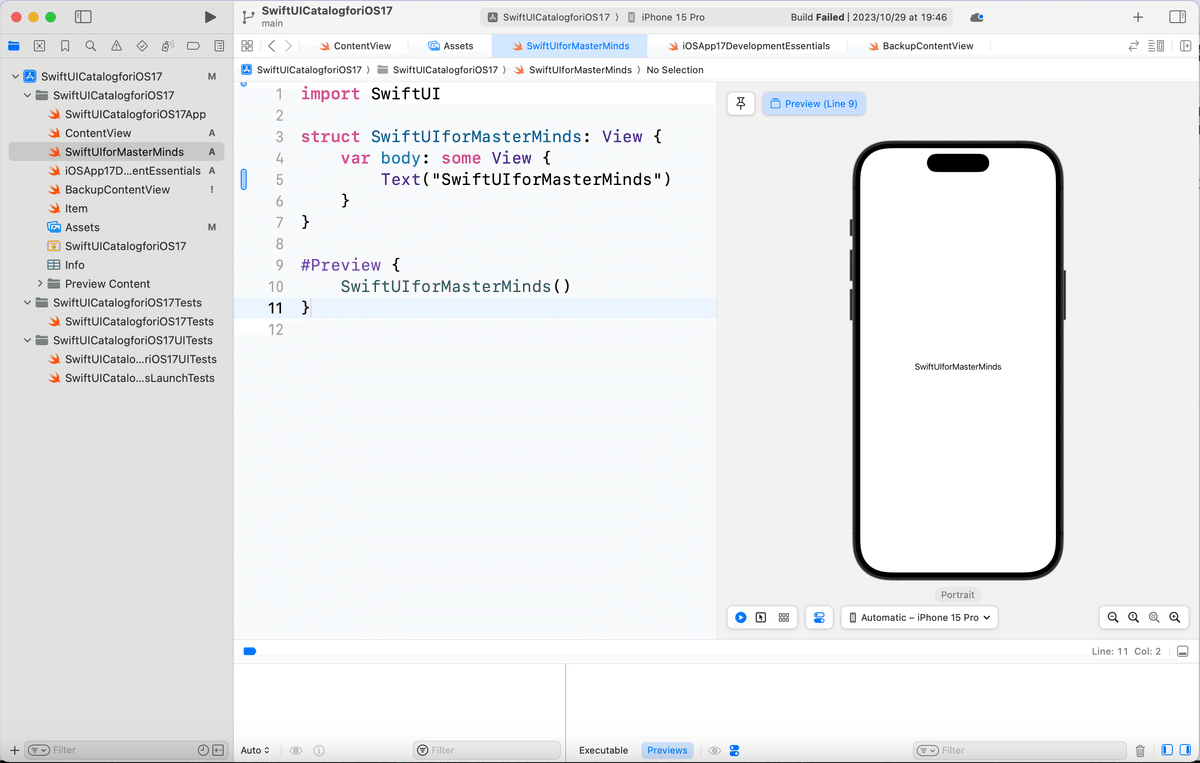
編集してく
まずは、リストビューを簡単に説明すると、
をみてもらうとわかるとおり、
各データの一覧を表示するビュー
なんだけど、上のリンクのサンプルコードを組み込んでみると
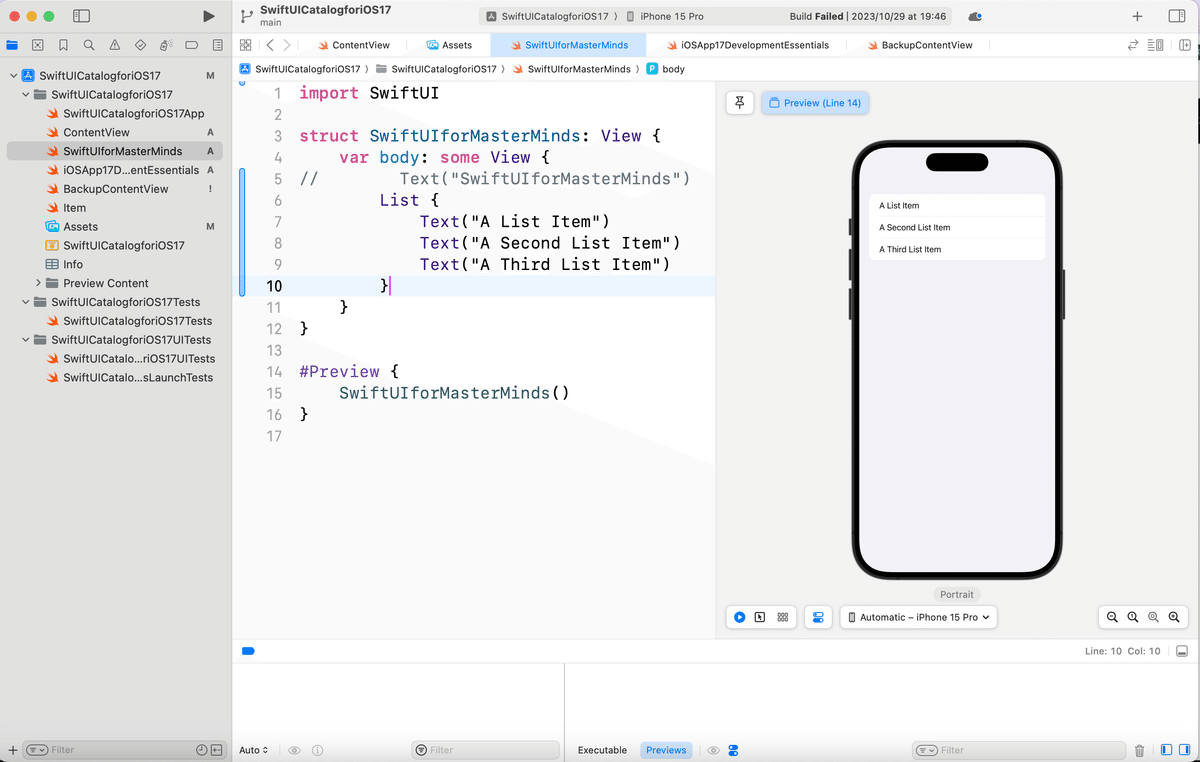
リストっぽいやつはできる
んだけど、このままだともちろん
ただの文字列として一覧を表示してるだけ
だから、
他の画面に遷移しない
なのでこれを
本の目次っぽく、各メニューをタップするごとに他の画面に遷移する
ビューに作り込んでく操作をひとつひとつ説明しようかなって思ったんだけど、多分、
エラー解消までがかなりややこしい説明になるので、
導入編に向かないかな🧐
って容易に操作していて、想像ができたので、とりあえずコードだけ紹介
import SwiftUI

//ビュー管理構造体
struct ListSwiftUIMasterMindsiOS17: Identifiable {
    var id: Int
    var title: String
    var view: ViewEnumSwiftUIMasterMindsiOS17
}

//遷移先の画面を格納する列挙型
enum ViewEnumSwiftUIMasterMindsiOS17 {
    case Ch1
}

//各項目に表示する文字列
let dataSwiftUIMasterMindsiOS17: [ListSwiftUIMasterMindsiOS17] = [
    ListSwiftUIMasterMindsiOS17(id: 1, title: "第1章", view: .Ch1)
]

//元々の画面ビュー
struct SwiftUIforMasterMinds: View {
    var body: some View {
        VStack {
            Divider()
            List (dataSwiftUIMasterMindsiOS17) { data in
                self.containedViewSwiftUIMasterMindsiOS17(dataSwiftUIMasterMindsiOS17: data)
            }
            .edgesIgnoringSafeArea([.bottom])
        }
        .navigationTitle("menu")
        .navigationBarTitleDisplayMode(.inline)
    }
    //タップ後に遷移先へ遷移させる関数
    func containedViewSwiftUIMasterMindsiOS17(dataSwiftUIMasterMindsiOS17: ListSwiftUIMasterMindsiOS17) -> AnyView {
        switch dataSwiftUIMasterMindsiOS17.view {
        case .Ch1:
            return AnyView(NavigationLink (destination: SwiftUIMasterMindsiOS17Ch1()) {
                Text(dataSwiftUIMasterMindsiOS17.title)
            })
        }
    }
}

#Preview {
    SwiftUIforMasterMinds()
}

//遷移先の画面
struct SwiftUIMasterMindsiOS17Ch1: View {
    var body: some View {
        Text("Hello")
    }
}
コイツを
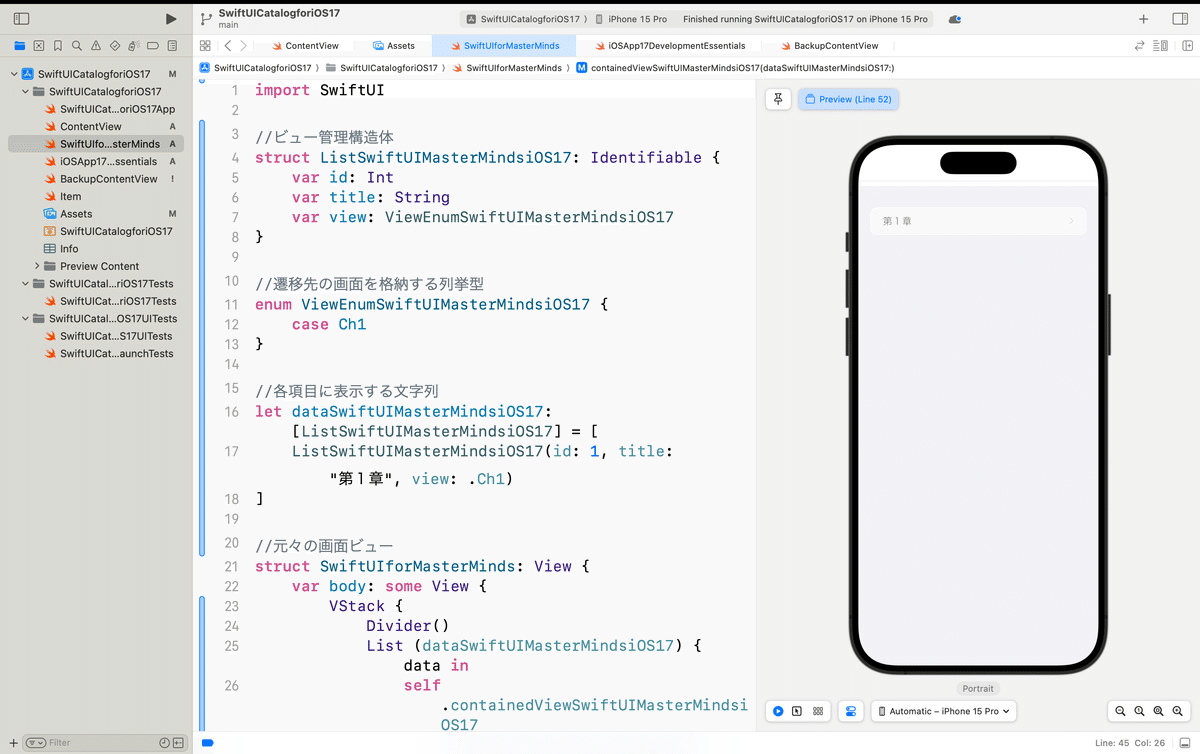
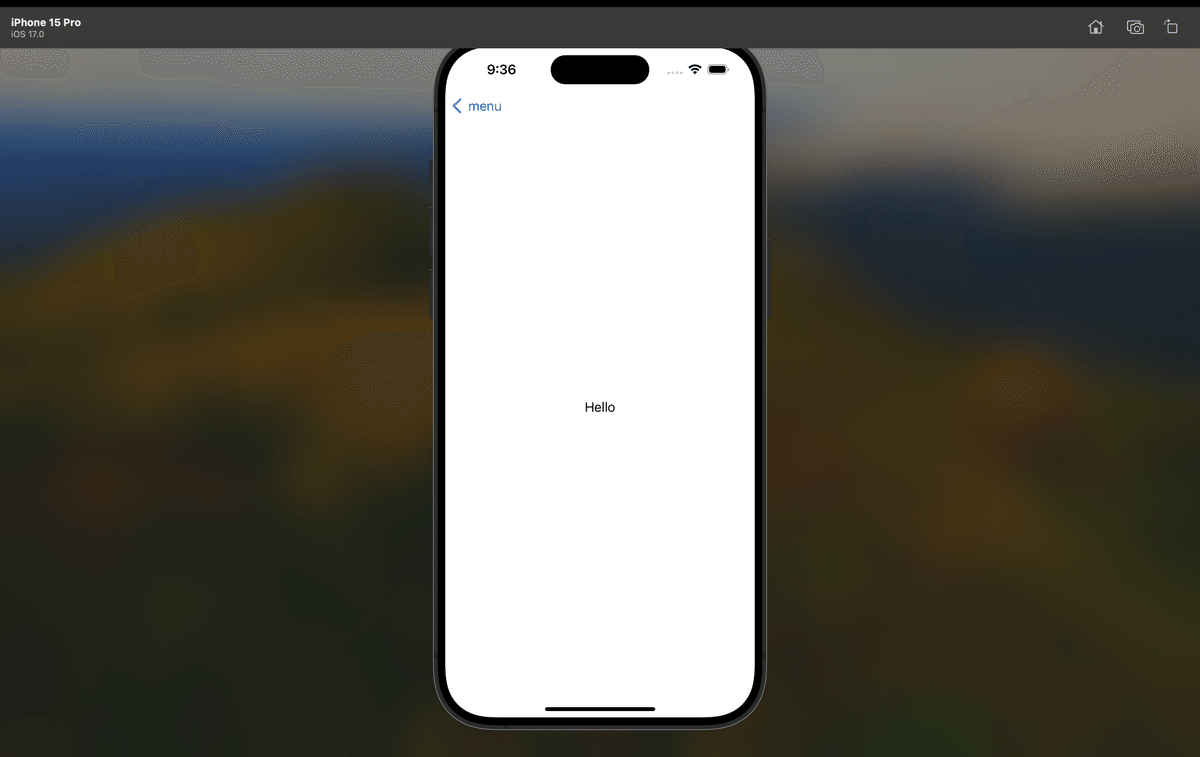
けど、メニューをクリックしてもプレビューでは動かないので、
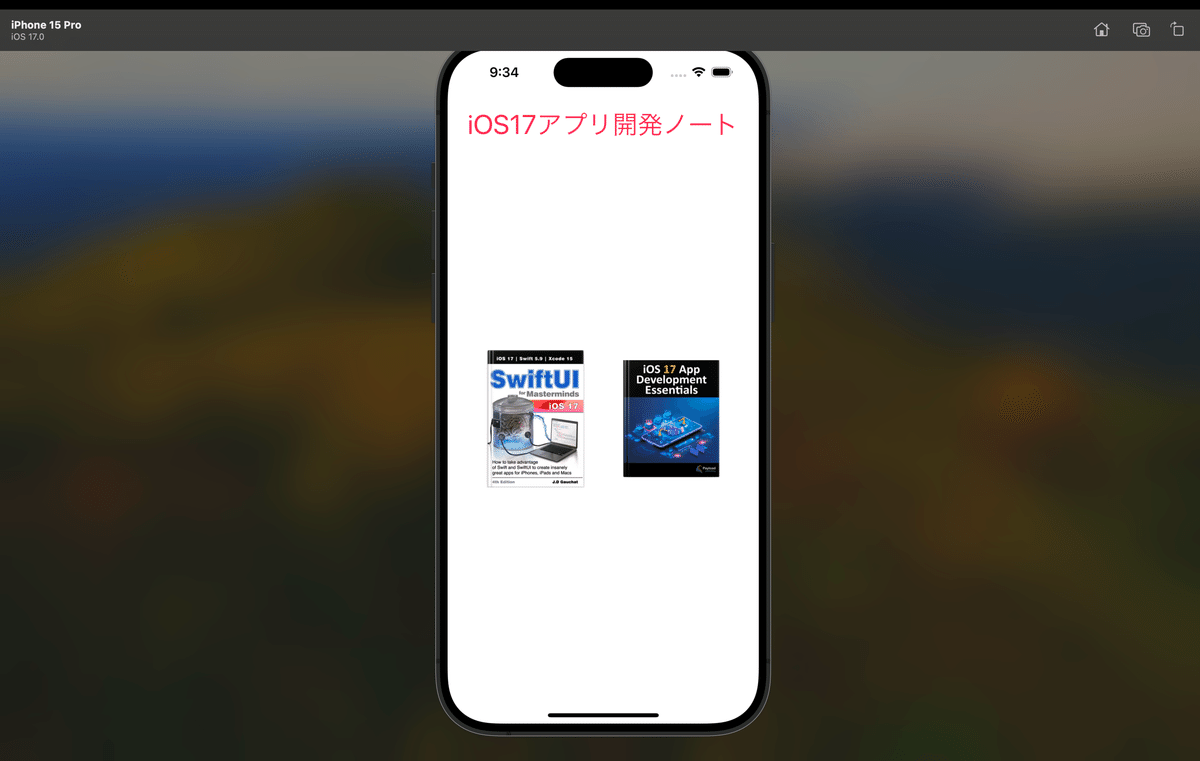
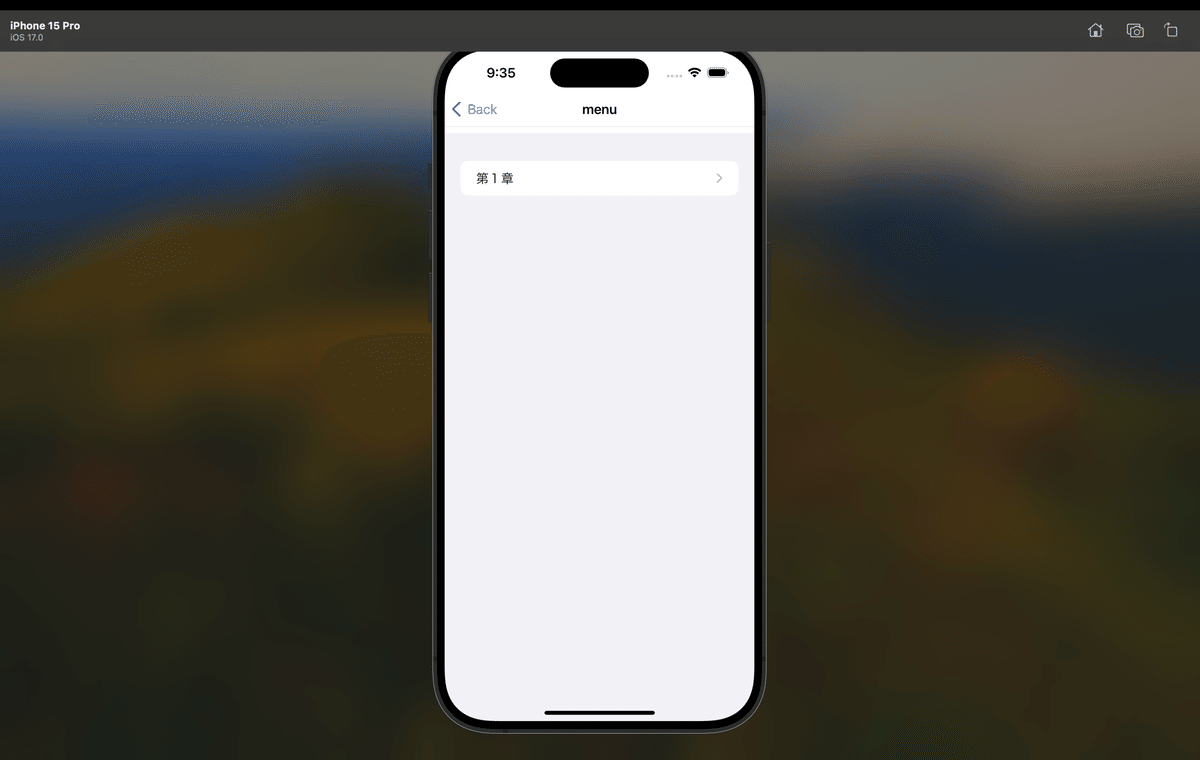
個人的な好き嫌いなんだけど、
オイラはひとつのSwiftUIファイルの中に複数のビューが混在するのが管理しにくいのが嫌いなので〜〜〜〜
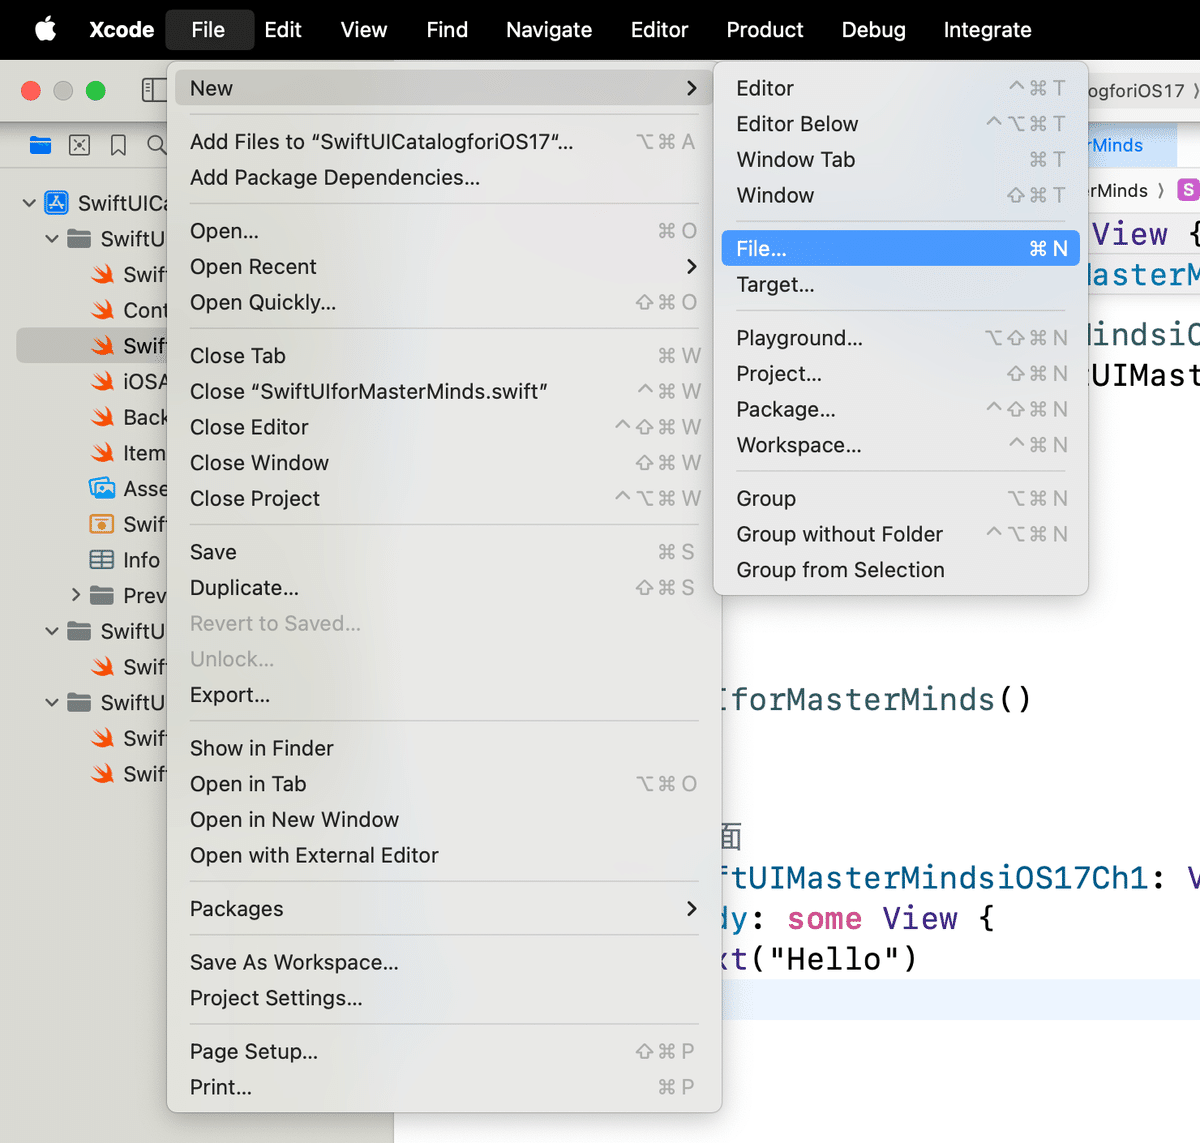
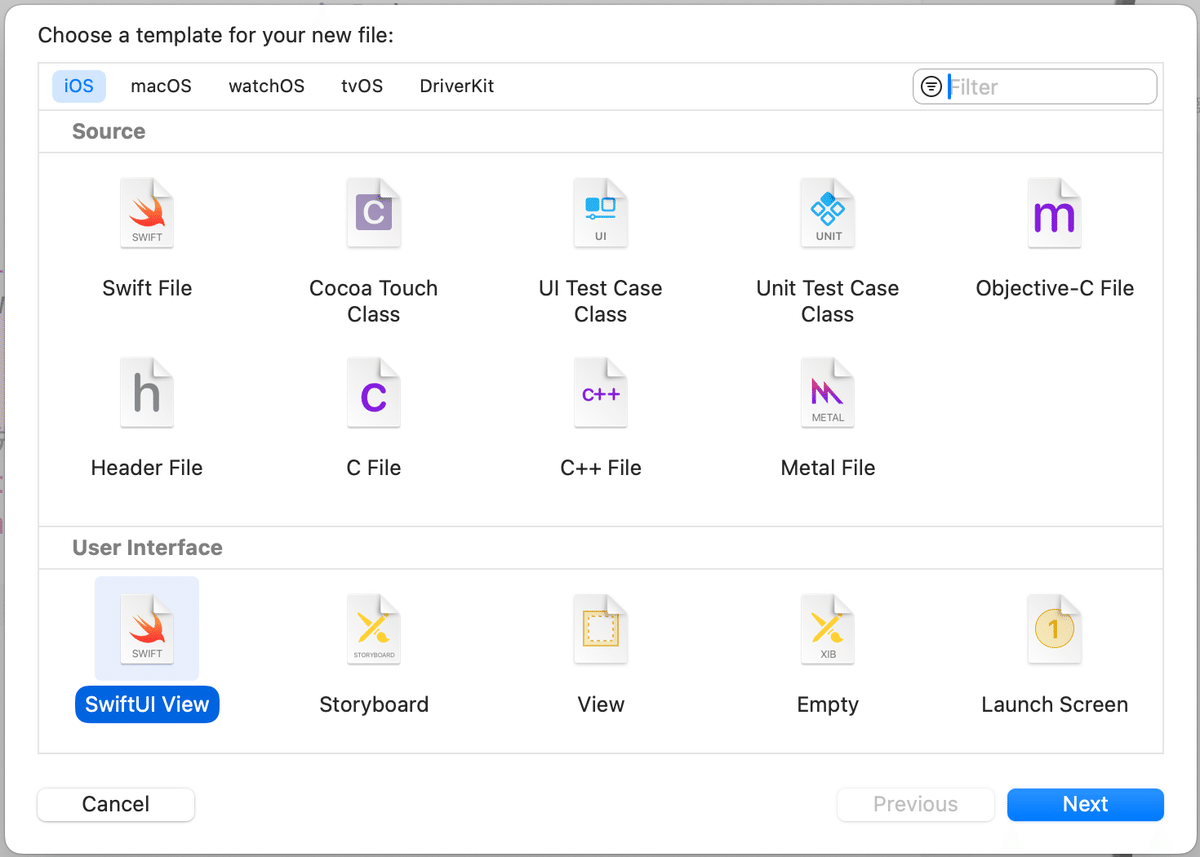
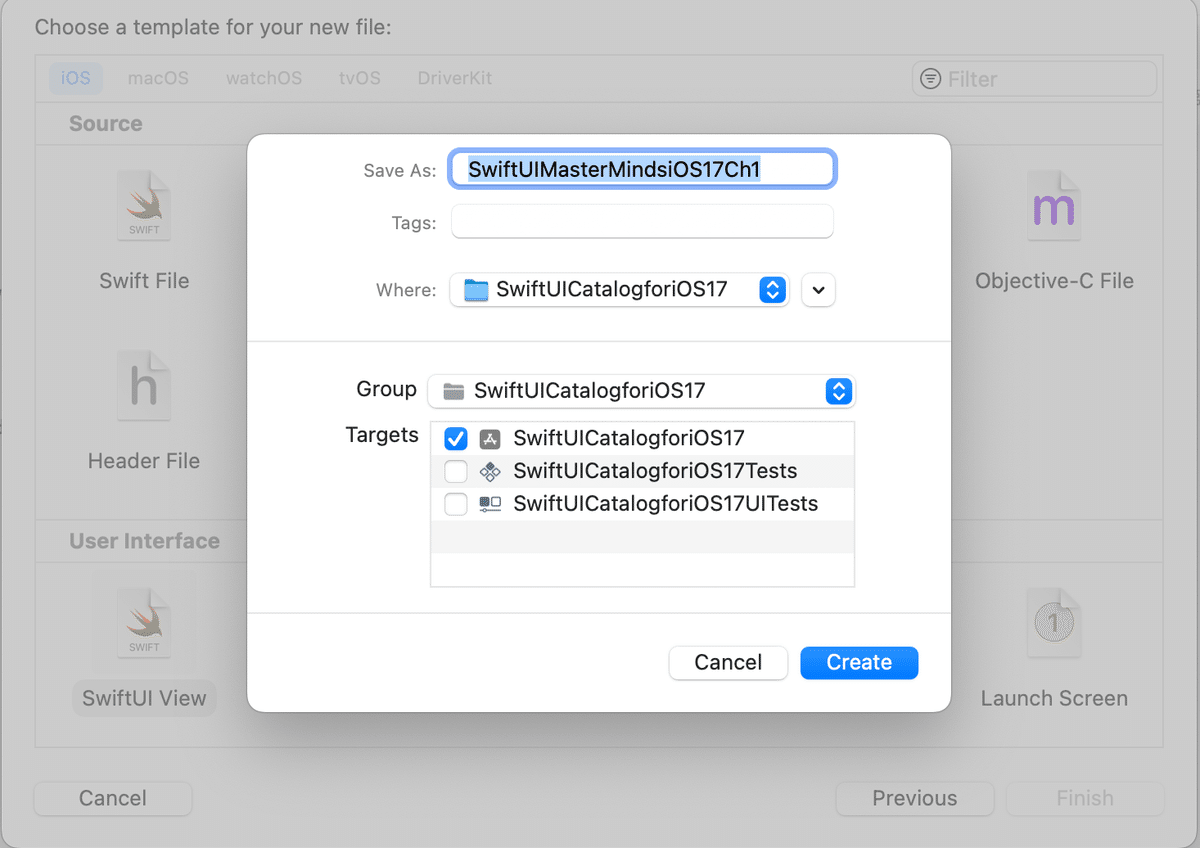
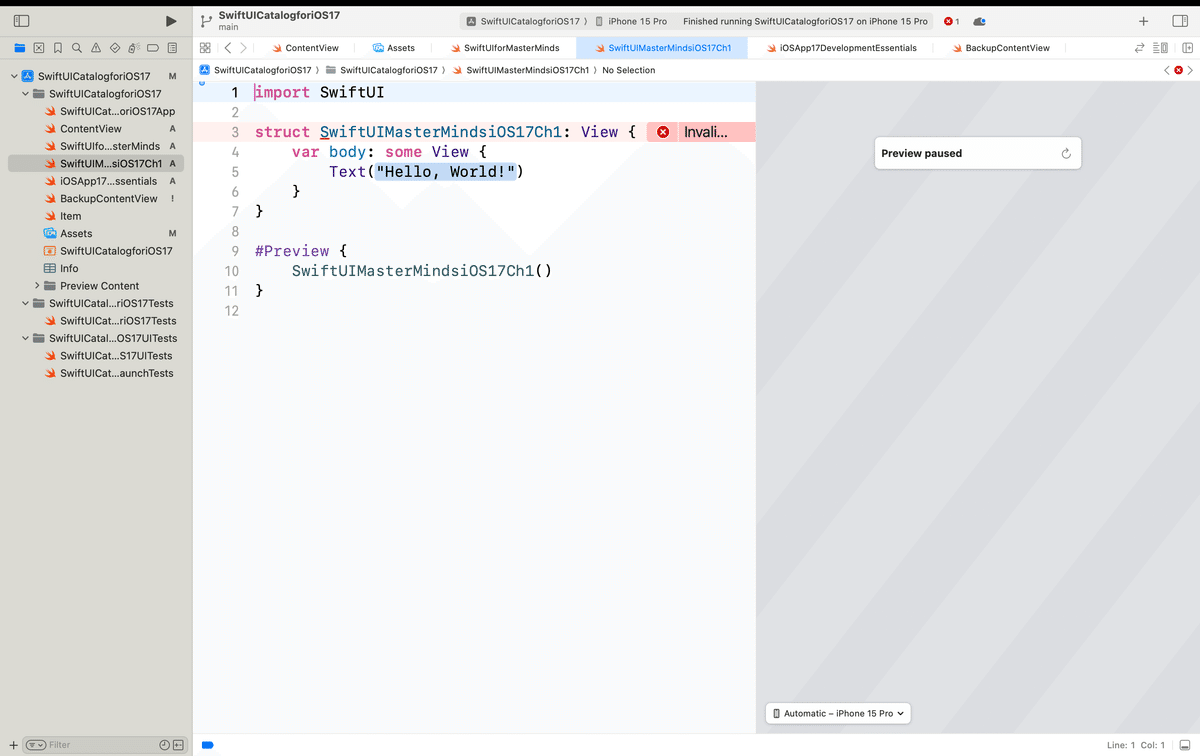
さっきのビューに同じ名前のビューができていて、エラー警告が出てるので
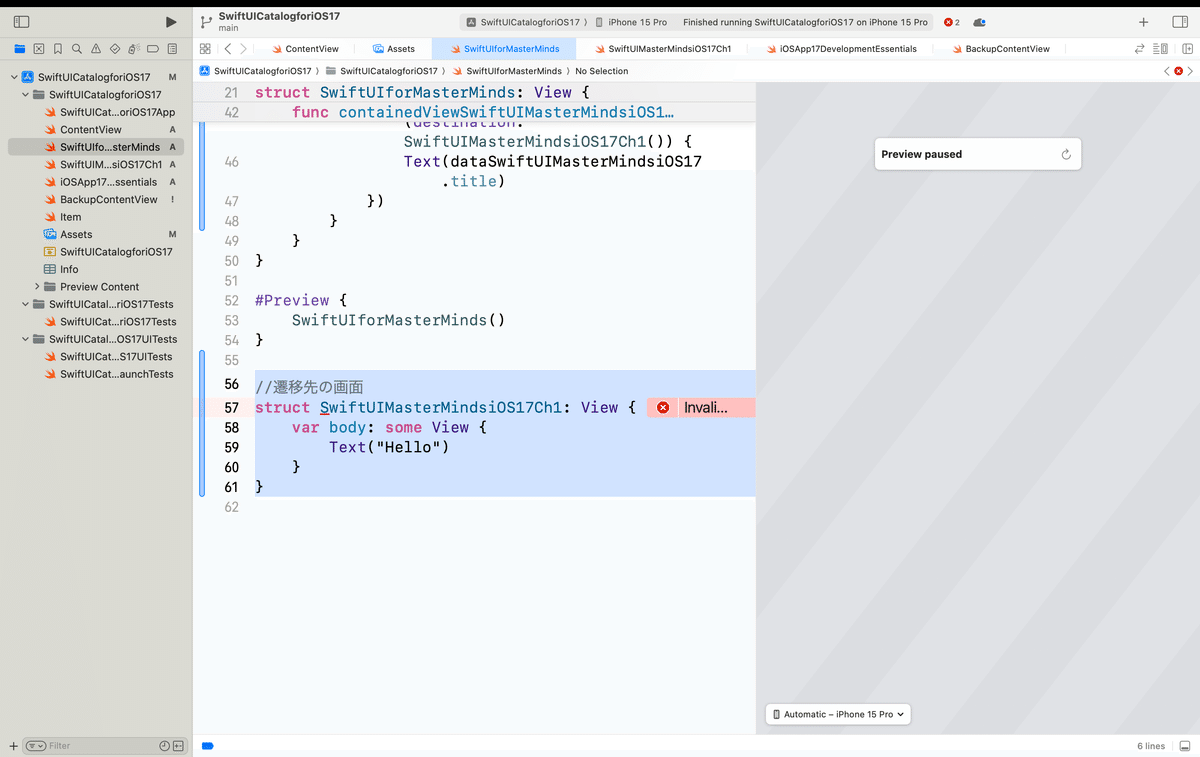
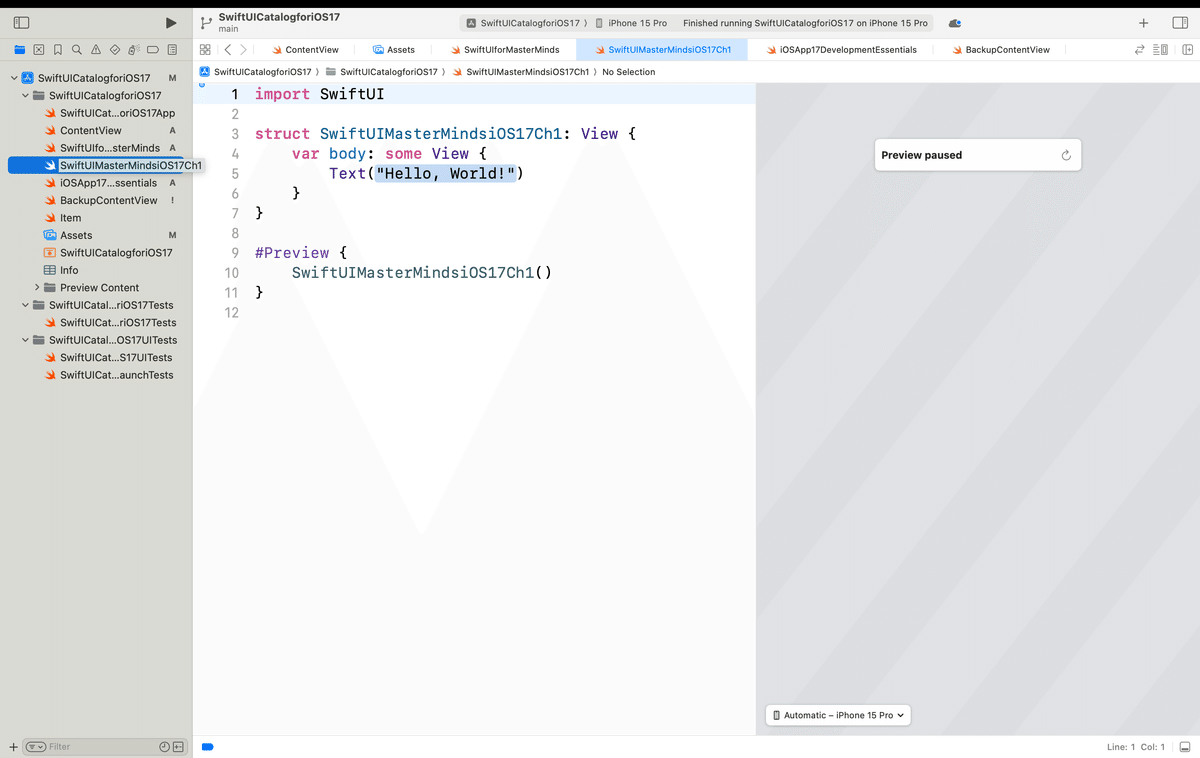
と、ここで普通の技術書って、
・章:Chapter
↓
・節:Section
↓
・内容:Contents
て感じで、説明が進んでいくので、さっきのコードをセクションごとにリンク先に遷移できるように貼り付けて編集してく〜〜〜
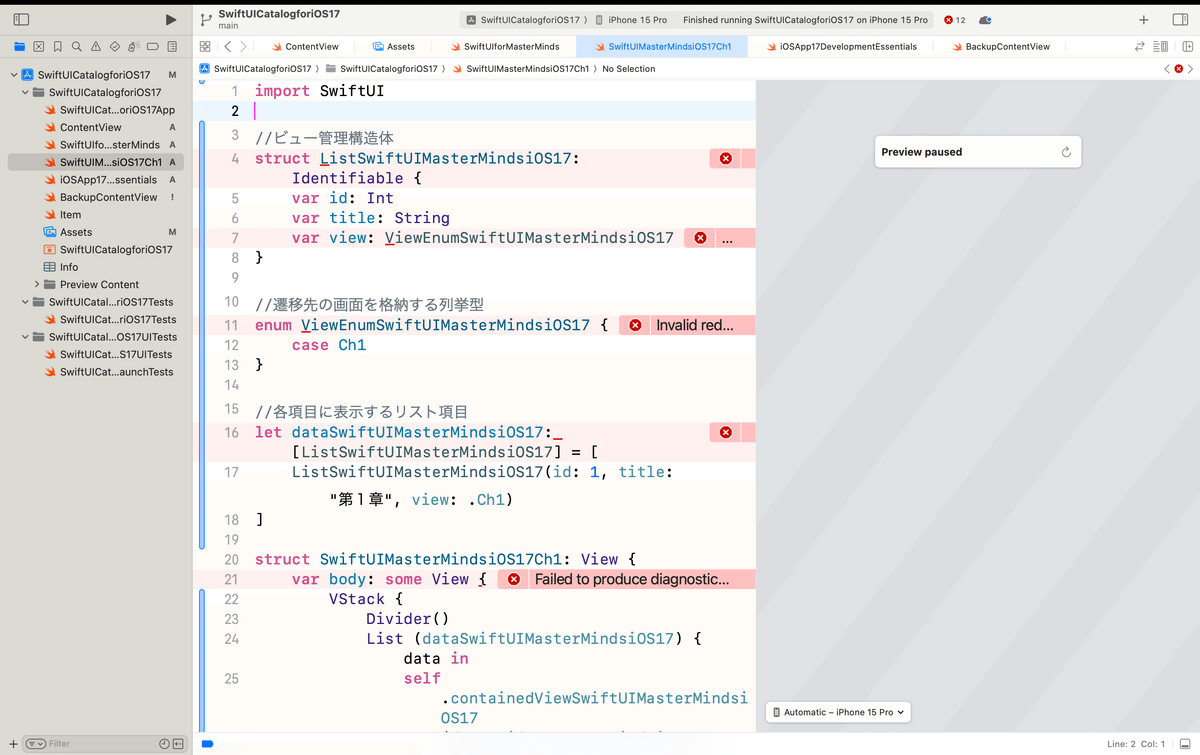
各項目名が重複してるので、さっきみたいにエラー警告発生
各項目名をセクション管理用に編集してく
コードはこんな感じ
import SwiftUI

//ビュー管理構造体
struct ListSwiftUIMasterMindsiOS17Ch1: Identifiable {
    var id: Int
    var title: String
    var view: ViewEnumSwiftUIMasterMindsiOS17Ch1
}

//遷移先の画面を格納する列挙型
enum ViewEnumSwiftUIMasterMindsiOS17Ch1 {
    case Sec1
}

//各項目に表示するリスト項目
let dataSwiftUIMasterMindsiOS17Ch1: [ListSwiftUIMasterMindsiOS17Ch1] = [
    ListSwiftUIMasterMindsiOS17Ch1(id: 1, title: "第1節", view: .Sec1)
]

struct SwiftUIMasterMindsiOS17Ch1: View {
    var body: some View {
        VStack {
            Divider()
            List (dataSwiftUIMasterMindsiOS17Ch1) { data in
                self.containedViewSwiftUIMasterMindsiOS17Ch1(dataSwiftUIMasterMindsiOS17Ch1: data)
            }
            .edgesIgnoringSafeArea([.bottom])
        }
        .navigationTitle("menu")
        .navigationBarTitleDisplayMode(.inline)
    }
    //タップ後に遷移先へ遷移させる関数
    func containedViewSwiftUIMasterMindsiOS17Ch1(dataSwiftUIMasterMindsiOS17Ch1: ListSwiftUIMasterMindsiOS17Ch1) -> AnyView {
        switch dataSwiftUIMasterMindsiOS17Ch1.view {
        case .Sec1:
            return AnyView(NavigationLink (destination: SwiftUIMasterMindsiOS17Ch1Sec1()) {
                Text(dataSwiftUIMasterMindsiOS17Ch1.title)
            })
        }
    }
}

#Preview {
    SwiftUIMasterMindsiOS17Ch1()
}

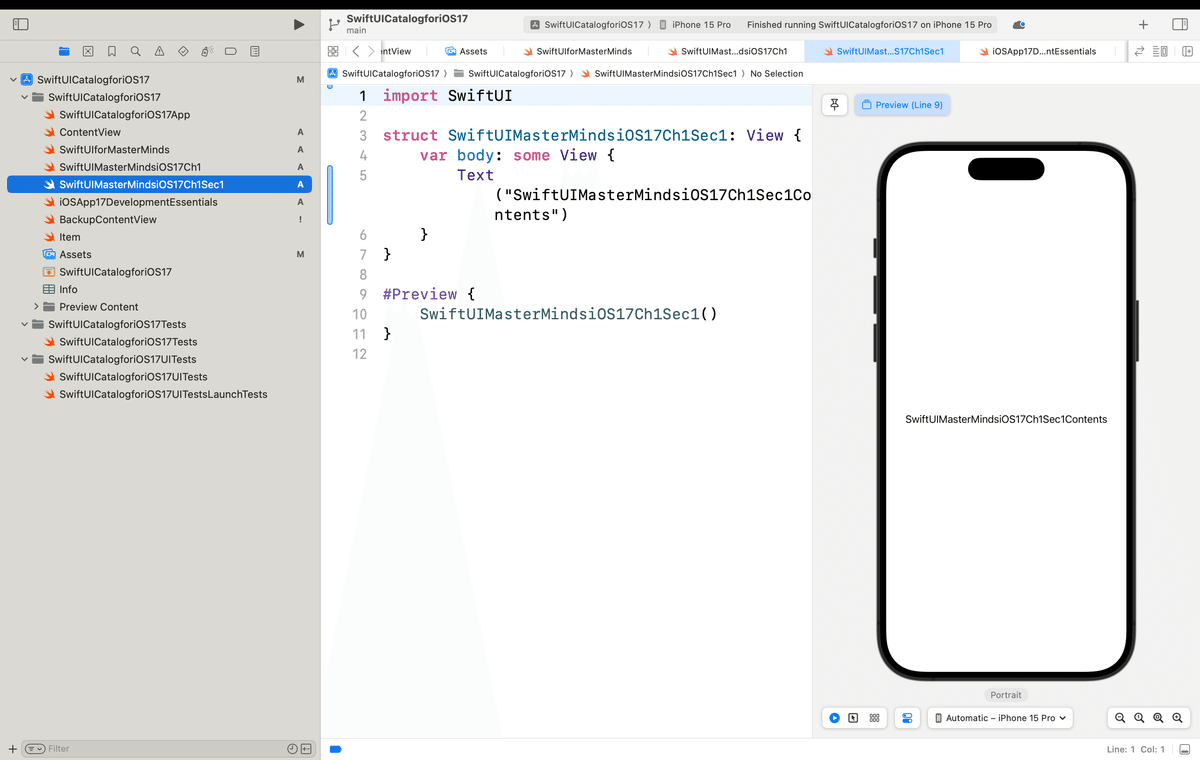
struct SwiftUIMasterMindsiOS17Ch1Sec1: View {
    var body: some View {
        Text("SwiftUIMasterMindsiOS17Ch1Sec1Contents")
    }
}
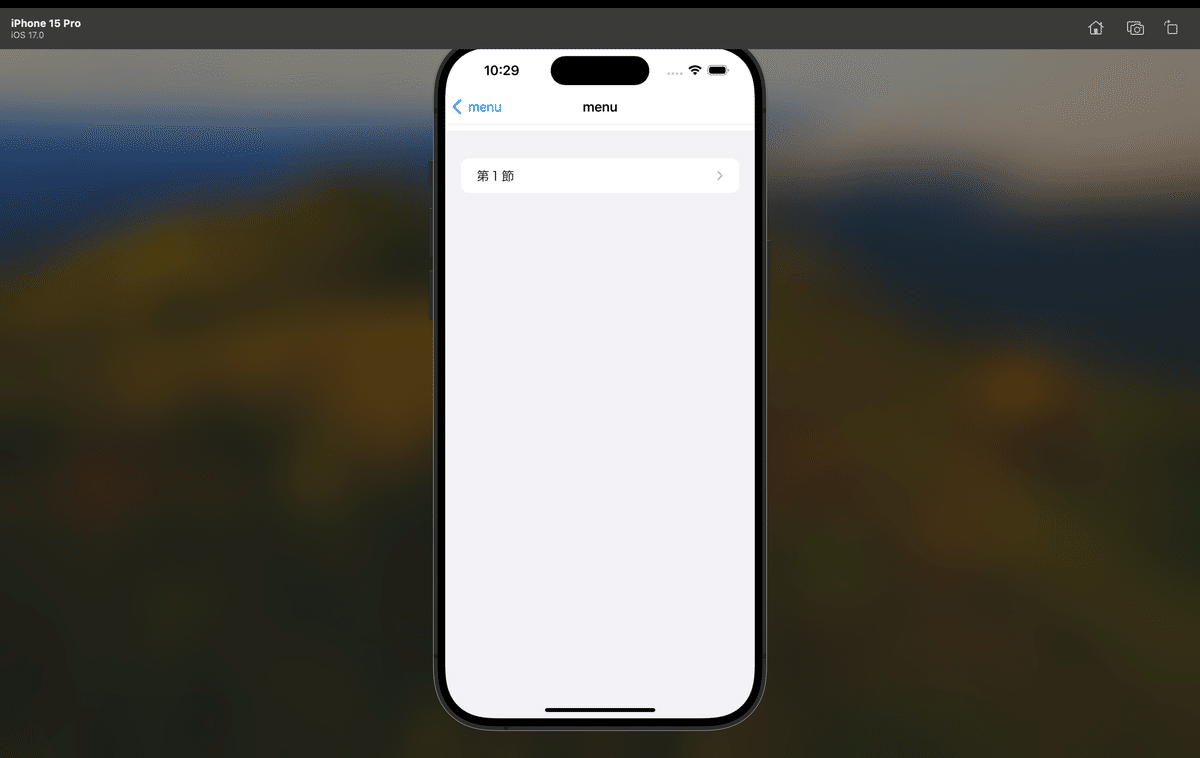
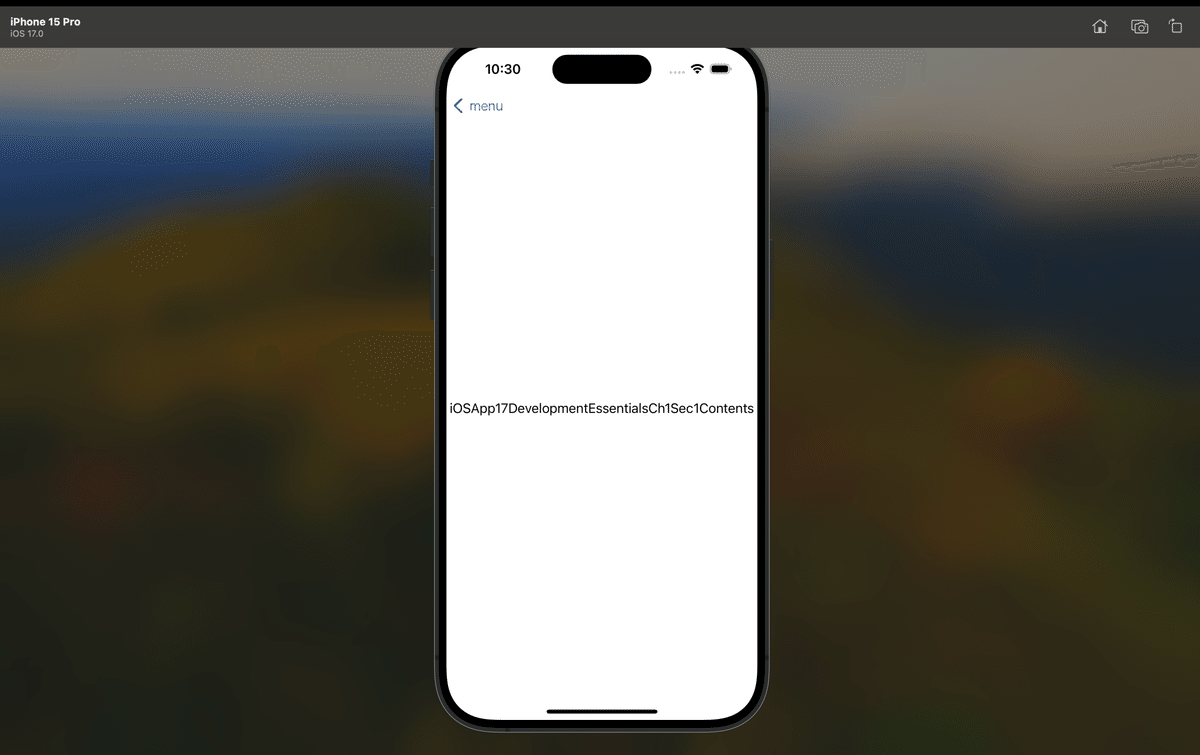
さっきと同様にSimulatorで実行すると、、、
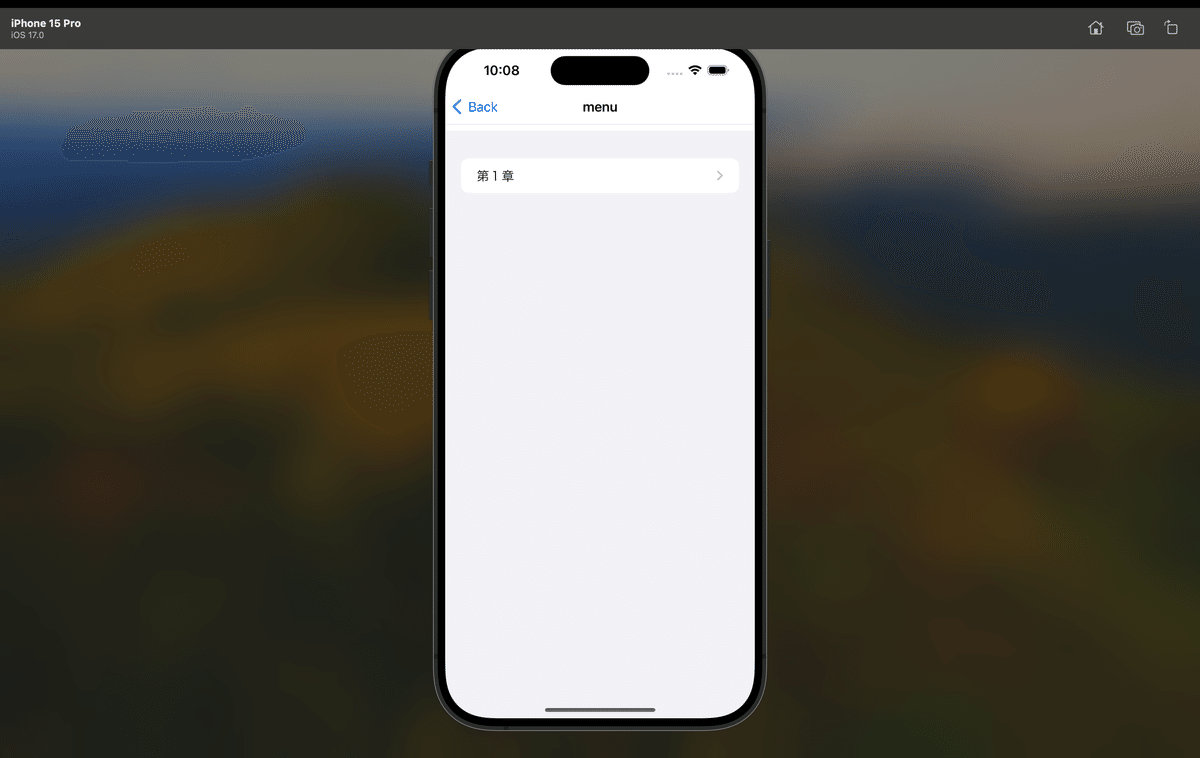
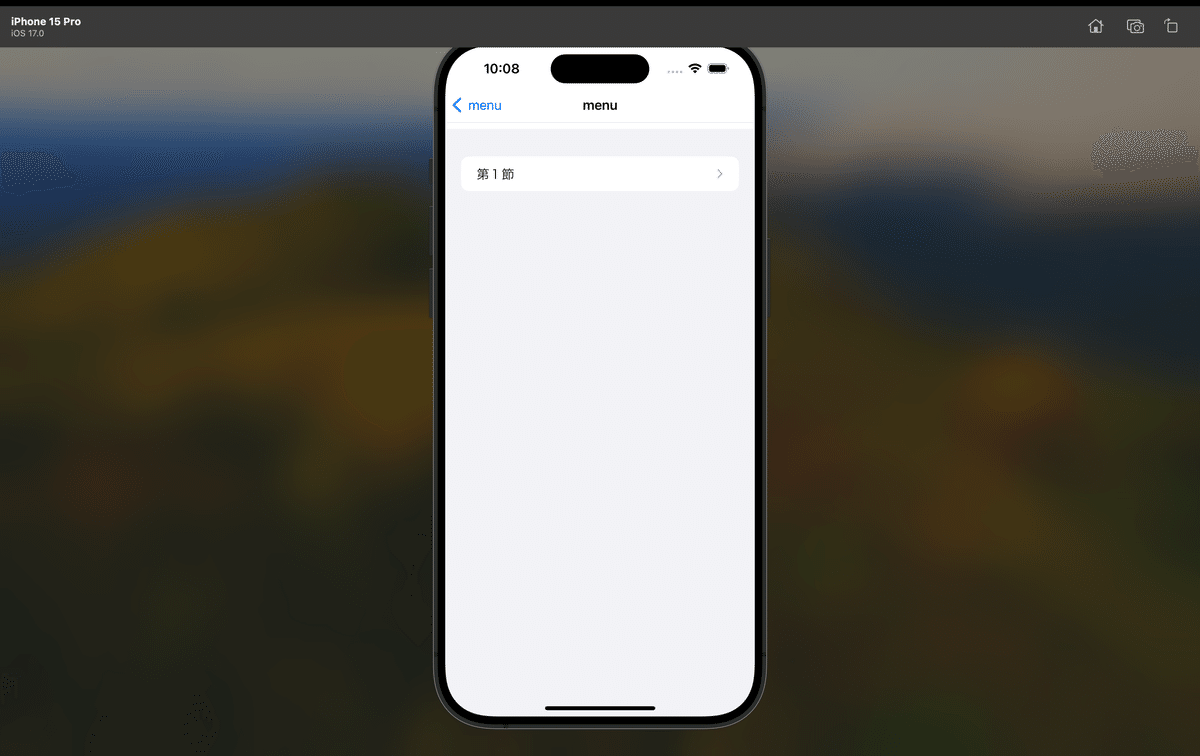
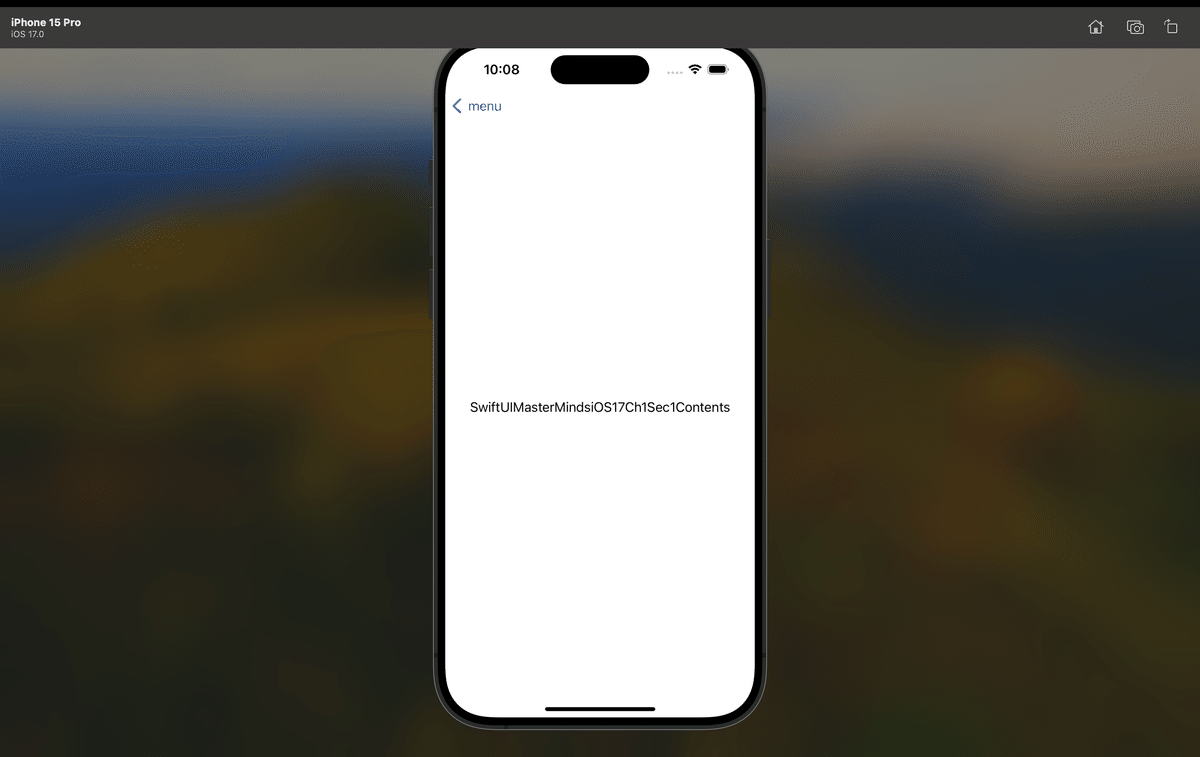
さっきと同じく、Sec1の画面は他のファイルに独立させておこう
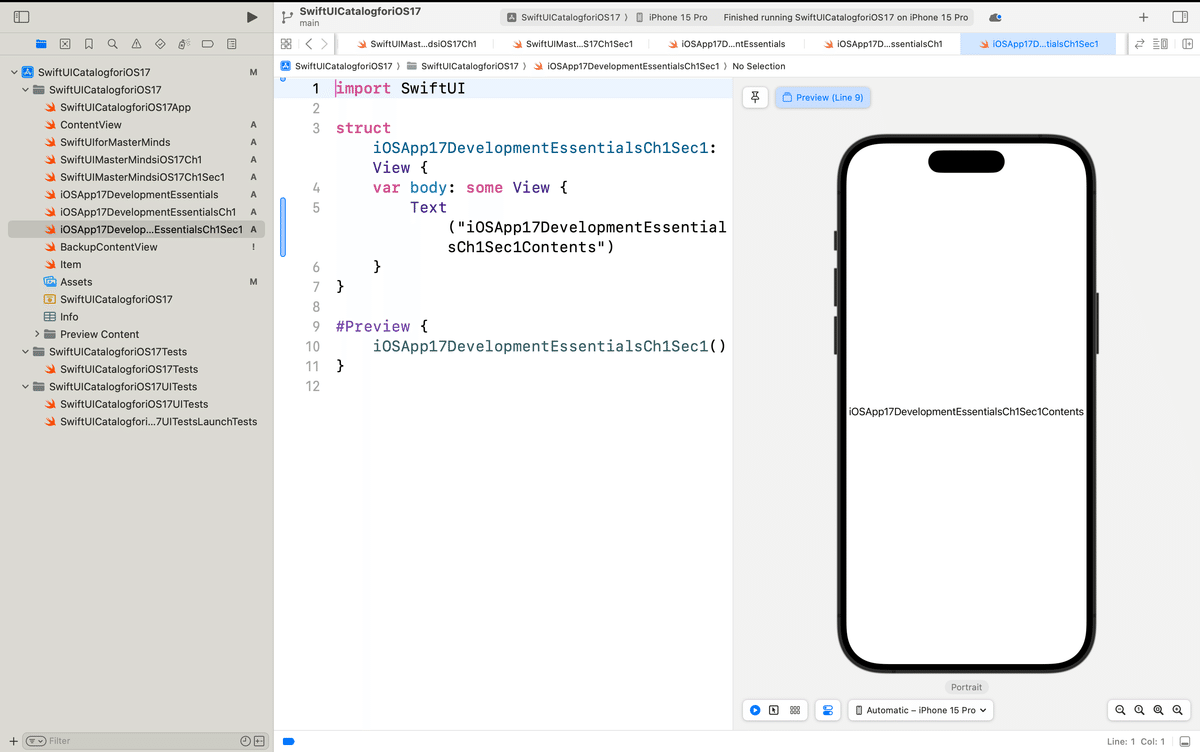
後は同様にもう1冊の方も
章リストと節リスト、コンテンツのビューを追加するだけ〜〜〜
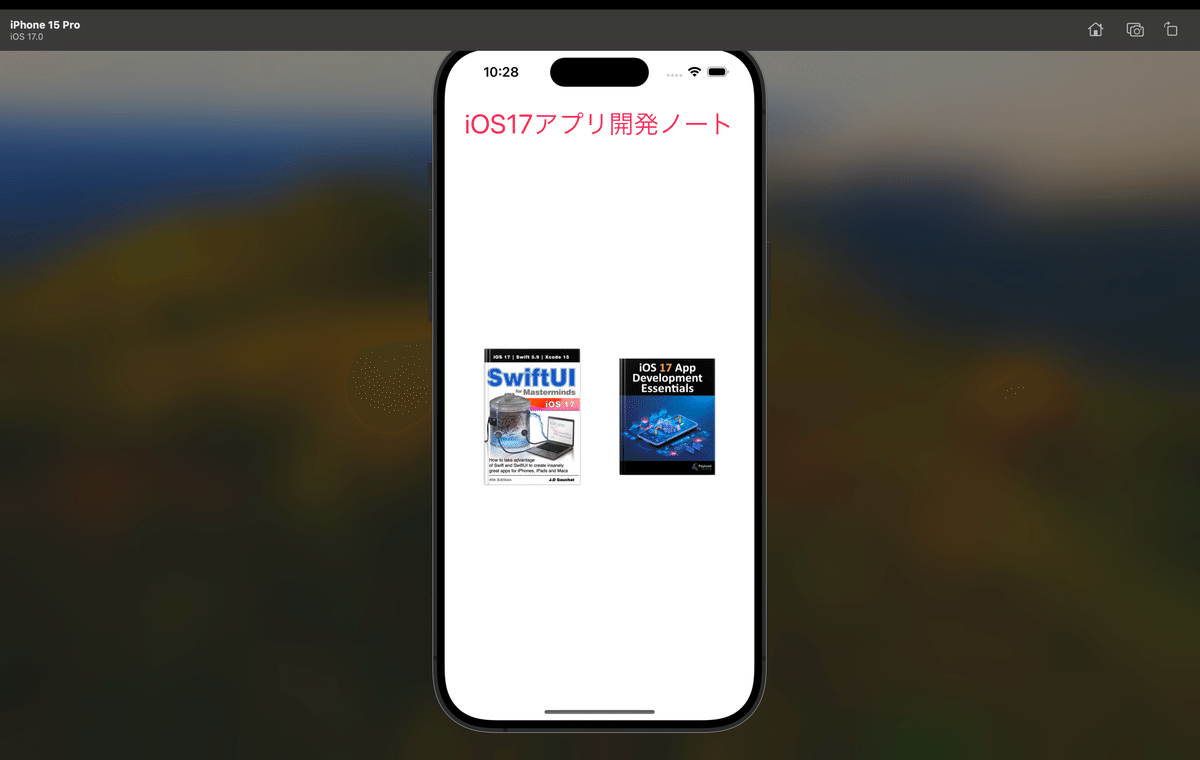
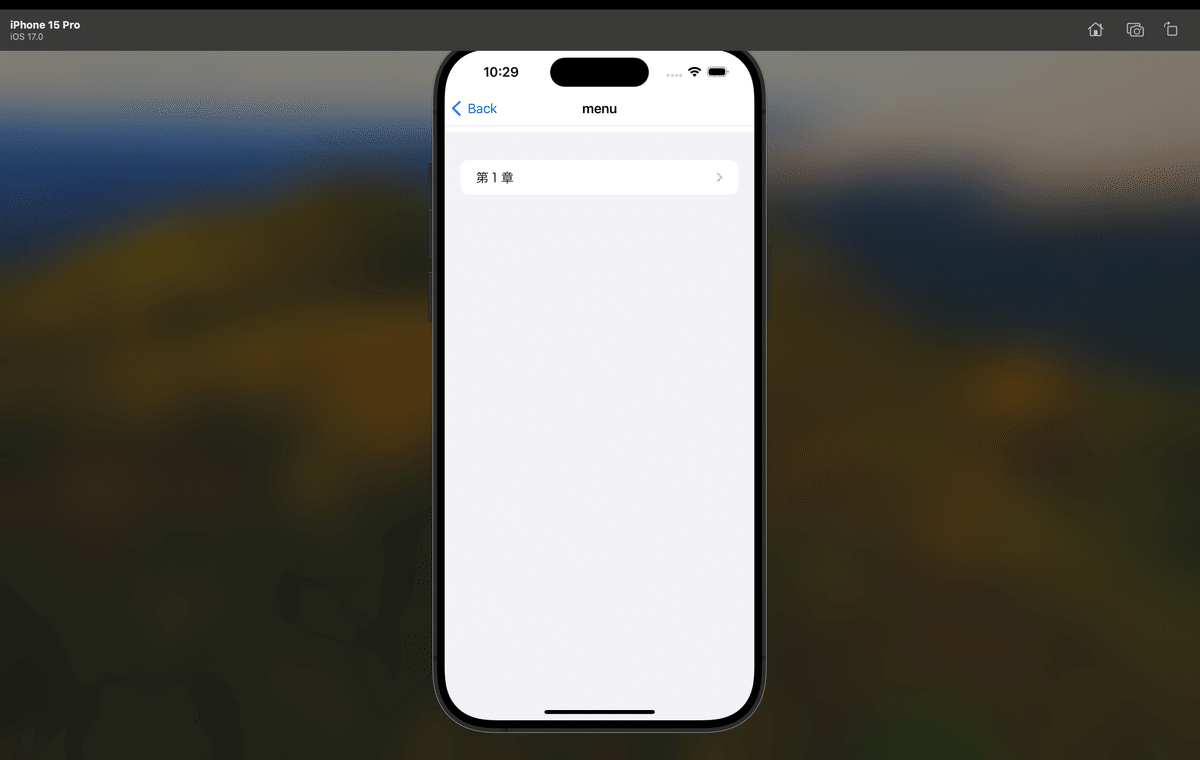
ここで入り口ボタン以降の画面遷移で、
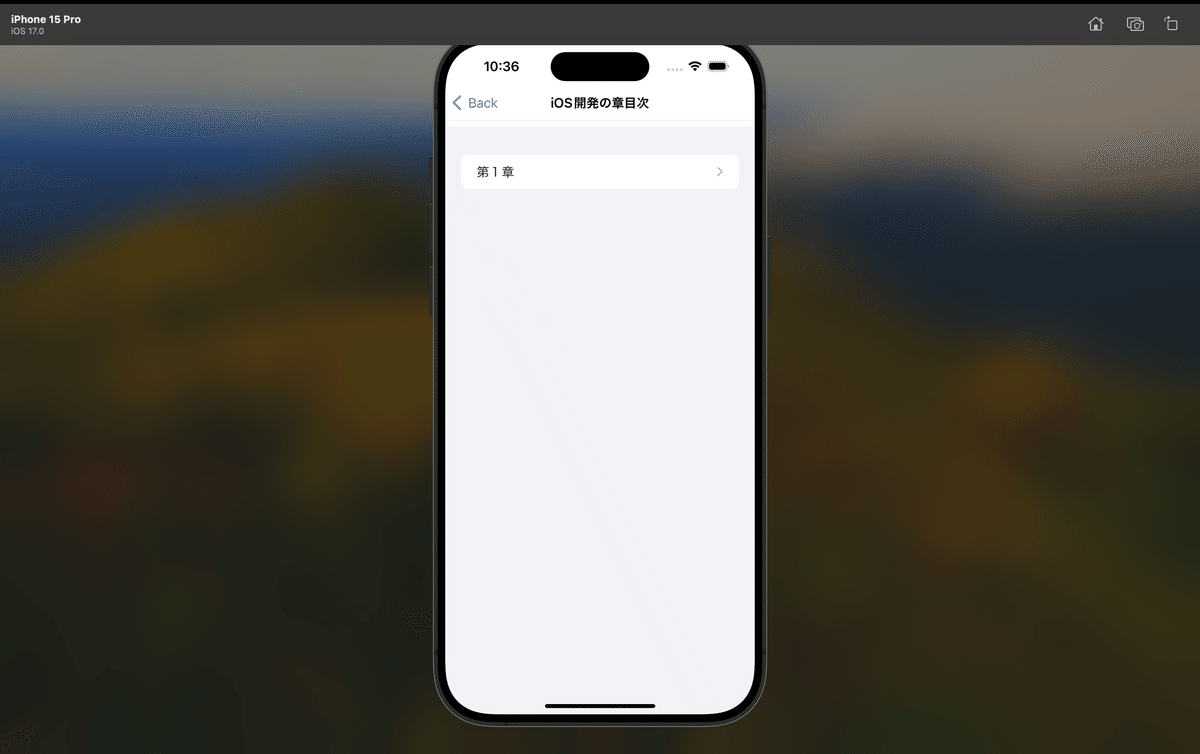
menuだけだとどの本の章なのか節なのかも分かりにくいので〜〜〜
と、ここまでで動きとコードは大体出来たのとちょうど区切りもいいので、今回はここまで。
今回のコード(まとめ)
🔹SwiftUIforMasterMinds
import SwiftUI

//ビュー管理構造体
struct ListSwiftUIMasterMindsiOS17: Identifiable {
    var id: Int
    var title: String
    var view: ViewEnumSwiftUIMasterMindsiOS17
}

//遷移先の画面を格納する列挙型
enum ViewEnumSwiftUIMasterMindsiOS17 {
    case Ch1
}

//各項目に表示する文字列
let dataSwiftUIMasterMindsiOS17: [ListSwiftUIMasterMindsiOS17] = [
    ListSwiftUIMasterMindsiOS17(id: 1, title: "第1章", view: .Ch1)
]

//元々の画面ビュー
struct SwiftUIforMasterMinds: View {
    var body: some View {
        VStack {
            Divider()
            List (dataSwiftUIMasterMindsiOS17) { data in
                self.containedViewSwiftUIMasterMindsiOS17(dataSwiftUIMasterMindsiOS17: data)
            }
            .edgesIgnoringSafeArea([.bottom])
        }
        .navigationTitle("マスターマインド章目次")
        .navigationBarTitleDisplayMode(.inline)
    }
    //タップ後に遷移先へ遷移させる関数
    func containedViewSwiftUIMasterMindsiOS17(dataSwiftUIMasterMindsiOS17: ListSwiftUIMasterMindsiOS17) -> AnyView {
        switch dataSwiftUIMasterMindsiOS17.view {
        case .Ch1:
            return AnyView(NavigationLink (destination: SwiftUIMasterMindsiOS17Ch1()) {
                Text(dataSwiftUIMasterMindsiOS17.title)
            })
        }
    }
}

#Preview {
    SwiftUIforMasterMinds()
}
🔹SwiftUIMasterMindsiOS17Ch1
import SwiftUI

//ビュー管理構造体
struct ListSwiftUIMasterMindsiOS17Ch1: Identifiable {
    var id: Int
    var title: String
    var view: ViewEnumSwiftUIMasterMindsiOS17Ch1
}

//遷移先の画面を格納する列挙型
enum ViewEnumSwiftUIMasterMindsiOS17Ch1 {
    case Sec1
}

//各項目に表示するリスト項目
let dataSwiftUIMasterMindsiOS17Ch1: [ListSwiftUIMasterMindsiOS17Ch1] = [
    ListSwiftUIMasterMindsiOS17Ch1(id: 1, title: "第1節", view: .Sec1)
]

struct SwiftUIMasterMindsiOS17Ch1: View {
    var body: some View {
        VStack {
            Divider()
            List (dataSwiftUIMasterMindsiOS17Ch1) { data in
                self.containedViewSwiftUIMasterMindsiOS17Ch1(dataSwiftUIMasterMindsiOS17Ch1: data)
            }
            .edgesIgnoringSafeArea([.bottom])
        }
        .navigationTitle("マスターマインドの節目次")
        .navigationBarTitleDisplayMode(.inline)
    }
    //タップ後に遷移先へ遷移させる関数
    func containedViewSwiftUIMasterMindsiOS17Ch1(dataSwiftUIMasterMindsiOS17Ch1: ListSwiftUIMasterMindsiOS17Ch1) -> AnyView {
        switch dataSwiftUIMasterMindsiOS17Ch1.view {
        case .Sec1:
            return AnyView(NavigationLink (destination: SwiftUIMasterMindsiOS17Ch1Sec1()) {
                Text(dataSwiftUIMasterMindsiOS17Ch1.title)
            })
        }
    }
}

#Preview {
    SwiftUIMasterMindsiOS17Ch1()
}
🔹SwiftUIMasterMindsiOS17Ch1Sec1
import SwiftUI

struct SwiftUIMasterMindsiOS17Ch1Sec1: View {
    var body: some View {
        Text("SwiftUIMasterMindsiOS17Ch1Sec1Contents")
    }
}

#Preview {
    SwiftUIMasterMindsiOS17Ch1Sec1()
}
🔸iOSApp17DevelopmentEssentials
import SwiftUI

//ビュー管理構造体
struct ListiOSApp17DevelopmentEssentials: Identifiable {
    var id: Int
    var title: String
    var view: ViewEnumiOSApp17DevelopmentEssentials
}

//遷移先の画面を格納する列挙型
enum ViewEnumiOSApp17DevelopmentEssentials {
    case Ch1
}

//各項目に表示する文字列
let dataiOSApp17DevelopmentEssentials: [ListiOSApp17DevelopmentEssentials] = [
    ListiOSApp17DevelopmentEssentials(id: 1, title: "第1章", view: .Ch1)
]

struct iOSApp17DevelopmentEssentials: View {
    var body: some View {
        VStack {
            Divider()
            List (dataiOSApp17DevelopmentEssentials) { data in
                self.containedViewiOSApp17DevelopmentEssentials(dataiOSApp17DevelopmentEssentials: data)
            }
            .edgesIgnoringSafeArea([.bottom])
        }
        .navigationTitle("iOS開発の章目次")
        .navigationBarTitleDisplayMode(.inline)
    }
    //タップ後に遷移先へ遷移させる関数
    func containedViewiOSApp17DevelopmentEssentials(dataiOSApp17DevelopmentEssentials: ListiOSApp17DevelopmentEssentials) -> AnyView {
        switch dataiOSApp17DevelopmentEssentials.view {
        case .Ch1:
            return AnyView(NavigationLink (destination: iOSApp17DevelopmentEssentialsCh1()) {
                Text(dataiOSApp17DevelopmentEssentials.title)
            })
        }
    }
}

#Preview {
    iOSApp17DevelopmentEssentials()
}
🔸iOSApp17DevelopmentEssentialsCh1
import SwiftUI

//ビュー管理構造体
struct ListiOSApp17DevelopmentEssentialsCh1: Identifiable {
    var id: Int
    var title: String
    var view: ViewEnumiOSApp17DevelopmentEssentialsCh1
}

//遷移先の画面を格納する列挙型
enum ViewEnumiOSApp17DevelopmentEssentialsCh1 {
    case Sec1
}

//各項目に表示するリスト項目
let dataiOSApp17DevelopmentEssentialsCh1: [ListiOSApp17DevelopmentEssentialsCh1] = [
    ListiOSApp17DevelopmentEssentialsCh1(id: 1, title: "第1節", view: .Sec1)
]

struct iOSApp17DevelopmentEssentialsCh1: View {
    var body: some View {
        VStack {
            Divider()
            List (dataiOSApp17DevelopmentEssentialsCh1) { data in
                self.containedViewiOSApp17DevelopmentEssentialsCh1(dataiOSApp17DevelopmentEssentialsCh1: data)
            }
            .edgesIgnoringSafeArea([.bottom])
        }
        .navigationTitle("iOS開発の節目次")
        .navigationBarTitleDisplayMode(.inline)
    }
    //タップ後に遷移先へ遷移させる関数
    func containedViewiOSApp17DevelopmentEssentialsCh1(dataiOSApp17DevelopmentEssentialsCh1: ListiOSApp17DevelopmentEssentialsCh1) -> AnyView {
        switch dataiOSApp17DevelopmentEssentialsCh1.view {
        case .Sec1:
            return AnyView(NavigationLink (destination: iOSApp17DevelopmentEssentialsCh1Sec1()) {
                Text(dataiOSApp17DevelopmentEssentialsCh1.title)
            })
        }
    }
}

#Preview {
    iOSApp17DevelopmentEssentialsCh1()
}
🔸iOSApp17DevelopmentEssentialsCh1Sec1
import SwiftUI

struct iOSApp17DevelopmentEssentialsCh1Sec1: View {
    var body: some View {
        Text("iOSApp17DevelopmentEssentialsCh1Sec1Contents")
    }
}

#Preview {
    iOSApp17DevelopmentEssentialsCh1Sec1()
}
まとめ
上述のとおり、解説を詳細に出来なくはないんだけど、
構造体とかEnum、データ、関数、MVVMなどなど
これから本編でじっくり学んでいく内容が盛り沢山なところをふんだんに使ってて、
説明が果てしなく長くなるだけ
ってのと、
なんかの記事で、WEBサイトを見れば近しいサンプルは山ほど転がってるんだけど、
いざ実際にこの動きを自分で作ろうって思うと、初めのうちは意外と難しい
ので、実際に、
シンプルに動くサンプルをまずは組み込む
↓
学びが進む中で、詳細は理解
の方が早いと判断して、今回はコードを中心に記事にしてみた💦👀リスト項目の増やし方なんかは、本編の内容をやりながら実際に、
嫌でも触れてく
ので、まずは、
学習内容をまとめる土台
👉コードテンプレートを作ってるだけ
ってことで、
あまり最初から思い詰めないでね〜〜〜〜🕺
極端な話、
動くコードさえはめ込めば、全く理解してなくても
アプリは動くからね👀
ただ、実際にゼロから自分で何かのアプリを作る
って時に理解は必須なんだが💦
👉当たり前な話
今回のまとめコードを比較してみてもらえればわかるとおり、
名前を変えてるだけで、
同じコードしか使ってないからね👀🌱
Apple公式サイト
さてと、次回は
各内容のビュー(今回でいうとSwiftUIMasterMindsiOS17Ch1Sec1、iOSApp17DevelopmentEssentialsCh1Sec1)に、
機能
コード
ポイント
をひとつのビューでページを切り替えてく
💃Tab Viewについて紹介してく🕺
多分、コードテンプレートの作り方の紹介=導入編は後、2回くらいかな🧐
