草木染め絞り方 #28
草木染めの淡い色味。
微妙な濃淡がなんとも言えず好きです。
草木染めの中にもハッキリとした色味をくれるものもある。
玉ねぎの皮。
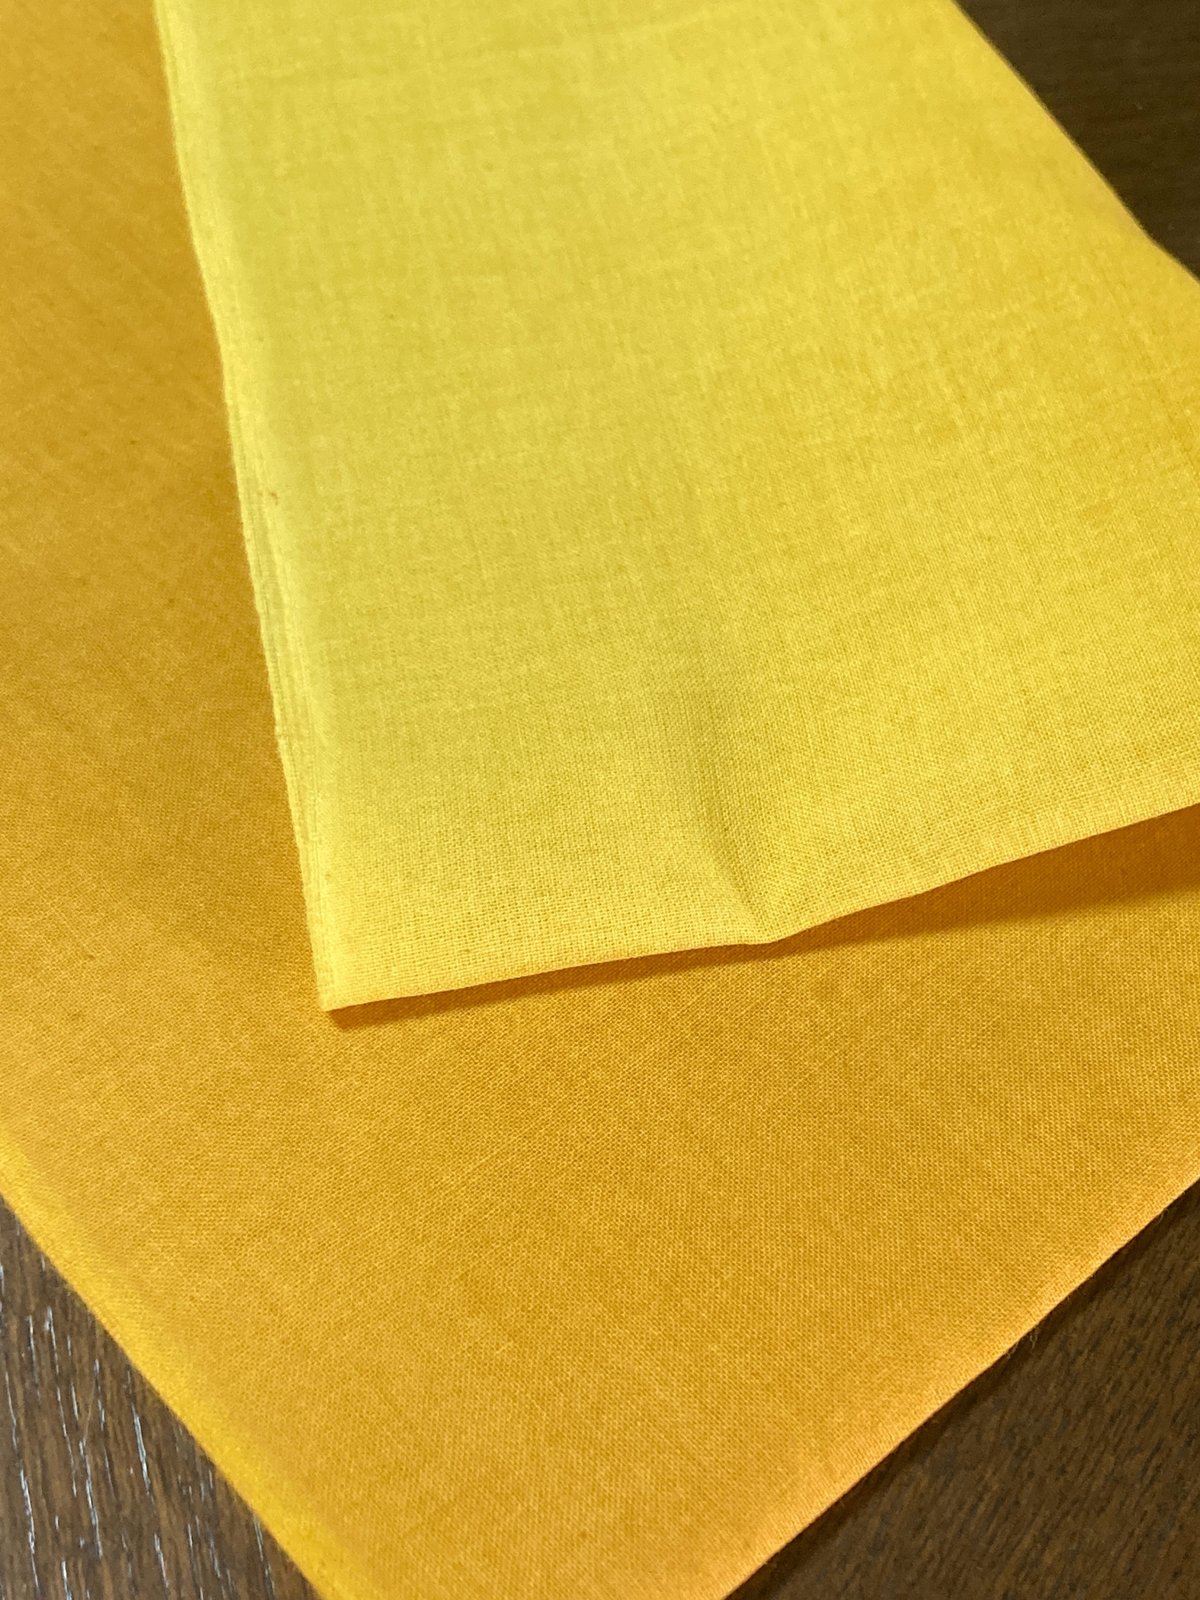
パーンとした元気な黄色をくれる!黄金色。
今日はこのハッキリとした色味で絞りの濃淡を楽しんだ。
染めたのは手ぬぐい。(1本目)
まずは縦にジャバラに折る。
そして数カ所を紐でしばる。(絞る)
絞り方はそれだけ。w

染め上がった柄がこちら。

【染め方】
玉ねぎの皮で染める方法は、以前書いたブログをどうぞ!
媒染の仕方で、黄色やカーキー色を楽しめます。→〔玉ねぎの皮を捨てずに…〕
手ぬぐいでグラデーションも楽しみました。(2本目)
グラデーションは一度全体を染めて媒染し、
二度目以降は布の端を両手で持ちながら、
濃くしたい部分を上下に揺らしながら染めていきます。
染めと媒染をセットに繰り返し、グラデーションを作っていきます。
染め上がったのがこちら


手ぬぐいと同じ絞り染めでクッションカバーも作りました!
カバーの方は二重の筋を一本入れた柄に。
ジャバラに折ってから紐で縛る。

染め上がり(仕立て後)がこちら。


【仕立て方】
クッションカバーの作り方はこちらをどうぞ!
ファスナーなしの簡単仕立てです。
→〔藍の絞り染めでクッションカバー〕
もうひとつクッションカバー。
こちらでもグラデーション!


今回は黄色を堪能しました!
次は何を染めようかな…。w
