
スプレッドシートからメール下書き作成(その1)[GAS]初めてのGAS

Google Apps Script(GAS)を用いてGoogleスプレッドシートからメールの下書きを作成する手順を記事にしていきます。
GASを全く触ったことの無い方に読んでいただく想定で書きます。
※本記事はノンプロ研 Advent Calendar 2023の3日目の記事です。
【1】新規スプレッドシートを準備
新規スプレッドシートを作成し、A1-B3まで6つのセルに以下のテキストを入力します。
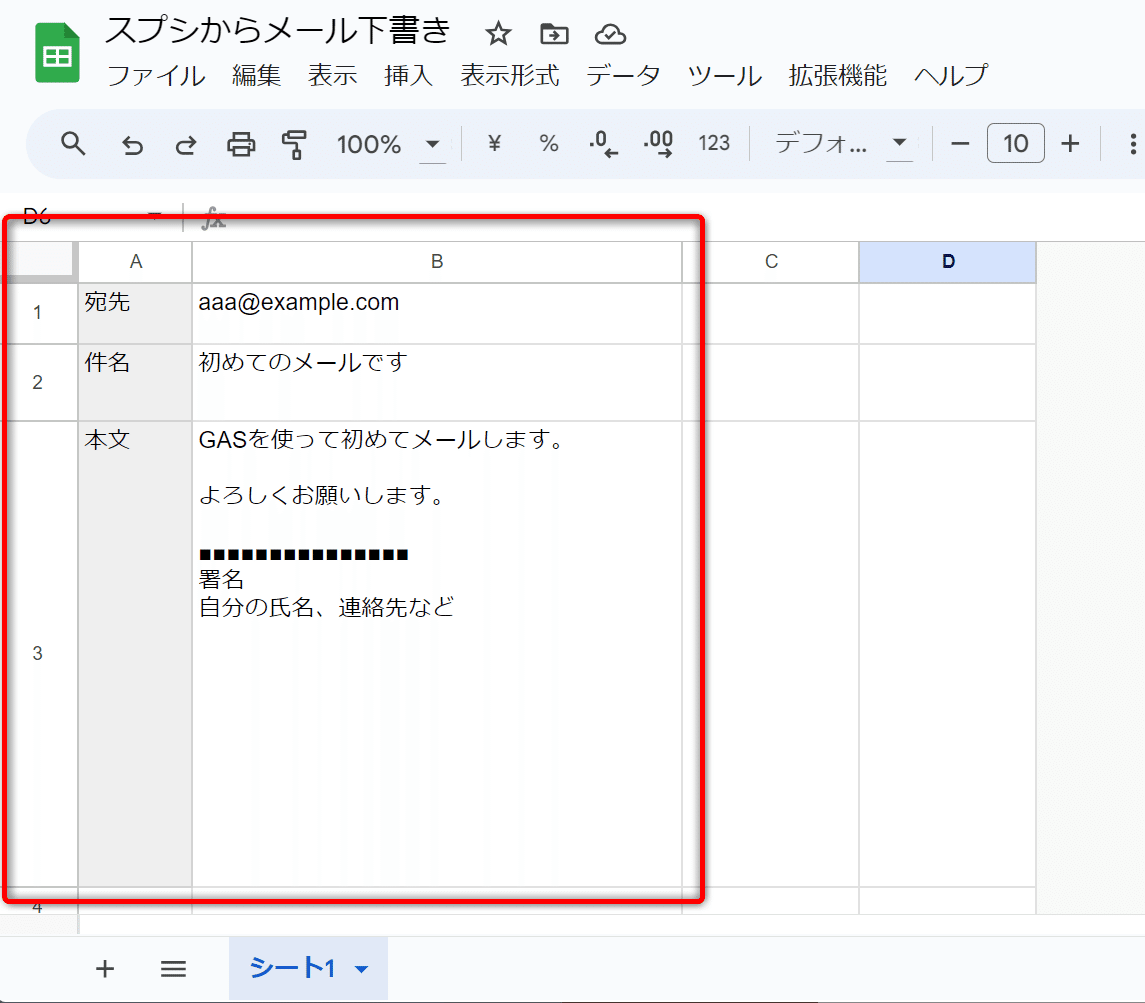
セルB1には「aaa@exsample.com」という架空のメールアドレスを入力しましたが、ご自身のメアドを入力して頂いてもOKです。
またセルA1-A3のセル色を薄グレーにしていますが、セル色を変更しなくてもOKです。
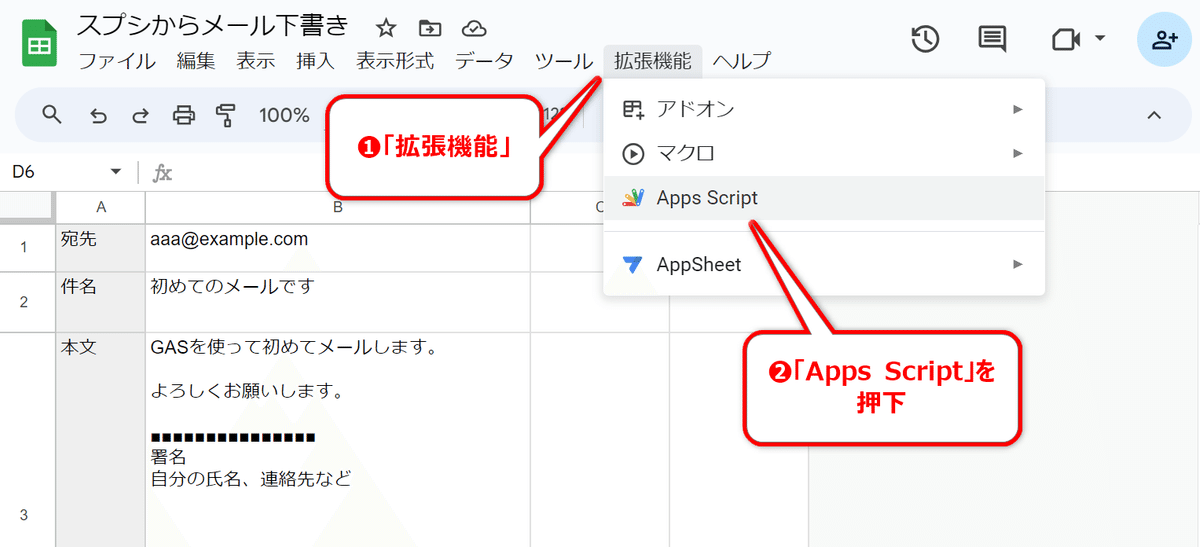
【2】プロジェクトを開く
メニュー「機能拡張」から「Apps Script」をクリックすると「プロジェクト」が開きます。ここにGoogle Apps Scriptというプログラミング言語を入力し実行していきます。
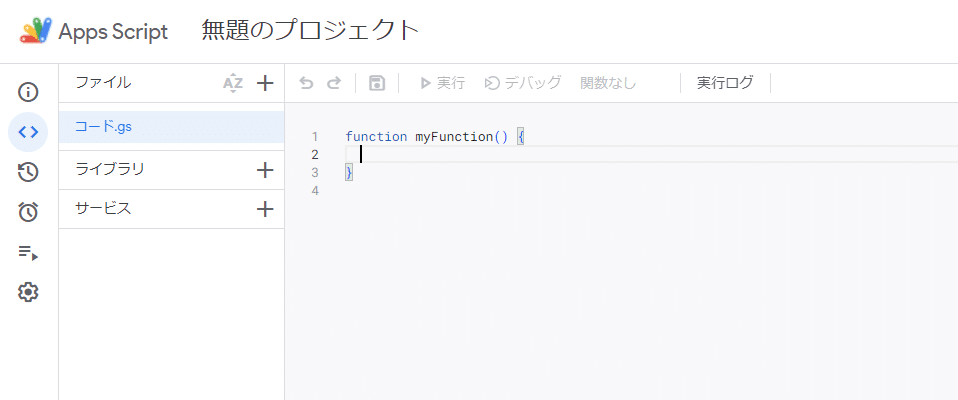
【3】コードを書く
「function myFunction」から始まる1行目から、3行目の「 } 」(波括弧閉じ)までを削除し、以下のコードを入力します。
コピペしたくなるのをぐっとこらえて、まずは書き写してみましょう。
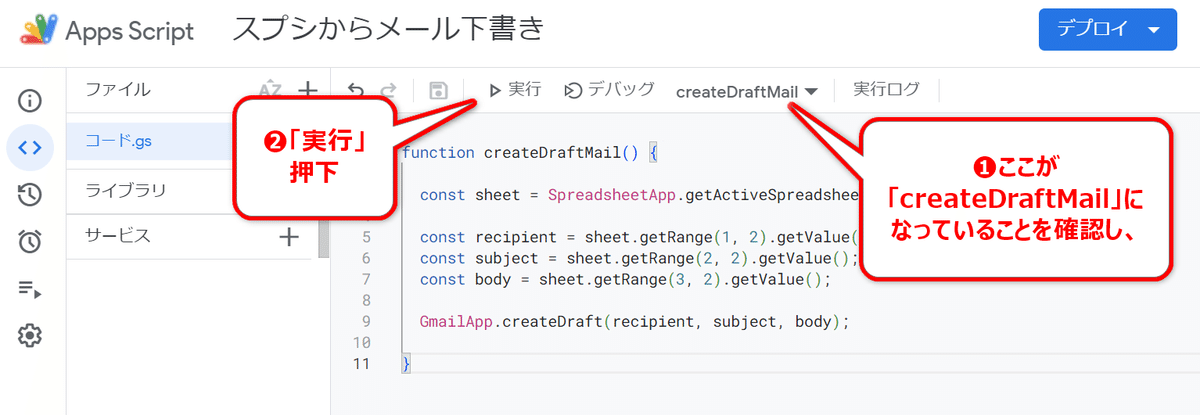
function createDraftMail() {
const sheet = SpreadsheetApp.getActiveSpreadsheet().getActiveSheet();
const recipient = sheet.getRange(1, 2).getValue();
const subject = sheet.getRange(2, 2).getValue();
const body = sheet.getRange(3, 2).getValue();
GmailApp.createDraft(recipient, subject, body);
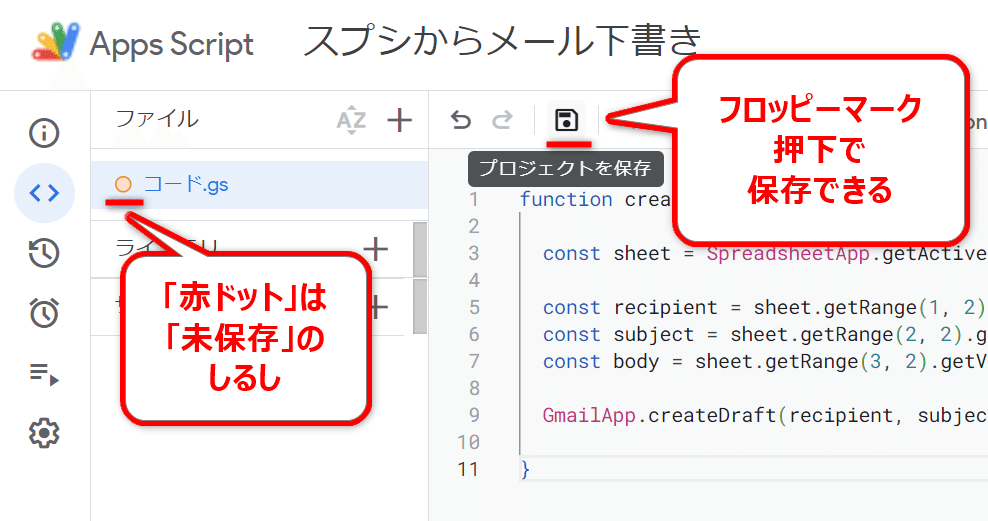
}【4】プロジェクトを保存
コードを書くとファイル名の先頭に赤いドットが表示されます。これは「コードに変更があり保存されていない」というしるしです。コード入力・変更後は上部のフロッピーディスクマークをクリックし保存します。
※また上部「無題のプロジェクト」をクリックするとプロジェクト名が変更できます。今回のプロジェクト名はスプシ名と同じく「スプシからメール下書き」としました。
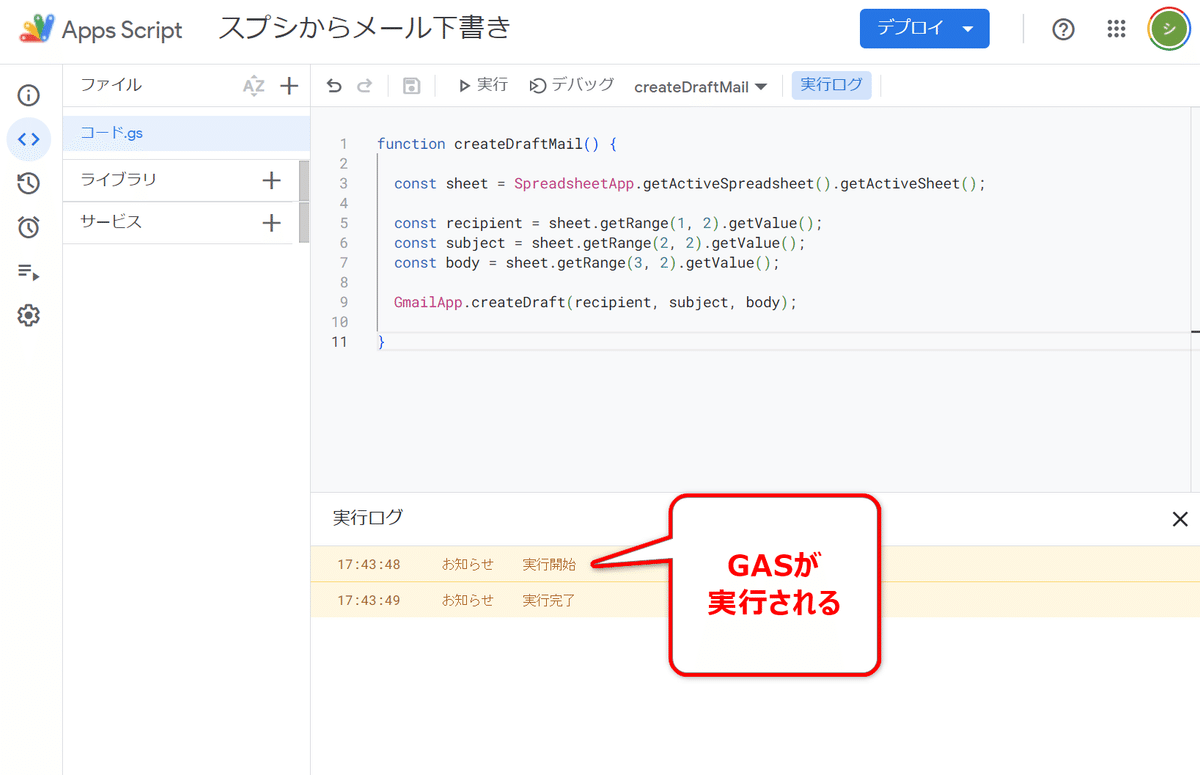
【5】プロジェクトを実行
コードを書き終え保存したら実行してみます。
初回実行時には「承認確認」がありますがビックリせずに順次進みましょう。
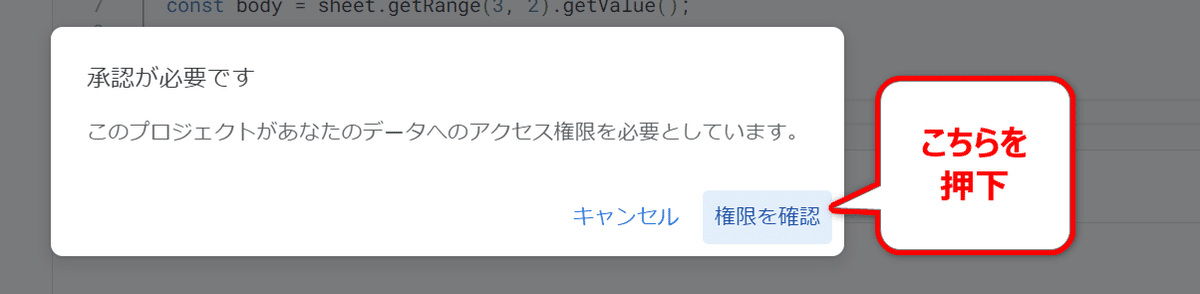
【6】初回実行時の承認
▼「権限を確認」をクリック
▼「詳細」をクリック
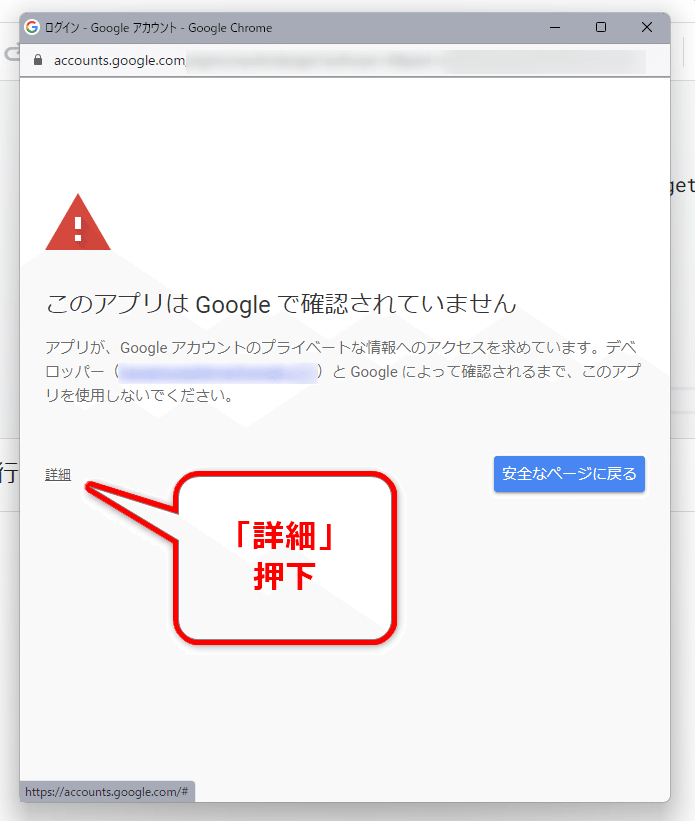
▼「(安全ではないページ)に移動」をクリック

▼「許可」をクリック
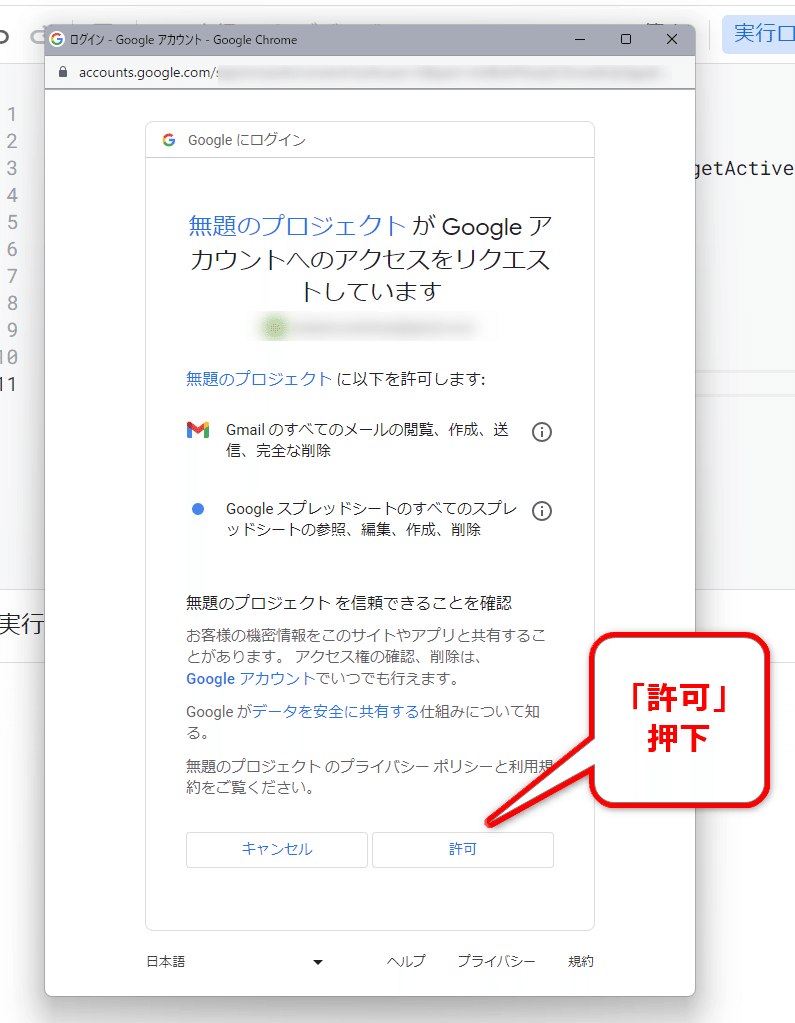
以上の承認を終えるとGASが実行されます。
【7】Gmailで下書きを確認
Gmail上で下書きを確認します。
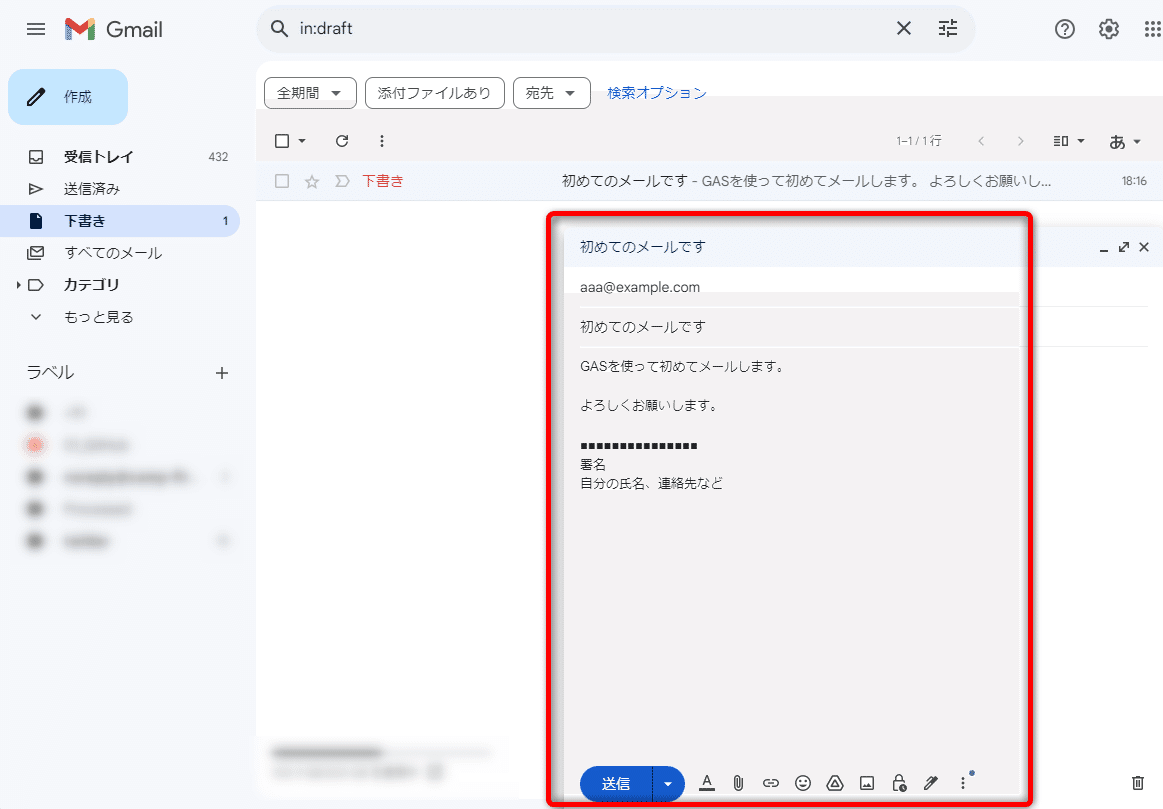
スプレッドシートのセルB1-B3に入力していた宛先、件名、本文が反映されたメール下書きが無事に生成されていました。
まずはシンプルなスプレッドシート、シンプルなコードで構成してみました。
次回以降の記事で解説や応用をしていきます。
※続きの記事を書きました。