
Making a digital negative with GIMP
The digital negative has been extending possibilities of alternative photography. It is a transparent film printed with an inkjet printer. The advantage of the digital negative depends on the tone curve to fit the properties of the sensitizer. In this article, I will introduce my standard procedure for making a digital negative with GIMP (GNU Image Manipulation Program). I assume the reader has tested the tone curve with his/her printer and transparent films. Highlight, shadow, and the intermediate range should be known.
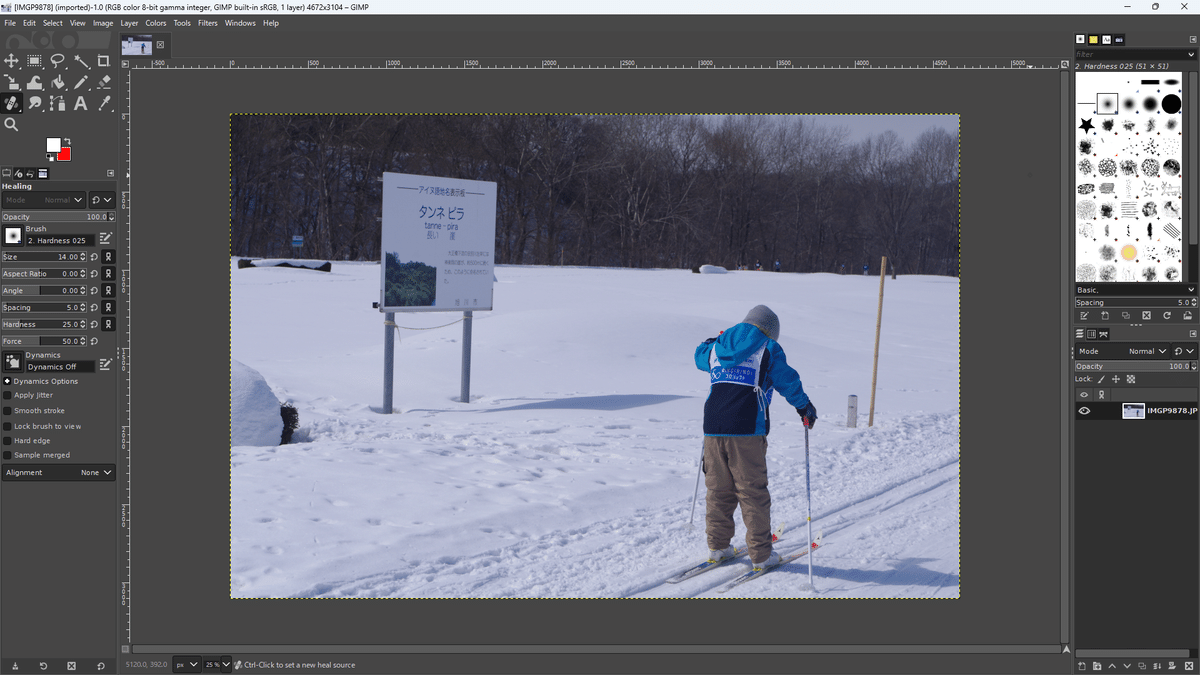
Now, let us start by opening an image file with GIMP. The procedure includes the following processes:
1. Make a grayscale image.
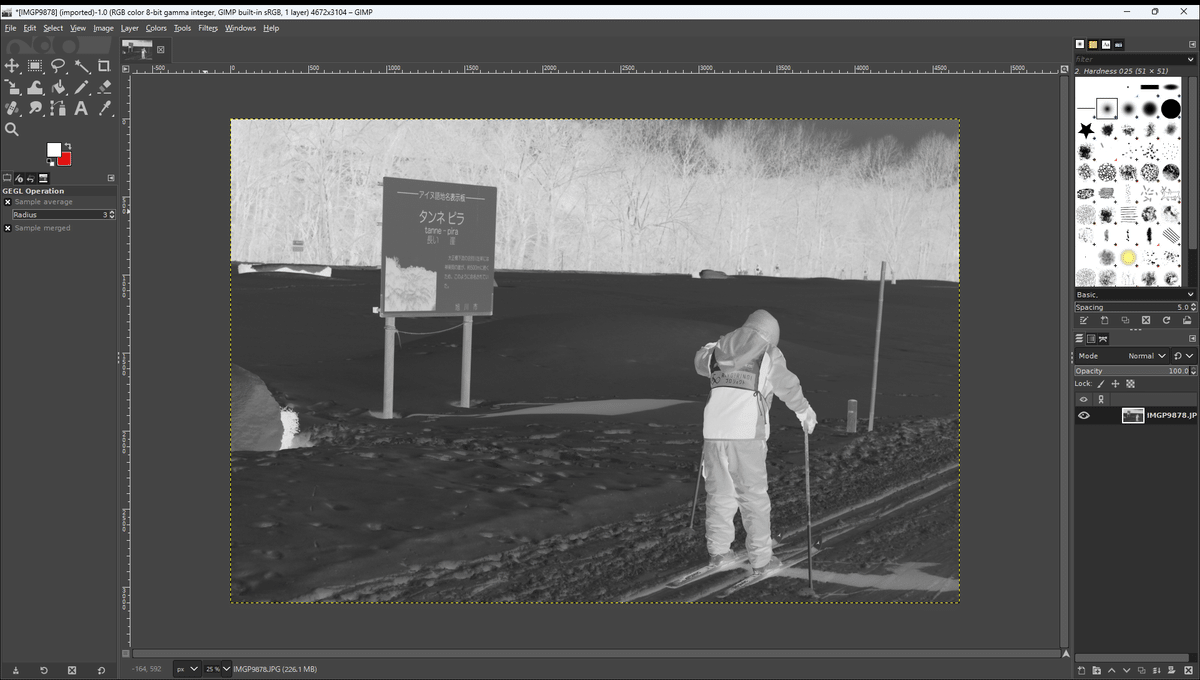
2. Invert between black and white.
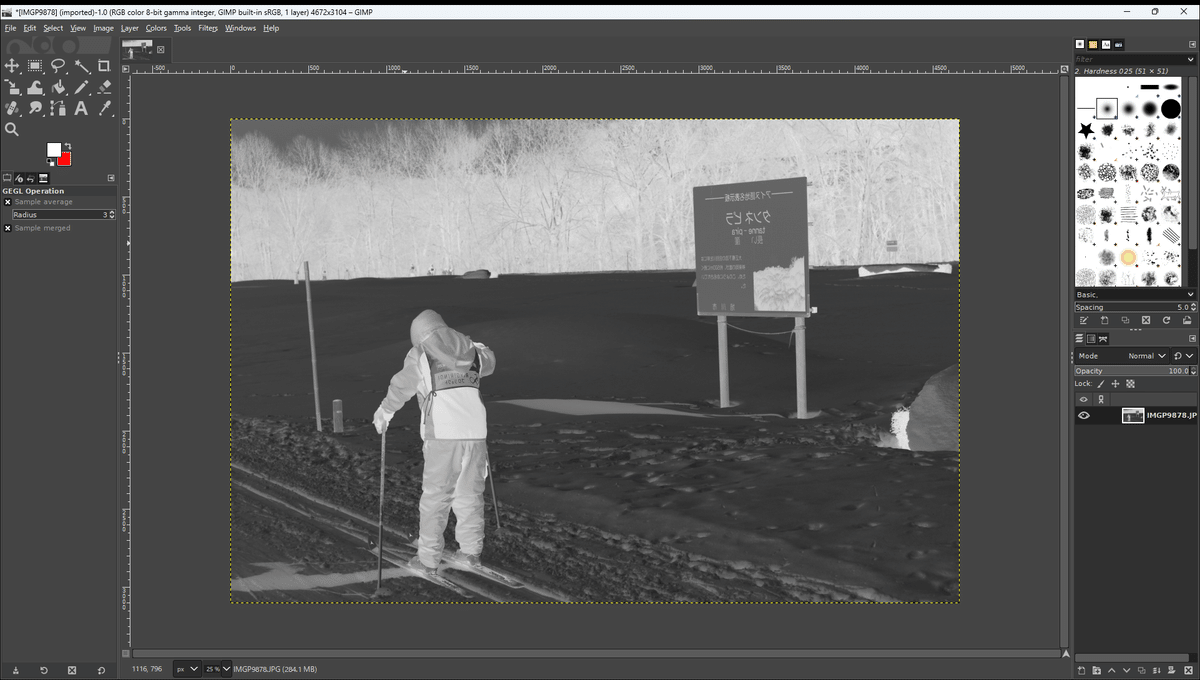
3. Flip the image.
4. Apply the appropriate tone curve.
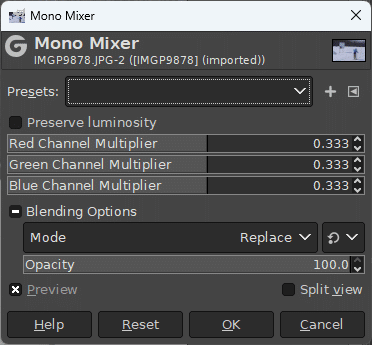
First, open the panel "Mono Mixer" (Color > Components>Mono Mixer). On this panel, you may make a grayscale image. There are some useful sliders on the panel. This time we skip their introduction. Click "OK" to obtain the grayscale image from your favorite file.
Now, on the main panel, you've got a grayscale image as if you shot with a black-and-white film.
In many cases, we use the contact printer in alternative photography. The printed side of the digital negative should be flipped to avoid blurring. With GIMP, click Image > Transform > Flip Horizontally.
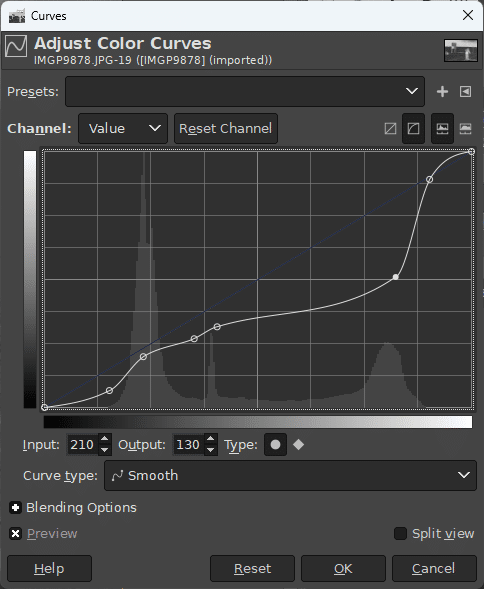
Next, let us do the most important trick. Open the panel "Curves" (Color > Curves). You may find a straight line and histogram of the image.
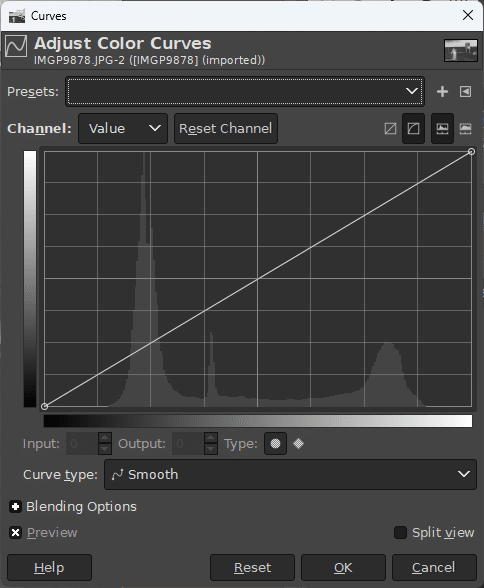
The basic idea is simple. Keep as much information as possible. The histogram tells us which level has more information. Provide a steep slope at the high-density level in the histogram. In addition, Highlight and shadow levels must be adjusted to the sensitizer.
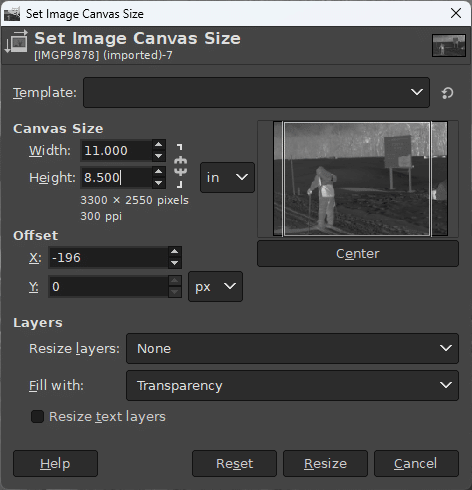
The digital negative is now almost ready. I always resize the image to fit the real size of the transparent film (8.5 inch x 11 inch). First, open the Scale Image panel (Image > Scale Image). Set the height to 8.5 inches and click Scale. The width is set automatically by GIMP. Next, open the Canvas Size panel (Image > Canvas Size). Enter the width and height, then choose an area you want. Finally, click Resize.
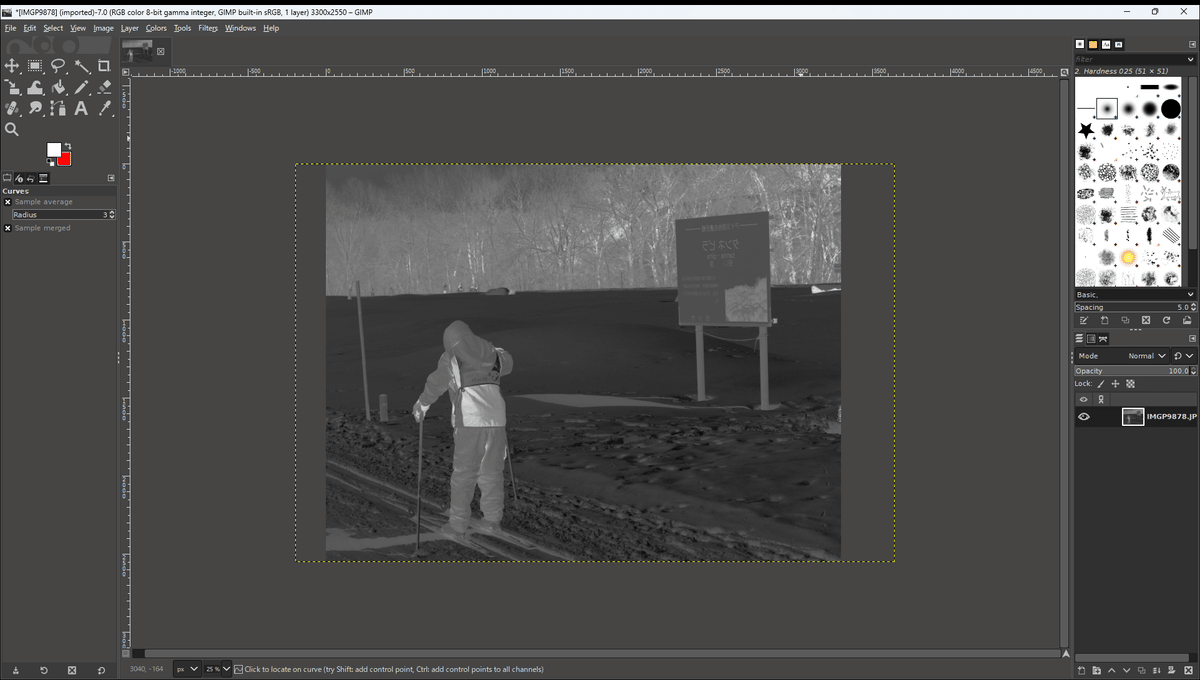
That's all. You will see the final image for the digital negative on the main panel.
Do not forget to save the image file. In addition, you may export the png, jpeg, or other kind of image file. Print the image file with your inkjet printer. As an example, let me show a cyanotype from the digital negative.
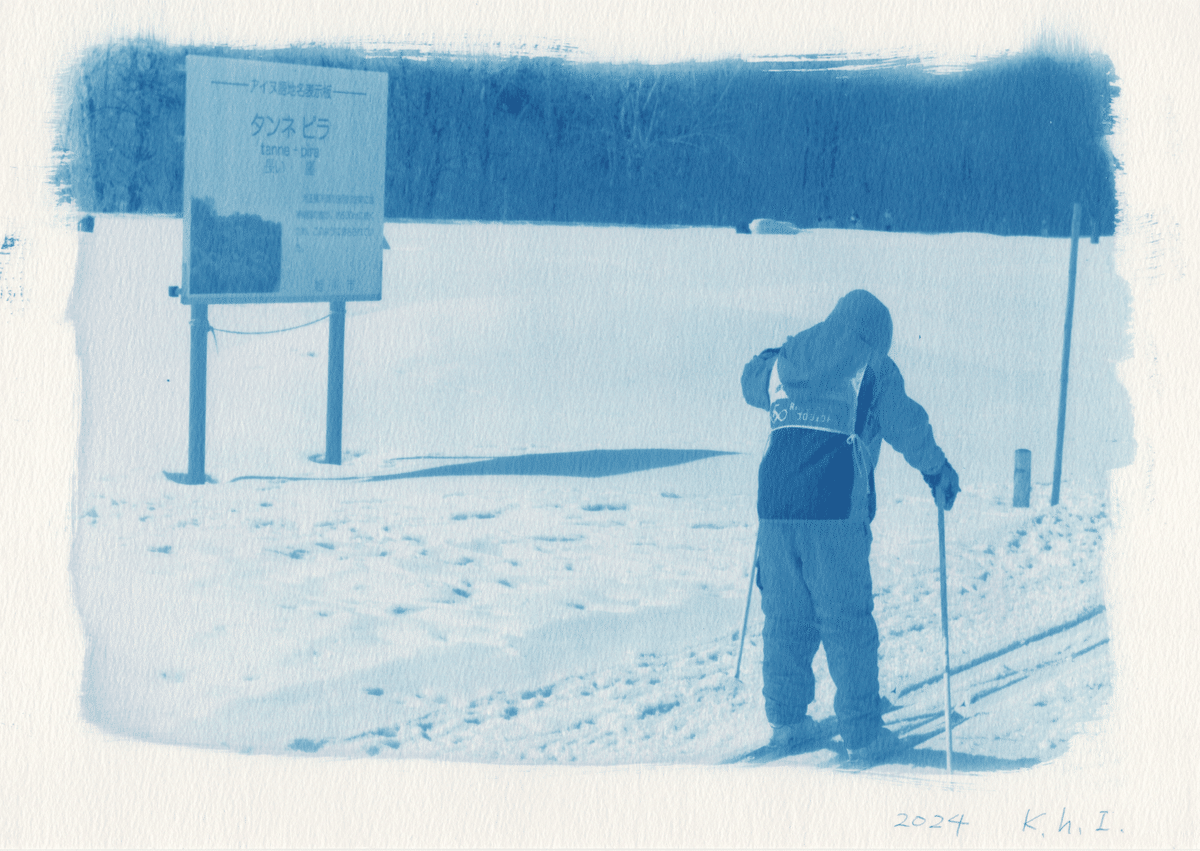
I hope this brief article might help your creativity.
Katsuhiko Inagaki, Ph. D.
