Blenderでベイクをする

①ベイク元をクリックした後に Ctrl を押しながらベイク先のオブジェクトを
右上のパネルからクリック
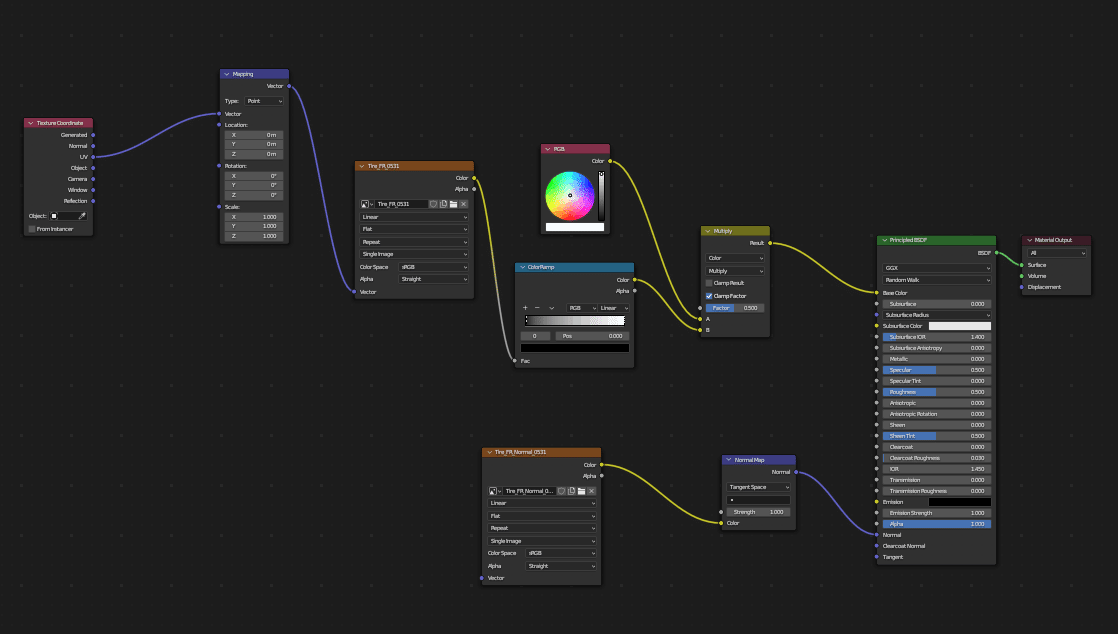
②AOやNormal mapのノードを選択して
右の Bake パネルから Bake Type を選択して Bakeボタンを押す
※AOとNormal mapを書き出すのならば2回同じことを繰り返す。
③望み通りの結果が得られたならば UV Editing に変更し保存する。
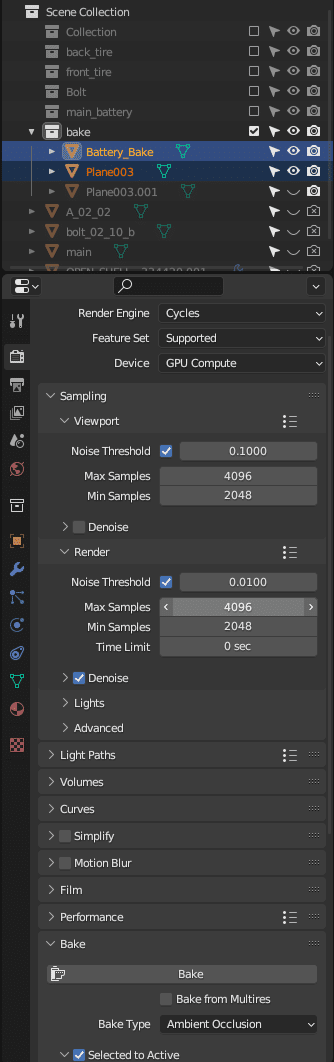
※注意事項
・RenderはCycles
・解像度は全て最大4096、最少の数値も入れないとうまくいかない為
2048と入れておく
・ベイク元とベイク先以外は非表示にする。
・あらかじめUVマッピングをしておく
パースペクティブ上で右クリックをし、スマートUVアンラップが便利
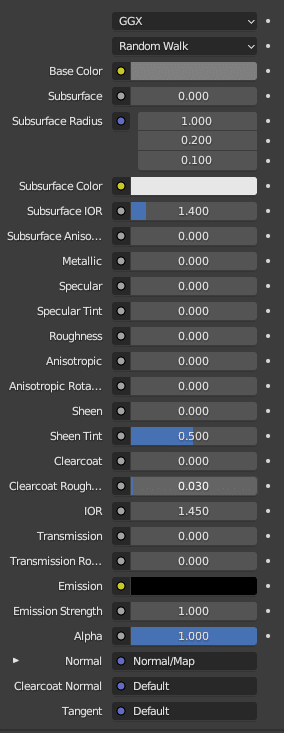
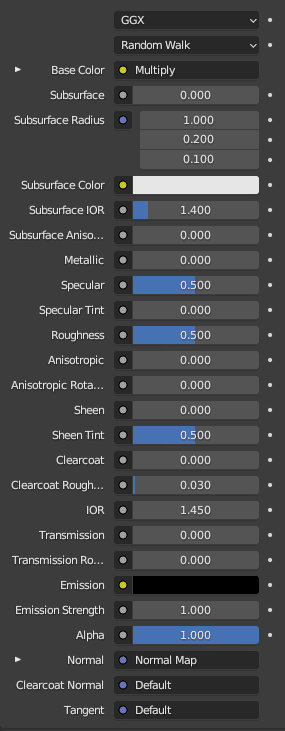
ベイクする際のBlenderのマテリアル設定