【Blender】Eevee:簡単なフォグ表現

フォグ適用方法をメモ。
今回適用するフォグは、シーン全体に影響あり。
フォグを部分的に適用したい場合は、別のやり方(オブジェクトとボリューム)を利用する。
<Blender 2.91.2>
■やり方:(シーン全体に適用)
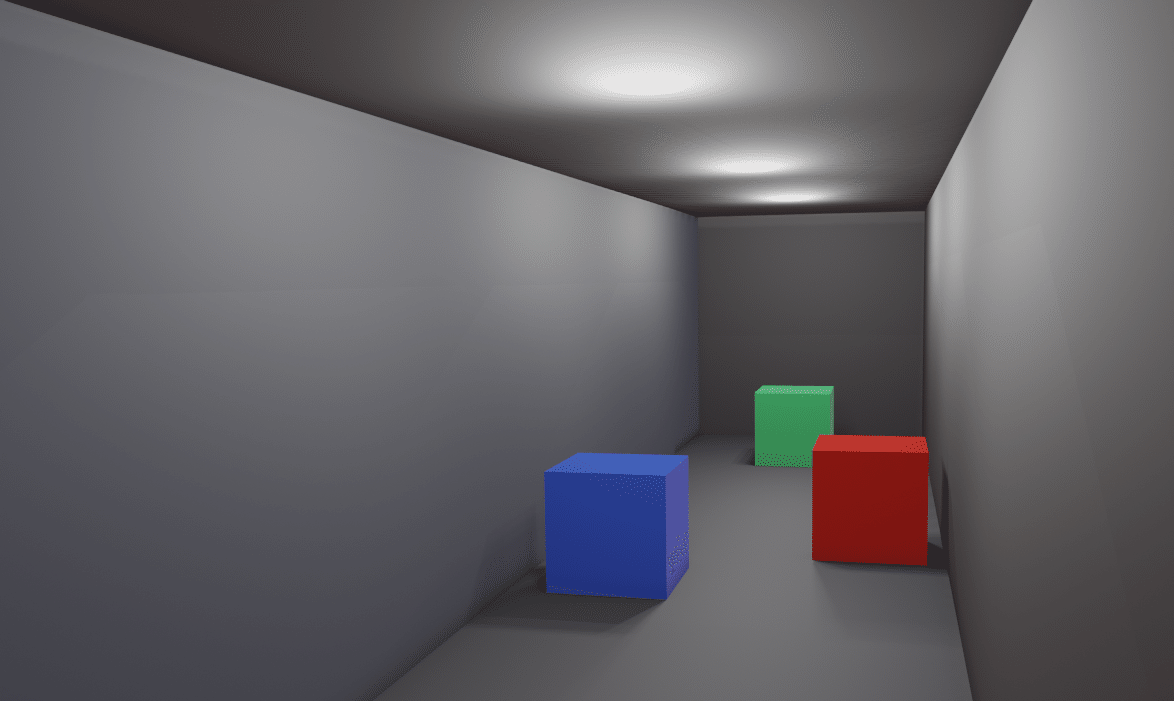
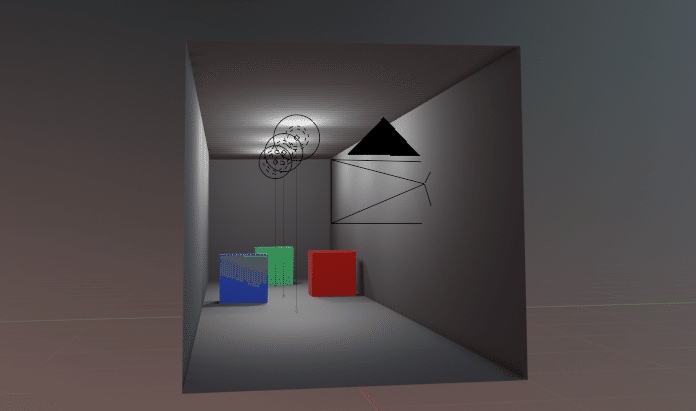
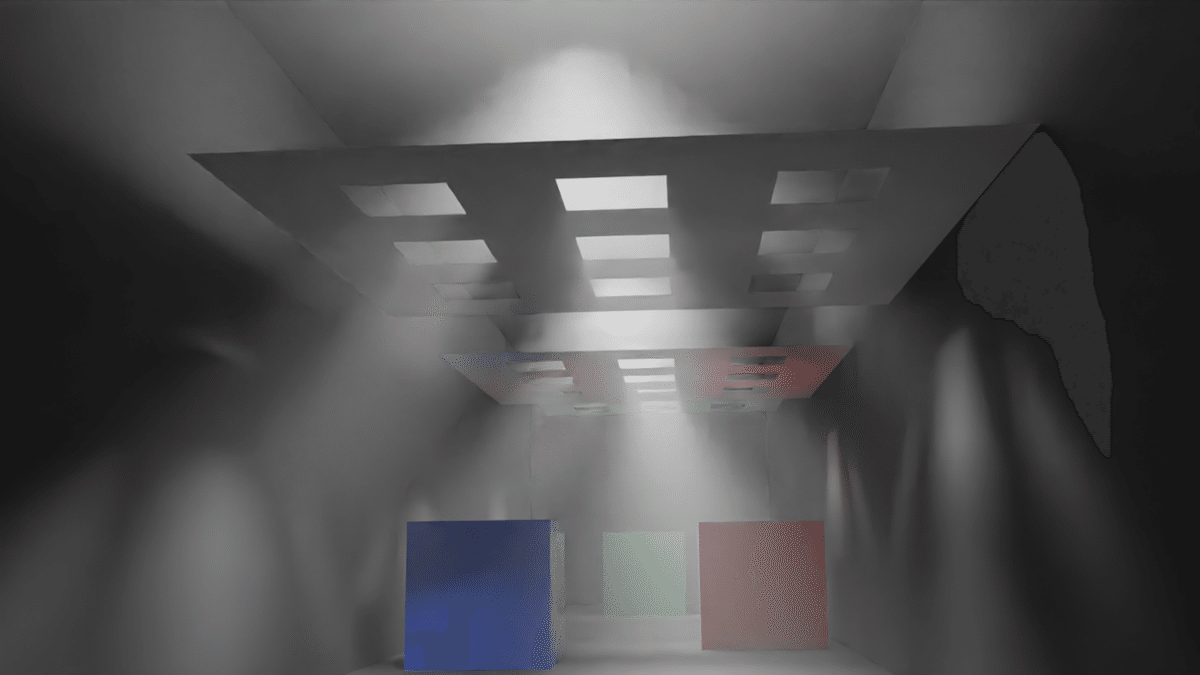
フォグなし
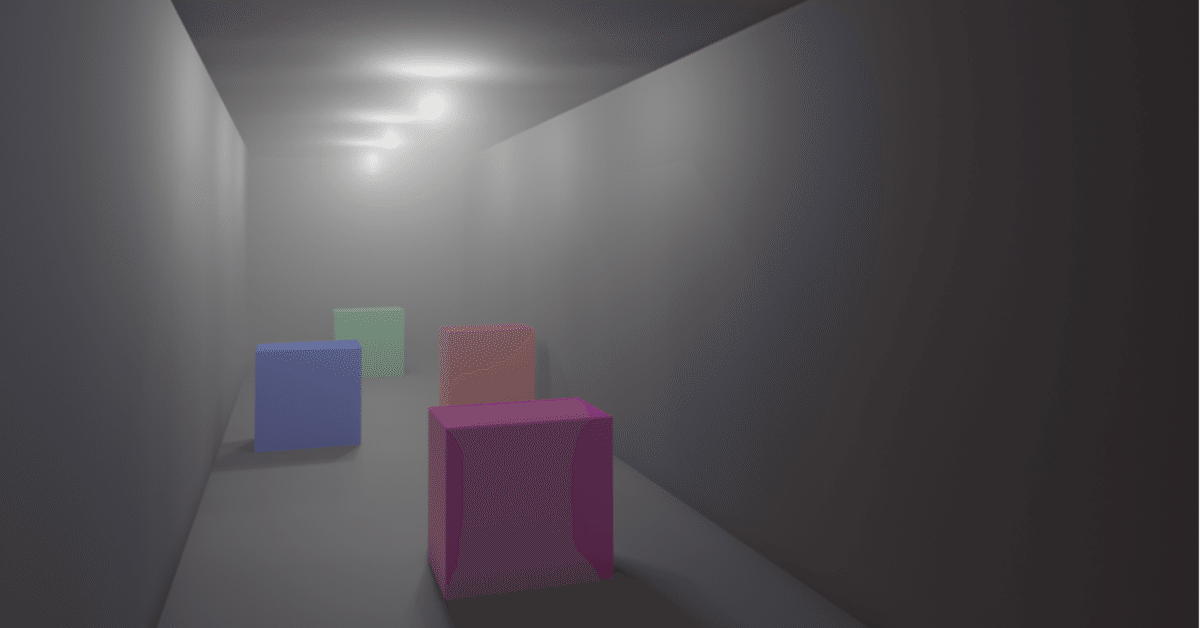
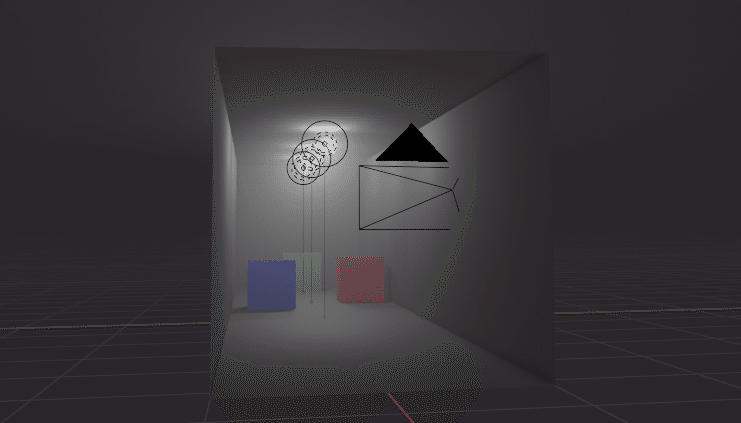
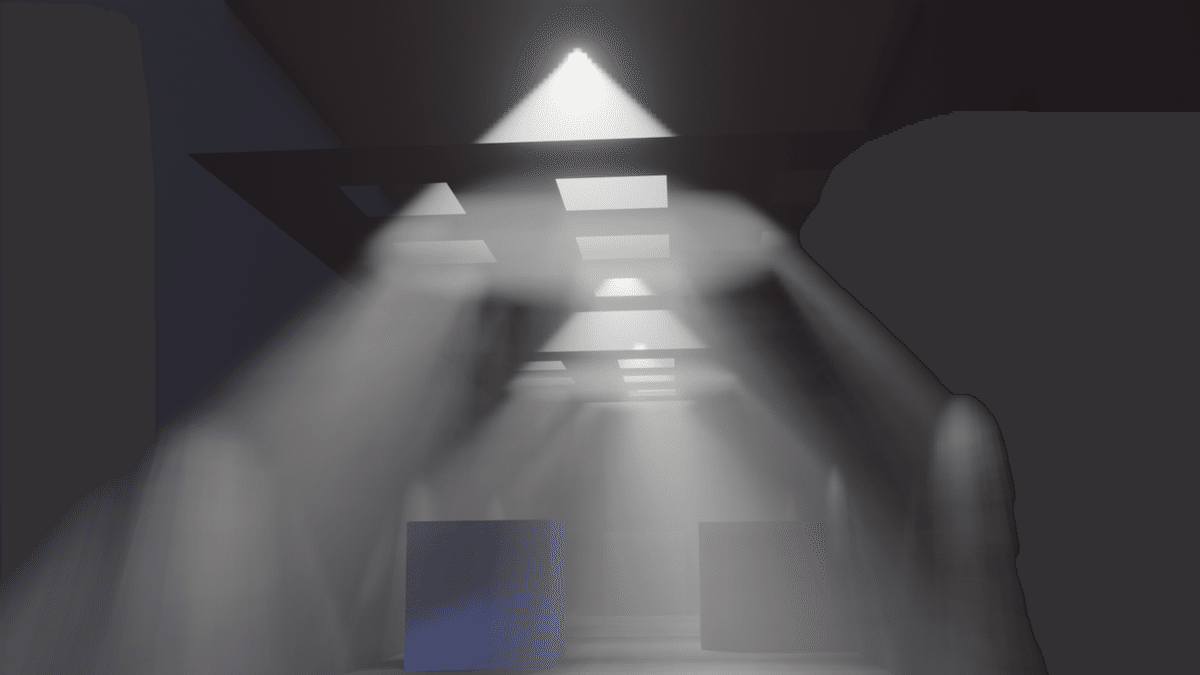
フォグあり
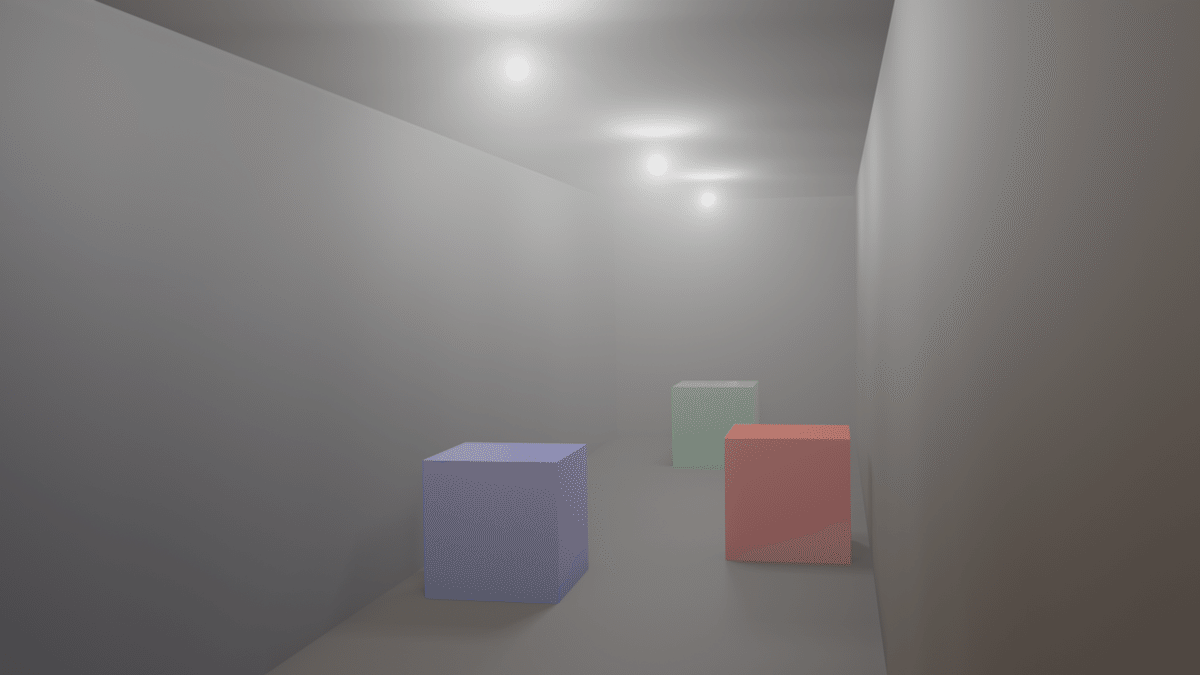
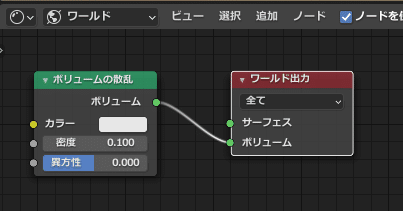
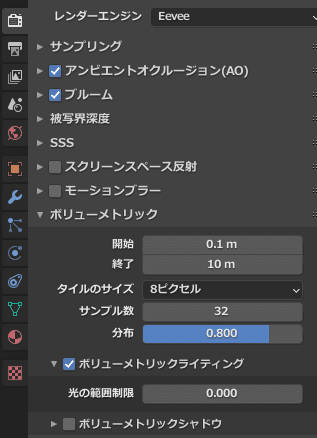
フォグ表現をしたい場合は、シーンのワールドプロパティ>ボリューム>ボリュームの散乱 を設定するだけ。
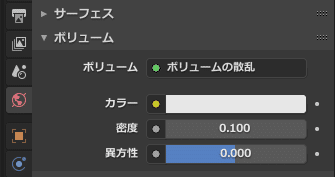
※フォグの濃度は、ボリューム>密度 を調整する。
※照らされる空間の明るさは、設置したライトのパワー値を調整する。
※シェーダーエディターでノードを組んでもOK。
■シーン比較
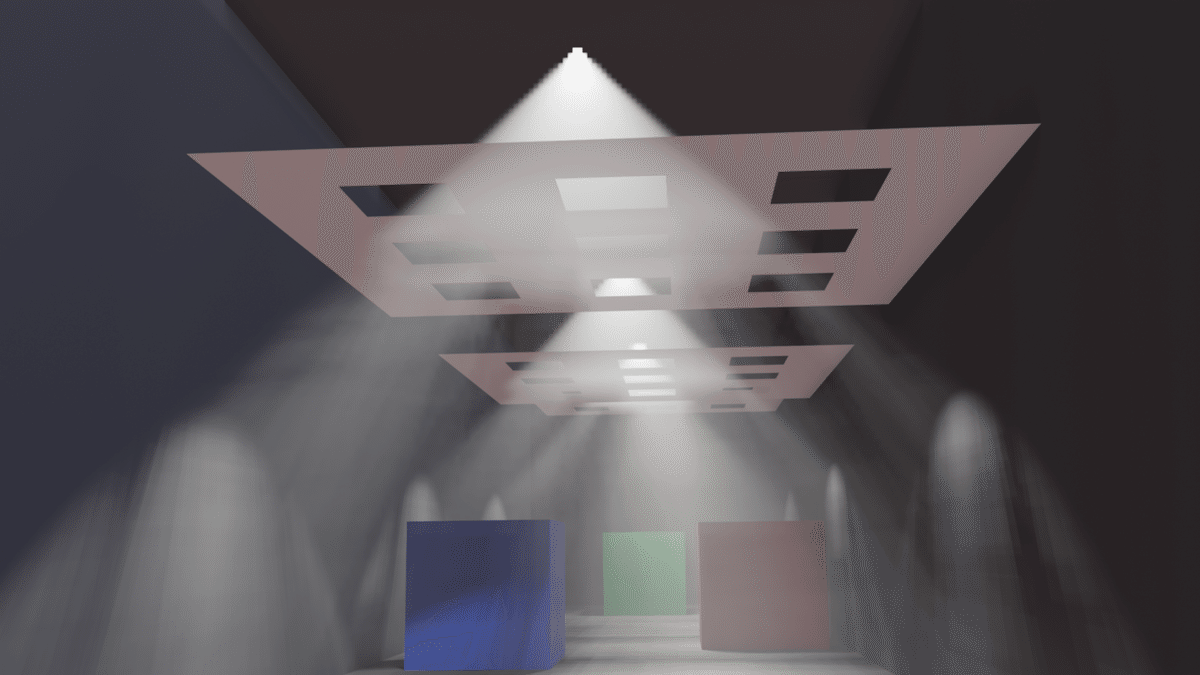
■レンダリング比較
単純なレンダリング比較。(レンダラーを切り替え)
・格子オブジェクトで、光の遮蔽具合が異なる。
・Eeveeの方は格子オブジェクトに影が発生していない。ただし、ゴッドレイ(光の筋)は発生している。
・レイトレーシングでレンダリングするCyclesの方がリアルに見える。
Eeveeのレンダリング設定を調整して雰囲気をCyclesに近づけてみる。
・格子のマテリアル>ベースカラーを黒にして遮蔽時の影を演出。
・ブルームを適用して光の筋を柔らかい印象にする。
・ボリュームメトリック>終了値を調整。
以上