【containerlab】windows11+hyper-v+Ubuntu上にインストールしてノード間でpingをしてみた

はじめに
containerlabをインストールしてみます
使用環境
OS:Windows 11 Pro Version 22H2
ハイパーバイザ:hyper-v
Linux:Ubuntu Server 24.04 LT
Linux準備
UbuntsuのIOSファイルを取得
Ubuntu Server 24.04 LTをダウンロードする
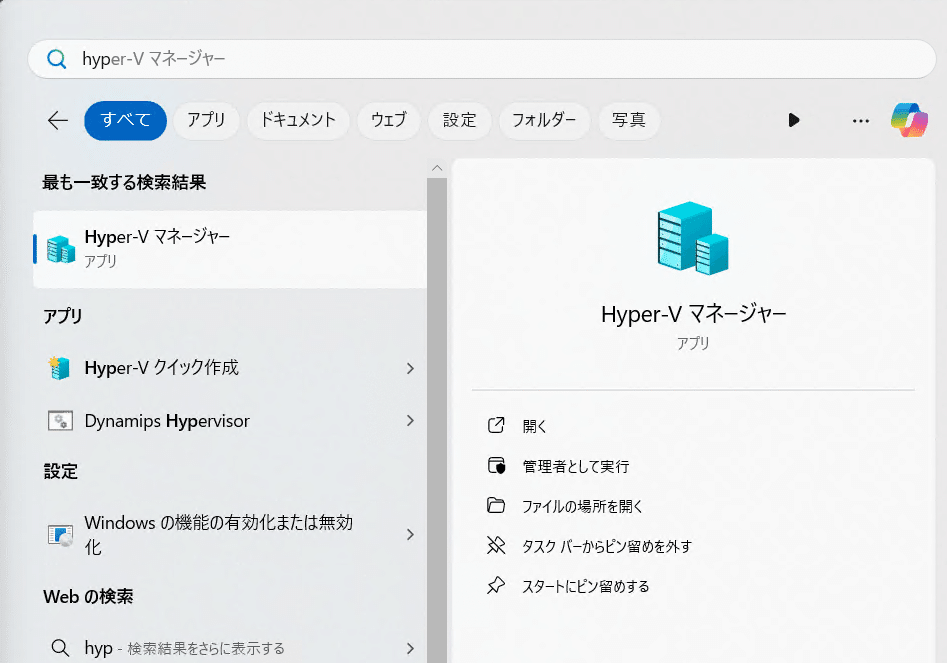
Hyper-V有効化

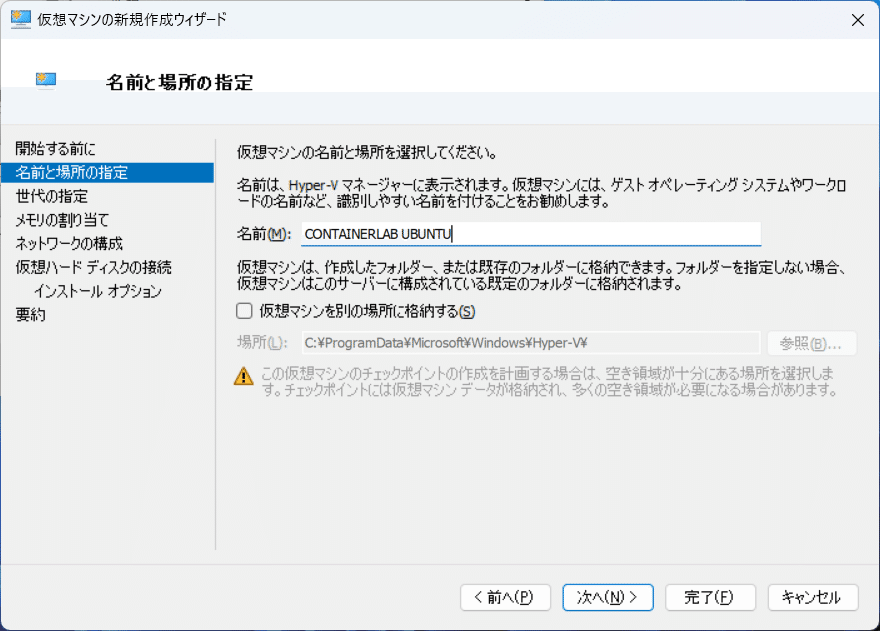
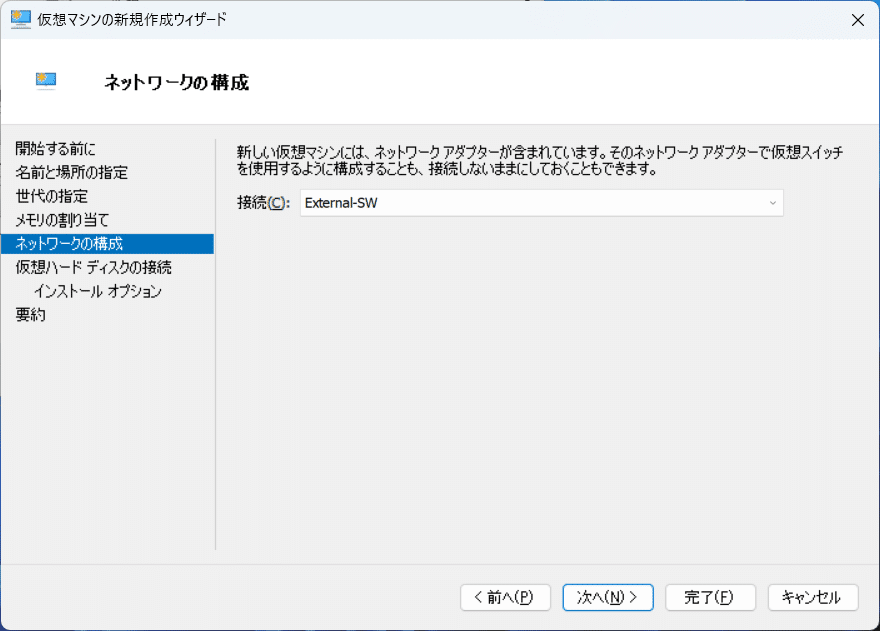
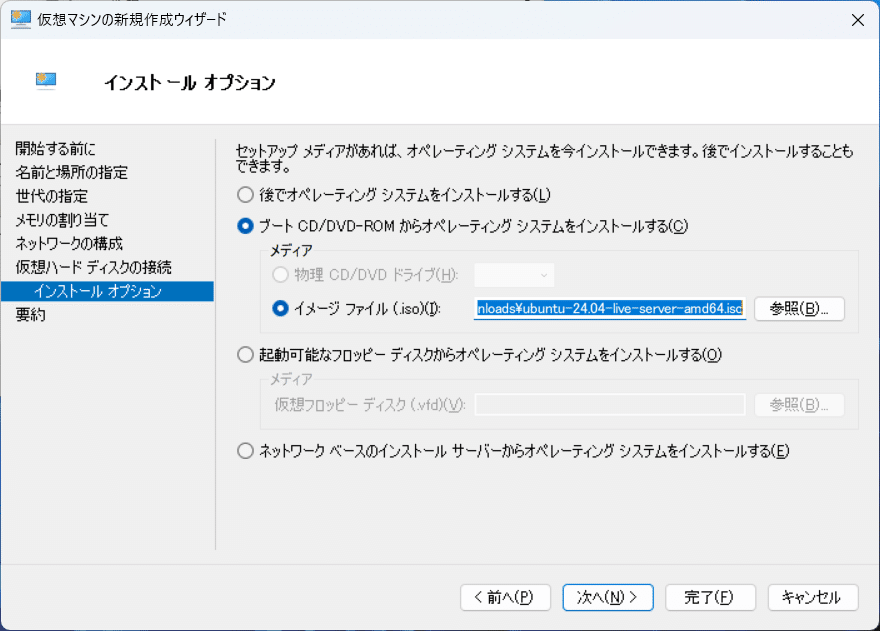
VM(Ubuntu)作成
hyper-vを実行
仮想マシンを作成(画像がある部分はOK連打)

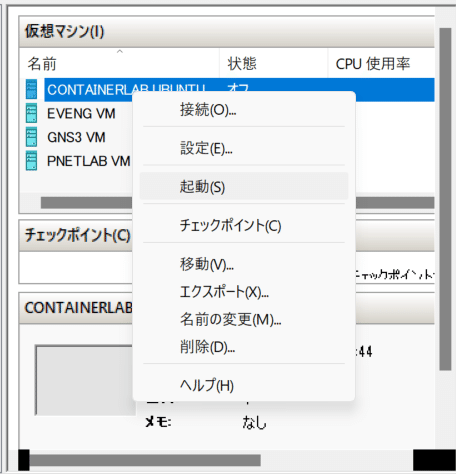
Linuxを起動
Linuxの初期設定(画像になければOK連打)

IPアドレスは固定化する。

※アドレスを後から直す場合は下記の通りyamlを修正してtryで確認して、applyで適用。
# vi /etc/netplan/50-cloud-init.yaml
network:
ethernets:
eth0:
addresses:
- 192.168.11.154/24
nameservers:
addresses:
- 8.8.8.8
search:
- 8.8.8.4
routes:
- to: default
via: 192.168.11.1
version: 2
~
~
# netplan try
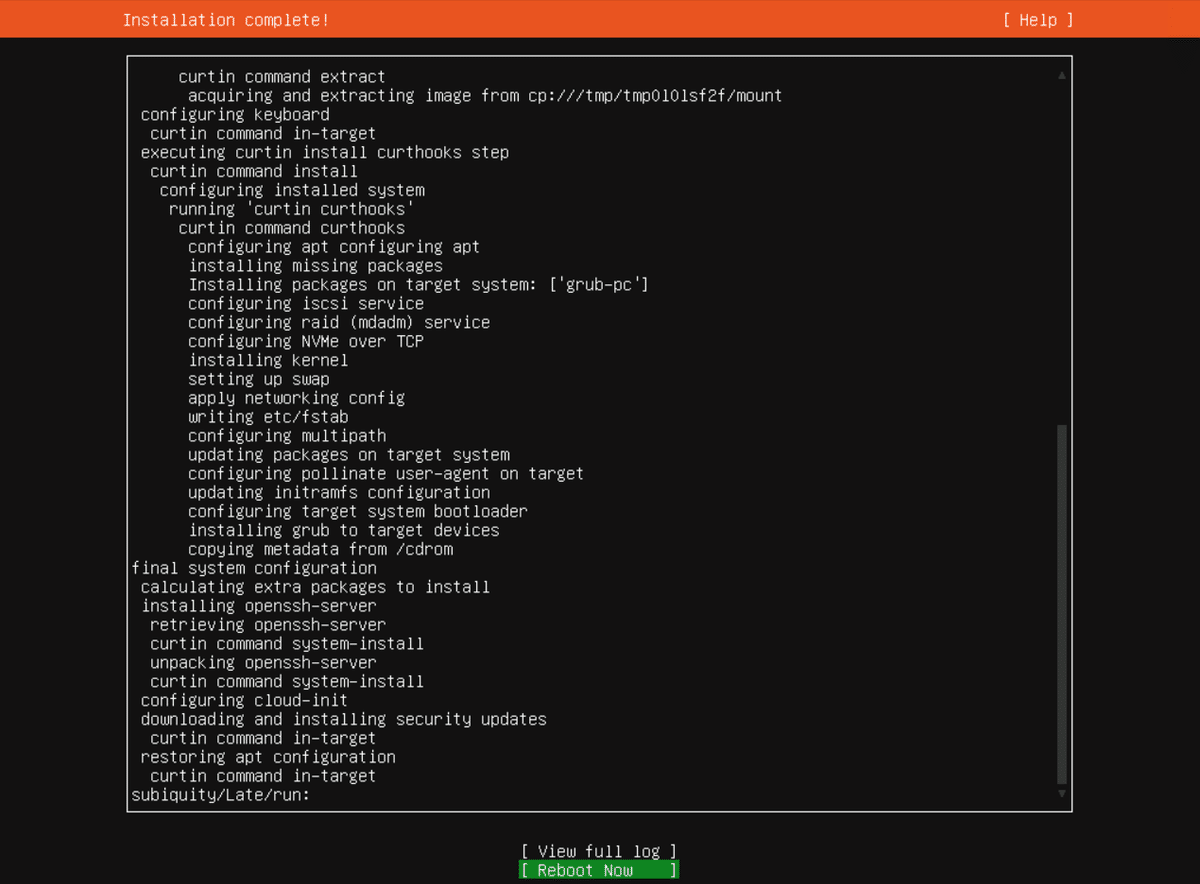
# netplan applyOpenSSHサーバは有効化する

Installation Complete!と表示されたらrebootする
Linux確認
ディストリビューション確認
$ ls /etc/*-release
/etc/lsb-release  /etc/os-release

$ cat /etc/lsb-release
DISTRIB_ID=Ubuntu
DISTRIB_RELEASE=24.04
DISTRIB_CODENAME=noble
DISTRIB_DESCRIPTION="Ubuntu 24.04 LTS"
IPアドレス確認
$ ip a
1: lo: <LOOPBACK,UP,LOWER_UP> mtu 65536 qdisc noqueue state UNKNOWN group default qlen 1000
    link/loopback 00:00:00:00:00:00 brd 00:00:00:00:00:00
    inet 127.0.0.1/8 scope host lo
       valid_lft forever preferred_lft forever
    inet6 ::1/128 scope host noprefixroute
       valid_lft forever preferred_lft forever
2: eth0: <BROADCAST,MULTICAST,UP,LOWER_UP> mtu 1500 qdisc mq state UP group default qlen 1000
    link/ether 00:15:5d:0b:96:04 brd ff:ff:ff:ff:ff:ff
    inet 192.168.11.154/24 brd 192.168.11.255 scope global eth0
       valid_lft forever preferred_lft forever
    inet6 fe80::215:5dff:fe0b:9604/64 scope link
       valid_lft forever preferred_lft forever
インターネット接続可能か確認(GoogleのDNS 8.8.8.8 へping)
$ ping 8.8.8.8
PING 8.8.8.8 (8.8.8.8) 56(84) bytes of data.
64 bytes from 8.8.8.8: icmp_seq=1 ttl=116 time=13.9 ms
64 bytes from 8.8.8.8: icmp_seq=2 ttl=116 time=11.7 ms
64 bytes from 8.8.8.8: icmp_seq=3 ttl=116 time=18.7 ms
^C
--- 8.8.8.8 ping statistics ---
3 packets transmitted, 3 received, 0% packet loss, time 2003ms
rtt min/avg/max/mdev = 11.716/14.768/18.682/2.908 ms
rootユーザのPW設定
$ sudo passwd root
New password:
Retype new password:
passwd: password updated successfully
dockerインストール
dockerのサイトにある通り下記でインストールする
※下記のサイトから使用するLinuxにあわせてインストールをする
今回はUbuntu サーバで実施
レポジトリ更新
sudo apt-get update
sudo apt-get install ca-certificates curl
sudo install -m 0755 -d /etc/apt/keyrings
sudo curl -fsSL https://download.docker.com/linux/ubuntu/gpg -o /etc/apt/keyrings/docker.asc
sudo chmod a+r /etc/apt/keyrings/docker.asc
echo \
"deb [arch=$(dpkg --print-architecture) signed-by=/etc/apt/keyrings/docker.asc] https://download.docker.com/linux/ubuntu \
$(. /etc/os-release && echo "$VERSION_CODENAME") stable" | \
sudo tee /etc/apt/sources.list.d/docker.list > /dev/null
sudo apt-get updateパッケージインストール
sudo apt-get install docker-ce docker-ce-cli containerd.io docker-buildx-plugin docker-compose-plugin動作確認
sudo docker run hello-worldContainerLabインストール
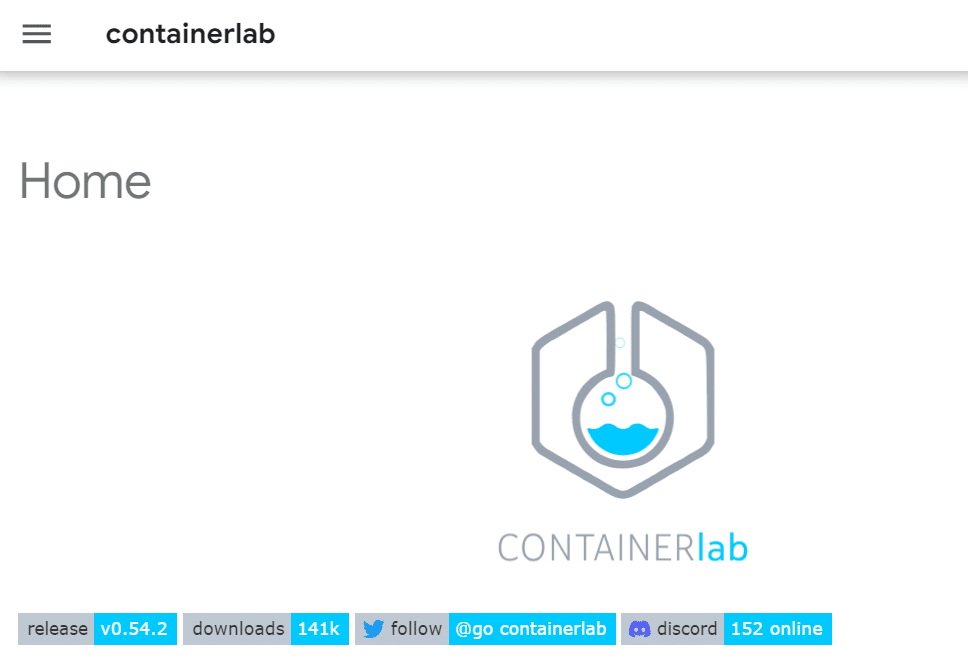
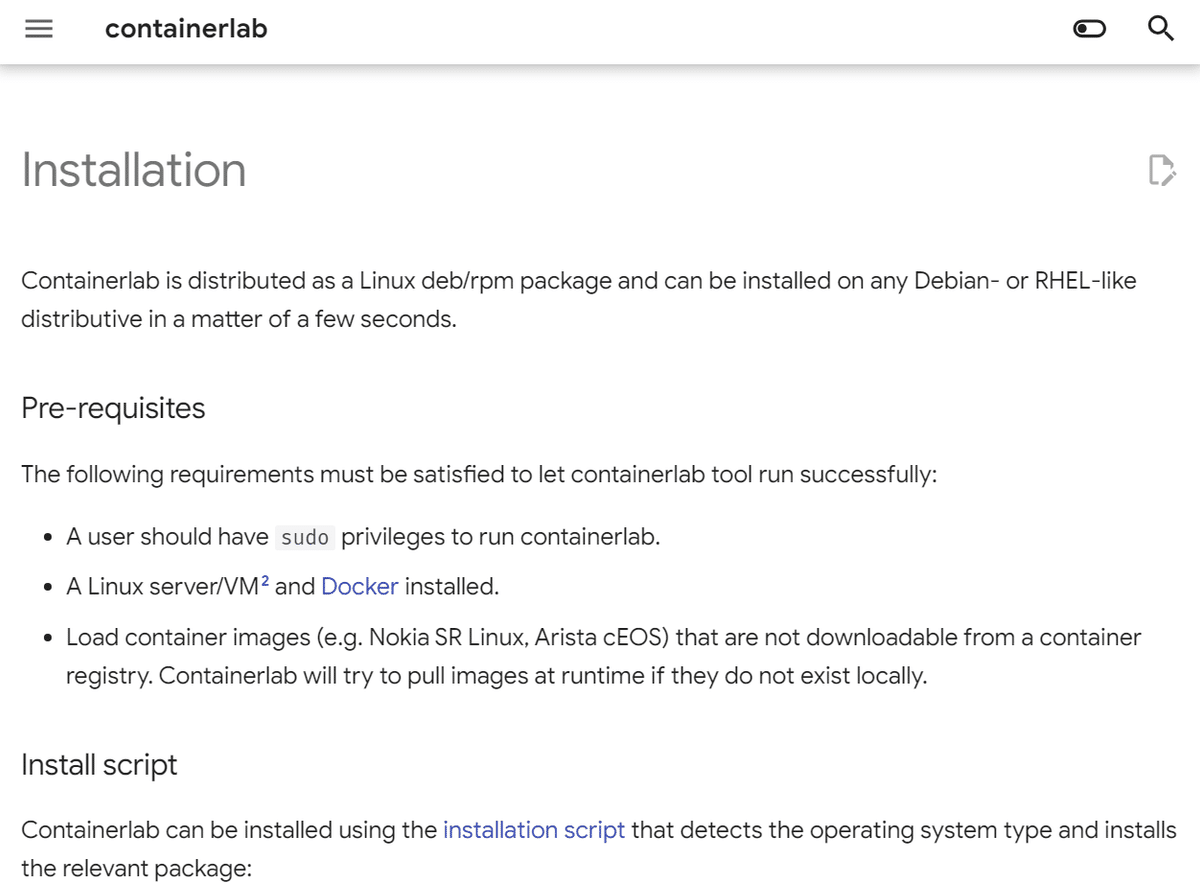
先にurlへ疎通確認を実施
# ping get.containerlab.dev
PING get.containerlab.dev (104.21.59.212) 56(84) bytes of data.
64 bytes from 104.21.59.212: icmp_seq=1 ttl=56 time=19.5 ms
64 bytes from 104.21.59.212: icmp_seq=2 ttl=56 time=14.0 ms
^C
--- get.containerlab.dev ping statistics ---
2 packets transmitted, 2 received, 0% packet loss, time 1001ms
rtt min/avg/max/mdev = 13.957/16.719/19.481/2.762 ms
疎通できたらインストール
# bash -c "$(curl -sL https://get.containerlab.dev)"
Downloading https://github.com/srl-labs/containerlab/releases/download/v0.54.2/containerlab_0.54.2_linux_amd64.deb
Preparing to install containerlab 0.54.2 from package
Selecting previously unselected package containerlab.
(Reading database ... 83309 files and directories currently installed.)
Preparing to unpack .../containerlab_0.54.2_linux_amd64.deb ...
Unpacking containerlab (0.54.2) ...
Setting up containerlab (0.54.2) ...
  ____ ___  _   _ _____  _    ___ _   _ _____ ____  _       _
 / ___/ _ \| \ | |_   _|/ \  |_ _| \ | | ____|  _ \| | __ _| |__
| |  | | | |  \| | | | / _ \  | ||  \| |  _| | |_) | |/ _` | '_ \
| |__| |_| | |\  | | |/ ___ \ | || |\  | |___|  _ <| | (_| | |_) |
 \____\___/|_| \_| |_/_/   \_\___|_| \_|_____|_| \_\_|\__,_|_.__/

    version: 0.54.2
     commit: 9ecdf0e2
       date: 2024-04-11T12:01:05Z
     source: https://github.com/srl-labs/containerlab
 rel. notes: https://containerlab.dev/rn/0.54/#0542
クイックスタート
SR Linux container imageを取得
NOKIAのページから飛んだ先に追加方法がある。
docker imagesに追加されたらOK
# docker pull ghcr.io/nokia/srlinux

# docker images
REPOSITORY              TAG       IMAGE ID       CREATED         SIZE
ghcr.io/nokia/srlinux   latest    b4daaa73edd1   4 weeks ago     2.73GB
hello-world             latest    d2c94e258dcb   12 months ago   13.3kB
※参考
https://www.nokia.com/networks/ip-networks/service-router-linux-NOS/
クイックスタート
下記ページのサンプルを実行する
テンプレートをコピーしてくる
root@containerlab:~# cd ~
root@containerlab:~# pwd
/root
root@containerlab:~# mkdir ./clab-quickstart
root@containerlab:~# cd clab-quickstart/
root@containerlab:~/clab-quickstart# cp -a /etc/containerlab/lab-examples/srlceos01/* .
root@containerlab:~/clab-quickstart# ls
srlceos01.clab.yml
ymlを修正する(AristaのOSダウンロードができなかったため、srlinuxのみに変更)
name: srlceos01

topology:
  nodes:
    srl_1:
      kind: nokia_srlinux
      image: ghcr.io/nokia/srlinux
    srl_2:
      kind: nokia_srlinux
      image: ghcr.io/nokia/srlinux

  links:
    - endpoints: ["srl_1:e1-1", "srl_2:e1-1"]
デプロイする
root@containerlab:~/clab-quickstart#containerlab deploy+---+----------------------+--------------+-----------------------+---------------+---------+----------------+----------------------+
| # | Name | Container ID | Image | Kind | State | IPv4 Address | IPv6 Address |
+---+----------------------+--------------+-----------------------+---------------+---------+----------------+----------------------+
| 1 | clab-srlceos01-srl_1 | a1282424929c | ghcr.io/nokia/srlinux | nokia_srlinux | running | 172.20.20.2/24 | 2001:172:20:20::2/64 |
| 2 | clab-srlceos01-srl_2 | a93450c0b702 | ghcr.io/nokia/srlinux | nokia_srlinux | running | 172.20.20.3/24 | 2001:172:20:20::3/64 |
+---+----------------------+--------------+-----------------------+---------------+---------+----------------+----------------------+CLIでcontainerlabを投入後、ブラウザでアクセスすると図が見える。
※ポートは50080を指定する必要がある
# containerlab graph --topo srlceos01.clab.yml
INFO[0000] Parsing & checking topology file: srlceos01.clab.yml
INFO[0000] Serving static files from directory: /etc/containerlab/templates/graph/nextui/static
INFO[0000] Serving topology graph on http://0.0.0.0:50080

機器にログインしてpingを実行
root@containerlab:~/clab-quickstart# ssh linuxadmin@172.20.20.2
linuxadmin@172.20.20.2's password:NokiaSrl1!

[linuxadmin@srl_1 ~]$
[linuxadmin@srl_1 ~]$ ping 172.20.20.3
PING 172.20.20.3 (172.20.20.3) 56(84) bytes of data.
64 bytes from 172.20.20.3: icmp_seq=1 ttl=64 time=0.094 ms
64 bytes from 172.20.20.3: icmp_seq=2 ttl=64 time=0.110 ms
64 bytes from 172.20.20.3: icmp_seq=3 ttl=64 time=0.080 ms
64 bytes from 172.20.20.3: icmp_seq=4 ttl=64 time=0.038 ms
64 bytes from 172.20.20.3: icmp_seq=5 ttl=64 time=0.038 ms
64 bytes from 172.20.20.3: icmp_seq=6 ttl=64 time=0.087 ms
^C
--- 172.20.20.3 ping statistics ---
6 packets transmitted, 6 received, 0% packet loss, time 5159ms
rtt min/avg/max/mdev = 0.038/0.074/0.110/0.027 ms