【Briskine Email Templates】Gmailのテンプレートを作成してメール作成を効率化できる拡張機能

Briskine Email Templates は、Google Chrome の拡張機能で、メールのテンプレートを作成して保存し、簡単に呼び出せるようにするものです。
目次
Briskine Email Templatesの使い方
Google Chrome の拡張機能ページから、Briskene Email Templates をインストールします。

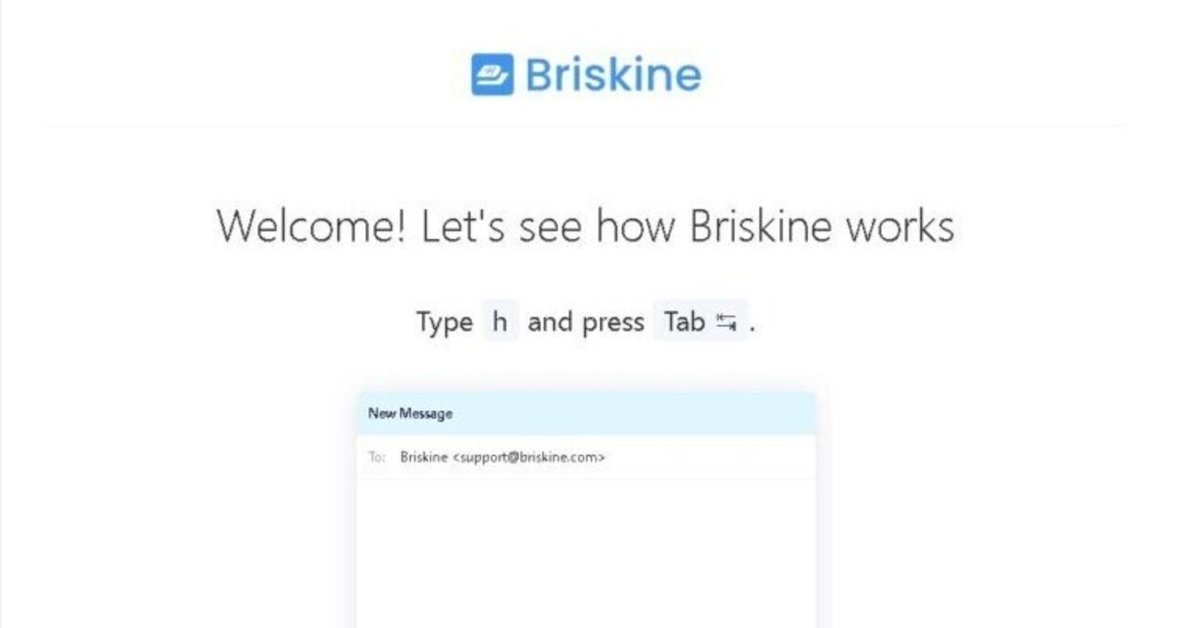
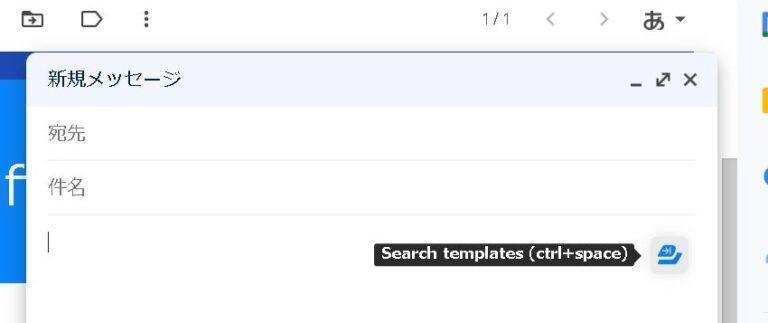
Gmailの新規作成画面から拡張機能アイコンをクリックして、テンプレートを作成する画面を開きます。
テンプレートの作成
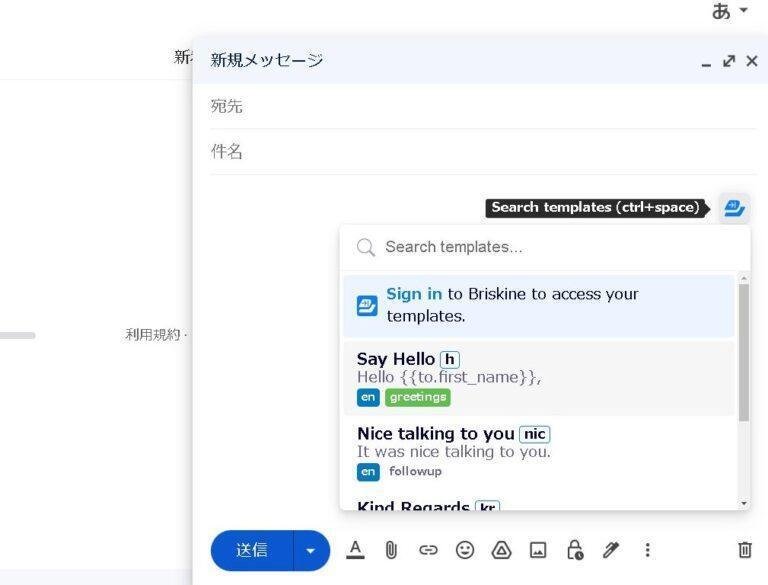
テンプレートを作成するには、拡張機能アイコンをクリックして、テンプレートを作成する画面を開きます。
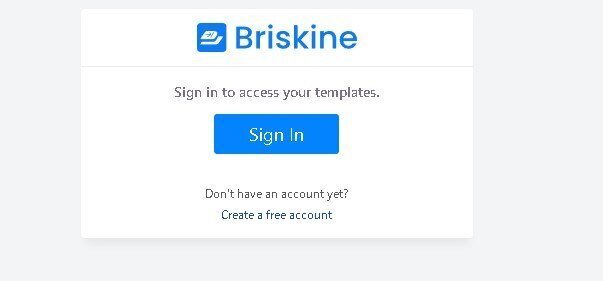
Sign in to Briskine to access your templates.を押します。
最初にアカウント登録が必要になりますので、Create a free accountから作成していきます。
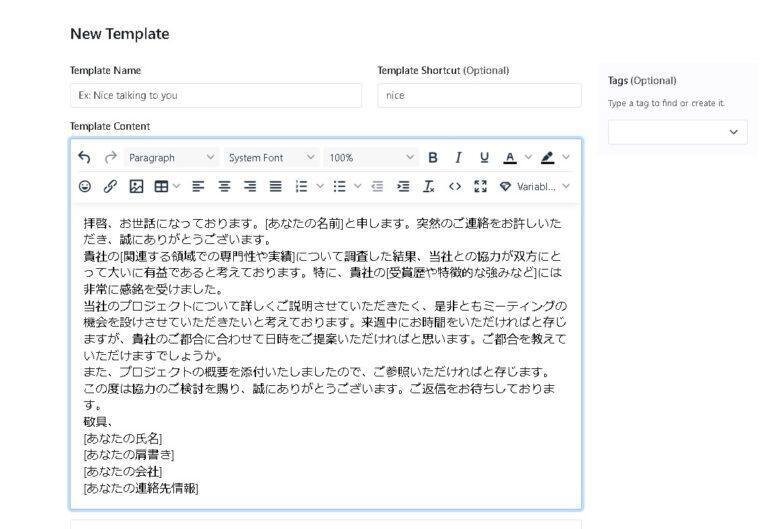
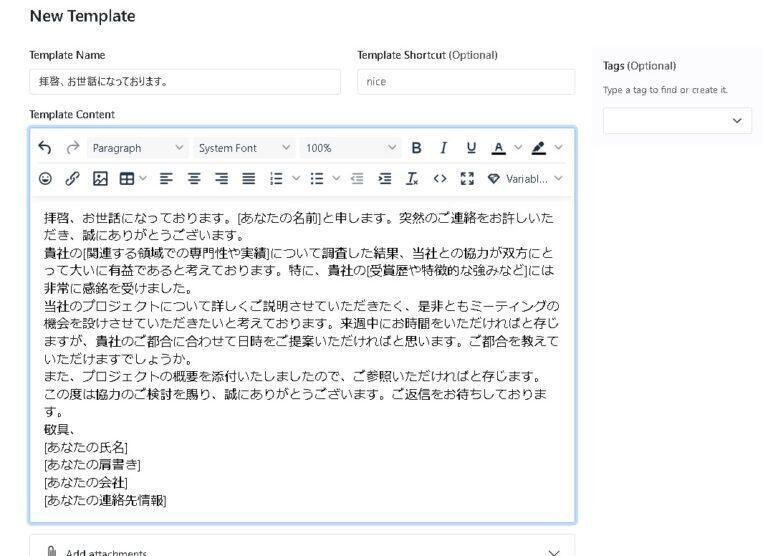
タイトルと本文を入力します。タイトルは、テンプレートの名前を示すものなので、わかりやすい名前をつけましょう。本文は、テンプレートに含めたい内容を入力します。
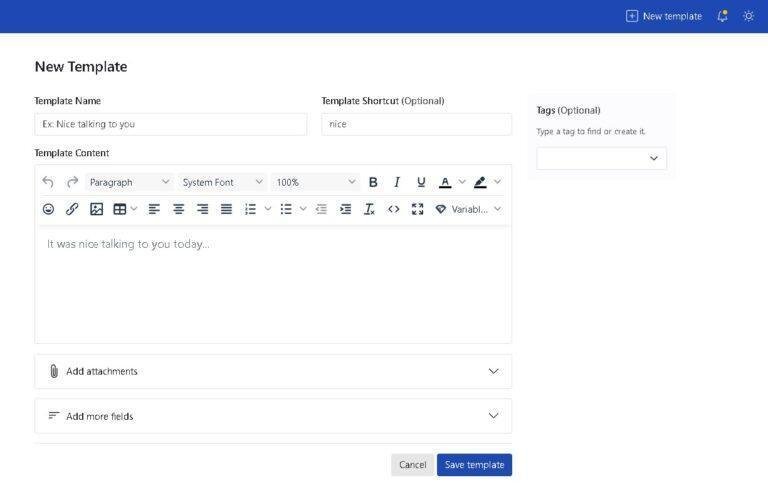
テンプレートを保存するには、画面下部の「保存」ボタンをクリックします。
テンプレートの呼び出し
テンプレートを呼び出すには、メール作成画面で拡張機能アイコンをクリックします。
いいなと思ったら応援しよう!