🌃Streamlitを使ってSpotify音楽データの簡単なアプリを作ってみる

先月アップしたNote記事では、Spotify APIを利用して気になる曲のデータ分析、そしてそのターゲット曲と今年Spotify上で最もストリームされているトレンド曲と属性などを比較するビジュアルを作成してみました。
以下のリンクから読んでみてください。
今回はこのプロジェクトをさらに発展させて、Streamlitというデータアプリプラットフォームを使って独自のアプリを作っていこうと思います。
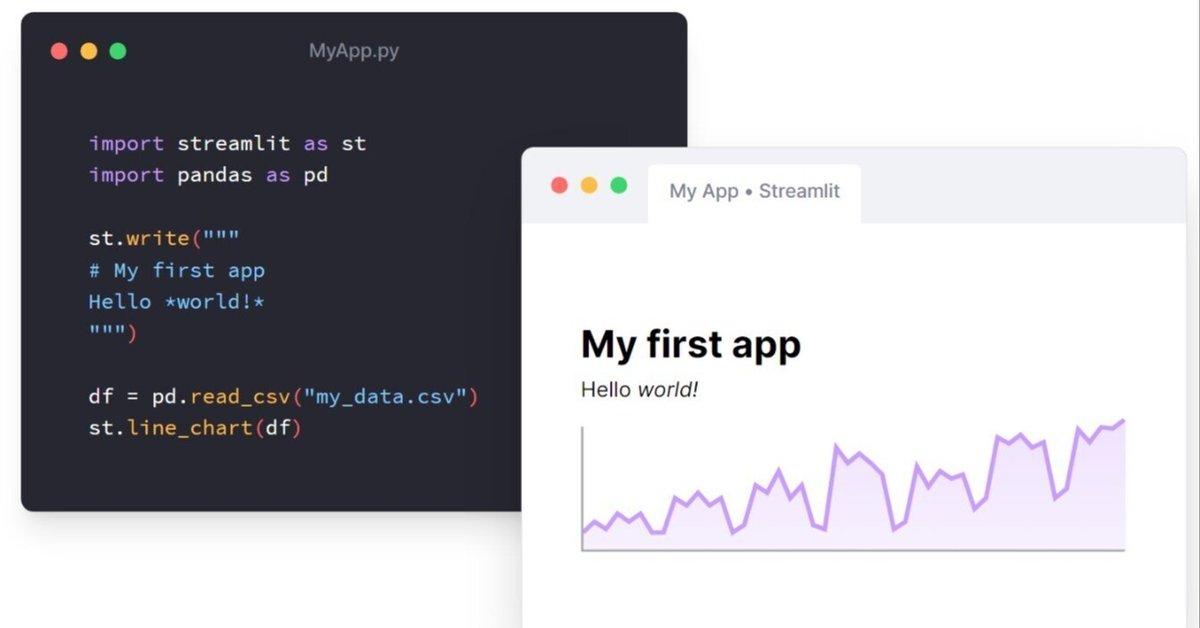
👑Streamlitとは?
Streamlitは、インタラクティブなデータ駆動型のウェブアプリケーションを作成できるパイソン言語ライブラリーです。スクリプトをGitHubに上げてStreamlitに繋げることで簡単にアプリケーションをデプロイすることができます。
インストレーション・環境の設定
まずはStreamlitの環境を作っていきますが、PCかMacによって設定の仕方が異なったり、仮想環境の場合のインストレーション方法など、様々です。ちなみに私の場合はWindowsで仮想環境の中にStreamlitのライブラリーを取り込んでVSCode上でコードを作成して、そこからアプリを稼働させます。
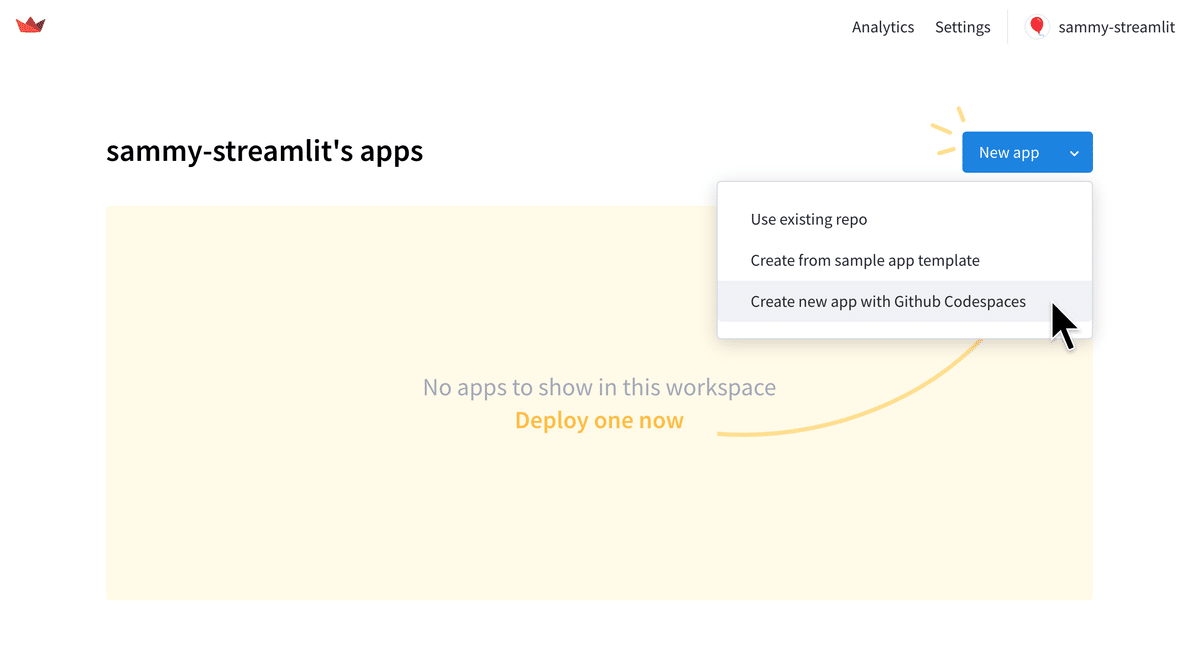
一番簡単な方法はおそらく、Streamlitクラウドにアカウントを開設し、GitHubアカウントを接続させてそこからCodespace上でアプリを作成してデプロイするという方法だと思います。
https://share.streamlit.io/signup
🏗️アプリの設計コード
一部のコードは前回のSpotify記事(【後半】Spotify API を使ってBe:Firstの楽曲データや2023年度の世界トレンドを分析してみる!)のおさらいプラス少し訂正したり付け足しもしました。今回もPython言語を使います。アプリのコードは大きく分けて4つのタスクに分かれているので、一つずつ解説していきます。
2023年のストリームデータを取り込む
まず一つ目のタスクは、必要なライブラリーと2023年のストリームデータを取り込みます。ちなみにこのストリームデータはKaggle.comで公開されているデータで、そこからクリーニングなどの前処理をして再構築したものを使用します。
import os
import pandas as pd
import requests
import json
import plotly.express as px
import plotly.graph_objects as go
import streamlit as st
from decouple import config

"""
The most streamed Spotify Songs 2023 is sourced from Kaggle.com.
The maintainer NIDULA ELGIRIYEWITHANA
https://www.kaggle.com/datasets/nelgiriyewithana/top-spotify-songs-2023
I performed a basic data cleaning on the data and created a new dataset with the following attributes:
    - track_name
    - artist_name
    - streams
    - danceability_%
    - valence_%
    - energy_%
    - acousticness_%
    - instrumentalness_%
    - liveness_%
    - speechiness_%
 """

# Load local file containig 2023's tream information
def load_stream_data():
    # Get the directory of the current script
    current_dir = os.path.dirname(os.path.abspath(__file__))
    # Define the relative path to the data file
    relative_path = '../data/spotify-2023.csv'
    # Join the relative path with the current directory
    file_path = os.path.join(current_dir, relative_path)
    # Loading data
    df = pd.read_csv(file_path, encoding='ISO-8859-1')
    df_sorted = df.sort_values(by='streams', ascending=False)
    df_sorted_100 = df_sorted.iloc[:100, :]
    att_list = ['danceability_%',
                    'valence_%',
                    'energy_%',
                    'acousticness_%',
                    'instrumentalness_%',
                    'liveness_%',
                    'speechiness_%'
                    ]
    selected_atts = df_sorted_100[att_list].mean()
    return selected_atts
データをストリームのボリューム順に並べ替えをしてからボリュームが多いトップ100になるようにデータを「スライス」します。それから必要な属性だけをフィルターして取り出し、それぞれの属性数値の平均値を計算します。その平均値が上の関数(Function)からアウトプットされます。
Spotify APIで楽曲データにアクセスする
SpotifyのクライアントIDとクライアントシークレットを取得し、いよいよトラックデータの取得プロセスに入っていきます。ここの部分のコードはすごく長くなるので、あまり重要じゃない所は省略していきます。でも大体の流れはこんな感じです。
 Use Spotify API to obtain audio features for user-requested track
def get_spotify_data(artist, track):
    # app's credentials
    client_id = config('SPOTIFY_CLIENT_ID')
    client_secret = config('SPOTIFY_CLIENT_SECRET')

    #------------ Get Access Token ---------------
    # Define the endpoint for obtaining an access token
    token_url = 'https://accounts.spotify.com/api/token'

    # Define the data to be sent in the request
    data = {
        'grant_type': 'client_credentials',
        'client_id': client_id,
        'client_secret': client_secret,
    }

    # Request the access token
    ...

    # Parse the JSON response
    ...

    # Obtain the access token
    access_token = token_info['access_token']

    #------------ Search for Track ---------------
    # Define the artist and track names
    artist_name = artist
    track_name = track

    # Define the endpoint URL for track search
    search_url = 'https://api.spotify.com/v1/search'

    # Define the query parameters for track search
    ...
    # Set the Authorization header with the access token
    ...

    # Make the API request for track saerch
    ...

    # Check for successful response for the track search
    if search_response.status_code != 200:
        print(f"Error fetching track: {search_response.status_code}")
        return

    # Parse the JSON response from the Spotify API to extract track search data
    search_data = search_response.json()
    if 'tracks' in search_data and 'items' in search_data['tracks'] and search_data['tracks']['items']:
        found_track = search_data['tracks']['items'][0]
        print(found_track)
        # Check if the found track's name is the same as the expected track name
        if track_name.lower() == found_track['name'].lower():
            # check if the artist name matches
            if found_track['artists'][0]['name'].lower() == artist_name.lower():
                track_id = found_track['id']
                # Continue with retrieving audio features and other processing
                audio_features_url = f'https://api.spotify.com/v1/audio-features/{track_id}'
                audio_features_response = requests.get(audio_features_url, headers=headers)

                if audio_features_response.status_code == 200:
                    audio_features_data = audio_features_response.json()
                    extracted_attributes = {
                        "danceability": audio_features_data["danceability"],
                        "valence": audio_features_data["valence"],
                        "energy": audio_features_data["energy"],
                        "acousticness": audio_features_data["acousticness"],
                        "instrumentalness": audio_features_data["instrumentalness"],
                        "liveness": audio_features_data["liveness"],
                        "speechiness": audio_features_data["speechiness"]
                    }
                    # Optional: Save the audio features data to JSON file or do further processing
                    with open('audio_features.json', 'w', encoding='utf-8') as json_file:
                        json.dump(audio_features_data, json_file, ensure_ascii=False, indent=4)
                    return extracted_attributes
                else:
                    print(f"Error fetching audio features: {audio_features_response.status_code}")
            else:
                print(f"Artist name does not match: Expected '{artist_name}', found '{found_track['artists'][0]['name']}'")
        else:
            print(f"Close match found. Did you mean '{found_track['name']}' instead of '{track_name}'")
    else:
        print(f"No exact match found for '{track_name}' by '{artist_name}'")
まず、ユーザーはアーティスト名と楽曲名をアプリ内の入力し送信できるようにデザインしました。
ユーザーが入力内容を送信すると、Spotify APIに特定のエンドポイントを介してユーザーのトラックデータをリクエストします。そしてユーザーが入力したアーティスト名と楽曲名にマッチしたデータがこちらに送られてくるのですが、Spotify APIの性質上、完全に名前がマッチしなくてもそれに近いようなデータでも送られてくるようになっています。
例えば「テイラー・スウィフト」の「Lavendar Haze」という曲をリクエストするつもりが間違えて「Haze」しか入力しなくてもHazeに近いテイラースウィフトの曲のどれかがこちらに返ってくることになります。もしも彼女に「Orange Haze」という曲があったとしたら、どちらの楽曲のデータが送られてくるのか定かではない問題が浮上します。
なのでユーザーがリクエストしている楽曲のデータとSpotifyから送られてきたデータが確実にマッチしているかどうかチェックする必要があります。
上のコードにif… else…が階段のように組み込まれているのが見えるかと思いますが、これはプログラミングでいうConditional Statement、直訳すると条件文、という手法です。このif elseで色々な条件を用いてチェックシステムを敷くことによって、ユーザーがリクエストしている楽曲を確実に見つける役割をしています。
レーダーチャートを表示する
ユーザーがリクエストした楽曲と2023年のトレンド曲の属性データを比較するレーダーチャートを表示します。
# Create the rader chart
def create_radar_chart(mean_values_top_100, audio_features):
    # Define the attributes list
    att_list = ['danceability_%', 'valence_%', 'energy_%', 'acousticness_%', 'instrumentalness_%', 'liveness_%', 'speechiness_%']

    audio_feat_percent = {key: value * 100 for key, value in audio_features.items()}
    audio_feat_values = list(audio_feat_percent.values()) # Convert to a list

    fig = go.Figure()

    # Add trace for the Top 100 songs (mean)
    fig.add_trace(go.Scatterpolar(
        r=mean_values_top_100,
        theta=att_list,
        fill='toself',
        name='Top 100 Songs (mean)',
        line=dict(color='blue'),
    ))
    # Add trace for the Your Favorite Song
    ...

    # Update the layout
    fig.update_layout(
        ...
    )

    return fig
実はこのコードにもう少し手を加えている途中で、エリアの重なり度を計算してパーセンテージで表示しようと計画しています。これもまた出来上がったらNoteでシェアしたいと思います。
上のタスクをStreamlitアプリに反映させる
ここではStreamlit APIを使ってアプリケーションのインターフェースを構築します。ウェブサイトやアプリを1から構築しなくてもStreamlitの簡単なコードで作成できるので便利です。
# Streamlit App
st.title("🎤Spotify Trending Songs Attribute Comparison 2023")
st.write("🎶This app compares the attributes of the top 100 most streamed songs of 2023 (so far) with the attributes of your favorite song.")
st.write("🎸The attributes are calculated from the Spotify API.")
st.write("🥁Attributes for comparison: Energy, Acousticness, Instrumentalness, Liveness, Speechness, Danceability, Valence")

# User Input Prompt
artist_name = st.text_input("Artist Name")
track_name = st.text_input("Track Name")

if st.button('Compare'):
    st.header('Comparison Radar Chart:')
    # Error Handling
    try:
        # Load top 100 stream data
        mean_values_top_100 = load_stream_data()
        # Get Spotify Data
        audio_features = get_spotify_data(artist_name, track_name)
        if audio_features:
            fig = create_radar_chart(mean_values_top_100, audio_features)
            st.plotly_chart(fig)
        else:
            st.error("Track not found or an error occurred. Please try again.")
            st.write("Either your artist name or track name did not match with Spotify's track catalogue.")
    except Exception as e:
        st.error(f'An error occurred: {str(e)}')
これだけでシンプルなアプリが出来上がります。Streamlitのファンクションで使用したのは以下の5つだけです。
st.title タイトルの表示
st.text_input 入力欄の表示
st.write コンテンツの表示
st.header ヘッダーの表示
st.error エラーメッセージの表示
実際にアプリを起動してみる
上の4つのタスクを実行します。
streamlit run trend_app.pystreamlit run ファイル名
Streamlitのプログラムを実行するにはこのコマンドをターミナルで実行するとアプリが開きます。(実行する前に、ターミナルがファイルのあるディレクトリーに向いているかどうか確認してから上のコマンドを実行します。)
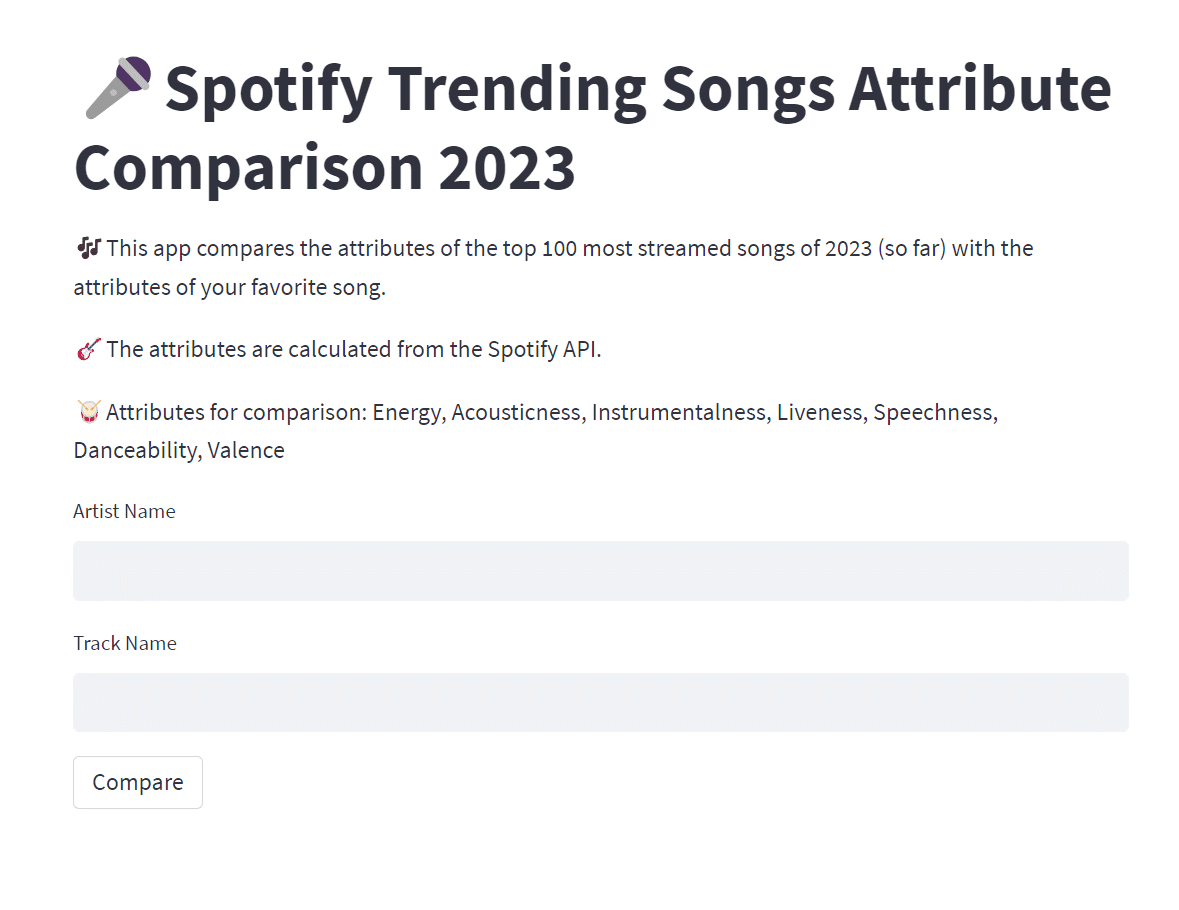
そして調べたいアーティスト名と楽曲名を入力して、実行ボタンをクリックすると。。。
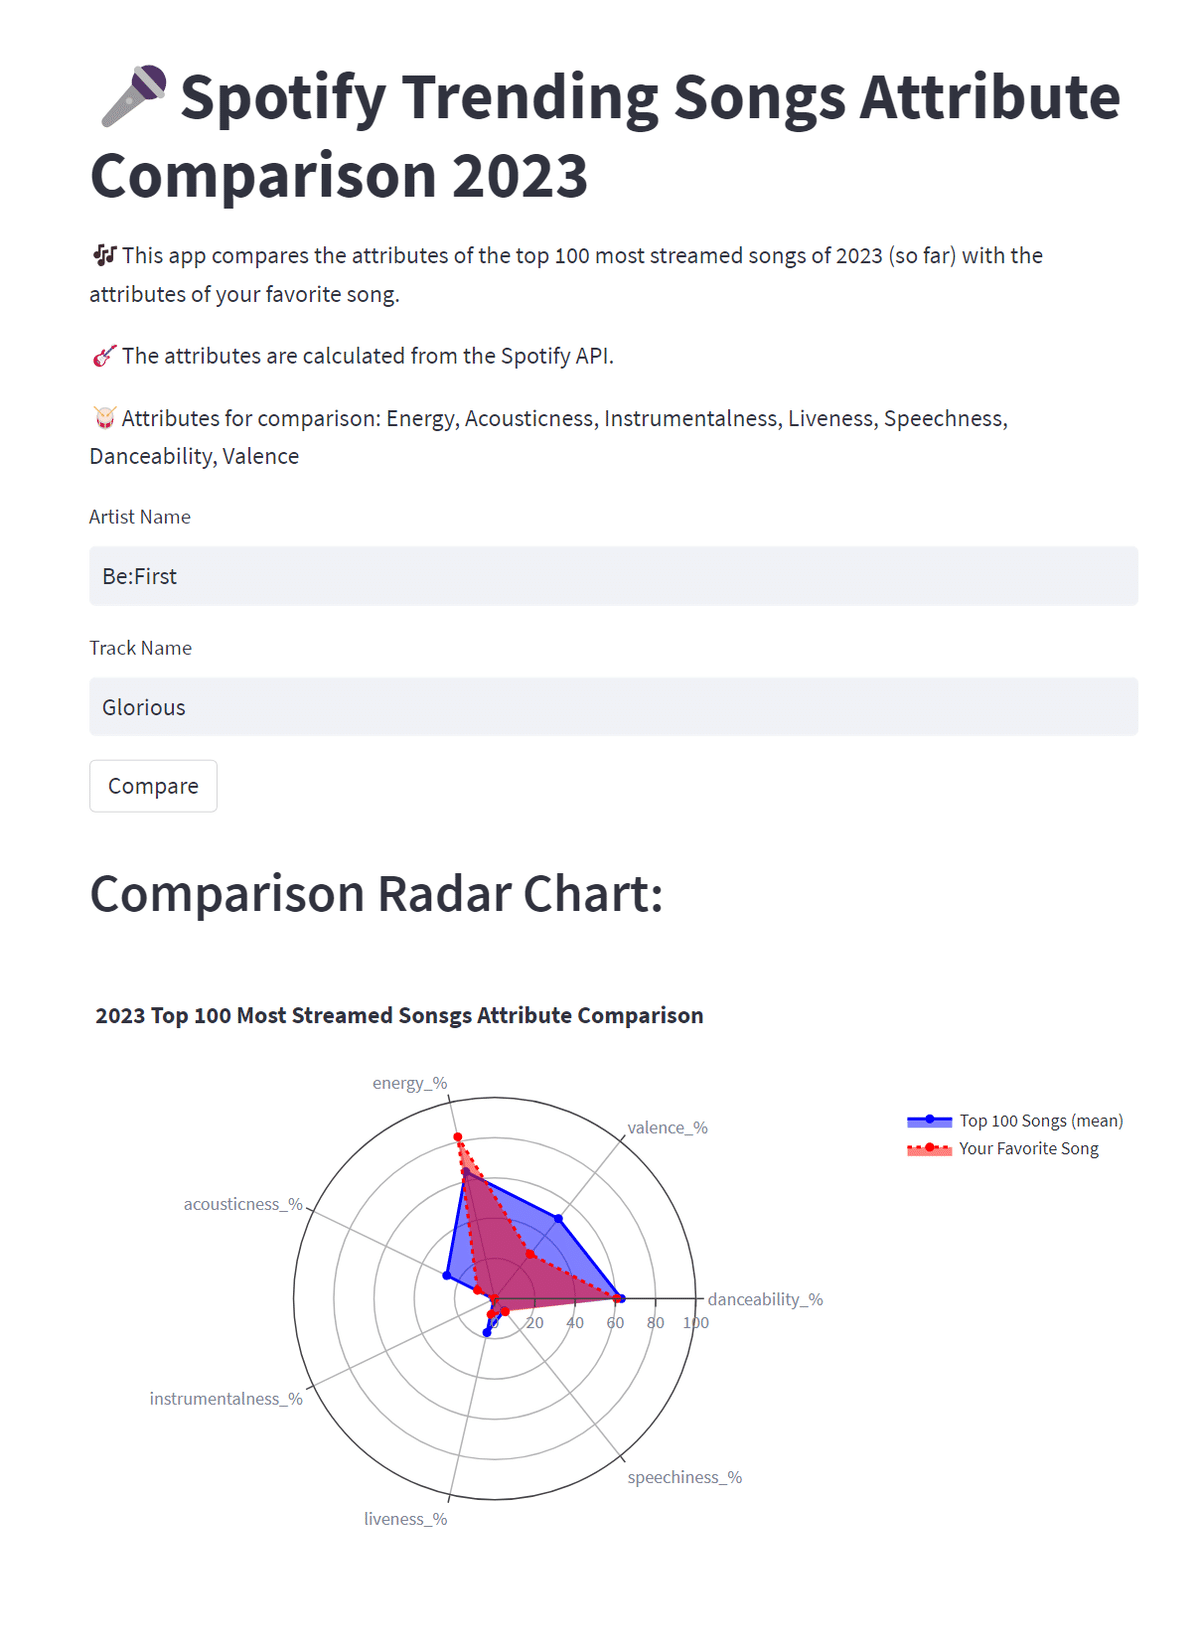
ちなみに今回はBe:Firstの最近曲、Gloriousを調べてみました。
🚧コード修正・改善プラン
ビジュアルのコードにもう少し手を加えている途中で、エリアの重なり度を計算して%で表示しようと計画しています。また、BPM(テンポ)の比較ヒストグラムグラフも加えようと思っています。
アプリに反映するエラーメッセージの表示が上手くいかないので、その部分を修正してエラーが発生した時にユーザーがちゃんとエラー内容の情報を得られるように修正したいと思います。
サイドバーを作って、そこにユーザー入力欄を移す予定です。
最後に付け加え
今回紹介したアプリケーションは現在デヴェロップメント(開発途中)モードにあります。Spotifyを使ったアプリケーションをデプロイし一般公開するまでには色々な段階をクリアする必要があります。アプリケーションが完成した時点でベータバージョンに移行し、チームメートだけに公開しアプリのテストをします。それからSpotifyにアプリケーションを「提出」し、チェックをクリアした後に初めて一般公開できる段階にたどり着きます。
これからコードの改善やテストなどもしていきますが、一般公開する段階に来たらまたNoteでもシェアしたいと思います。
🖊️何か気づいたことやご意見などがあればコメント欄からお願いします。チャンネルフォローもよろしくお願いします。
🚀 疑問に思った事はデータ化して自分なりの答えを探していこうと思います。そしてその答えがどこかにいる誰かの為になる事を願っています。