【ティラノビルダー】buttonタグ機能補助プラグインの導入方法

さくた様(https://twitter.com/skt_tyrano)制作のbuttonタグ機能補助プラグインを、ティラノビルダーで導入する方法について解説します。
①画像の準備
button1.png(ボタンの画像)
button1_tip.png(ツールチップの画像)
今回は上記の画像を準備します。

②プラグインのダウンロード
下記のリンクから、入手ページに移動します。
無料版【v514以前】をクリックします。
zipファイルがダウンロードされます。
これで、プラグインのダウンロードは完了です。
③プラグインの配置

画面左上のプロジェクト名をクリックします。
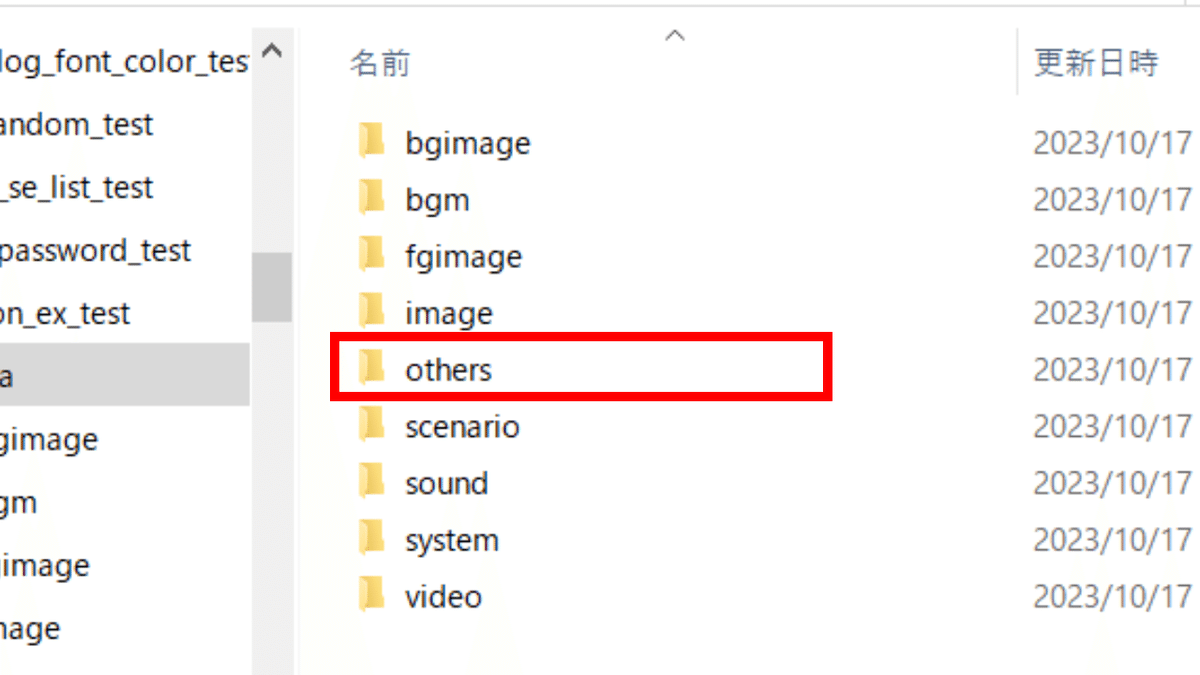
フォルダが開かれるので、othersフォルダをクリックします。

pluginフォルダをクリックします。
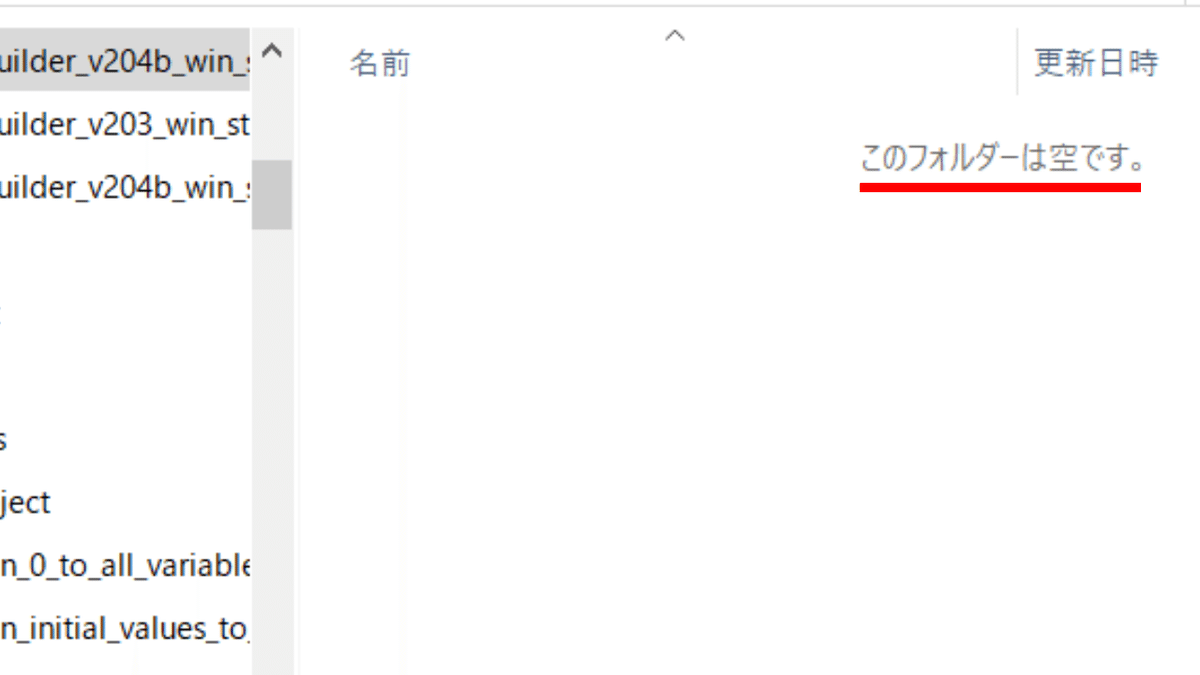
フォルダは空の状態です。
ここで、先程ダウンロードしたzipファイルを展開します。
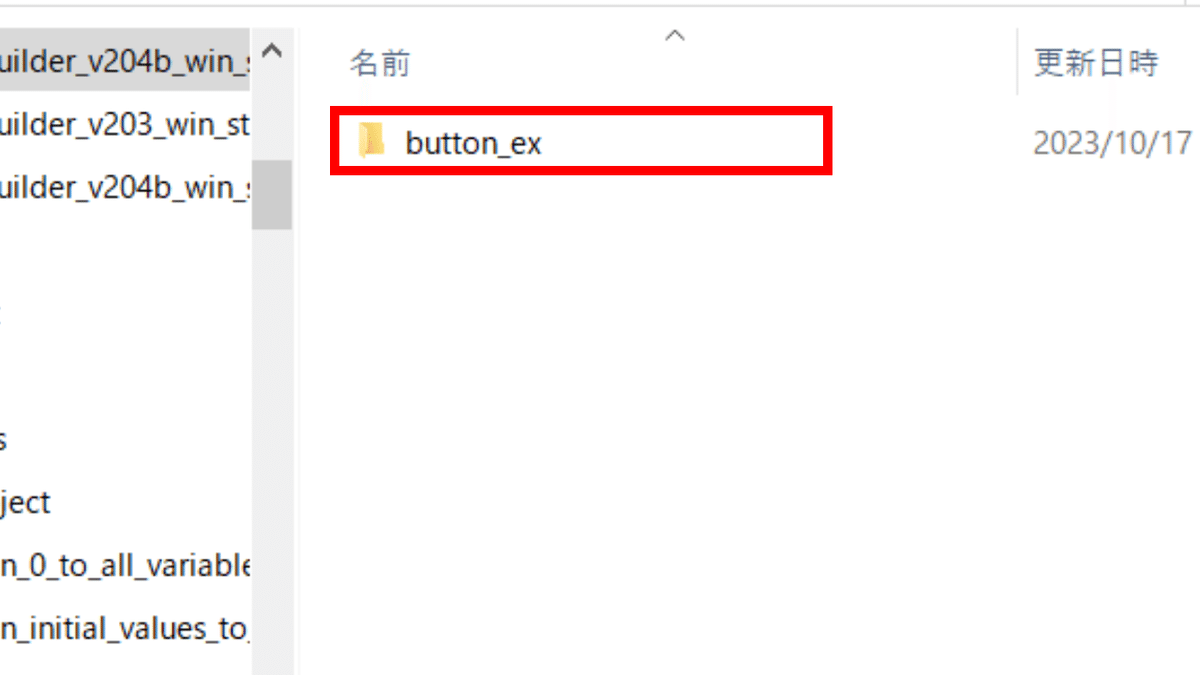
展開したフォルダをpluginフォルダに配置します。
これでプラグインの配置は完了です。
④plugin.ksファイルの編集
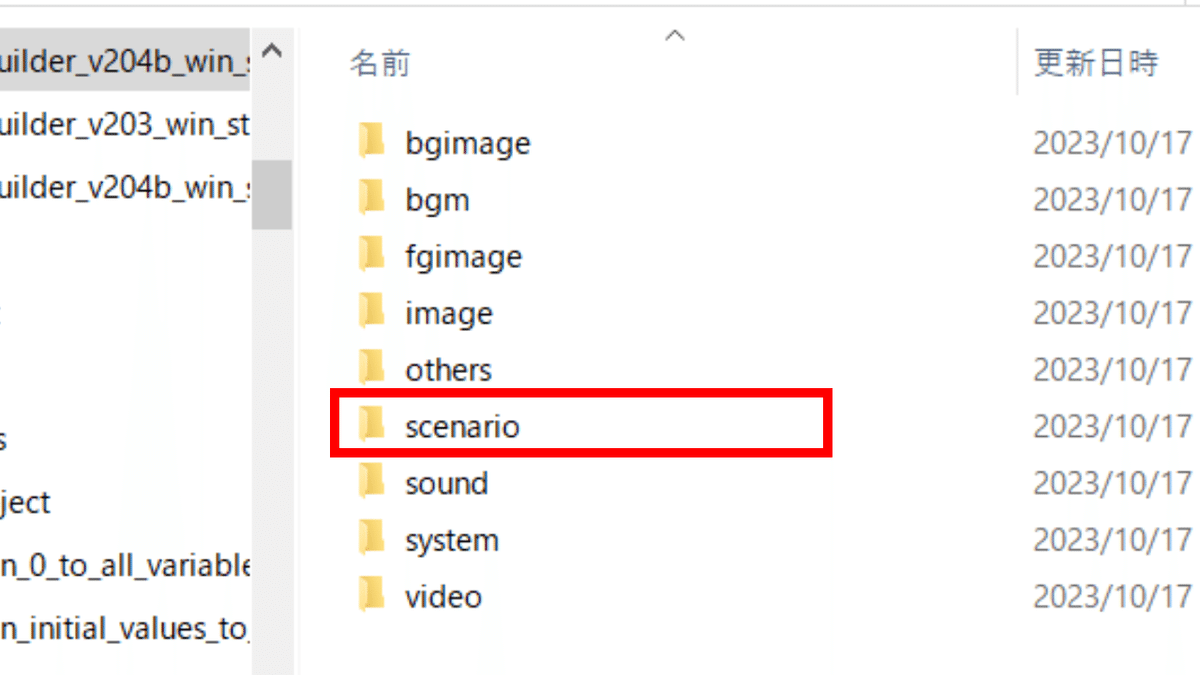
scenarioフォルダをクリックします。

systemフォルダをクリックします。

plugin.ksをメモ帳で開きます。
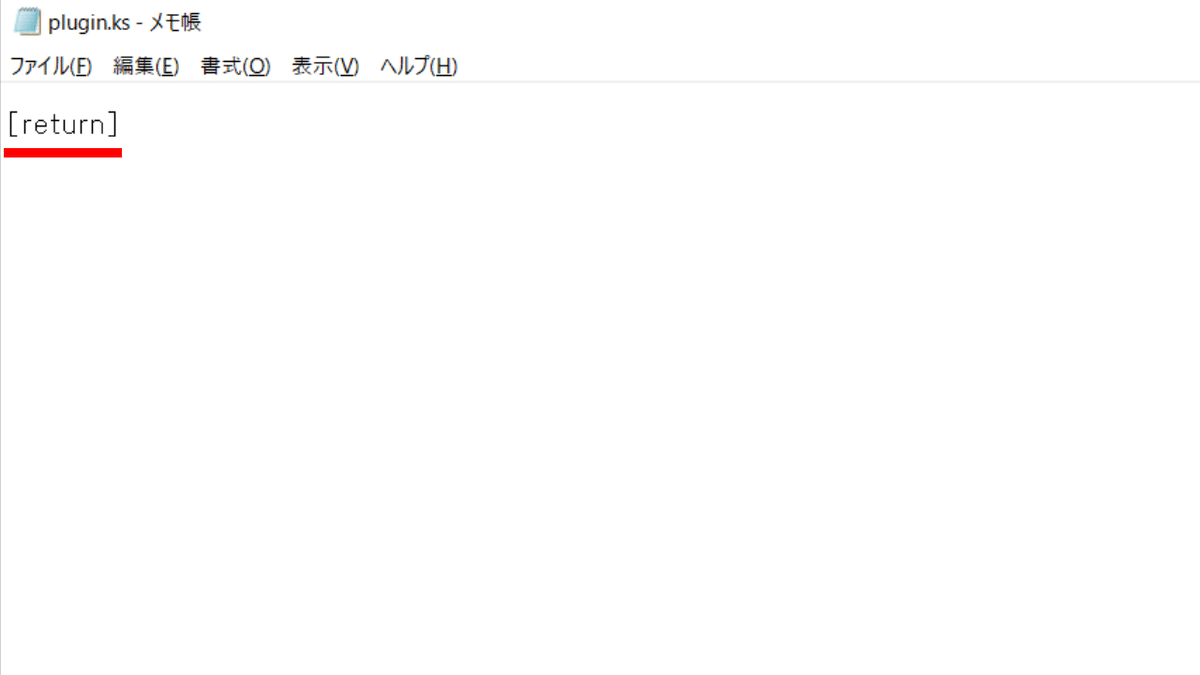
[return]と書かれています。このコードは絶対に消さないでください。

下記のコードを貼り付けます。
[plugin name=button_ex]最後に上書き保存します。
これでplugin.ksファイルの編集は完了です。
⑤make.ksファイルの編集

scenarioフォルダをクリックします。

make.ksをメモ帳で開きます。
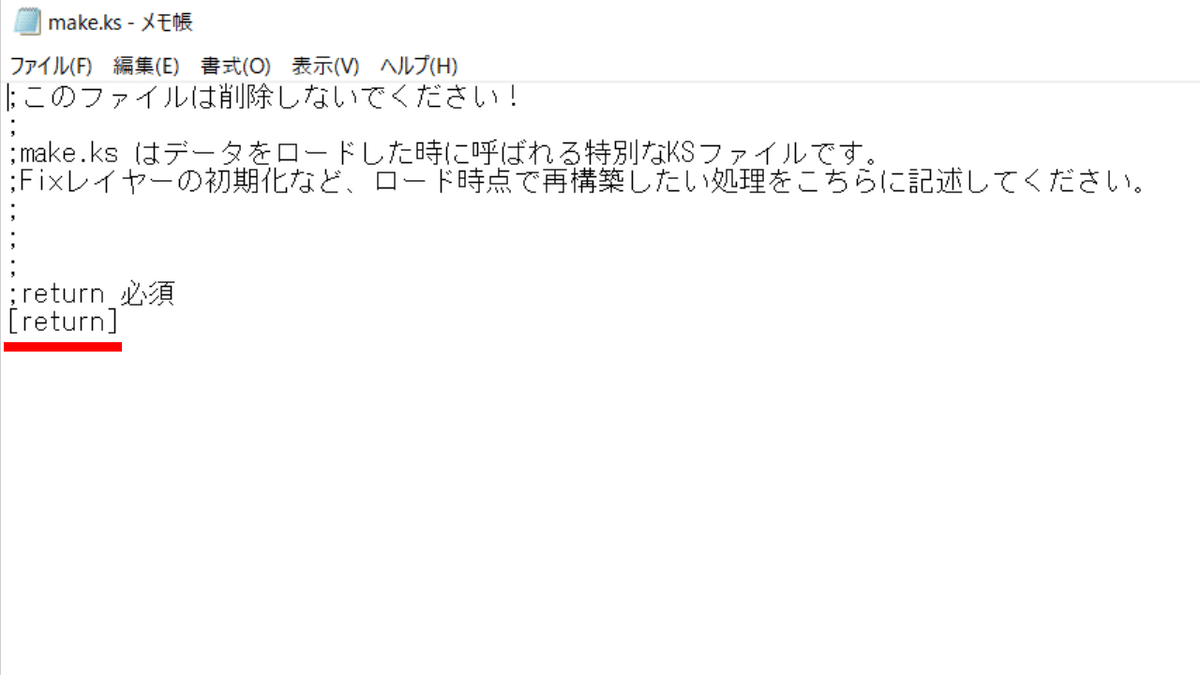
[return]と書かれています。このコードは絶対に消さないでください。

下記のコードを貼り付けます。
[button_ex_restore]最後に上書き保存します。
これでmake.ksファイルの編集は完了です。
⑥画像の配置
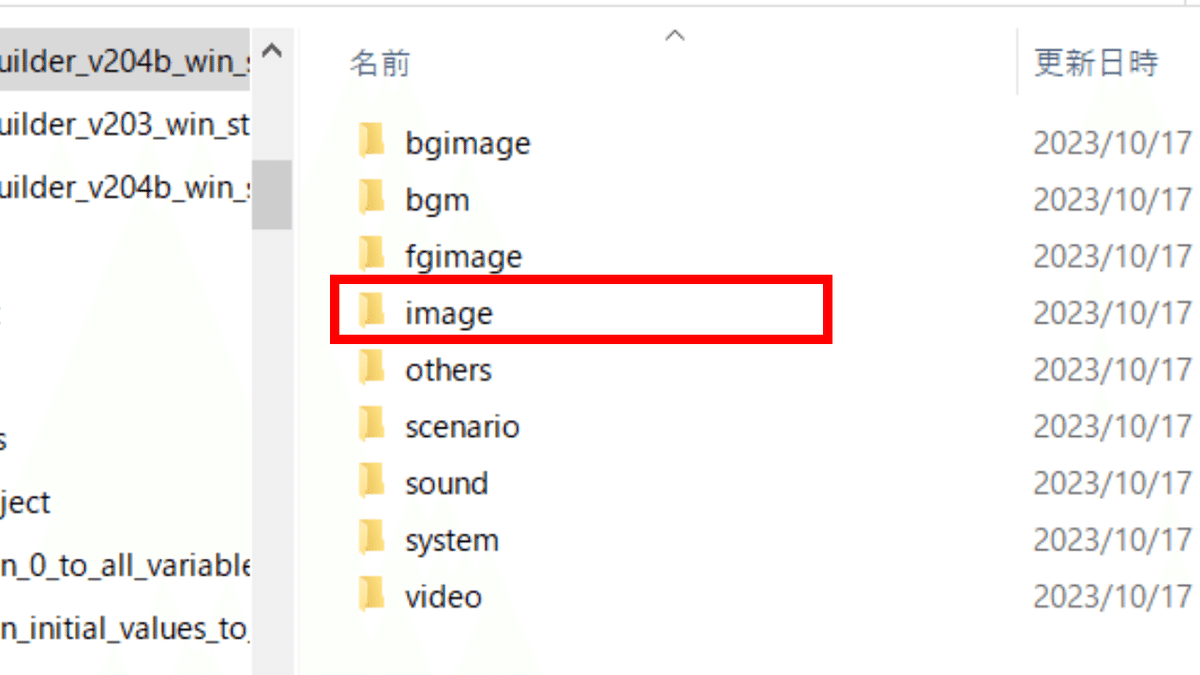
imageフォルダをクリックします。

imageフォルダが開かれました。

画像を配置します。
これで、画像の配置は完了です。
⑦scene1の編集
⑦-(1) ラベルコンポーネントの配置

ラベルコンポーネントを2つ配置します。
button
button1
上から順に、上記のラベル名を指定します。
⑦-(2) ティラノスクリプトコンポーネントの配置
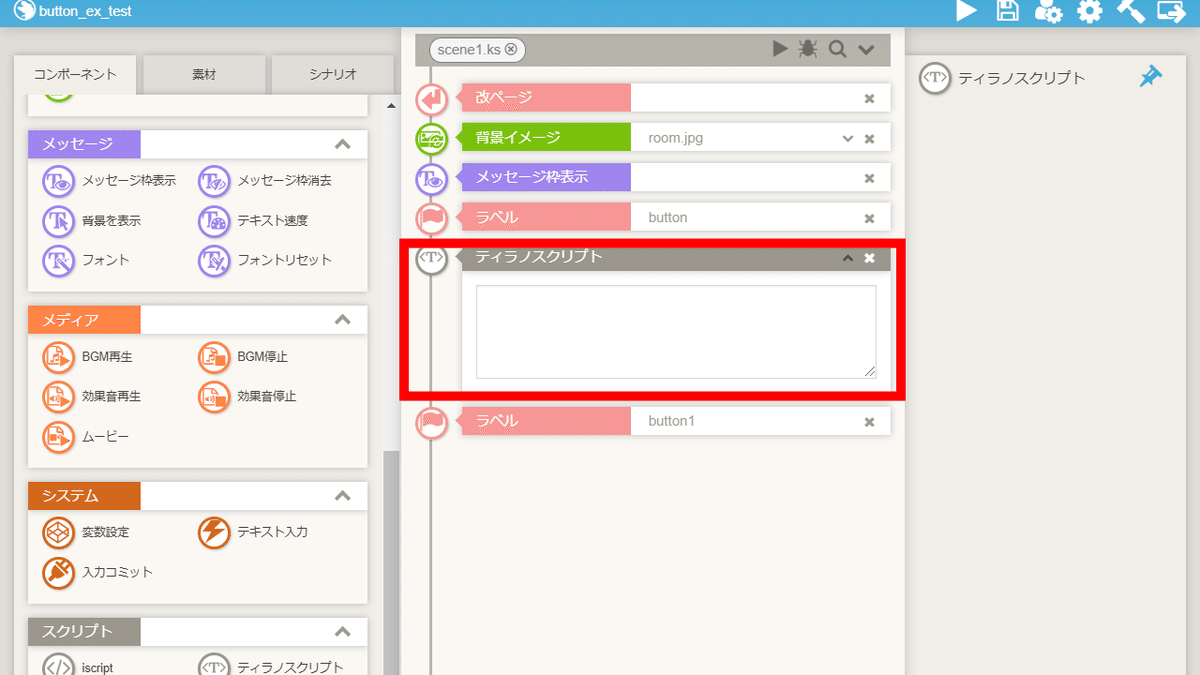
ティラノスクリプトコンポーネントを配置します。

下記のコードを貼り付けます。
[button graphic="button1.png" storage="" target="*button1" name="button1" x="100" y="100"]
[button_ex name="button1" tip="button1_tip.png" tip_pos="static" tip_x="400" tip_y="100"]
【注意】
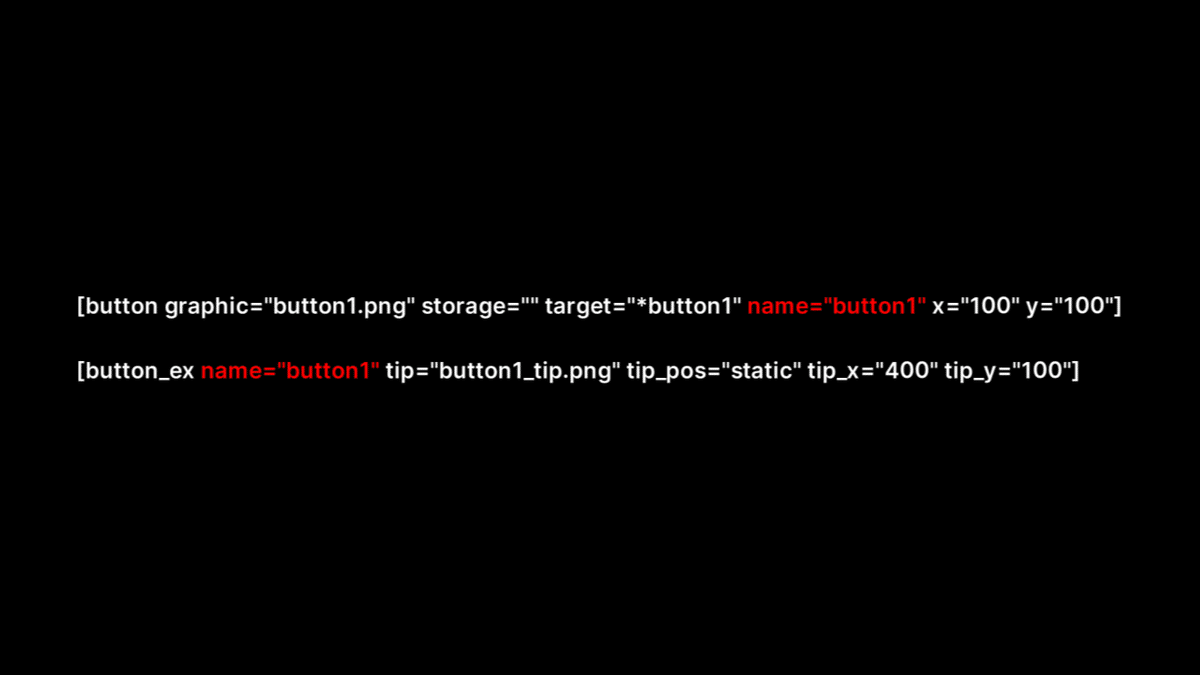
nameの項目は、1行目も2行目も同じ名前を指定してください。
今回は、button1と指定しました。
【1行目のコードの解説】
[button graphic="button1.png" storage="" target="*button1" name="button1" x="100" y="100"]■ graphic
ボタンの画像を指定します。
■ storage
移動先のシナリオを指定します。
指定しない場合は、作業中のシナリオになります。
シナリオ名の後ろに.ksと付けます。
(例)シナリオscene1に移動したい場合
storage="scene1.ks"
■ target
移動先のラベルを指定します。
ラベル名の先頭に*を付けます。
(例)ラベルbutton1に移動したい場合
target="*button1"
■ x
ボタンの横位置を指定できます。
■ y
ボタンの縦位置を指定できます。
【2行目のコードの解説】
[button_ex name="button1" tip="button1_tip.png" tip_pos="static" tip_x="400" tip_y="100"]■ tip
ツールチップの画像を指定します。
■ tip_x
ツールチップの横位置を指定できます。
■ tip_y
ツールチップの縦位置を指定できます。
⑦-(3) 停止コンポーネントの配置

停止コンポーネントを配置します。
⑦-(4) 改ページコンポーネントの配置
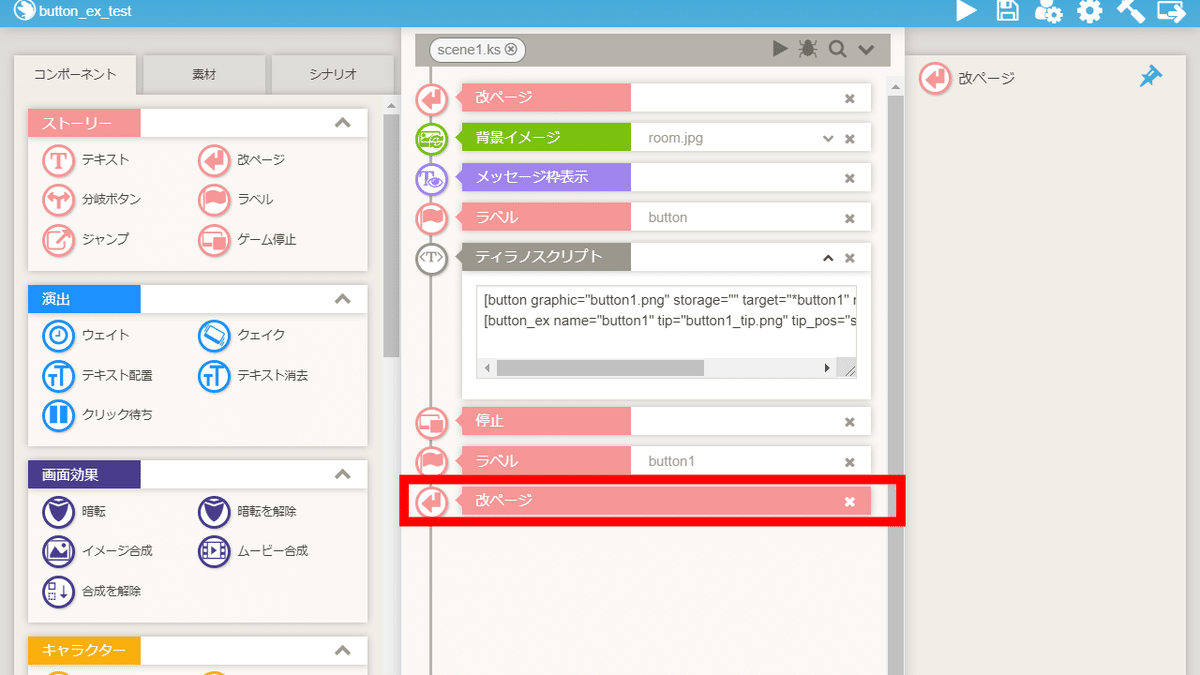
改ページコンポーネントを配置します。
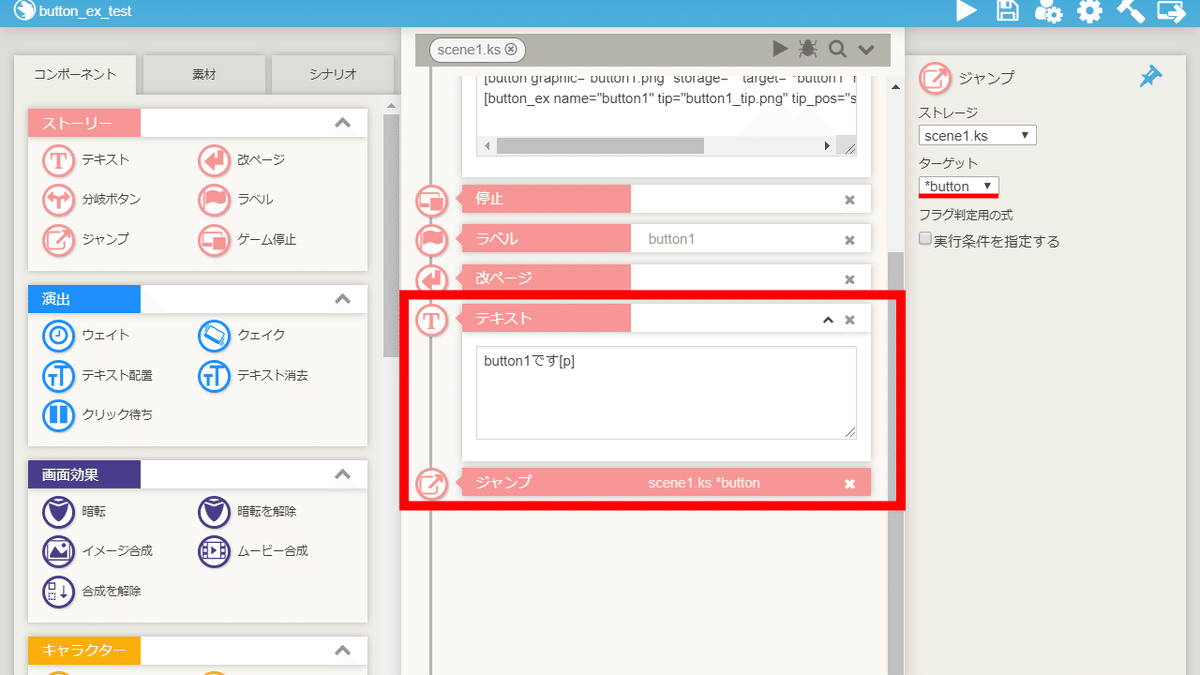
テキストコンポーネント・ジャンプコンポーネントを配置します。
ジャンプコンポーネントのターゲットにラベルbuttonを指定します。
これで、buttonタグ機能補助プラグインを、ティラノビルダーで導入する手順は完了です。
以上で解説を終わります。おつかれさまでした。