
【ティラノビルダー】未選択の分岐ボタンを再度表示する方法


ティラノビルダーで未選択の分岐ボタンを再度表示させる方法について解説します。
【お詫び】2023年6月12日追記
【誤ったコード】
[glink color="black" storage="A.ks" target="" size="20" text="A" x="497" y="100" width="200" height="" cond="f.A == 'true'"]
[glink color="black" storage="B.ks" target="" size="20" text="B" x="497" y="200" width="200" height="" cond="f.B == 'true'"]
[glink color="black" storage="C.ks" target="" size="20" text="C" x="497" y="300" width="200" height="" cond="f.C == 'true'"]
【正しいコード】
[glink color="black" storage="A.ks" target="" size="20" text="A" x="497" y="100" width="200" height="" cond="f.A != 'true'"]
[glink color="black" storage="B.ks" target="" size="20" text="B" x="497" y="200" width="200" height="" cond="f.B != 'true'"]
[glink color="black" storage="C.ks" target="" size="20" text="C" x="497" y="300" width="200" height="" cond="f.C != 'true'"]
⑥-(1) ティラノスクリプトコンポーネントの配置の項目で、誤ったコードを記載していました。大変申し訳ありませんでした。
【準備】

A
B
C
button
上記のシナリオを追加します。
①変数の追加

「プロジェクト」→「変数管理」をクリックし、変数管理画面を開きます。

A
B
C
上記の変数を追加します。
初期値は入力しなくてOKです。
これで、変数の追加は完了です。
②scene1の編集

分岐ボタンコンポーネントを配置します。
ストレージでbutton.ksを指定します。
これで、scene1の編集は完了です。
③シナリオAの編集
③-(1) テキストコンポーネントの配置

テキストコンポーネントを配置します。
③-(2) 変数設定コンポーネントの配置

変数設定コンポーネントを配置し、各項目を設定します。
【変数】A
【操作】代入
【オペランド】定数を選択し、trueと入力
【反映】各項目を設定した後、クリック
③-(3) ジャンプコンポーネントの配置

ジャンプコンポーネントを配置します。
ストレージでbutton.ksを指定します。
これで、シナリオAの編集は完了です。
④シナリオBの編集
④-(1) テキストコンポーネントの配置

テキストコンポーネントを配置します。
④-(2) 変数設定コンポーネントの配置

変数設定コンポーネントを配置し、各項目を設定します。
【変数】B
【操作】代入
【オペランド】定数を選択し、trueと入力
【反映】各項目を設定した後、クリック
④-(3) ジャンプコンポーネントの配置

ジャンプコンポーネントを配置します。
ストレージでbutton.ksを指定します。
これで、シナリオBの編集は完了です。
⑤シナリオCの編集
⑤-(1) テキストコンポーネントの配置
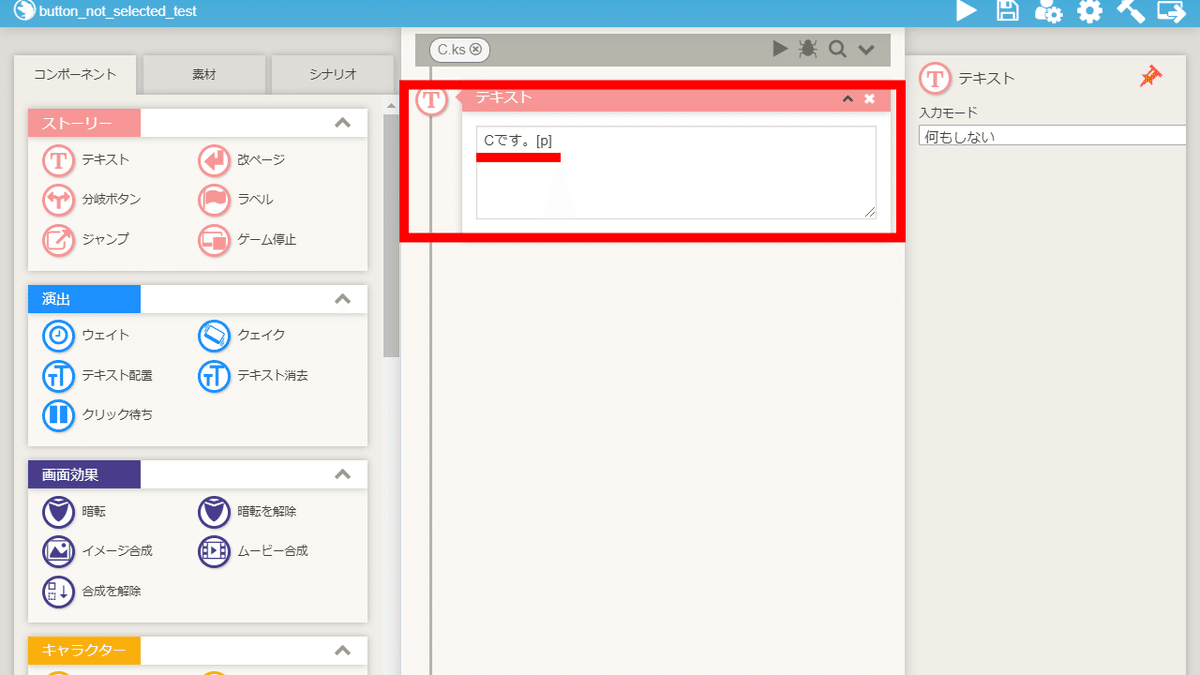
テキストコンポーネントを配置します。
⑤-(2) 変数設定コンポーネントの配置

変数設定コンポーネントを配置し、各項目を設定します。
【変数】C
【操作】代入
【オペランド】定数を選択し、trueと入力
【反映】各項目を設定した後、クリック
⑤-(3) ジャンプコンポーネントの配置

ジャンプコンポーネントを配置します。
ストレージでbutton.ksを指定します。
これで、シナリオCの編集は完了です。
⑥シナリオbuttonの編集
⑥-(1) ティラノスクリプトコンポーネントの配置

ティラノスクリプトコンポーネントを配置します。

下記のコードを貼り付けます。
[glink color="black" storage="A.ks" target="" size="20" text="A" x="497" y="100" width="200" height="" cond="f.A != 'true'"]
[glink color="black" storage="B.ks" target="" size="20" text="B" x="497" y="200" width="200" height="" cond="f.B != 'true'"]
[glink color="black" storage="C.ks" target="" size="20" text="C" x="497" y="300" width="200" height="" cond="f.C != 'true'"]
【コードの解説】
■ color
(分岐ボタンコンポーネントの項目:カラー)
分岐ボタンの色を指定できます。

上記の画像の様に、デザインをbtn_01、カラーをblackと指定したい場合は、
color="btn_01_black"と指定します。
■ storage
(分岐ボタンコンポーネントの項目:ストレージ)
移動先のシナリオを指定できます。
■ target
(分岐ボタンコンポーネントの項目:ターゲット)
移動先のラベルを指定できます。
■ size
(分岐ボタンコンポーネントの項目:サイズ)
分岐ボタンに表示される文字の大きさを指定できます。
■ text
(分岐ボタンコンポーネントの項目:テキスト)
分岐ボタンに表示される文字列を指定できます。
■ x
(分岐ボタンコンポーネントの項目:横位置)
分岐ボタンの横位置を指定できます。
■ y
(分岐ボタンコンポーネントの項目:縦位置)
分岐ボタンの縦位置を指定できます。
■ width
(分岐ボタンコンポーネントの項目:横幅)
分岐ボタンの横幅を指定できます。
■ height
(分岐ボタンコンポーネントの項目:縦幅)
分岐ボタンの縦幅を指定できます。
⑥-(2) 停止コンポーネントの配置

停止コンポーネントを配置します。
⑥-(3) ティラノスクリプトコンポーネントの配置

ティラノスクリプトコンポーネントを2つ配置します。

下記のコードを貼り付けます。
[if exp="f.A == 'true' && f.B == 'true' && f.C == 'true'"][endif]⑥-(4) ジャンプコンポーネントの配置

ジャンプコンポーネントを配置します。
A・B・C全てのボタンを選択した場合に移動するシナリオを指定します。
今回は、title_screen.ksを指定しました。
これで、シナリオbuttonの編集は完了です。
以上で解説を終わります。おつかれさまでした。