
【ティラノビルダー】それぞれのエンドを見た後にタイトル画面もそれぞれ変える方法


エンド1を見た後→タイトル画面1
エンド2を見た後→タイトル画面2
上記の様にタイトル画面の背景を変更します。
【準備】
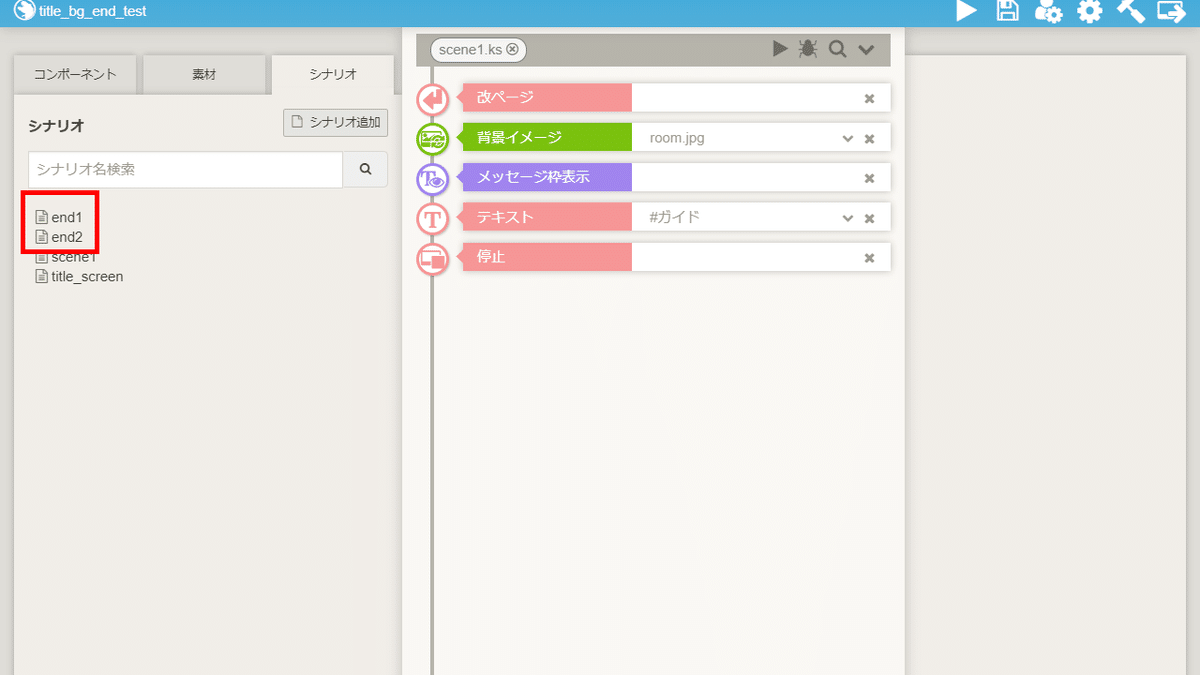
end1
end2
上記のシナリオを追加します。
①変数の追加
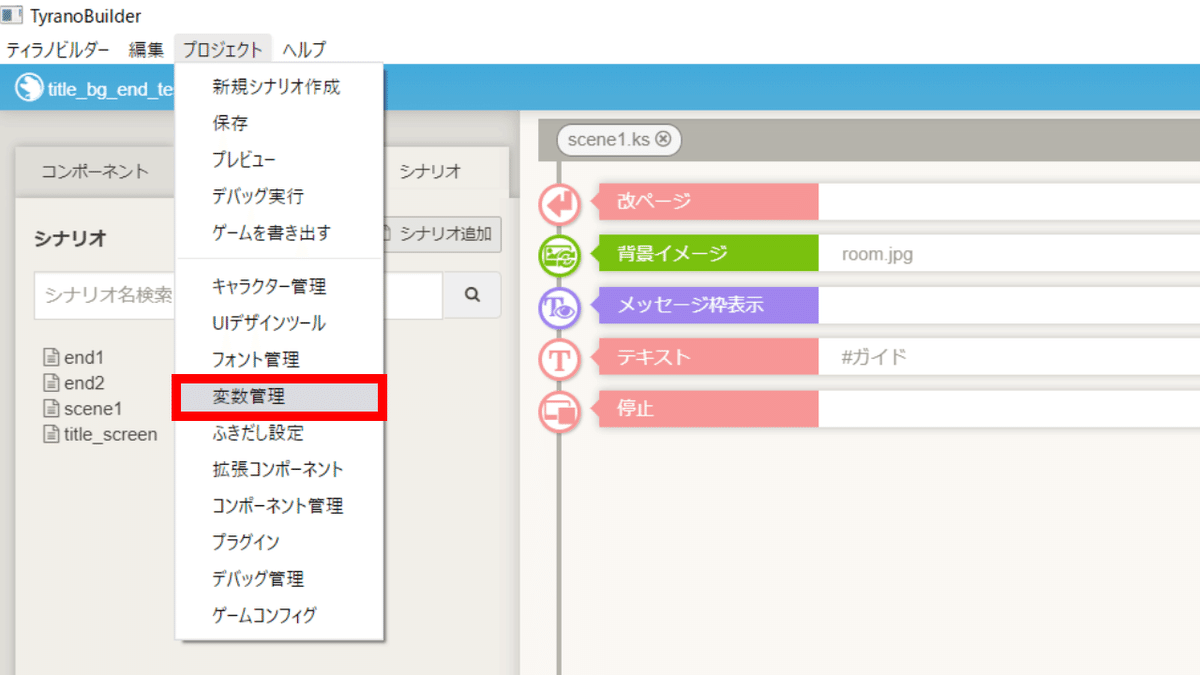
「プロジェクト」→「変数管理」をクリックし、変数管理画面を開きます。
・end
上記の変数を追加します。
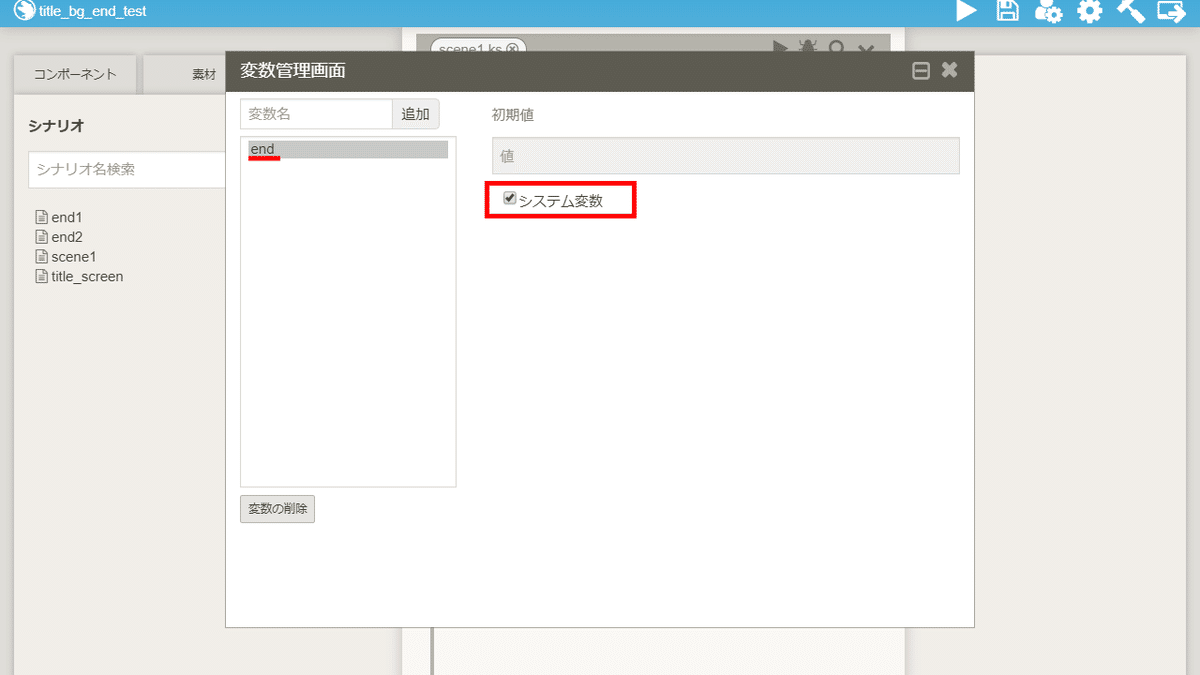
システム変数の項目にチェックを入れてください。
これで、変数の追加は完了です。
②scene1の編集
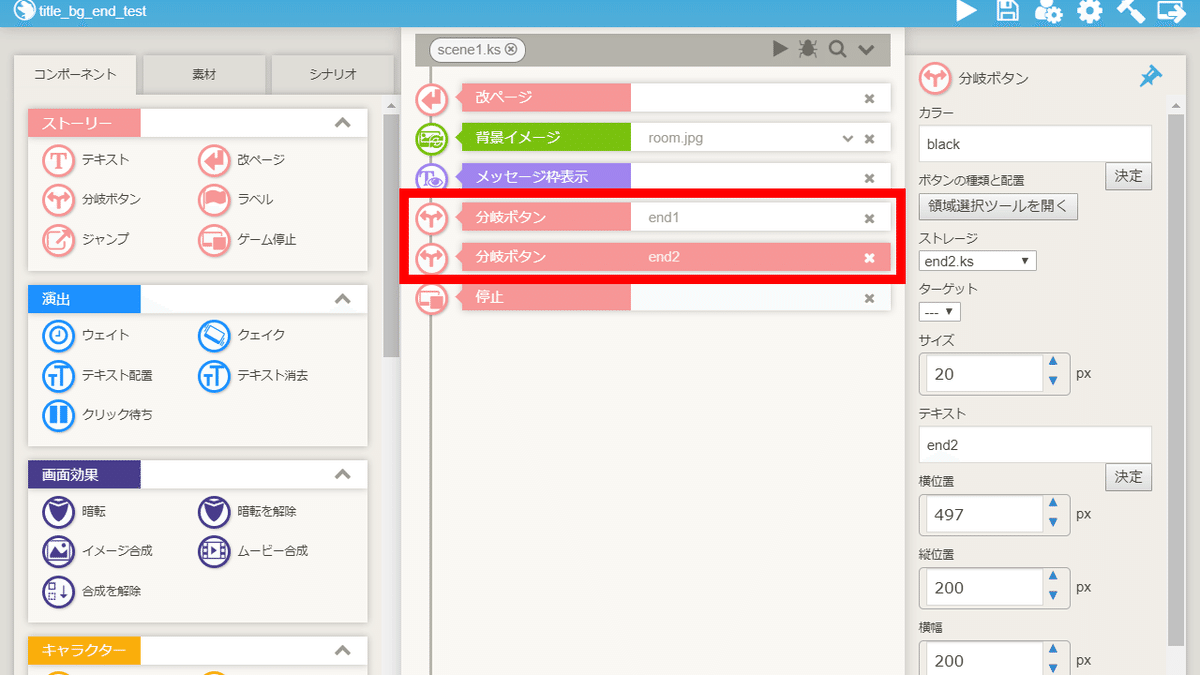
分岐ボタンコンポーネントを2つ配置します。
これで、scene1の編集は完了です。
③end1の編集
③-(1) テキストコンポーネントの配置

テキストコンポーネントを配置します。
③-(2) 変数設定コンポーネントの配置

変数設定コンポーネントを配置し、各項目を設定します。
【変数】end
【操作】代入
【オペランド】定数を選択し、1と入力
【反映】各項目を設定した後、クリック
③-(3) ジャンプコンポーネントの配置

ジャンプコンポーネントを配置します。
ストレージでtitle_screen.ksを指定します。
これで、end1の編集は完了です。
④end2の編集
④-(1) テキストコンポーネントの配置
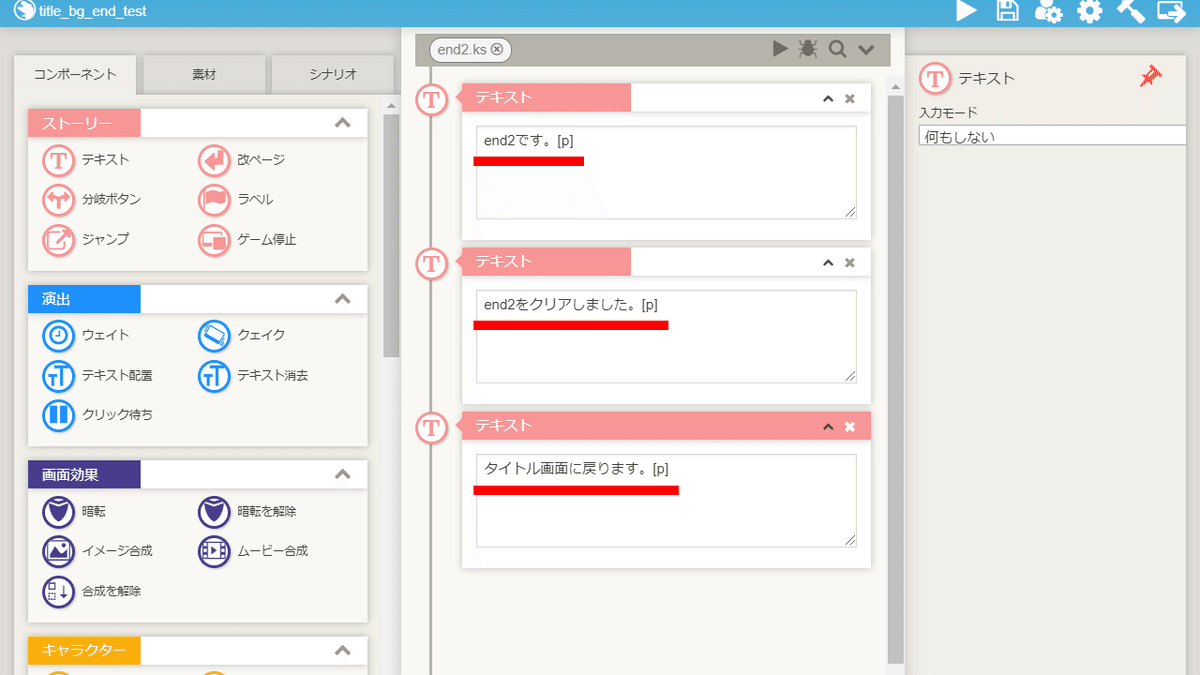
テキストコンポーネントを配置します。
④-(2) 変数設定コンポーネントの配置

変数設定コンポーネントを配置し、各項目を設定します。
【変数】end
【操作】代入
【オペランド】定数を選択し、2と入力
【反映】各項目を設定した後、クリック
④-(3) ジャンプコンポーネントの配置
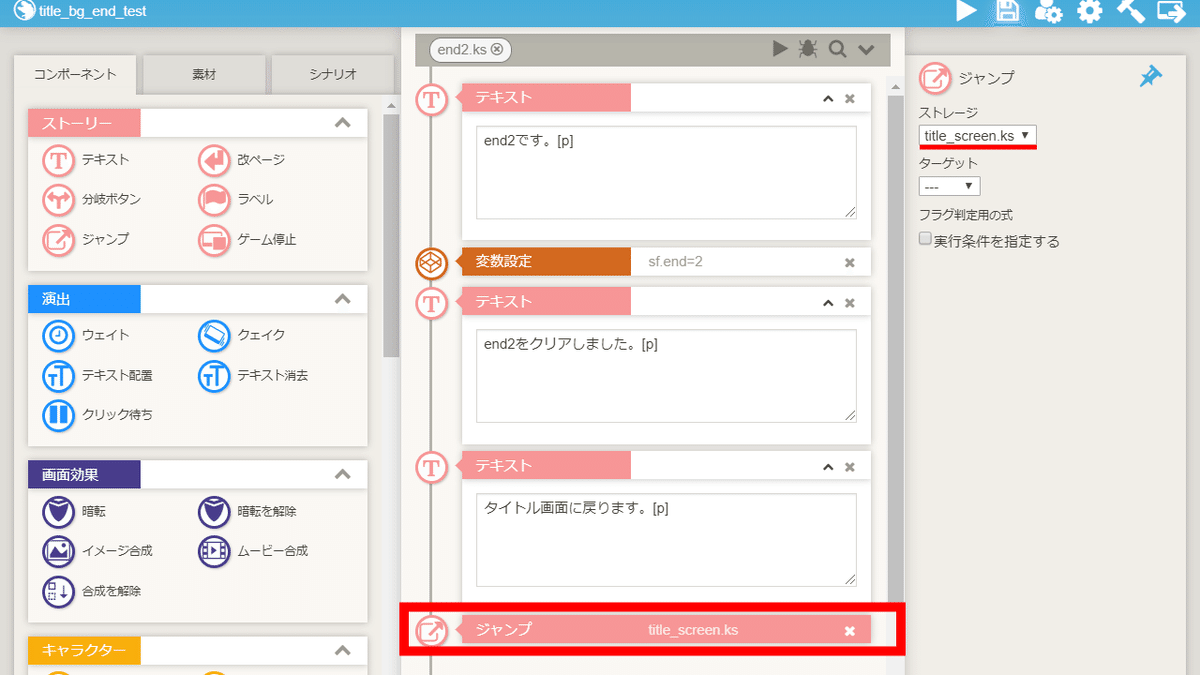
ジャンプコンポーネントを配置します。
ストレージでtitle_screen.ksを指定します。
これで、end2の編集は完了です。
⑤title_screenの編集
⑤-(1) ティラノスクリプトコンポーネントの配置

ティラノスクリプトコンポーネントを4つ配置します。
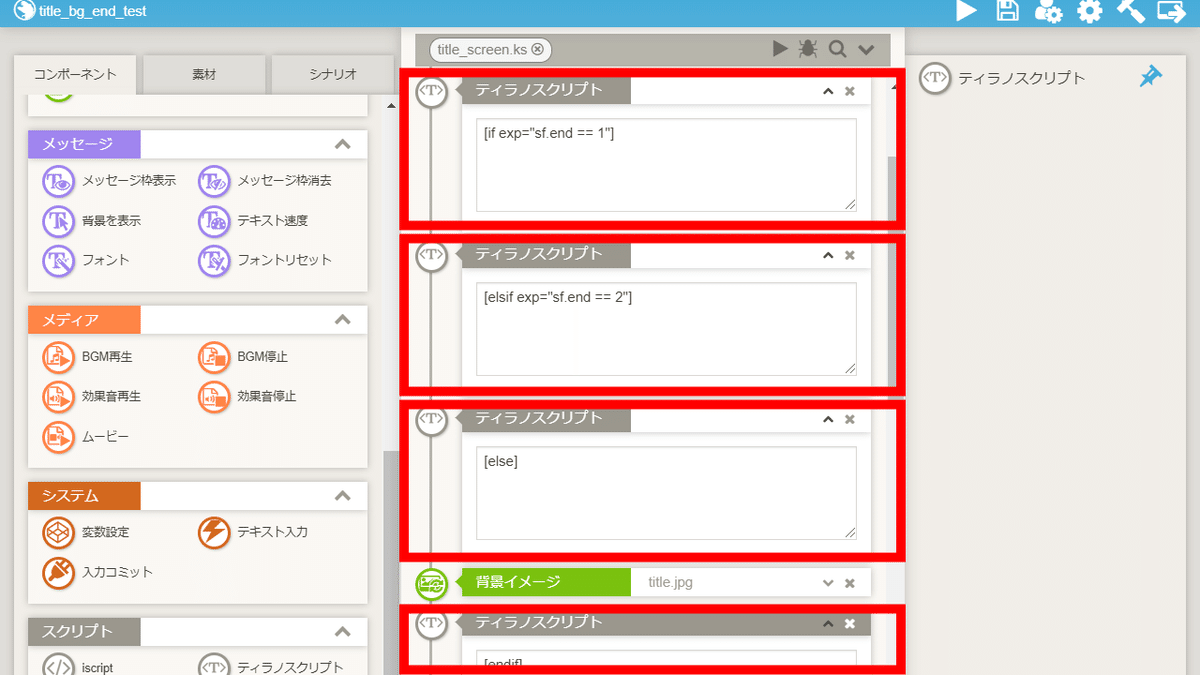
下記のコードを貼り付けます。
[if exp="sf.end == 1"][elsif exp="sf.end == 2"][else][endif]⑤-(2) 背景変更コンポーネントの配置
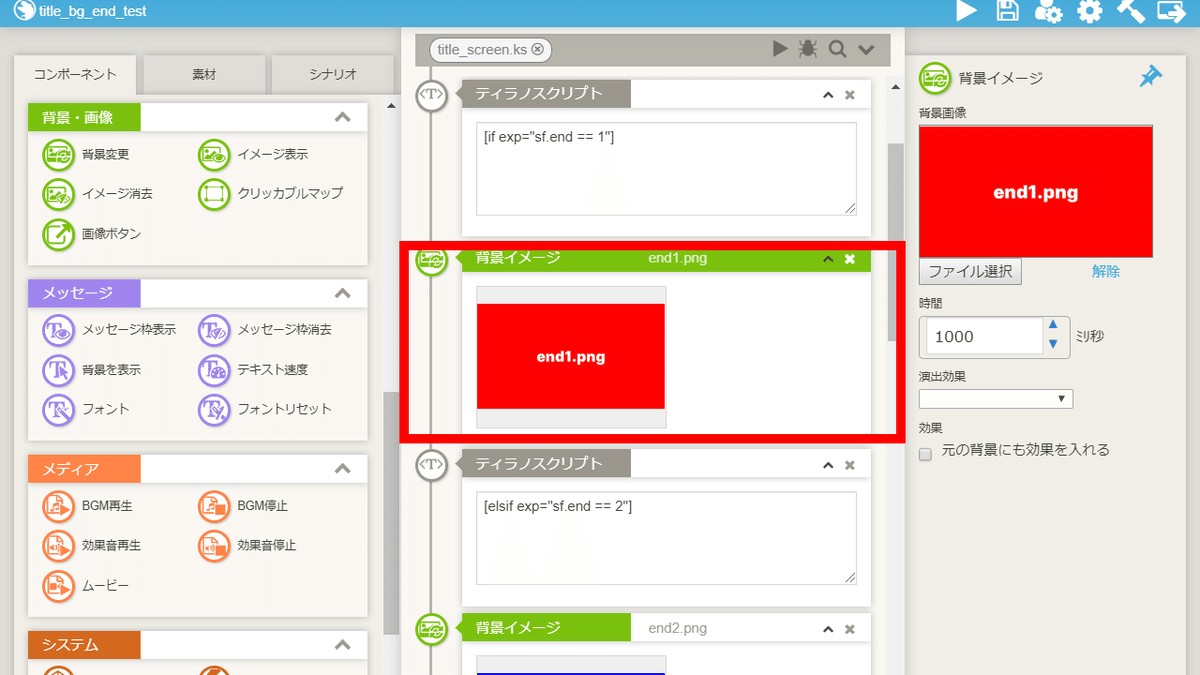
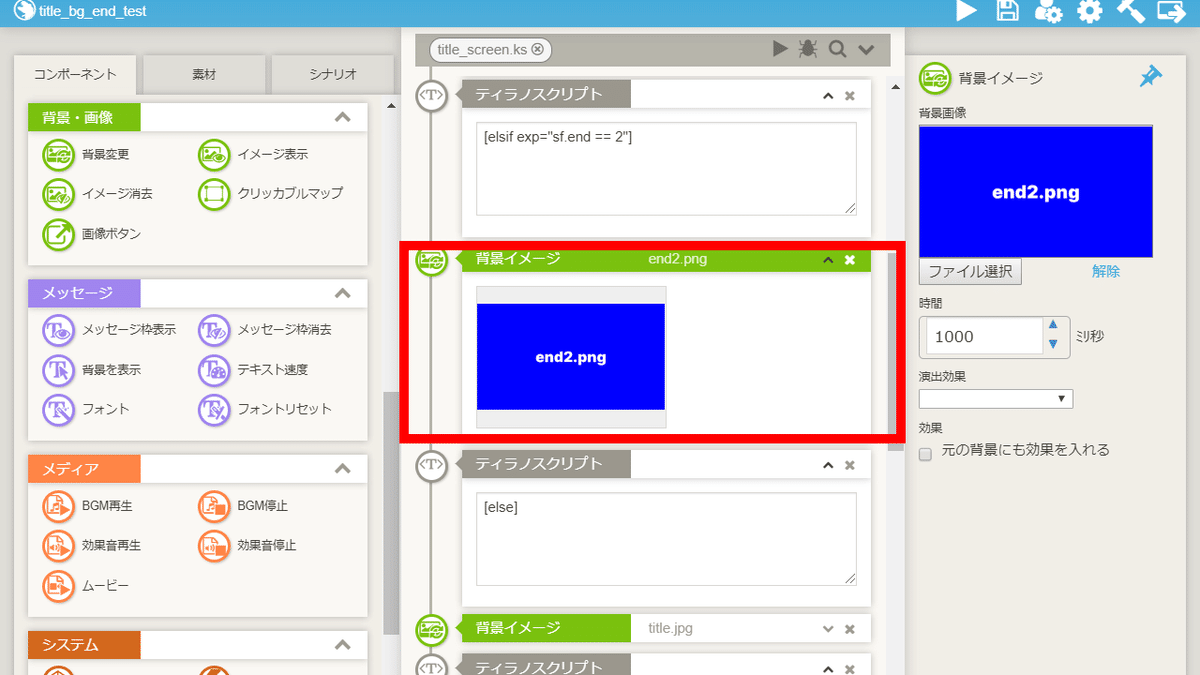
背景変更コンポーネントを2つ配置します。
これで、title_screenの編集は完了です。
以上で解説を終わります。おつかれさまでした。