
【ティラノビルダー】好感度のステータス画面の作成方法


ティラノビルダーで、好感度のステータス画面の作成方法について解説します。
【使用素材】
わたおきば様の素材を使用させていただきました。
①tyrano.cssファイルの編集

画面左上のプロジェクト名をクリックします。

フォルダが開かれるので、矢印のアイコンをクリックします。

tyranoフォルダをクリックします。

tyrano.cssファイルをメモ帳で開きます。

tyrano.cssファイルが開かれました。

一番下までスクロールします。
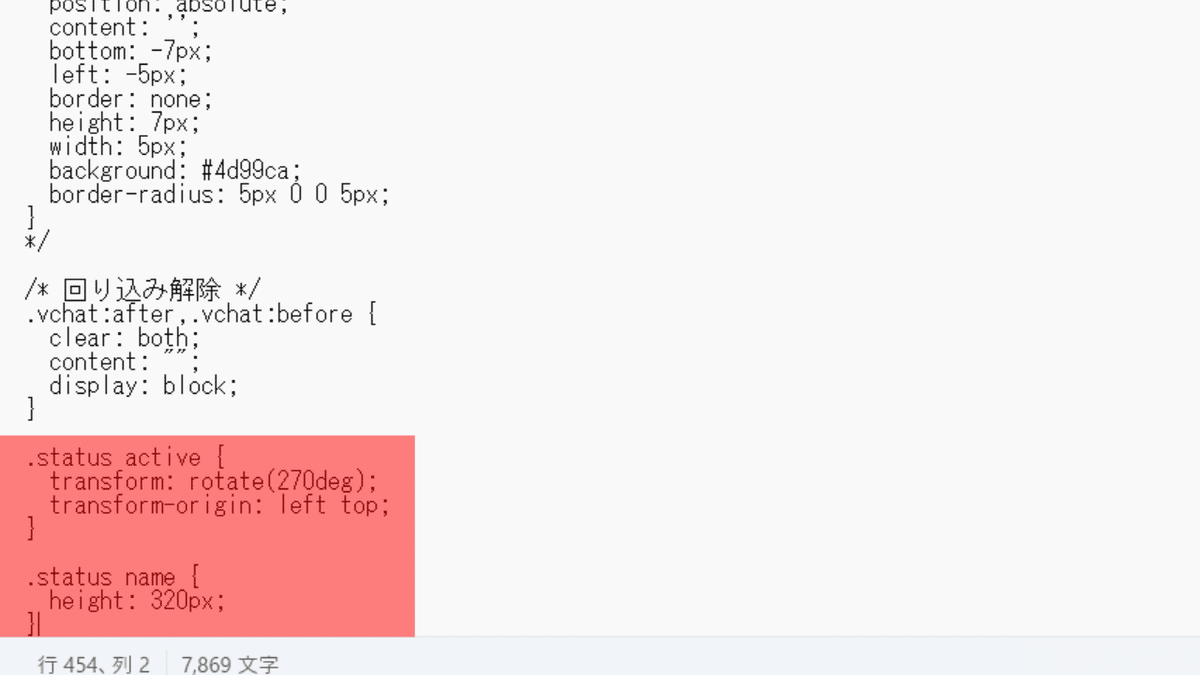
下記のコードを貼り付けます。
.status_active {
  transform: rotate(270deg);
  transform-origin: left top;
}

.status_name {
  height: 320px;
}
最後に必ず上書き保存をしてください。
これで、tyrano.cssファイルの編集は完了です。
②画像の配置

imageフォルダをクリックします。

imageフォルダが開かれます。

画像を配置します。
これで、画像の配置は完了です。
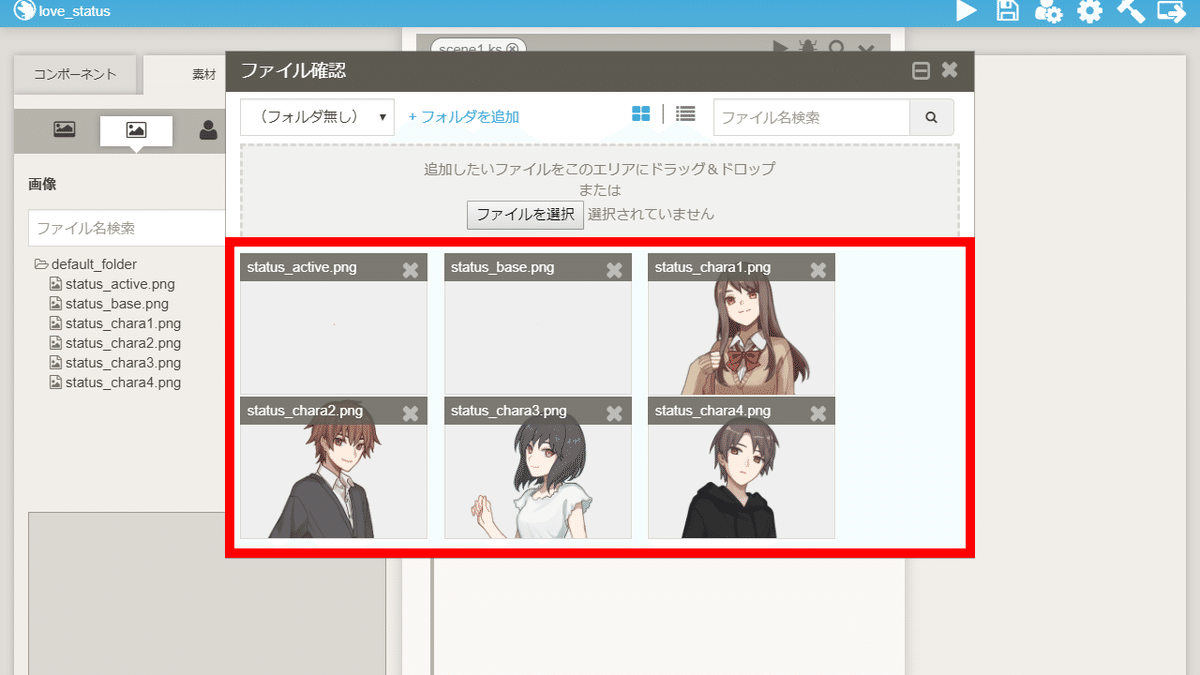
③画像の追加
status_base.png
status_active.png
status_chara1.png
status_chara2.png
status_chara3.png
status_chara4.png
上記の画像を追加します。
※status_active.pngとstatus_base.pngは1×1のサイズで使用しています。
これで、画像の追加は完了です。
④変数の追加

「プロジェクト」→「変数管理」をクリックし、変数管理画面を開きます。
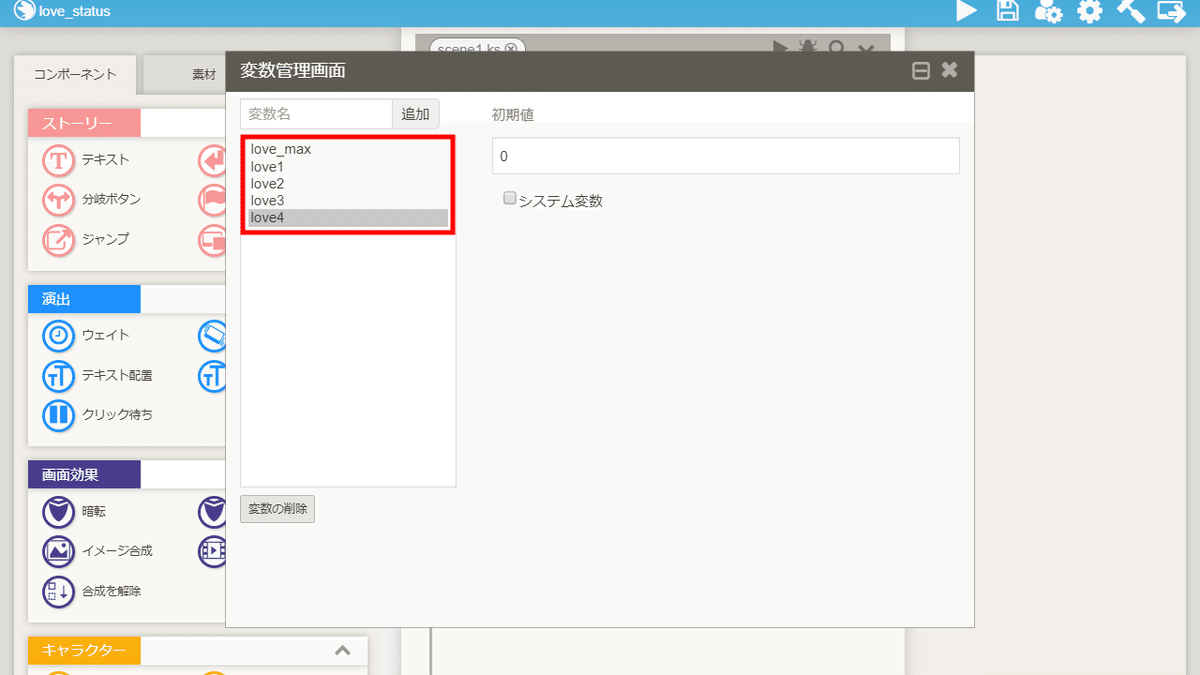
love_max(好感度の最大値)
love1(1人目のキャラクターの好感度)
love2(2人目のキャラクターの好感度)
love3(3人目のキャラクターの好感度)
love4(4人目のキャラクターの好感度)
上記の変数を追加します。
変数love_maxの初期値は100、
変数love1~love4の初期値は0としました。
これで、変数の追加は完了です。
⑤シナリオの追加

シナリオを追加します。
今回はシナリオ名をstatusとしました。
⑥statusの編集
⑥-(1) ティラノスクリプトコンポーネントの配置
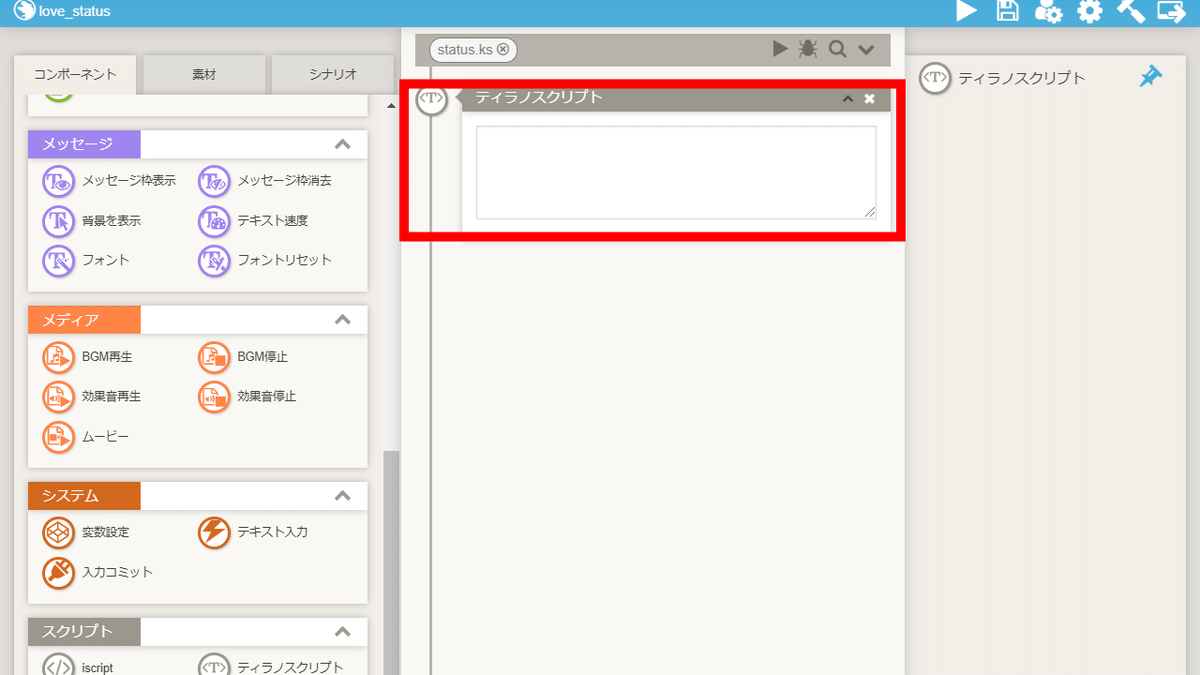
ティラノスクリプトコンポーネントを配置します。

下記のコードを貼り付けます。
[layopt layer="message0" visible="false"]
[clearfix]
[stop_keyconfig]
[free_layermode time="100" wait="true"]
[reset_camera time="100" wait="true"]
[iscript]
$(".layer_camera").empty();
$("#bgmovie").remove();
[endscript]
[hidemenubutton]
[cm]
⑥-(2) 背景変更コンポーネントの配置
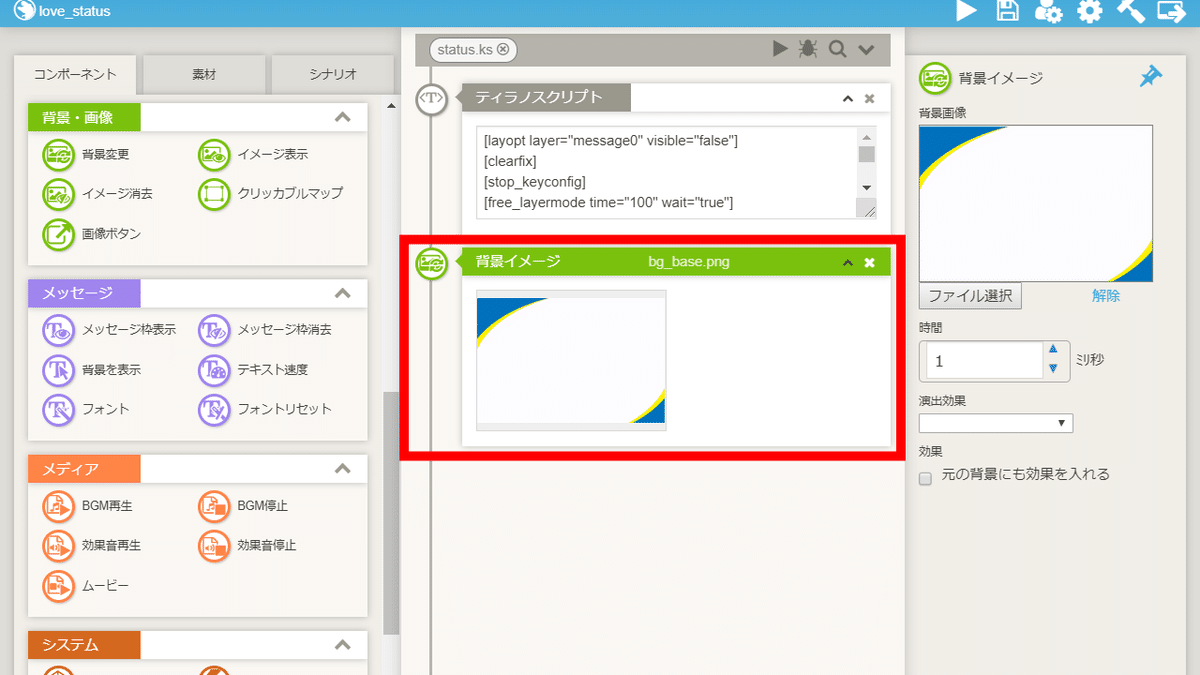
背景変更コンポーネントを配置します。
⑥-(3) iscriptコンポーネントの配置

iscriptコンポーネントを配置します。

下記のコードを貼り付けます。
f.status1_width = f.love1 / f.love_max * 320;
f.status2_width = f.love2 / f.love_max * 320;
f.status3_width = f.love3 / f.love_max * 320;
f.status4_width = f.love4 / f.love_max * 320;
⑥-(4) ティラノスクリプトコンポーネントの配置

ティラノスクリプトコンポーネントを配置します。
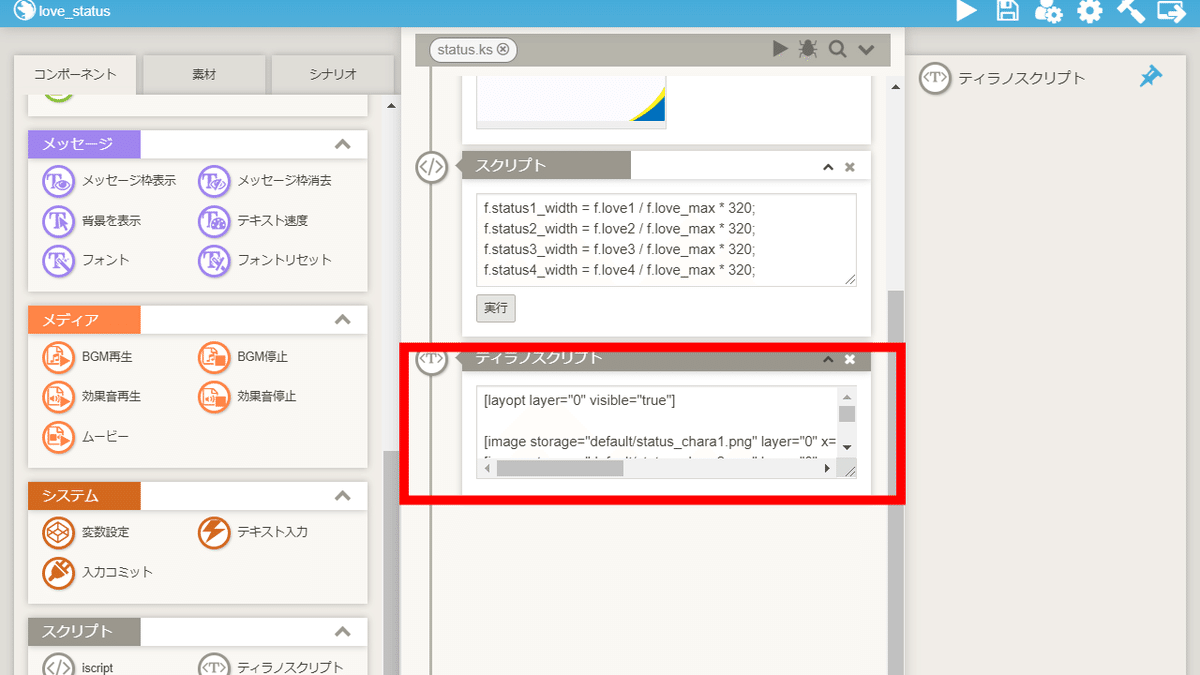
下記のコードを貼り付けます。
[layopt layer="0" visible="true"]

[image storage="default/status_chara1.png" layer="0" x="200" y="100" width="200" height="200" time="1" wait="false"]
[image storage="default/status_chara2.png" layer="0" x="440" y="100" width="200" height="200" time="1" wait="false"]
[image storage="default/status_chara3.png" layer="0" x="680" y="100" width="200" height="200" time="1" wait="false"]
[image storage="default/status_chara4.png" layer="0" x="920" y="100" width="200" height="200" time="1" wait="false"]

[image storage="default/status_base.png" layer="0" x="240" y="340" width="120" height="320" time="1" wait="false"]
[image storage="default/status_base.png" layer="0" x="480" y="340" width="120" height="320" time="1" wait="false"]
[image storage="default/status_base.png" layer="0" x="720" y="340" width="120" height="320" time="1" wait="false"]
[image storage="default/status_base.png" layer="0" x="960" y="340" width="120" height="320" time="1" wait="false"]

[image storage="default/status_active.png" layer="0" x="240" y="660" width="0" height="120" name="status_active,status1" time="1" wait="false"]
[image storage="default/status_active.png" layer="0" x="480" y="660" width="0" height="120" name="status_active,status2" time="1" wait="false"]
[image storage="default/status_active.png" layer="0" x="720" y="660" width="0" height="120" name="status_active,status3" time="1" wait="false"]
[image storage="default/status_active.png" layer="0" x="960" y="660" width="0" height="120" name="status_active,status4" time="1" wait="false"]

[ptext text="chara1" layer="0" x="190" y="340" vertical="true" size="30" face="" color="0x000000" name="status_name" align="center" time="1"]
[ptext text="chara2" layer="0" x="430" y="340" vertical="true" size="30" face="" color="0x000000" name="status_name" align="center" time="1"]
[ptext text="chara3" layer="0" x="670" y="340" vertical="true" size="30" face="" color="0x000000" name="status_name" align="center" time="1"]
[ptext text="chara4" layer="0" x="910" y="340" vertical="true" size="30" face="" color="0x000000" name="status_name" align="center" time="1"]

[anim name="status1" width="&f.status1_width" time="1"]
[anim name="status2" width="&f.status2_width" time="1"]
[anim name="status3" width="&f.status3_width" time="1"]
[anim name="status4" width="&f.status4_width" time="1"]

[button fix="true" graphic="config/c_btn_back.png" enterimg="config/c_btn_back2.png" target="*backtitle" x="1160" y="20"]
【2行目~12行目のコードの解説】
[image storage="default/status_chara1.png" layer="0" x="200" y="100" width="200" height="200" time="1" wait="false"]■ storage
(イメージ表示コンポーネントの項目:画像)
表示する画像を指定できます。
ティラノビルダー上で画像を追加した場合、defaultフォルダに配置されます。status_chara1.pngを指定したい場合、default/status_chara1.pngと指定します。
■ x
(イメージ表示コンポーネントの項目:横位置)
画像の横位置を指定できます。
■ y
(イメージ表示コンポーネントの項目:縦位置)
画像の縦位置を指定できます。
■ width
(イメージ表示コンポーネントの項目:横幅)
画像の横幅を指定できます。
■ height
(イメージ表示コンポーネントの項目:高さ)
画像の縦幅を指定できます。
【14行目~16行目のコードの解説】
[ptext text="chara1" layer="0" x="190" y="340" vertical="true" size="30" face="" color="0x000000" name="status_name" align="center" time="1"]■ text
テキストに表示したい文字列を指定します。
■ x
テキストの横位置を指定します。
■ y
テキストの縦位置を指定します。
■ size
テキストの文字の大きさ単位:(px)を指定できます。
■ font
テキストのフォントを指定できます。
フォント管理画面で表示された名前を指定できます。
フォント管理画面で「GenEiKoburiMin6-R」と表示された場合、face="GenEiKoburiMin6-R"と指定します。
■ color
テキストの色を指定できます。
上記のサイト等で、お好きな色を探せます。
#FF0000の色を指定したい場合、シャープを0xに変え、
0xFF0000と指定します。
【22行目のコードの解説】
[button fix="true" graphic="config/c_btn_back.png" enterimg="config/c_btn_back2.png" target="*backtitle" x="1160" y="20"]■ graphic
ボタンの画像を指定します。
【注意】
今回は、コンフィグ画面のボタンを使用しています。画像を変更したい場合は、②の手順で画像を配置し、配置した画像名(config/は不要です)を指定して下さい。
■ enterimg
ホバー時のボタンの画像を指定します。
【注意】
今回は、コンフィグ画面のボタンを使用しています。画像を変更したい場合は、②の手順で画像を配置し、配置した画像名(config/は不要です)を指定して下さい。
■ x
ボタンの横位置を指定できます。
■ y
ボタンの縦位置を指定できます。
⑥-(5) 停止コンポーネントの配置

停止コンポーネントを配置します。
⑥-(6) ラベルコンポーネントの配置
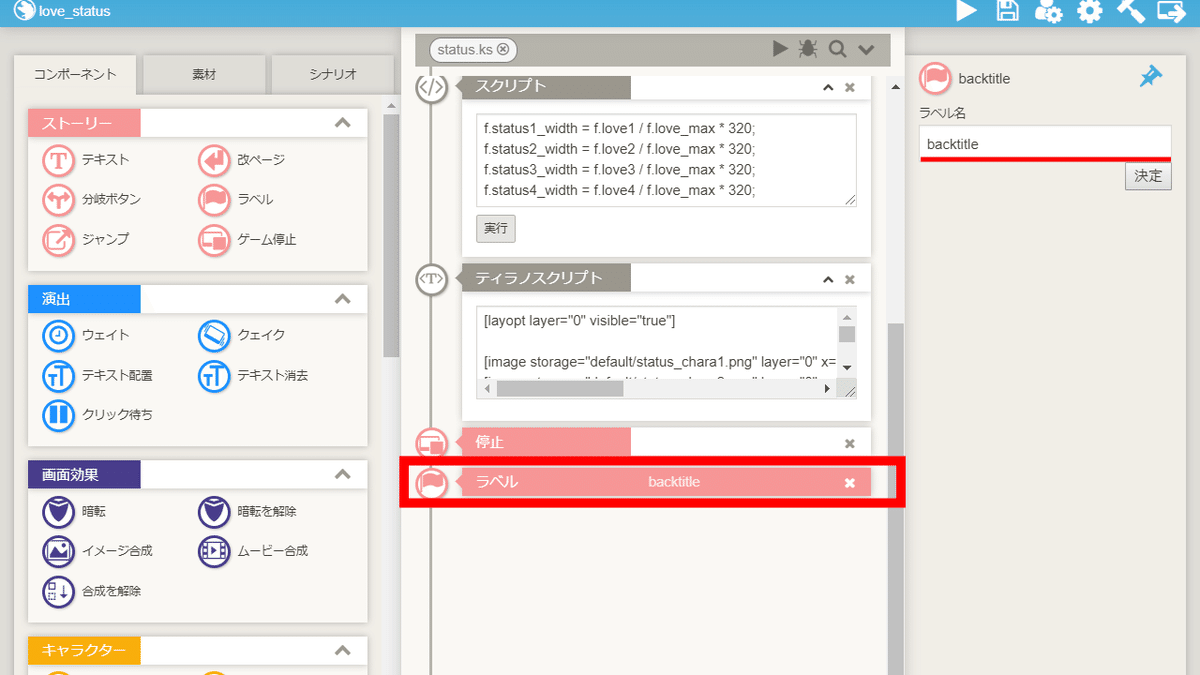
backtitle
上記のラベルコンポーネントを配置します。
⑥-(7) ティラノスクリプトコンポーネントの配置
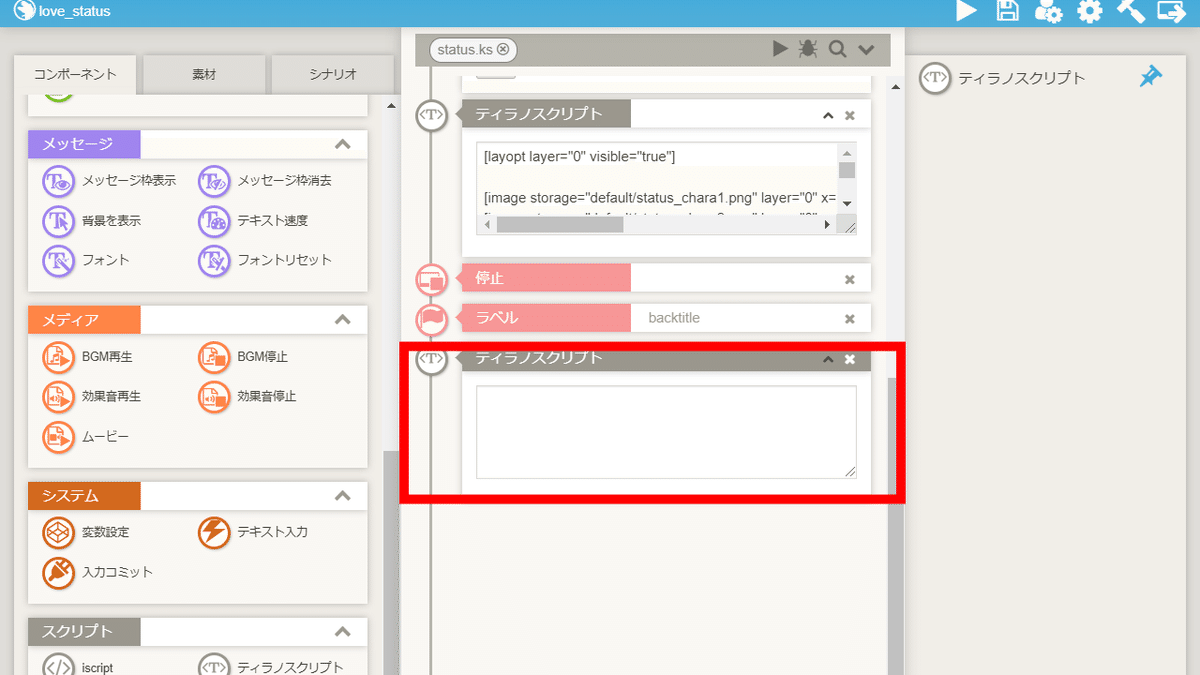
ティラノスクリプトコンポーネントを配置します。

下記のコードを貼り付けます。
[freeimage layer="0"]
[layopt layer="0"]
[cm]
[clearfix]
[start_keyconfig]
[clearstack]
[awakegame]
⑦scene1の編集
⑦-(1) ティラノスクリプトコンポーネントの配置

ティラノスクリプトコンポーネントを配置します。

下記のコードを貼り付けます。
[button graphic="status_button.png" storage="status.ks" name="status_button" x="100" y="100" role="sleepgame"]【コードの解説】
■ graphic
ボタンの画像を指定します。
■ storage
移動先のシナリオを指定します。
シナリオ名の後ろに.ksと付けます。
(例)シナリオstatusに移動したい場合
storage="status.ks"
■ x
ボタンの横位置を指定できます。
■ y
ボタンの縦位置を指定できます。
⑦-(2) テキストコンポーネントの配置

テキストコンポーネントを配置します。
⑦-(3) 変数設定コンポーネントの配置

変数設定コンポーネントを配置し、各項目を設定します。
【変数】love1
【操作】足し算
【オペランド】定数を選択し、50と入力
【反映】各項目を設定した後、クリック
⑦-(4) テキストコンポーネントの配置

テキストコンポーネントを配置します。
これで、好感度のステータス画面の作成手順は完了です。
以上で解説を終わります。おつかれさまでした。
【参考】メッセージウィンドウを非表示にした場合でも、⑦-(1)で追加したボタンを表示したい場合
メッセージ枠消去コンポーネントを使用した場合、⑦-(1)で追加したボタンも非表示になります。
⑦-(1)で追加したボタンを表示したい場合は、メッセージ枠消去コンポーネントの代わりに、ティラノスクリプトコンポーネントを配置し、下記のコードを貼り付けて下さい。
[iscript]
var j_layer = $("#tyrano_base").find(".fixlayer:not(.status_button)");
j_layer.css("display", "none");
j_layer.attr("l_visible", "false");
[endscript]
[layopt  layer="message0"  visible="false"]