
【ティラノビルダー】好感度が一番高いキャラクターのルートに分岐する方法

ティラノビルダーで好感度が一番高いキャラクターのルートに分岐する方法について解説します。
【参考記事】
上記の記事を参考にさせていただきました。
①変数の追加

「プロジェクト」→「変数管理」をクリックし、変数管理画面を開きます。
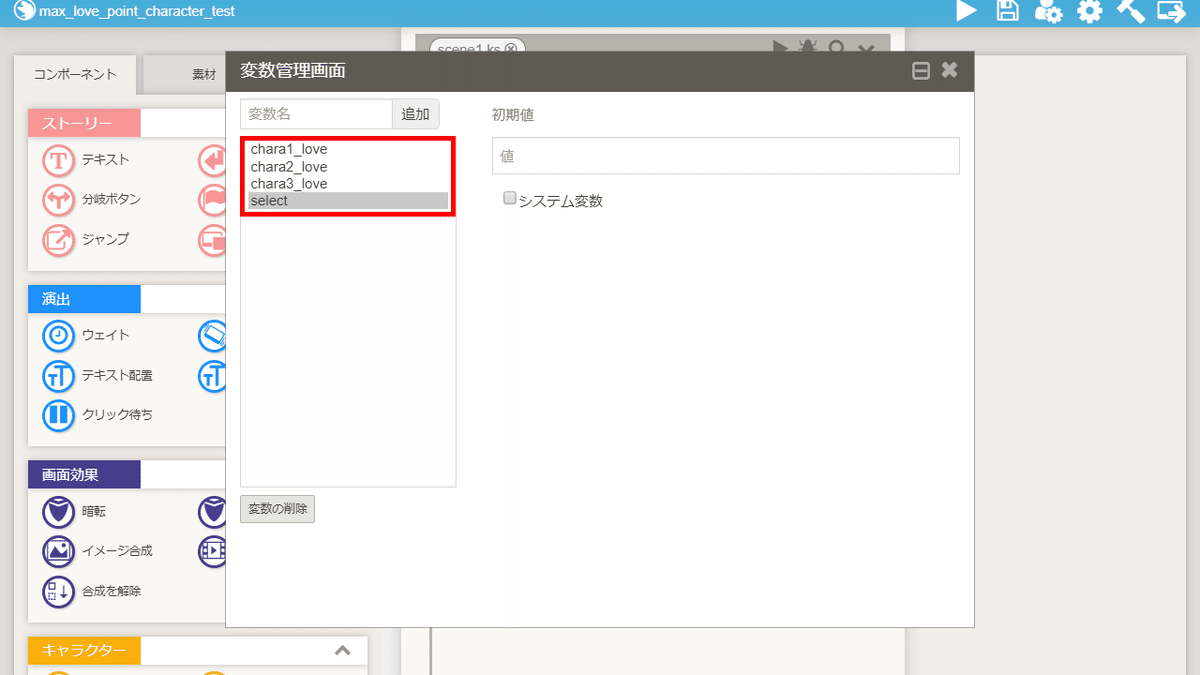
chara1_love
chara2_love
chara3_love
select
上記の変数を追加します。
初期値は、chara1_love~chara3_loveは0にします。
selectは空欄でOKです。
これで、変数の追加は完了です。
②ラベルコンポーネントの配置
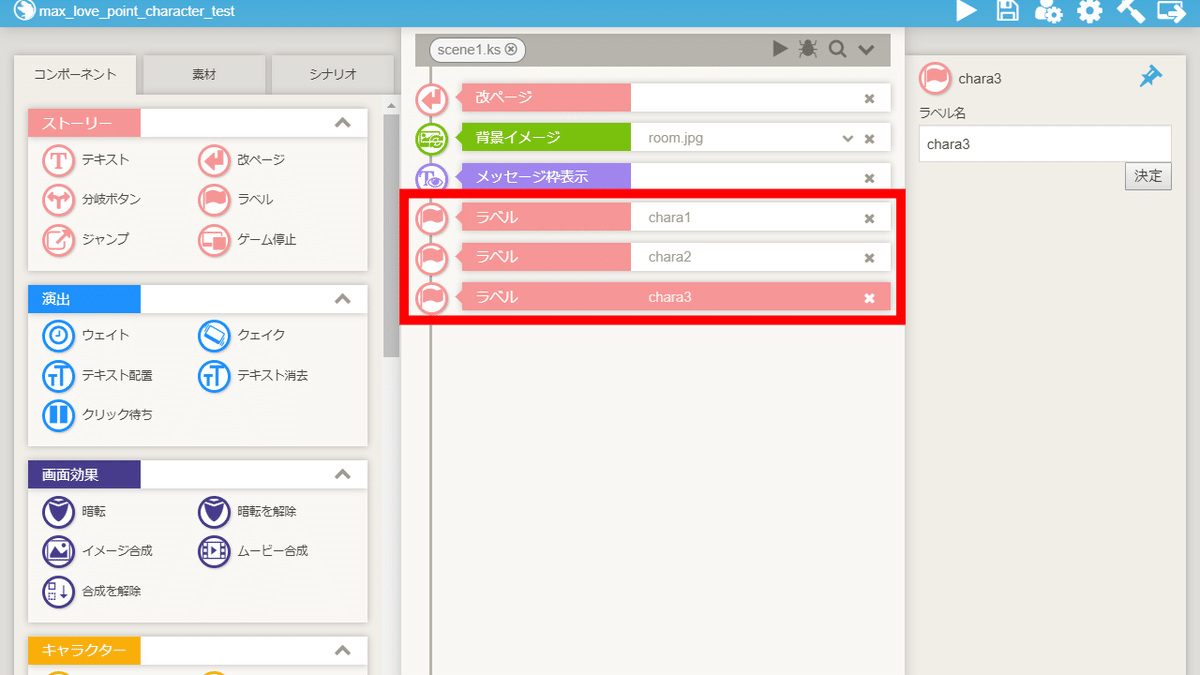
chara1
chara2
chara3
上記のラベルコンポーネントを追加します。
③iscriptコンポーネントの配置
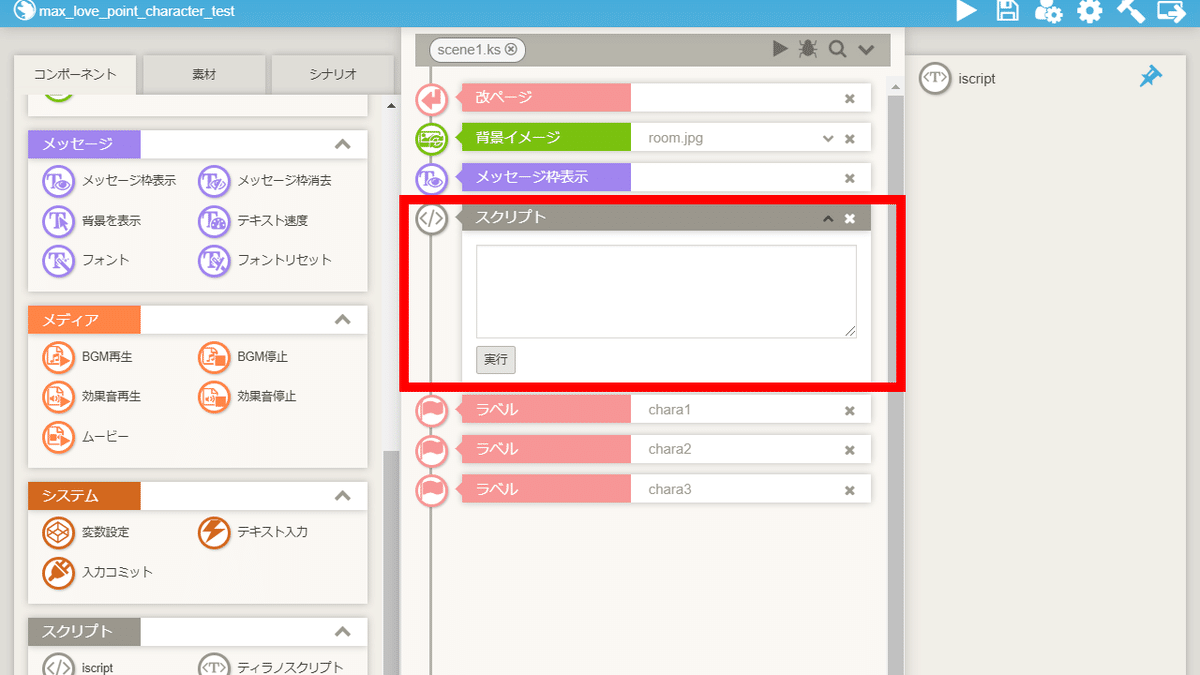
iscriptコンポーネントを配置します。
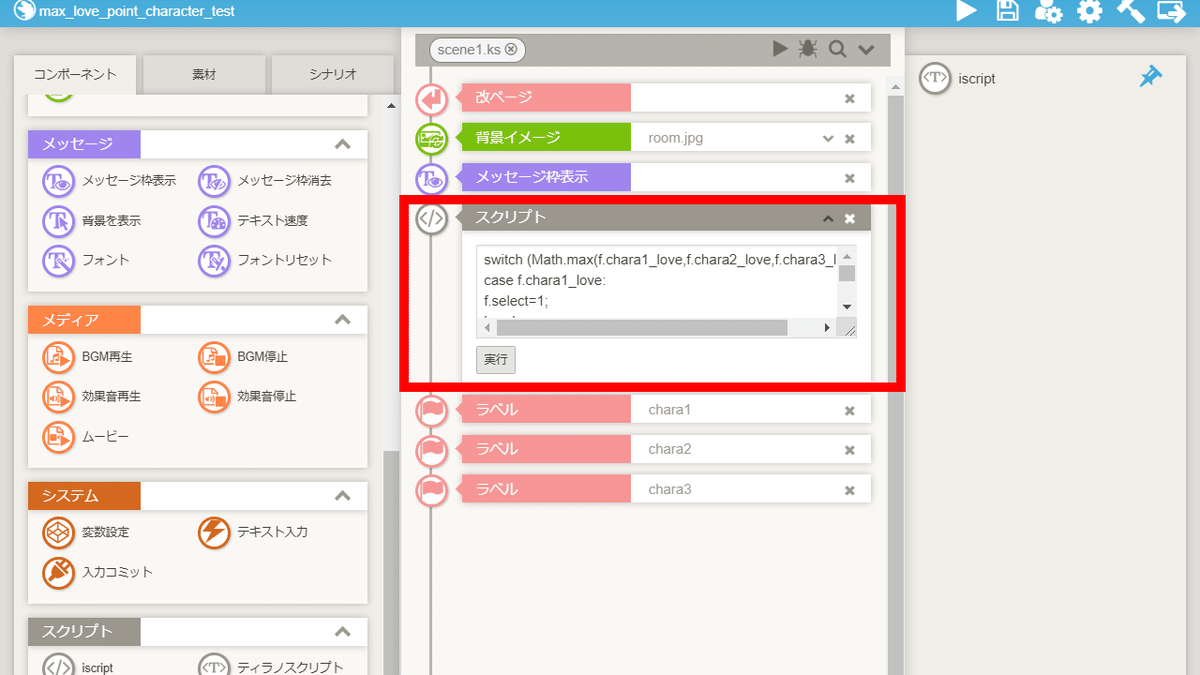
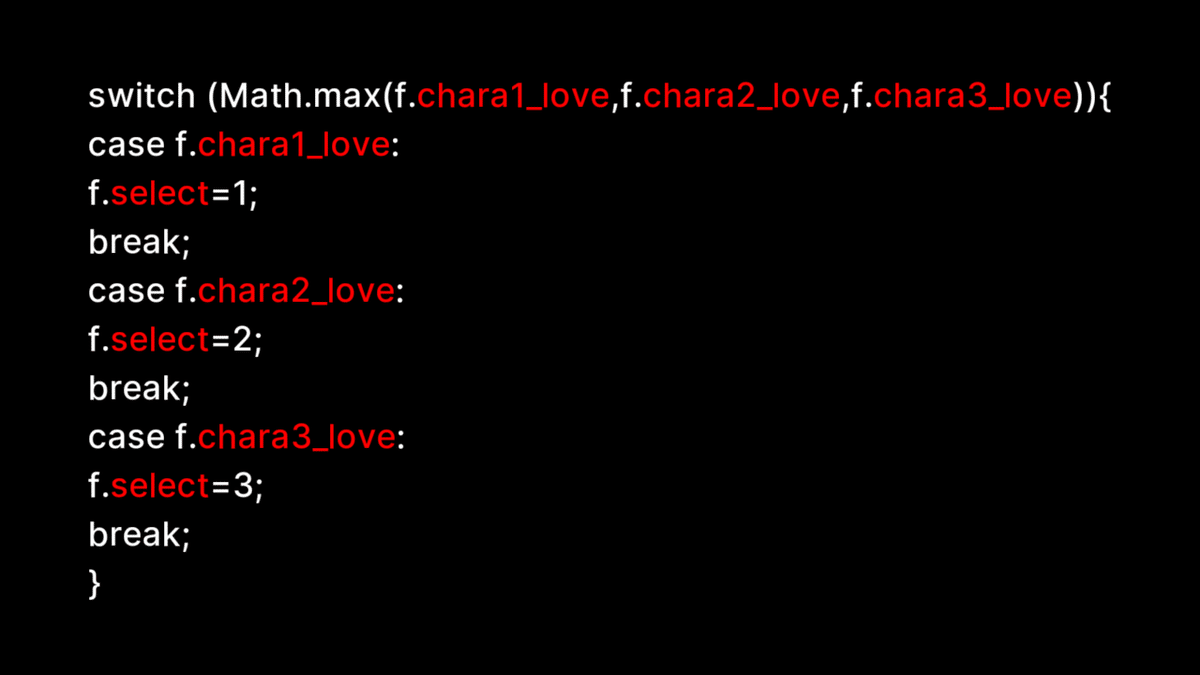
下記のコードを貼り付けます。
switch (Math.max(f.chara1_love,f.chara2_love,f.chara3_love)){
case f.chara1_love:
f.select=1;
break;
case f.chara2_love:
f.select=2;
break;
case f.chara3_love:
f.select=3;
break;
}
【コードの解説】
chara1_love
chara2_love
chara3_love
select
赤字の部分は①で追加した上記の変数に対応しています。
④ジャンプコンポーネントの配置
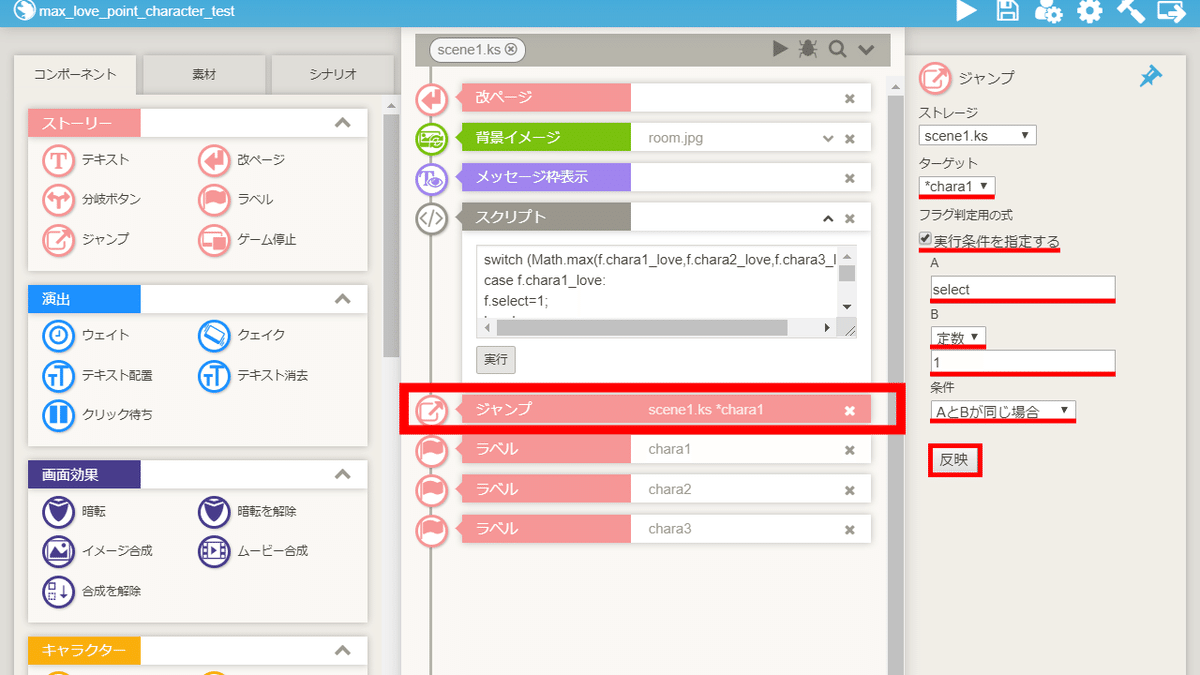
ジャンプコンポーネントを配置し、各項目を設定します。
【ターゲット】chara1
【実行条件を指定する】チェックを入れる
【A】select
【B】定数を選択し、1と入力
【条件】AとBが同じ場合
【反映】各項目を設定した後、クリック
⑤ジャンプコンポーネントの配置
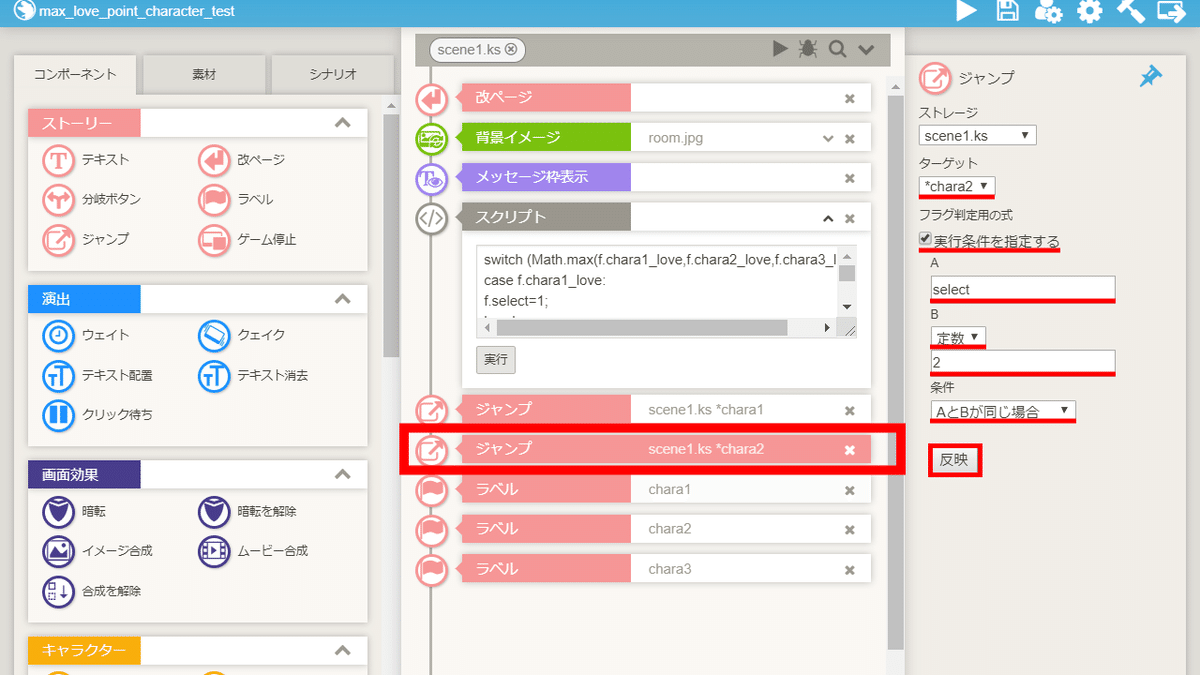
ジャンプコンポーネントを配置し、各項目を設定します。
【ターゲット】chara2
【実行条件を指定する】チェックを入れる
【A】select
【B】定数を選択し、2と入力
【条件】AとBが同じ場合
【反映】各項目を設定した後、クリック
⑥ジャンプコンポーネントの配置
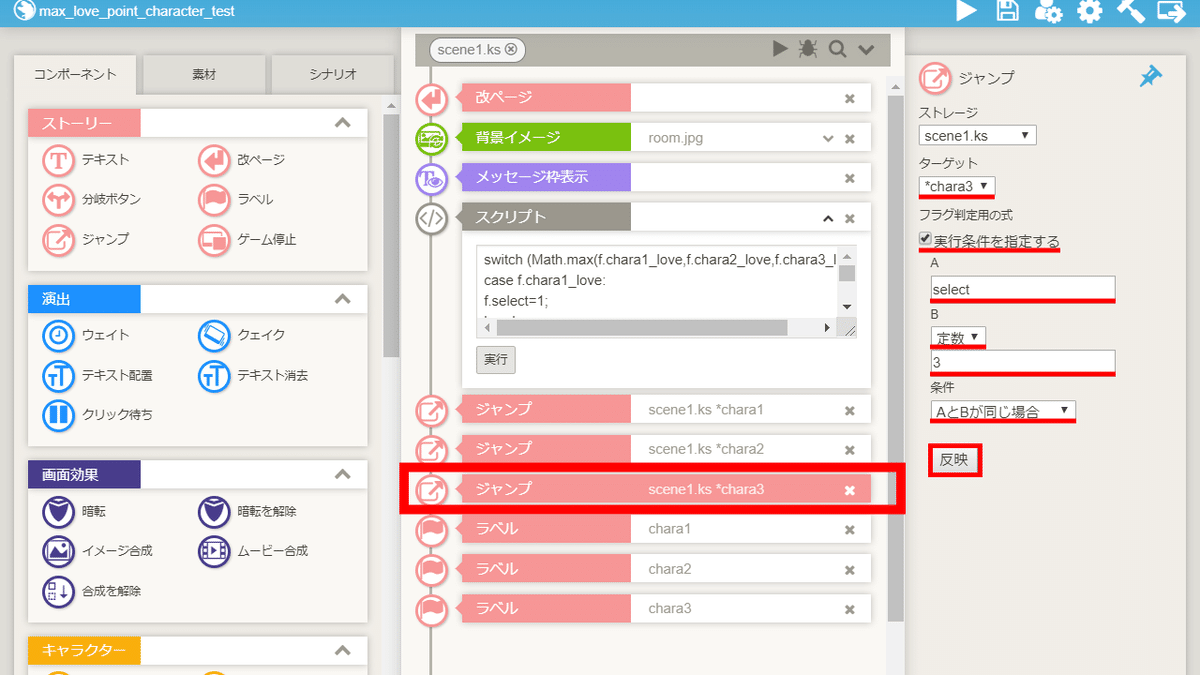
ジャンプコンポーネントを配置し、各項目を設定します。
【ターゲット】chara3
【実行条件を指定する】チェックを入れる
【A】select
【B】定数を選択し、3と入力
【条件】AとBが同じ場合
【反映】各項目を設定した後、クリック
⑦テキストコンポーネント・停止コンポーネントの配置
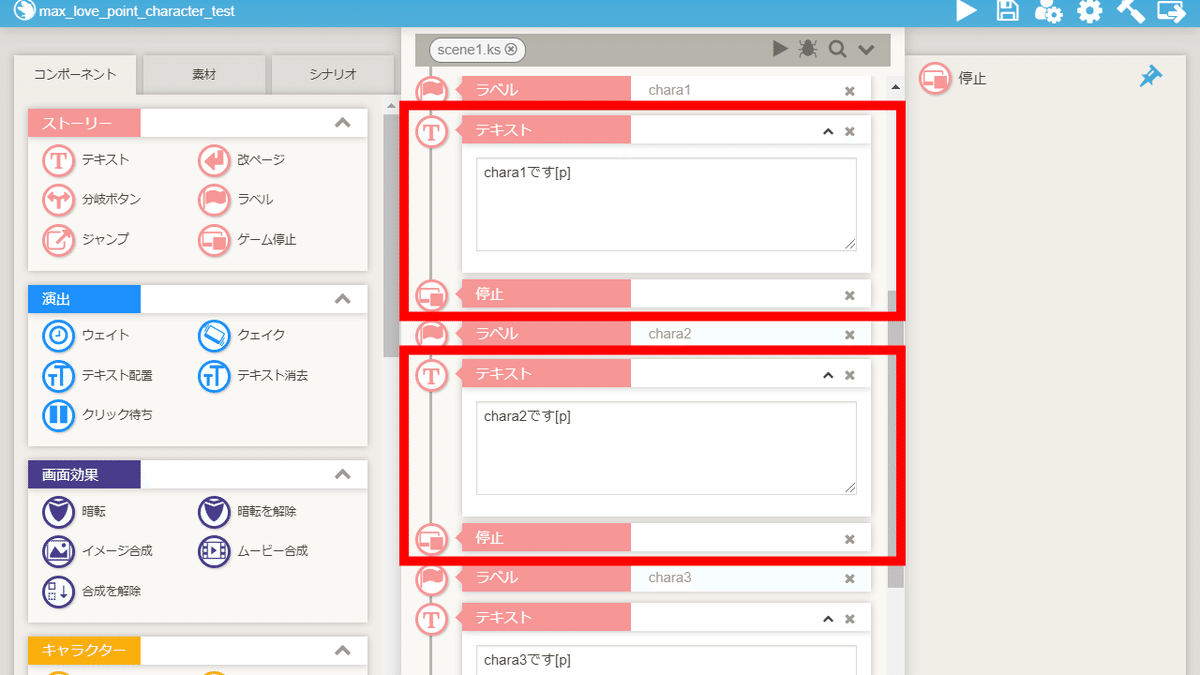

お好みで、テキストコンポーネント・停止コンポーネントを配置してください。
これで、好感度が一番高いキャラクターのルートに分岐する手順は完了です。
以上で解説を終わります。おつかれさまでした。
【参考】動作の確認
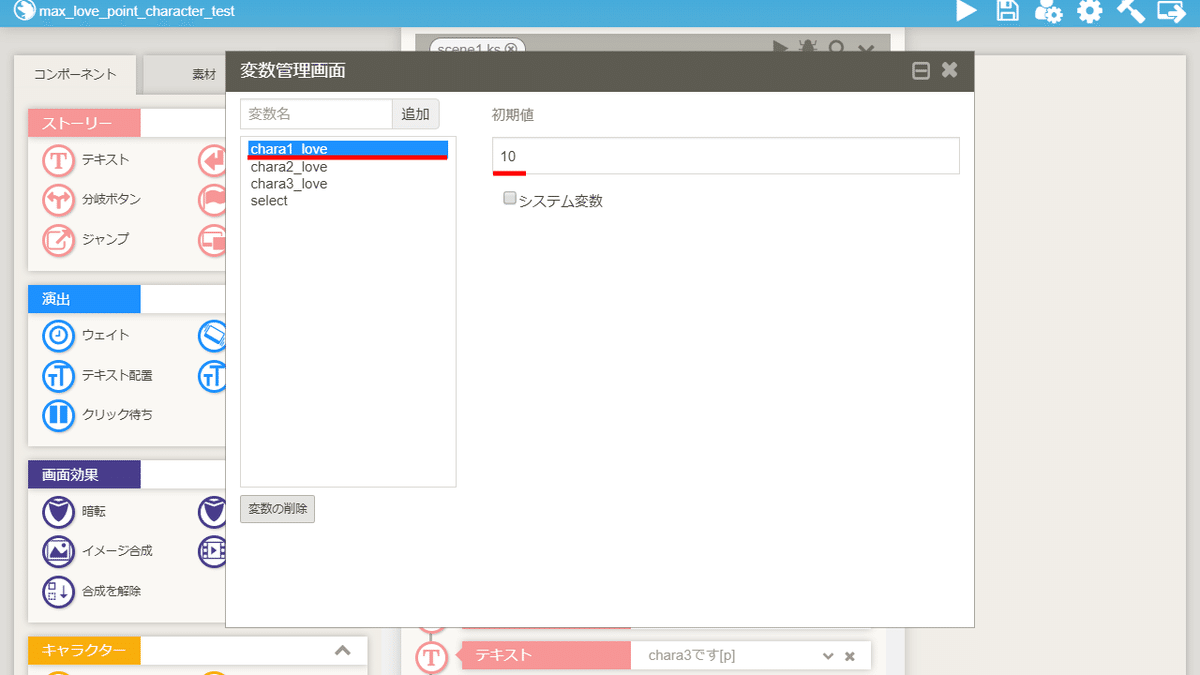
動作の確認のため、chara1_loveの初期値を10に変更します。
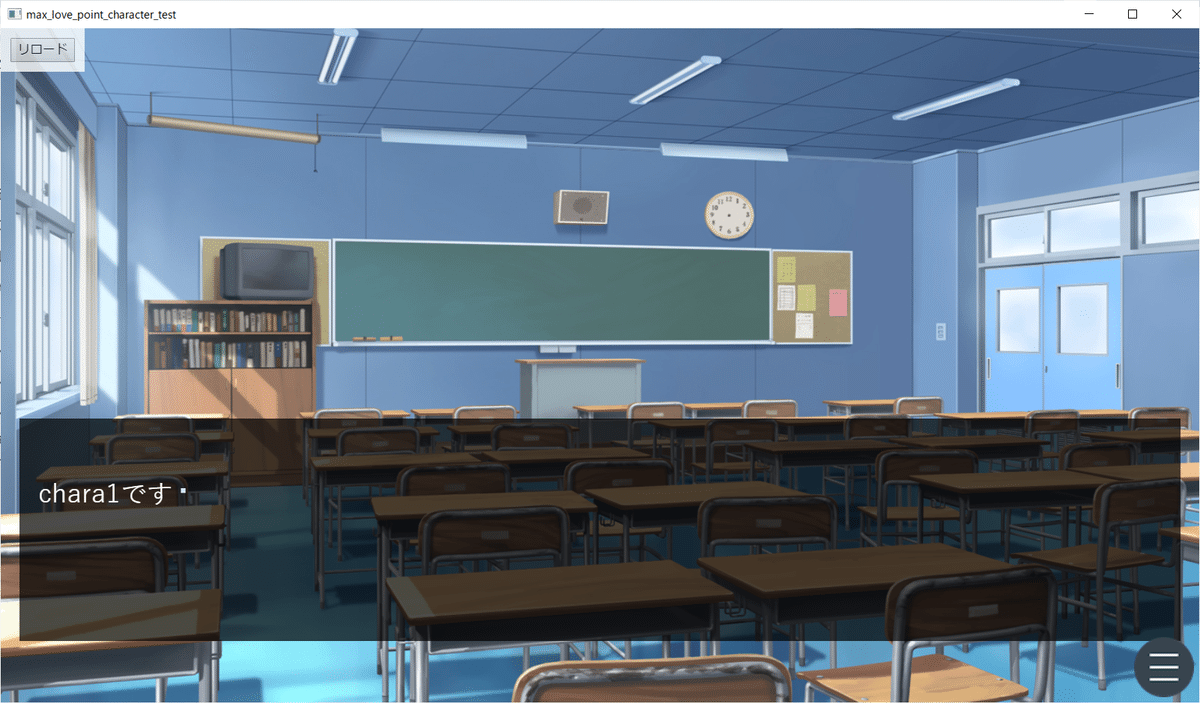
ラベルchara1に移動しました。
【参考】キャラクターが4人以上の場合のコード
キャラクターが4人の場合のコード
switch (Math.max(f.chara1_love,f.chara2_love,f.chara3_love,f.chara4_love)){
case f.chara1_love:
f.select=1;
break;
case f.chara2_love:
f.select=2;
break;
case f.chara3_love:
f.select=3;
break;
case f.chara4_love:
f.select=4;
break;
}
キャラクターが5人の場合のコード
switch (Math.max(f.chara1_love,f.chara2_love,f.chara3_love,f.chara4_love,f.chara5_love)){
case f.chara1_love:
f.select=1;
break;
case f.chara2_love:
f.select=2;
break;
case f.chara3_love:
f.select=3;
break;
case f.chara4_love:
f.select=4;
break;
case f.chara5_love:
f.select=5;
break;
}
キャラクターが6人の場合のコード
switch (Math.max(f.chara1_love,f.chara2_love,f.chara3_love,f.chara4_love,f.chara5_love,f.chara6_love)){
case f.chara1_love:
f.select=1;
break;
case f.chara2_love:
f.select=2;
break;
case f.chara3_love:
f.select=3;
break;
case f.chara4_love:
f.select=4;
break;
case f.chara5_love:
f.select=5;
break;
case f.chara6_love:
f.select=6;
break;
}