
【ティラノビルダー】カスタムルビプラグインの導入方法


ねこの様(https://twitter.com/nekomilkcat)制作のカスタムルビプラグインを、ティラノビルダーで導入する方法について解説します。
①プラグインのダウンロード
下記のリンクから、入手ページに移動します。
zipファイルがダウンロードされます。
これで、プラグインのダウンロードは完了です。
②プラグインの配置

画面左上のプロジェクト名をクリックします。

フォルダが開かれるので、othersフォルダをクリックします。

pluginフォルダをクリックします。

フォルダは空の状態です。
ここで、先程ダウンロードしたzipファイルを展開します。
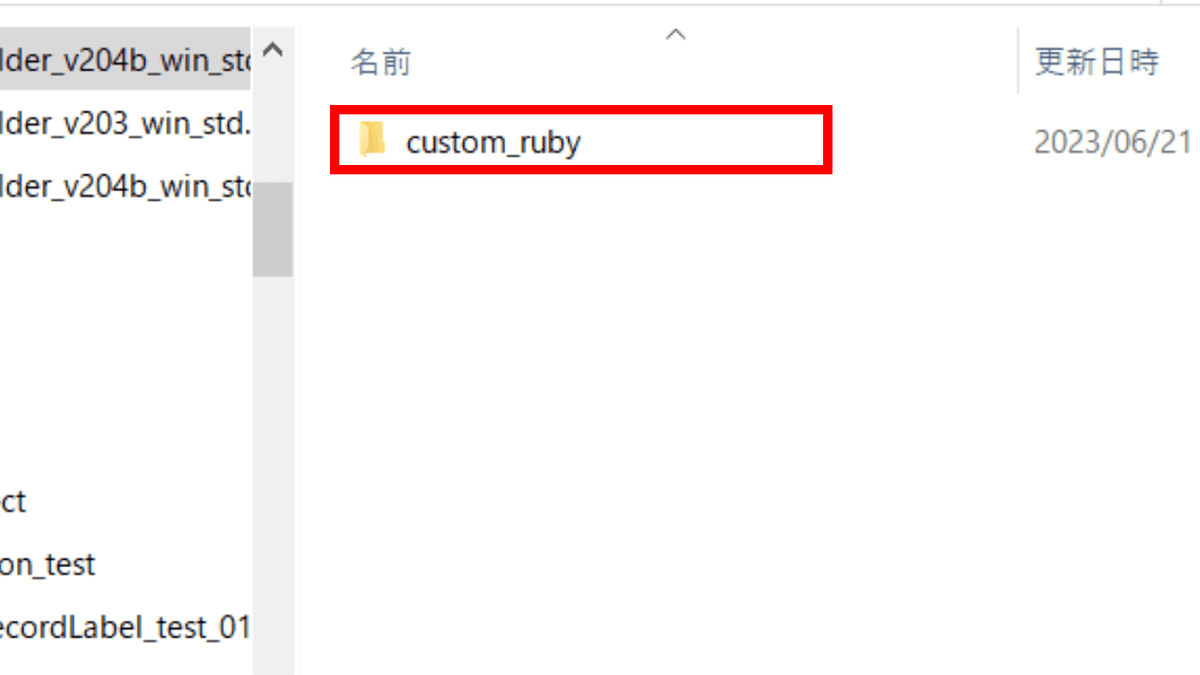
展開したフォルダの中にある「custom_ruby」フォルダをpluginフォルダに配置します。
これでプラグインの配置は完了です。
③plugin.ksファイルの編集

scenarioフォルダをクリックします。
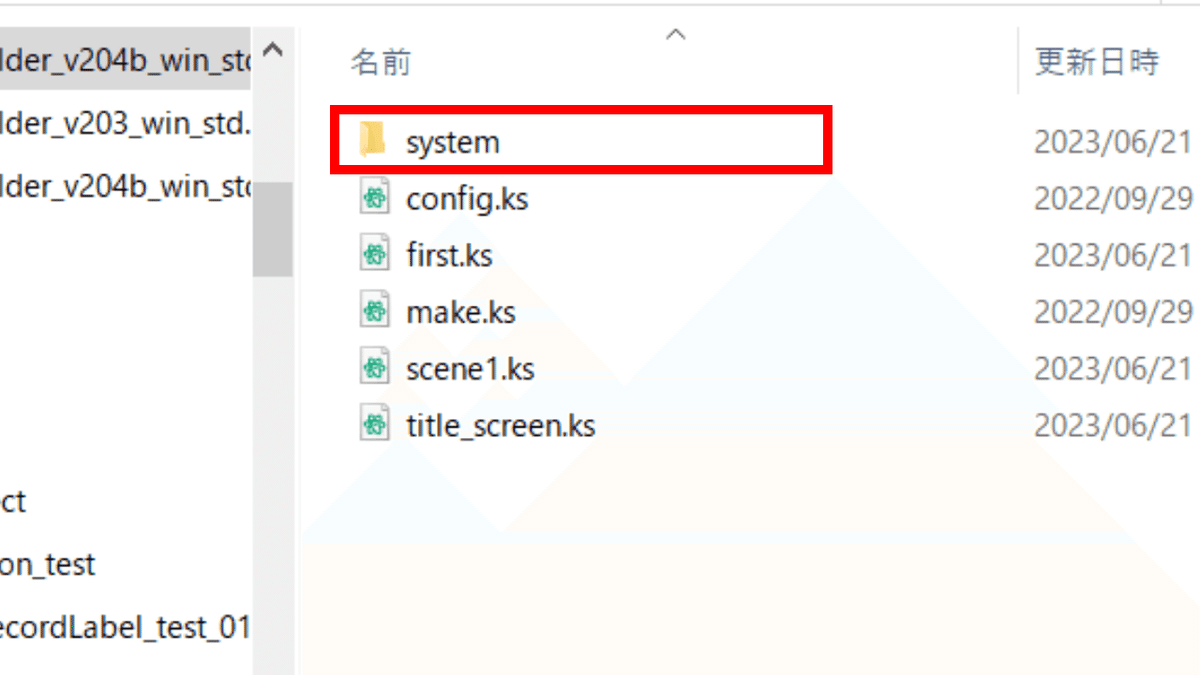
systemフォルダをクリックします。
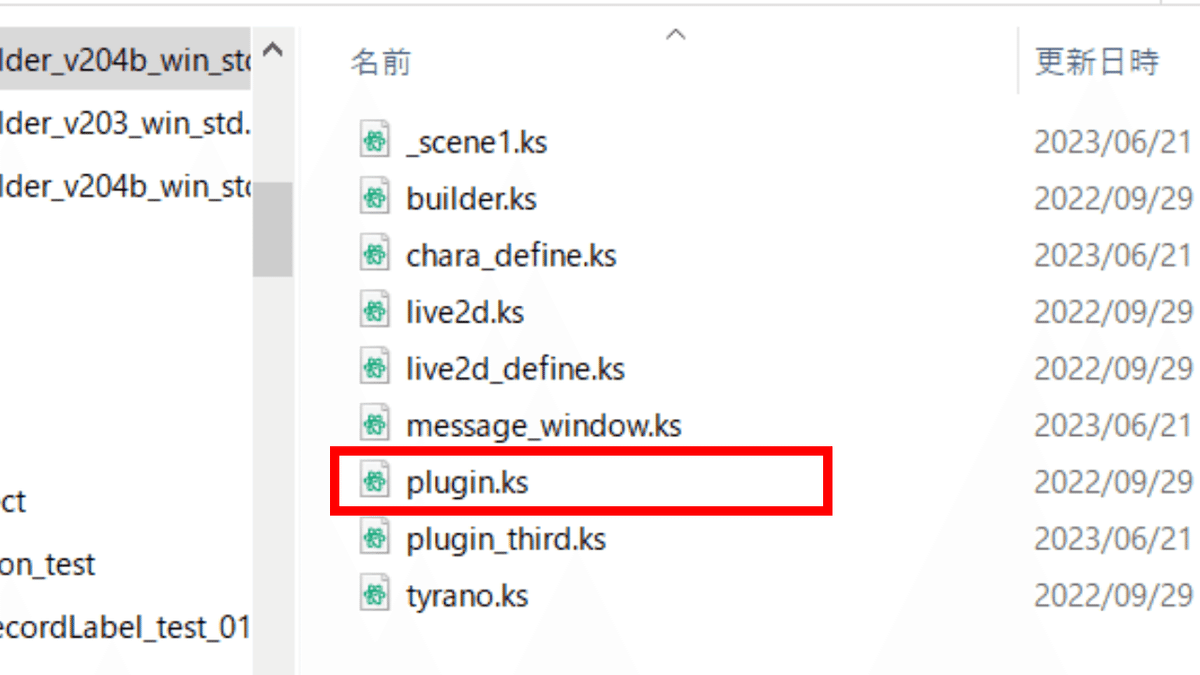
plugin.ksをメモ帳で開きます。

[return]と書かれています。このコードは絶対に消さないでください。
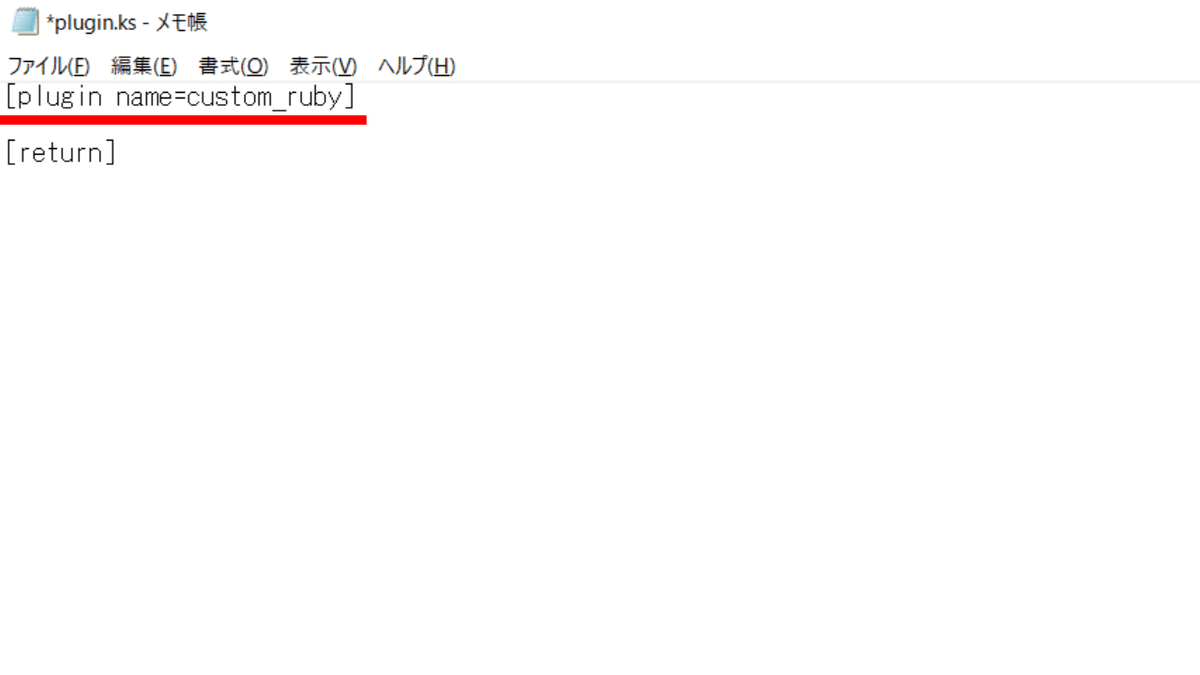
下記のコードを貼り付けます。
[plugin name=custom_ruby]※コードの記述によって、ルビの大きさ等を調整できます。記事の最後にサンプルを記載したので、よろしければ、お役立てください。
最後に上書き保存します。
これでplugin.ksファイルの編集は完了です。
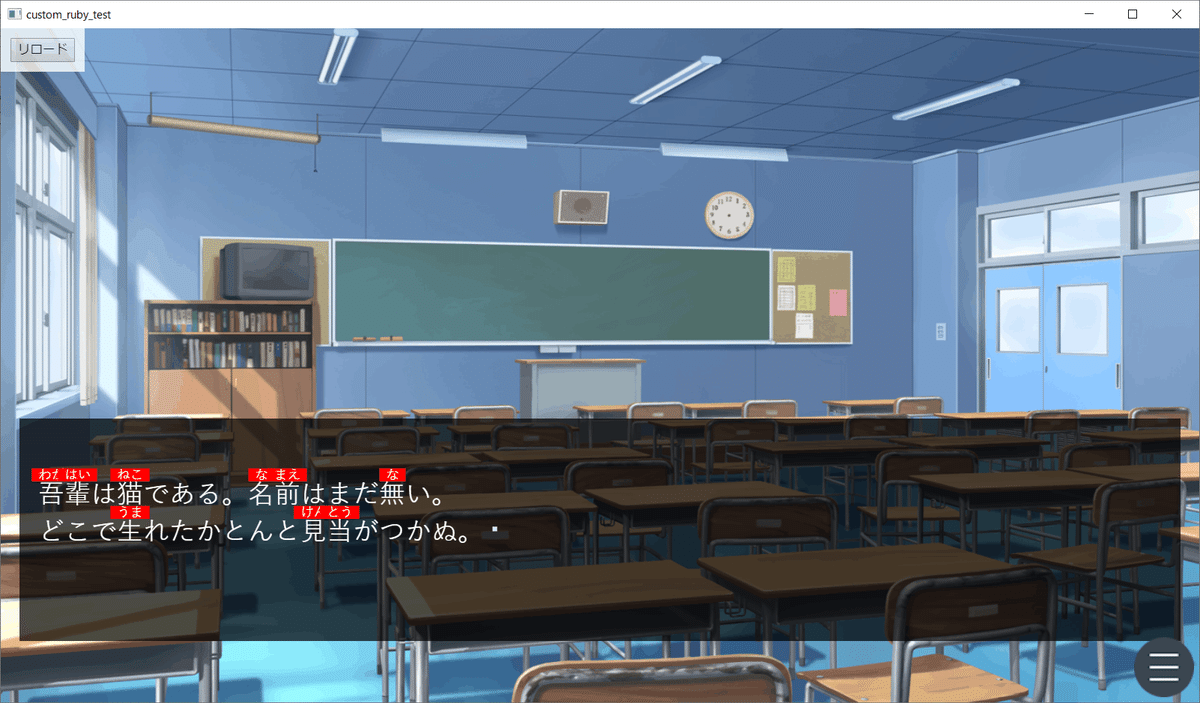
④実際の使用例
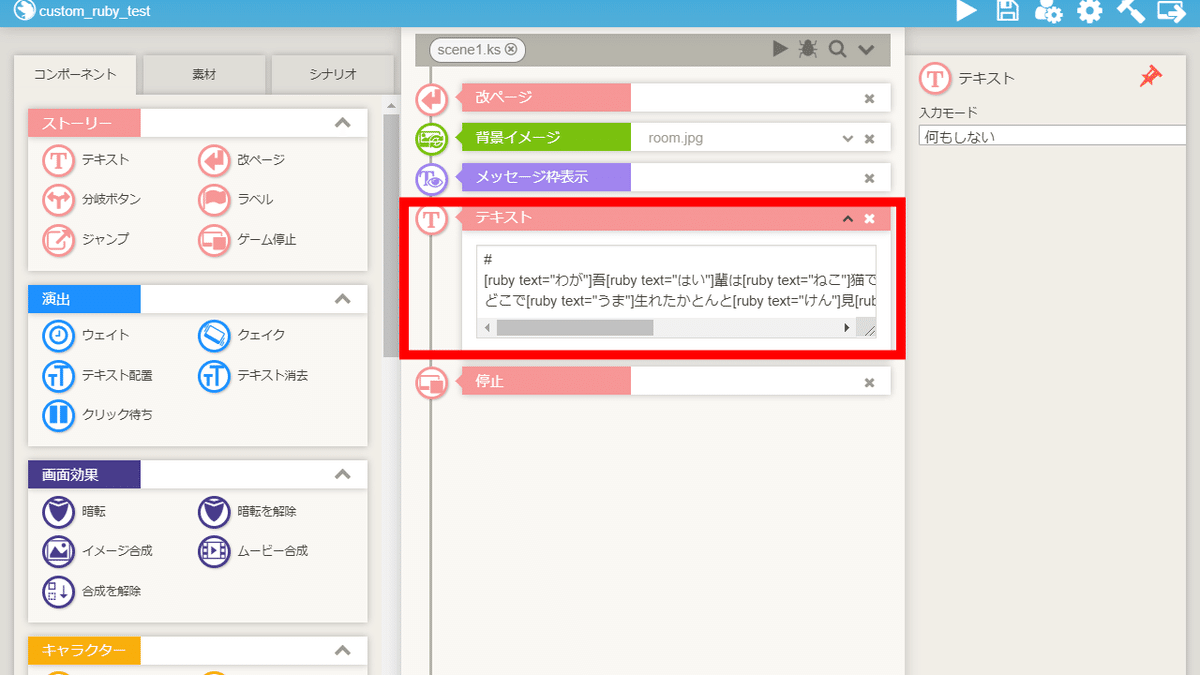
#
[ruby text="わが"]吾[ruby text="はい"]輩は[ruby text="ねこ"]猫である。[ruby text="な"]名[ruby text="まえ"]前はまだ[ruby text="な"]無い。[r]
どこで[ruby text="うま"]生れたかとんと[ruby text="けん"]見[ruby text="とう"]当がつかぬ。[p]
ルビを振りたい文字の前にコードを記述します。
※コードの記述によって、ルビの大きさ等を調整できます。記事の最後にサンプルを記載したので、よろしければ、お役立てください。
これで、カスタムルビプラグインを導入する手順は完了です。
以上で解説を終わります。おつかれさまでした。
【参考】サンプル
(例) 全てのルビの大きさを変更したい場合

[plugin name=custom_ruby scale=0.3](例) 全てのルビの色を変更したい場合

[plugin name=custom_ruby color=yellow](例) 全てのルビの背景の色を変更したい場合
[plugin name=custom_ruby background=red](例) ルビごとに個別に変更したい場合

#
[ruby text="わが" scale=0.3]吾[ruby text="はい" color=yellow]輩は[ruby text="ねこ" background=red]猫である。[ruby text="な" scale=0.7 color=yellow background=red]名[ruby text="まえ" scale=0.7 color=yellow background=red]前はまだ[ruby text="な"]無い。[r]
どこで[ruby text="うま"]生れたかとんと[ruby text="けん"]見[ruby text="とう"]当がつかぬ。[p]