8【アナログで描いた絵を取り込んで透明にする】クリスタ超初心者講座【場所だけ教える】

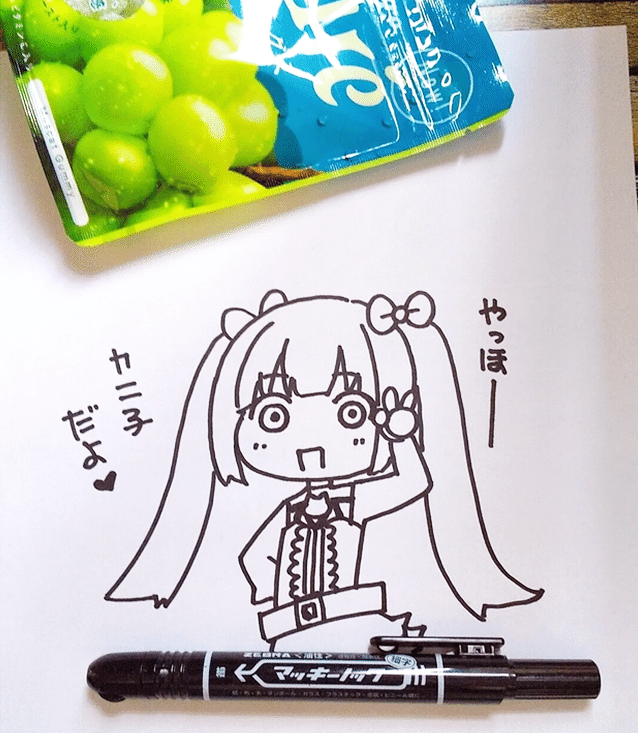
コピー用紙にマッキーでカニ子を描いてみました。
今回はこれをプリンターでPCに取り込んで、クリスタで背景を透明にしてみたいと思います。
(※プリンターに取り込む作業は省略)
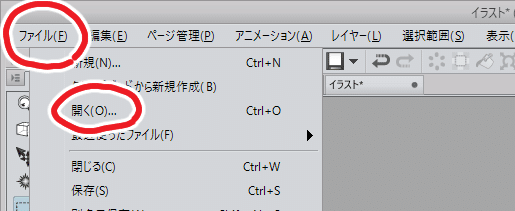
【ファイル→開く】
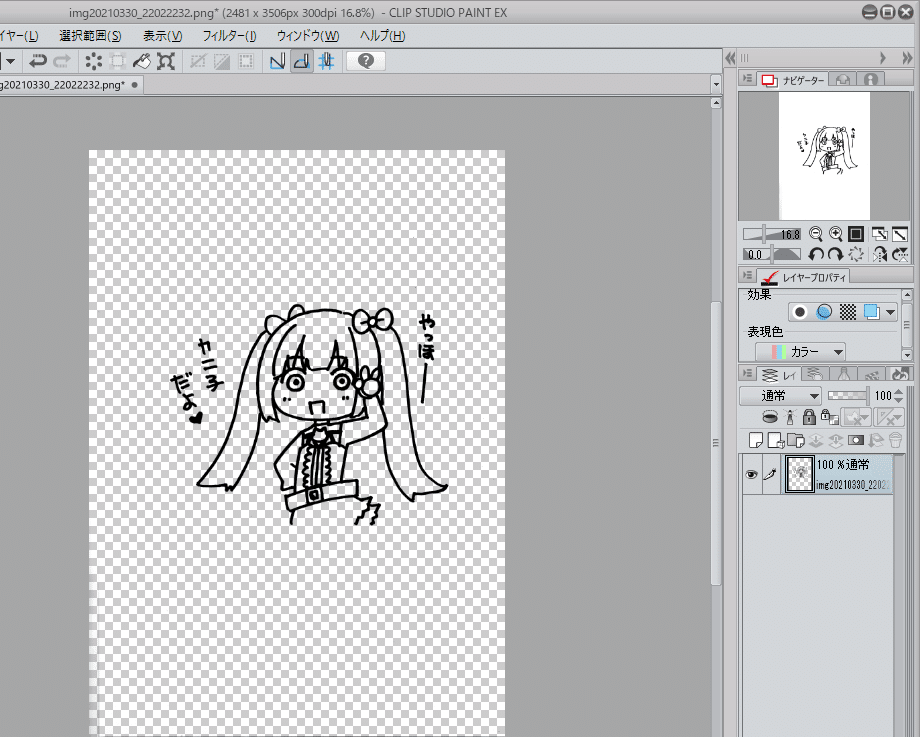
【画像を出す】

【編集→輝度を透明度に変換】

✨完成✨
主線の下に新しいレイヤーを作って
バケツで白色を流すと
土台レイヤーの完成です!
『為になった!!』と思った方は
『スキ』を押してくださると今後の励みになります。
あさ。
いいなと思ったら応援しよう!