【コピペ完結】 ChatGPT API × LINE Messaging API × GASでできるAIチャットbotの作り方

おはようございます!
スプシ芸人の金山雄星(かなやまゆうせい)です。
ついに、ChatGPTのAPIが公開されたニュースが飛び込んできました
早速活用して遊んでみましたので共有します。
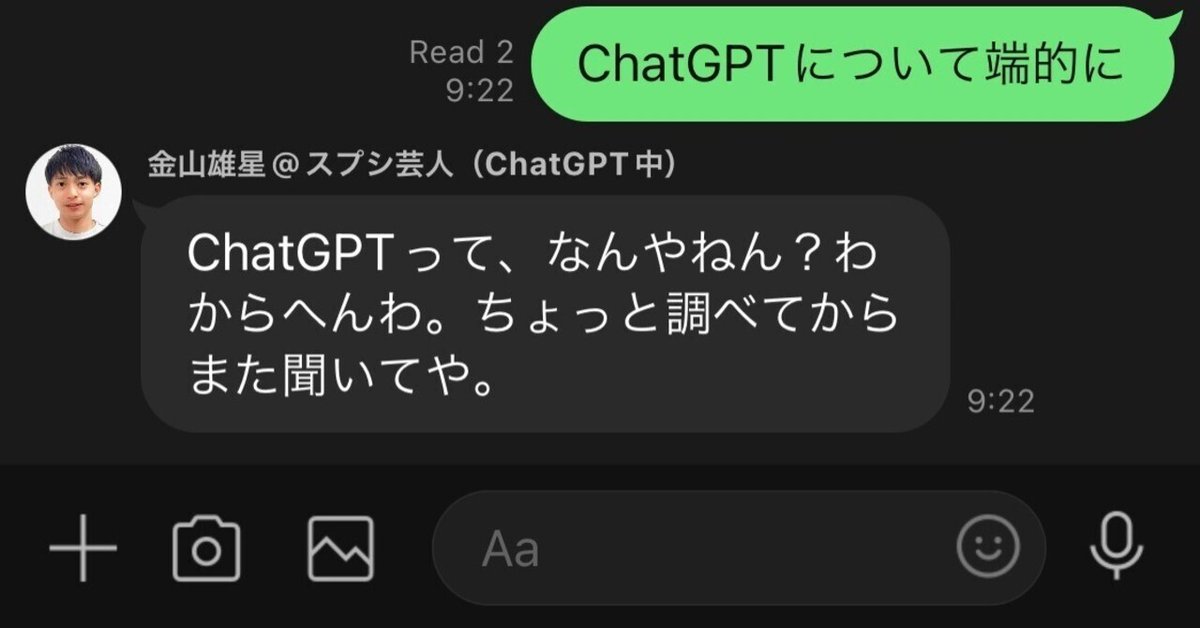
話題沸騰中のChatGPTのAPIが公開されたので、LINEと連携させて分身を作りました!僕の代わりにLINEで会話してもらってます。
— 金山雄星 @スプシ芸人 (@YuseiKanayama) March 3, 2023
グループLINEで普通に会話ができてるChatGPT恐るべし。
⬅️これがAIの発言
AIの言葉は無機質なので大阪弁にしておきました。ここからお試しできますhttps://t.co/Udjdoxl0S0 pic.twitter.com/jkjoUD6AYa
完成品はこんな感じです。
まずは、LINEの公式アカウントを準備
公式アカウントの作り方はググっていただくとたくさん出てきますのでサクッと


公式アカウントができたら、
https://manager.line.biz/
このページの右上にある歯車の設定をクリックして

左の歯車にカーソルを合わせて、Messaging APIの設定ページへ

有効化してください(僕のmacが英語設定で分かりにくくてすみません)

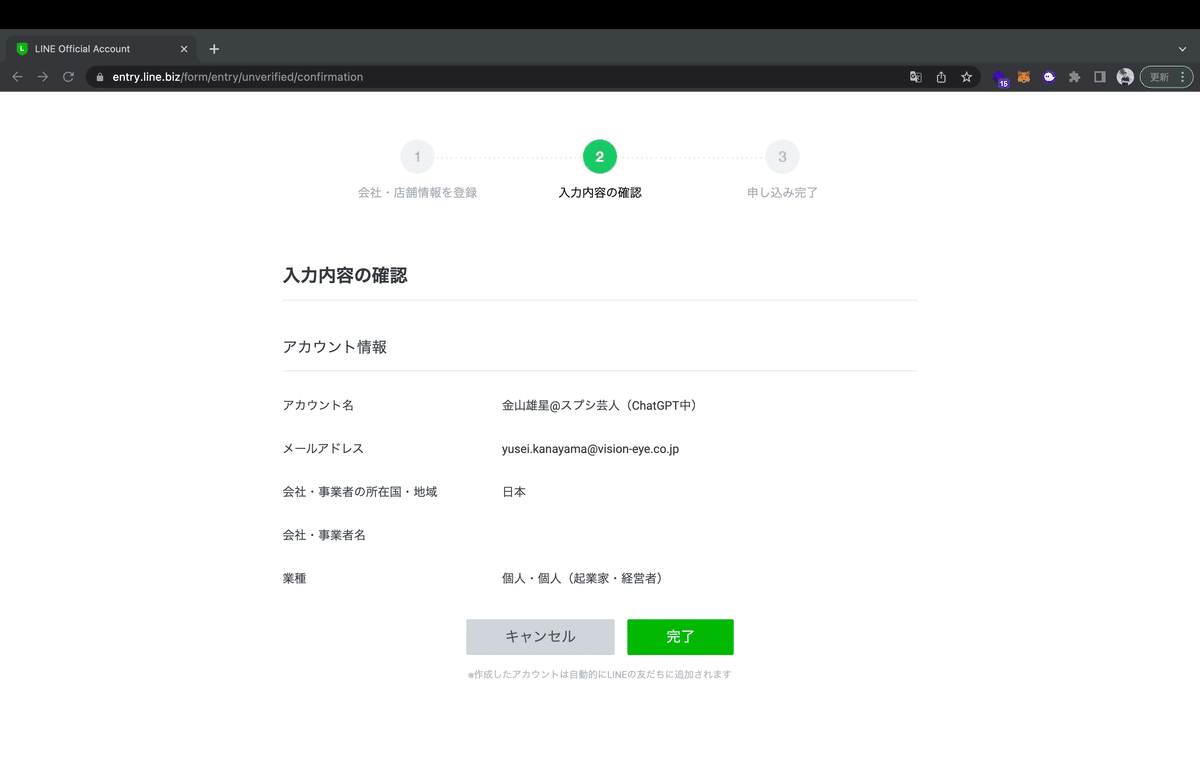
プロバイダ名を設定してください(後から変更できないらしいので注意)

ここは空欄でもOK

金山雄星@スプシ芸人のLINEアカウントも追加お願いします!

LINE Diveropersの設定
続いてこちら、
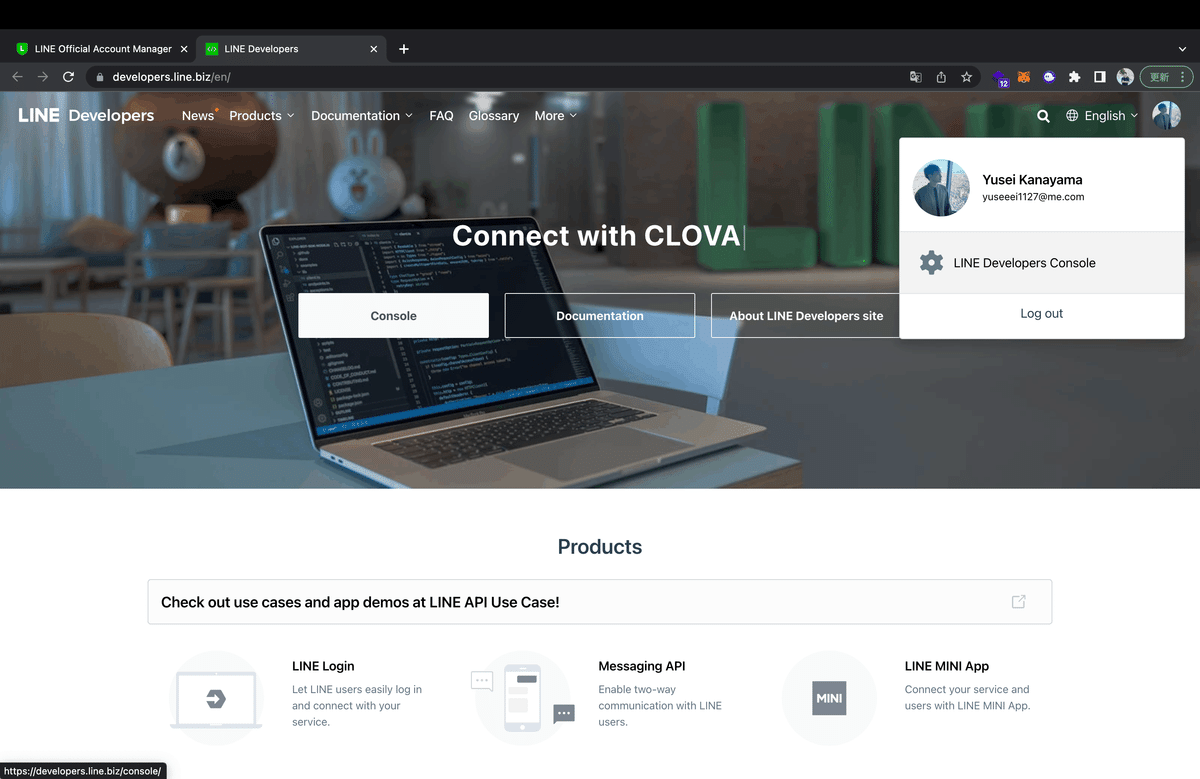
右上のコンソールをクリック

左のAdminの中から先ほど作成したものを選択し、右に表示されたアイコンをクリック
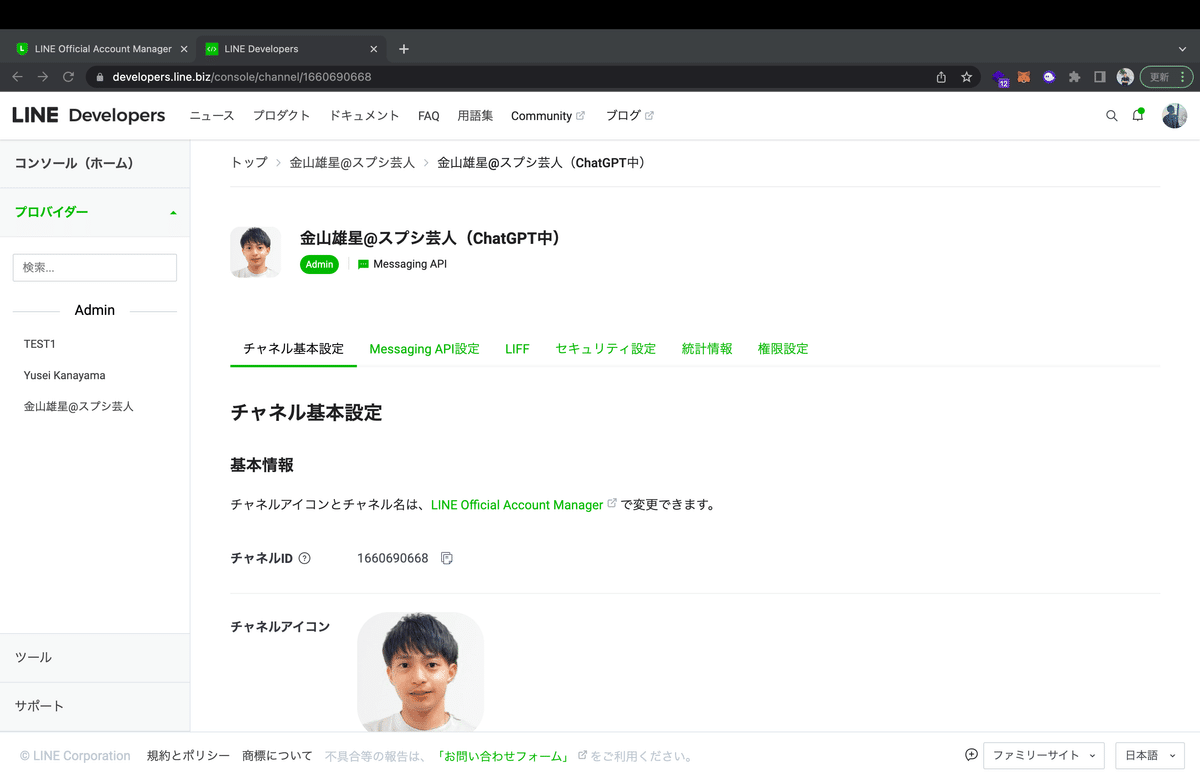
Messaging API設定を一番下までスクロールし

チャンネルアクセストークン(長期)のすぐ下の「発行」をクリックします
すると長い文字列が表示されるので、それ(アクセストークンと言ってパスワードみたいなもの)をメモします
※チャンネルアクセストークンは他の人に知られないように注意してください
これで公式ライン側の準備は完了です。
Chat GPT API(Open AI)の準備
ここからChatGPTを提供するOpen AIのアカウントを作成してください

画面に従って登録してください(分岐がなかったので一部割愛)
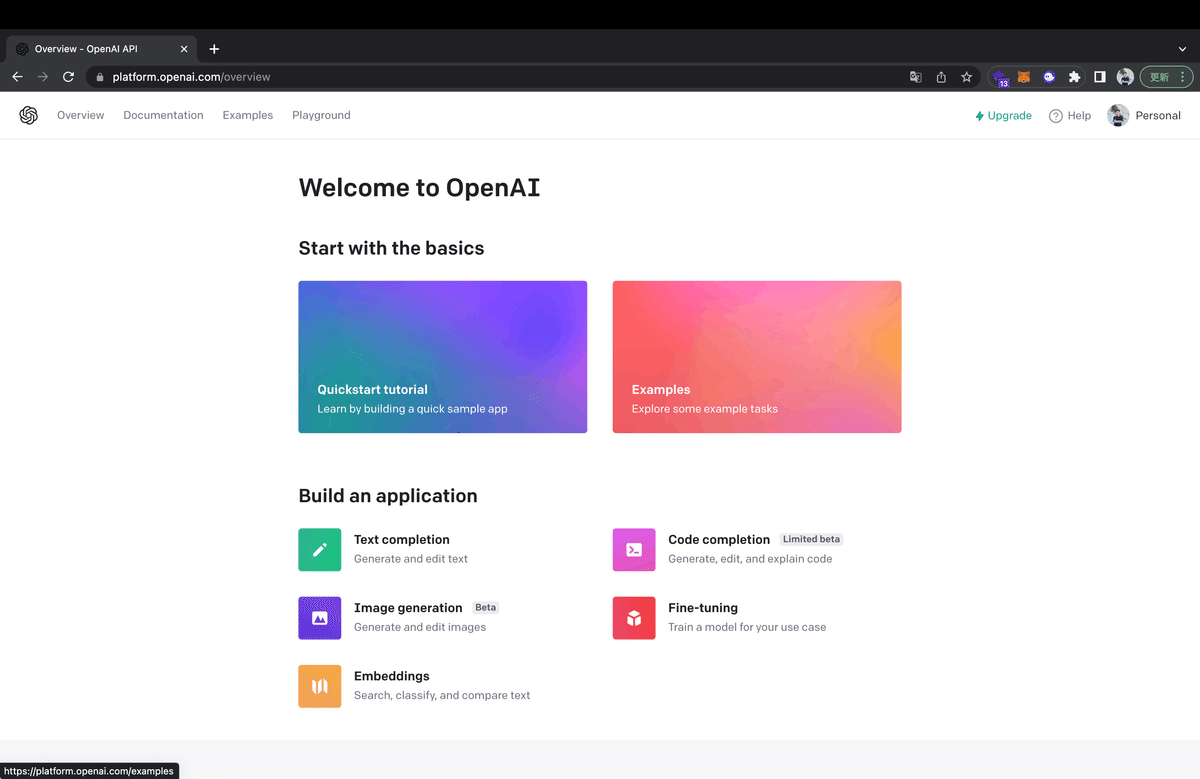
登録ができたらこんな画面になります
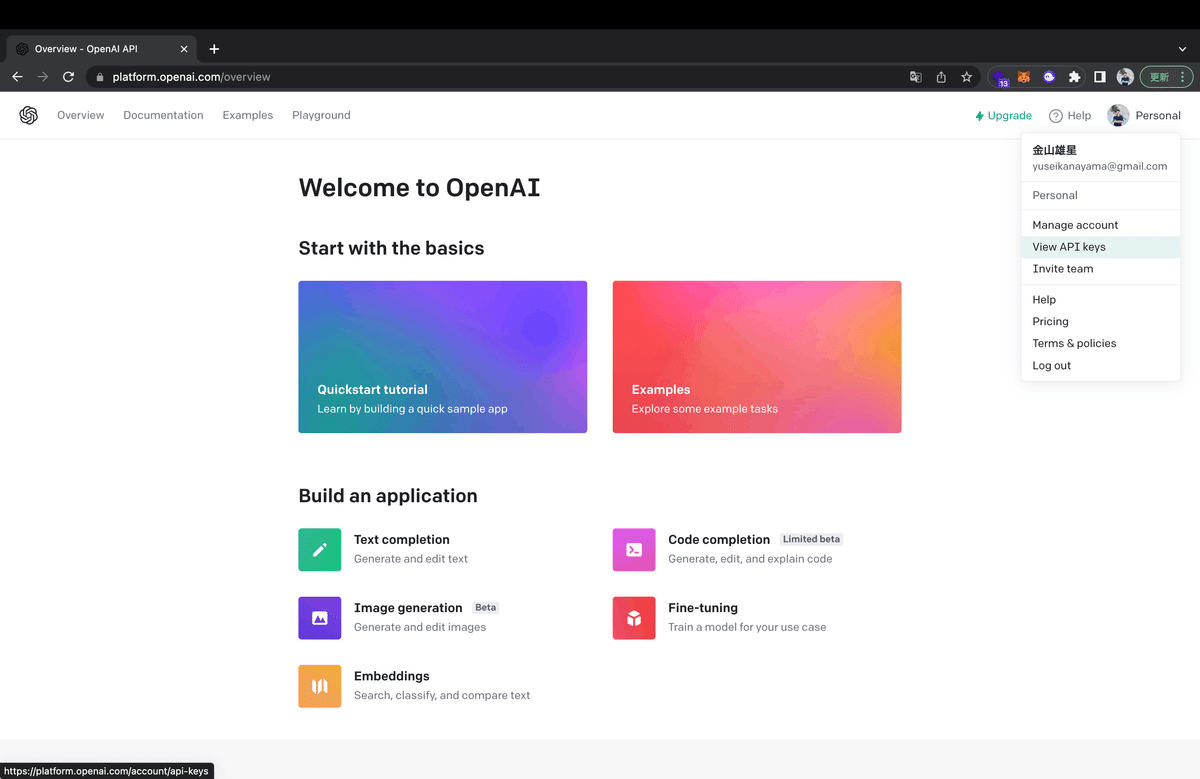
右上のアイコンをクリックして、View API Keysのページへ
(ここ分かりにくい、、)

「Creat new secret key」をクリックして、生成されたAPIキーをコピーします。
この時全体が表示されてないので、緑のクリップボードにコピーするボタンをクリックしてください

うまくいくとこんな感じ
これで、ChatGPT APIを呼び出す下準備も完了です!
お疲れ様でした
いよいよ実装
では、実装していきます!
今回はみんな大好きGASを使って、ChatGPT APIの呼び出しとLINEへwebhookを飛ばすのを行いたいと思います。

Google App Scriptを開きます

こんな画面が表示されるので、
function myFunction() {

}
デフォルトで表示されているをこちらを削除して、
その代わりに貼り付けるソースコードがこちら!!!
ここから先は
¥ 9,800
この記事が気に入ったらチップで応援してみませんか?