JavaScriptのイベントの設定方法とバブリングについて
この記事は下記の内容について説明します
イベントの設定方法は3パターンあり、それぞれの方法
イベントのバブリングによって発生する問題と回避方法
イベントの設定方法
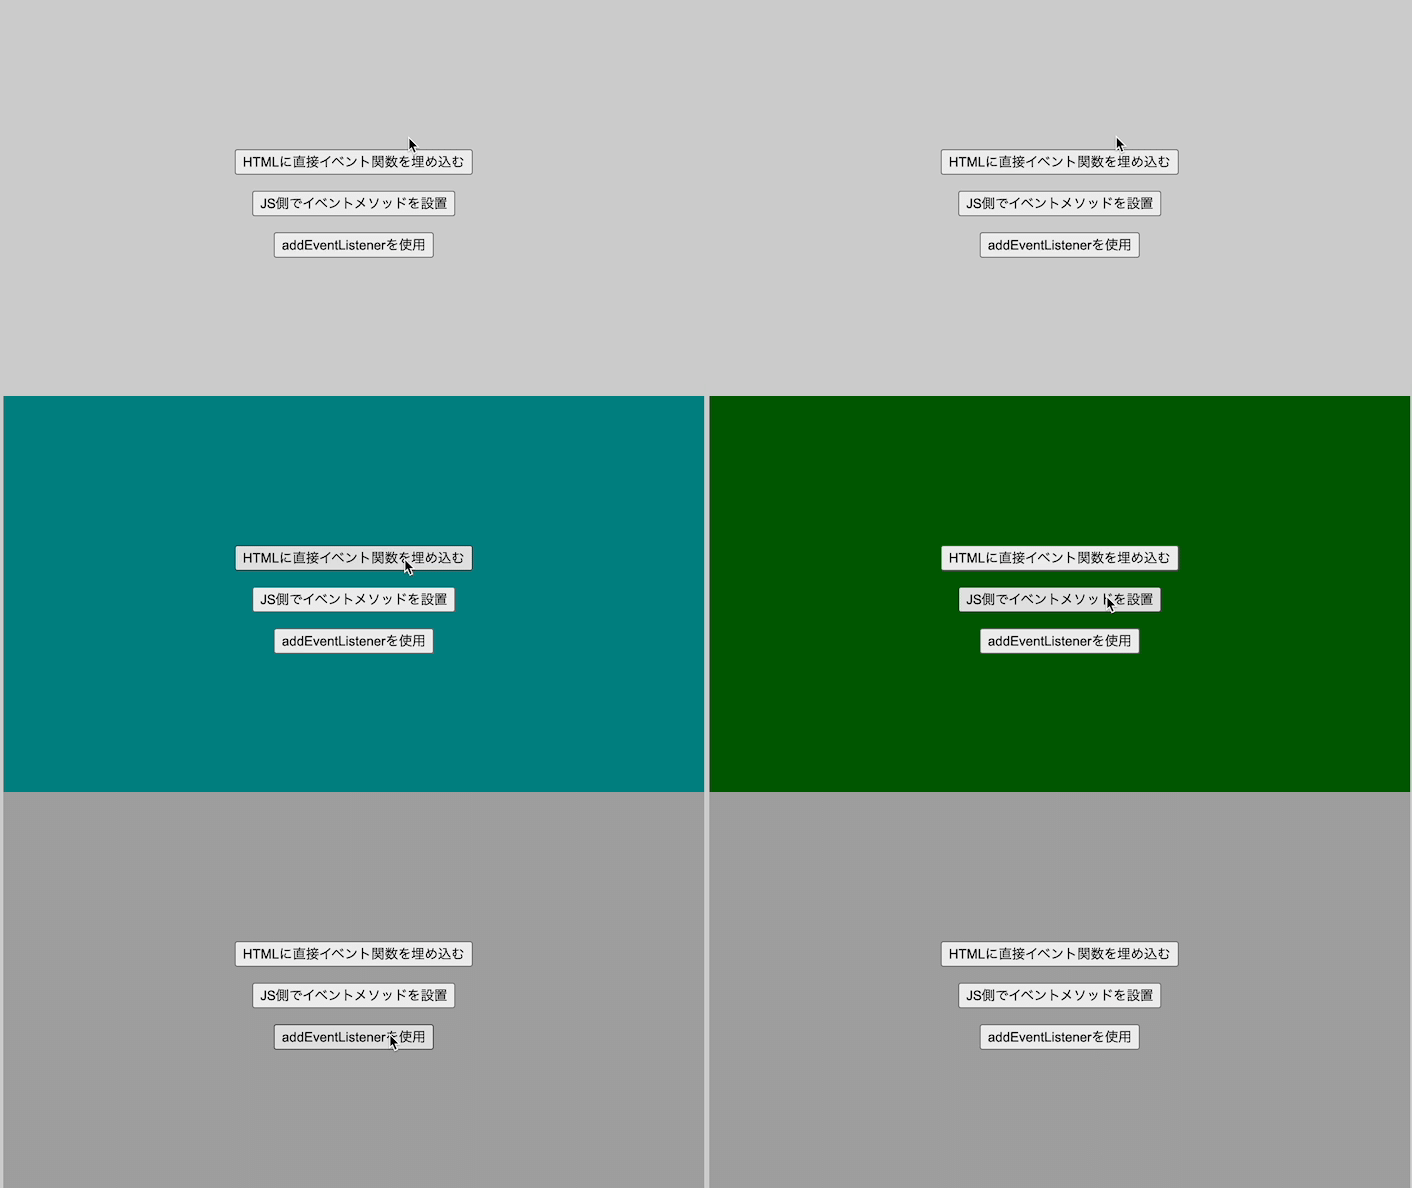
HTMLに直接イベント関数を埋め込むパターン
<button onclick="changeBackGroundColor()"> のように直接HTML内にイベントを記述するJS側でイベントメソッドを設置するパターン
指定したいDOM(ここではbutton-js)を取得して、そのDOMに対してbuttonJs.onclick = () => {} のようにイベント関数を使って処理を記述するaddEventListenerを使用するパターン ★一般的な方法
指定したいDOM(ここではbutton-event)を取得して、そのDOMに対して addEventListener を使って処理を記述する

<!DOCTYPE html>
<html lang="ja">
  <head>
    <meta charset="UTF-8" />
    <meta http-equiv="X-UA-Compatible" content="IE=edge" />
    <meta name="viewport" content="width=device-width, initial-scale=1.0" />
    <title>Document</title>
    <style>
      body {
        background: lightgray;
      }

      #wrapper {
        height: 100vh;
        width: 100%;
        display: flex;
        flex-direction: column;
        justify-content: center;
        align-items: center;
      }

      button {
        margin: 8px;
      }
    </style>
  </head>
  <body>
    <div id="wrapper">
      <button onclick="changeBackGroundColor()">
        HTMLに直接イベント関数を埋め込む
      </button>
      <button id="button-js">JS側でイベントメソッドを設置</button>
      <button id="button-event">addEventListenerを使用</button>
    </div>

    <script>
      const wrapperEl = document.getElementById('wrapper');
      const buttonJs = document.getElementById('button-js');
      const buttonEvent = document.getElementById('button-event');

      function changeBackGroundColor() {
        wrapper.style.backgroundColor = 'darkcyan';
      }

      buttonJs.onclick = () => {
        wrapper.style.backgroundColor = 'darkgreen';
      };

      buttonEvent.addEventListener('click', () => {
        wrapper.style.backgroundColor = 'darkgray';
      });
    </script>
  </body>
</html>
イベントのバブリングとは?
要素上でイベントが発生すると、最初にその要素上のハンドラが実行され、次にその親要素のハンドラが実行され、さらに他の祖先を実行されること
バブリングによって発生する問題と回避方法
上記の実装に追加して
「ボタン以外の箇所をクリックしたら元通りの背景色にする」
という挙動を追加する場合の記述例(NGパターン)
※ script部分のみ抜粋、HTML部分は割愛
<script>
  const wrapper = document.getElementById('wrapper');
  const buttonJs = document.getElementById('button-js');
  const buttonEvent = document.getElementById('button-event');

  function changeBackGroundColor() {
    wrapper.style.backgroundColor = 'darkcyan';
  }

  buttonJs.onclick = () => {
    wrapper.style.backgroundColor = 'darkgreen';
  };

  buttonEvent.addEventListener('click', () => {
    wrapper.style.backgroundColor = 'darkgray';
  });

  // 追加
  wrapper.addEventListener('click', () => {
    wrapper.style.backgroundColor = '';
  });
</script>
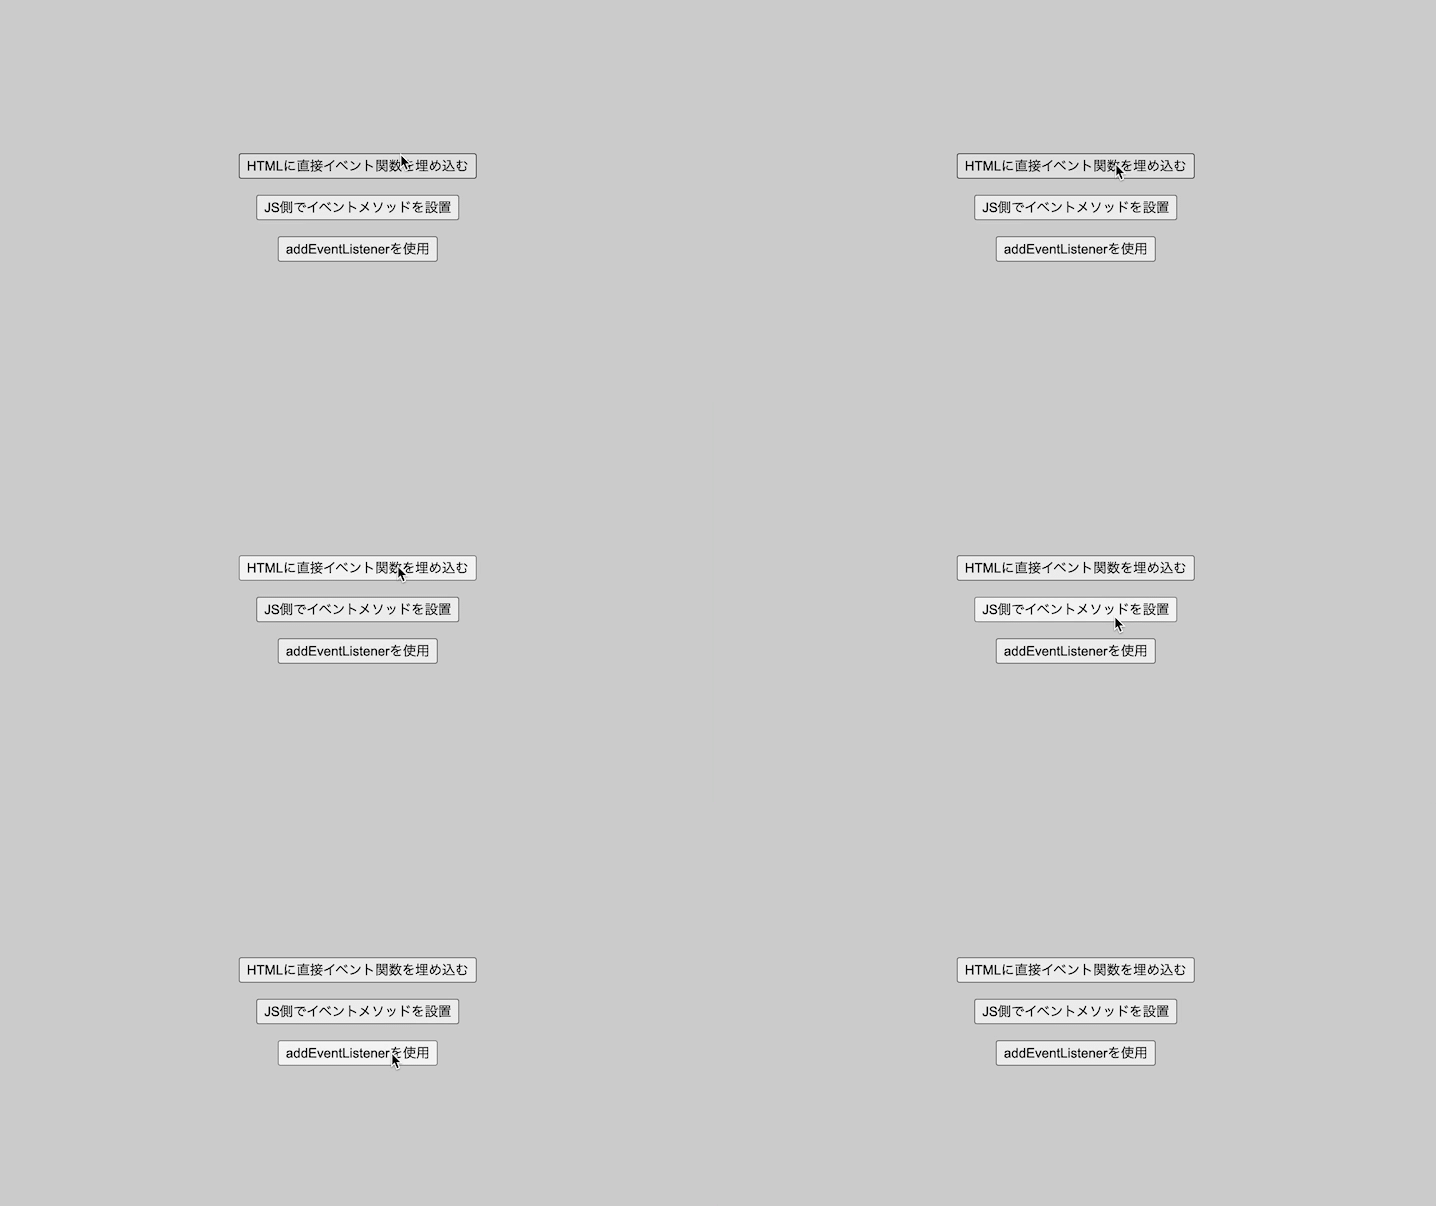
ボタンをクリックしても、最初にその要素上のハンドラ(buttonの上の階層にあたる wrapper のDOM のイベント)が実行されるため、
wrapper.addEventListener('click', () => { wrapper.style.backgroundColor = ''; });
が動作して背景色が変わらない現象が起きる
「ボタン以外の箇所をクリックしたら元通りの背景色にする」
という挙動を追加する場合の記述例(OKパターン)
event.stopPropagation(); でバブリングの挙動を停止させる
<!DOCTYPE html>
<html lang="ja">
  <head>
    <meta charset="UTF-8" />
    <meta http-equiv="X-UA-Compatible" content="IE=edge" />
    <meta name="viewport" content="width=device-width, initial-scale=1.0" />
    <title>Document</title>
    <style>
      body {
        background: lightgray;
      }

      #wrapper {
        height: 100vh;
        width: 100%;
        display: flex;
        flex-direction: column;
        justify-content: center;
        align-items: center;
      }

      button {
        margin: 8px;
      }
    </style>
  </head>
  <body>
    <div id="wrapper">
      <button onclick="changeBackGroundColor(event)"> // <- 引数のeventを追加
        HTMLに直接イベント関数を埋め込む
      </button>
      <button id="button-js">JS側でイベントメソッドを設置</button>
      <button id="button-event">addEventListenerを使用</button>
    </div>

    <script>
      const wrapper = document.getElementById('wrapper');
      const buttonJs = document.getElementById('button-js');
      const buttonEvent = document.getElementById('button-event');

      function changeBackGroundColor(event) { // <- 引数にeventを受け取る
        event.stopPropagation(); // <- 追加
        wrapper.style.backgroundColor = 'darkcyan';
      }

      buttonJs.onclick = (event) => { // <- 引数にeventを受け取る
        event.stopPropagation(); // <- 追加
        wrapper.style.backgroundColor = 'darkgreen';
      };

      buttonEvent.addEventListener('click', (event) => { // <- 引数にeventを受け取る
        event.stopPropagation(); // <- 追加
        wrapper.style.backgroundColor = 'darkgray';
      });

      wrapper.addEventListener('click', () => {
        wrapper.style.backgroundColor = '';
      });
    </script>
  </body>
</html>

