Windows ServerにKeycloakのインストール

『認証プロトコルを共通化』することを目的として使われることが多くなった【SAML認証】を簡単に実装できる【Keycloak】の導入を行います。
導入環境は【Windows Server 2022】です。
ApoptOpenJDKの導入
【Keycloak】の導入には[Java Development Kit]が必要です。
今回は【AdoptOpenJDK 11】を使用します。
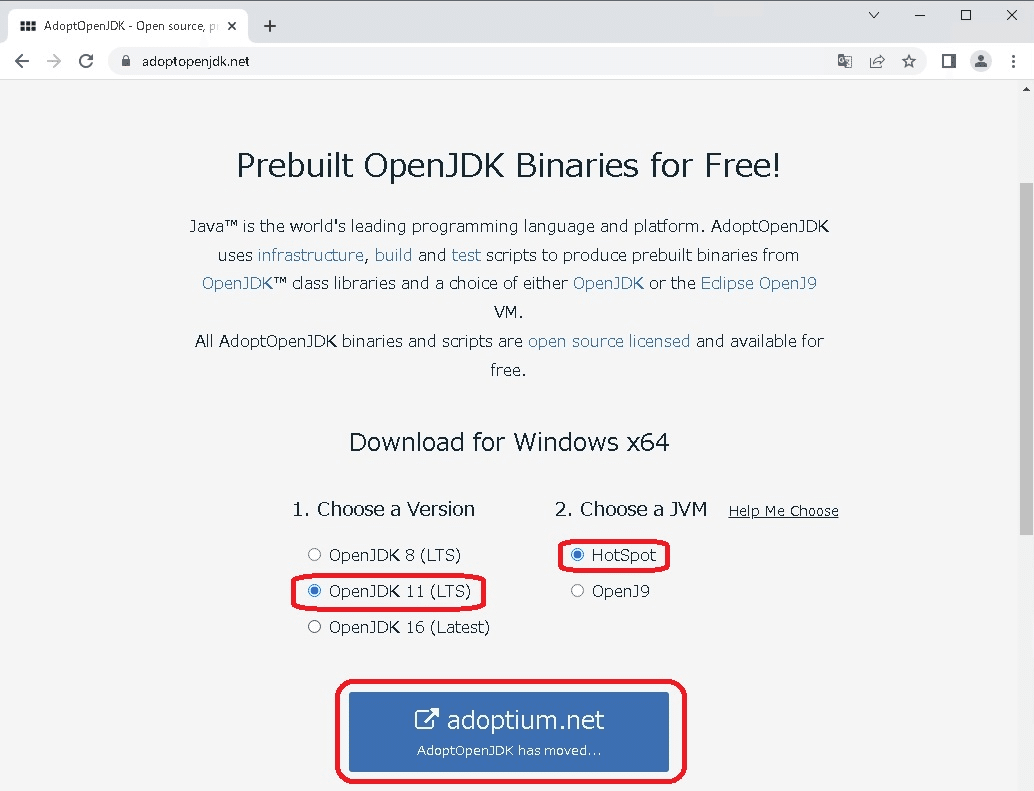
OpenJDK11・HotSpotを選択して、進みましょう。
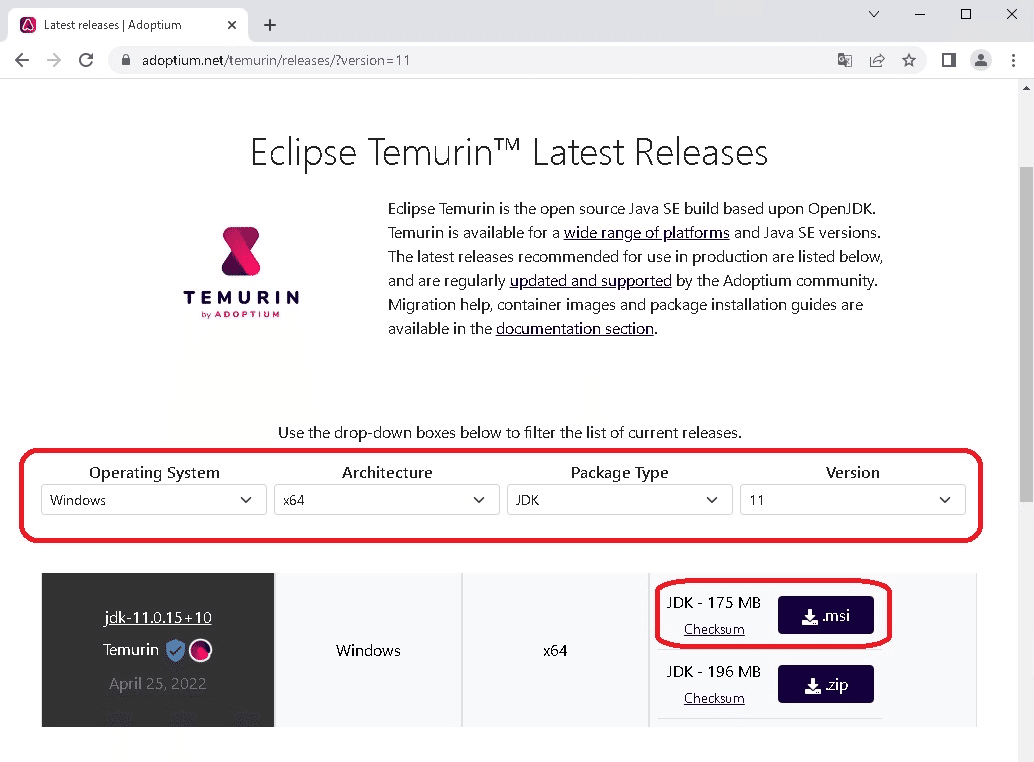
Operating System:Windows
Architecture:x64
Package Type:JDK
Version:11
で、フィルタリングを行い【msi】をクリックして、ダウンロードします。
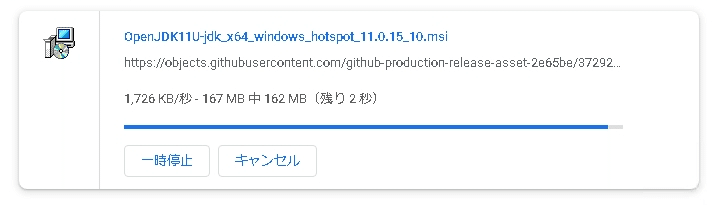
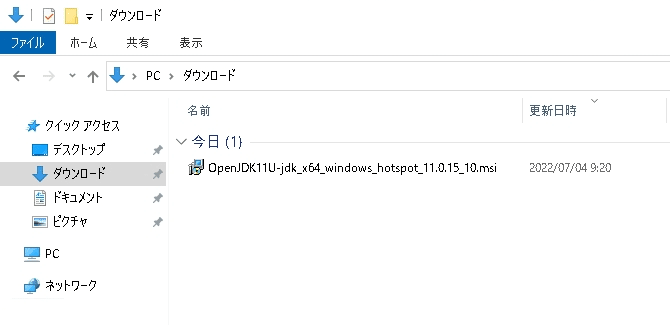
ダウンロードしたファイルを実行(ダブルクリック)します。

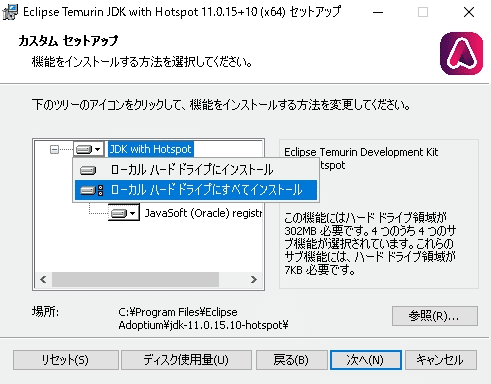
【JDK with Hotspot】を右クリック後【ローカル ハード ドライブにすべてインストール】をクリックします。
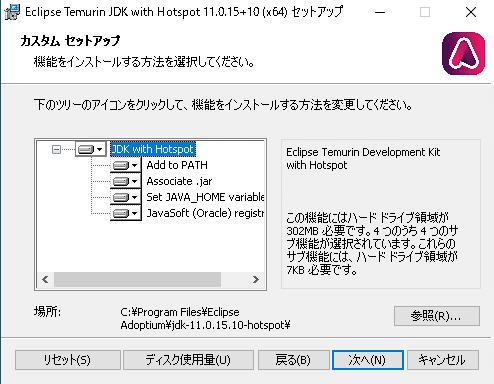
上記のようにすべて選択されていることを確認後【次へ】をクリックします。
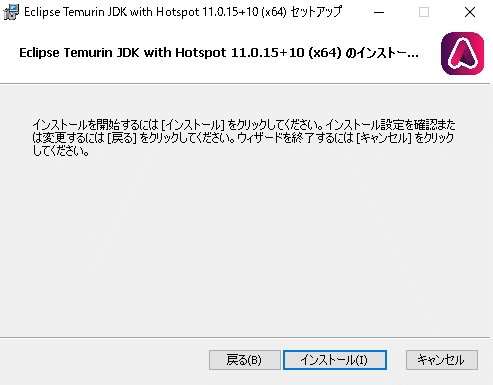
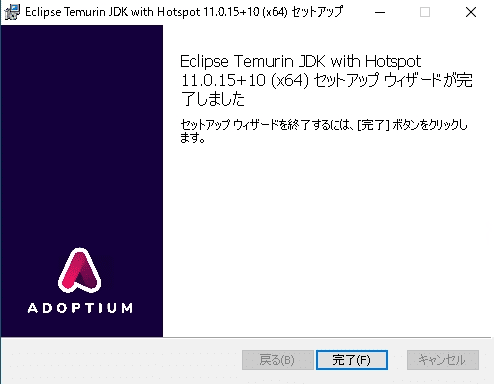
【インストール】をクリックしてインストールを開始します。
KeyCloakの導入

上部の【Downloads】をクリックします。
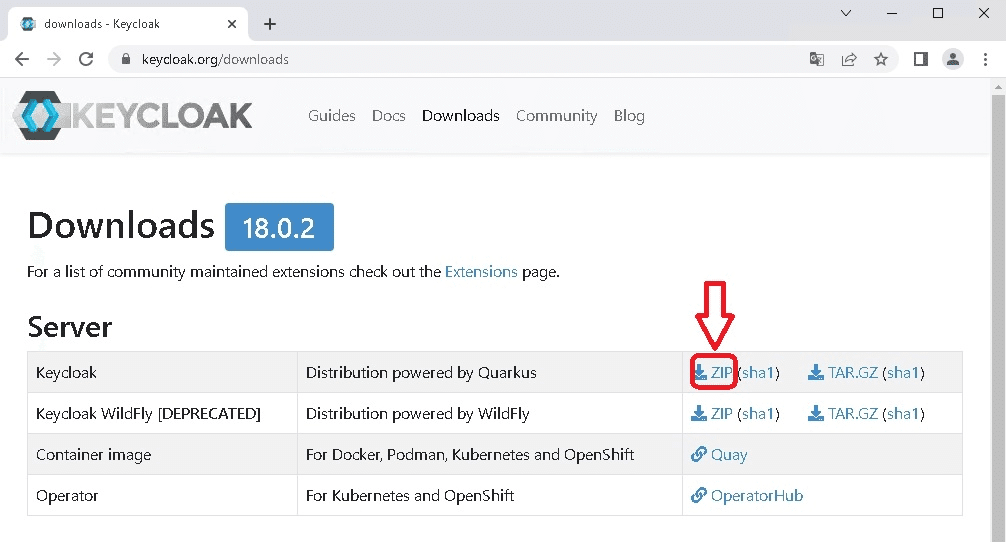
[Distribution powered by Quarkus]の【ZIP】の部分をクリックします。
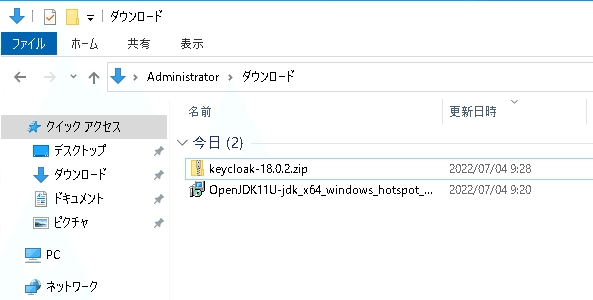
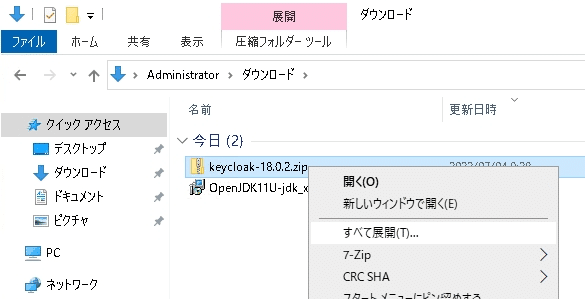
ダウンロードしたファイルを右クリック後【すべて展開】をクリックします。
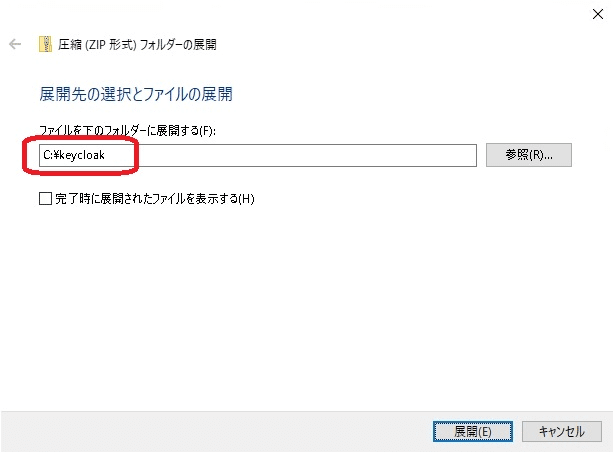
展開先のフォルダーを【c:\keycloak】に変更し【展開】をクリックします。
Keycloakの起動
【C:\keycloak\keycloak-18.0.2\conf\keycloak.conf】
25行目付近に
http-port=80
を追記します。(追記しなかった場合は8080ポートで起動)
# Basic settings for running in production. Change accordingly before deploying the server.

# Database

# The database vendor.
#db=postgres

# The username of the database user.
#db-username=keycloak

# The password of the database user.
#db-password=password

# The full database JDBC URL. If not provided, a default URL is set based on the selected database vendor.
#db-url=jdbc:postgresql://localhost/keycloak

# Observability

# If the server should expose healthcheck endpoints.
#health-enabled=true

# If the server should expose metrics endpoints.
#metrics-enabled=true

# HTTP
http-port=80

# The file path to a server certificate or certificate chain in PEM format.
#https-certificate-file=${kc.home.dir}conf/server.crt.pem

# The file path to a private key in PEM format.
#https-certificate-key-file=${kc.home.dir}conf/server.key.pem

# The proxy address forwarding mode if the server is behind a reverse proxy.
#proxy=reencrypt

# Do not attach route to cookies and rely on the session affinity capabilities from reverse proxy
#spi-sticky-session-encoder-infinispan-should-attach-route=false

# Hostname for the Keycloak server.
#hostname=myhostname
【C:\keycloak】に【Keycloak_Start.vbs】を作成します。
CreateObject("WScript.Shell").Run "C:\keycloak\keycloak-18.0.2\bin\kc.bat start-dev",0こちらからダウンロードが可能です。
schtasks /create /tn "Keycloak" /tr C:\keycloak\Keycloak_Start.vbs /sc onstart /ru systemタスクスケジューラに登録を行い、Windows Serverの再起動を行います。
手動で起動してもOKです。