
【mac】TimeMachineの保存先をWindows共有フォルダにする方法

1. 【Windows】フォルダの作成と共有設定
【前提】
共有フォルダのパス: `E:\backup\mac`
Mac上での共有フォルダ名: `share`
管理者権限のPowerShellで操作

1-1. フォルダ作成
New-Item -Path "E:\backup\mac" -ItemType Directory
1-2. 共有設定
New-SmbShare -Name share -Path "E:\backup\mac"
1-3. アクセス許可
アカウント名「user」に対して「フルコントロール」を許可。
Grant-SmbShareAccess -Name share -AccountName user -AccessRight Full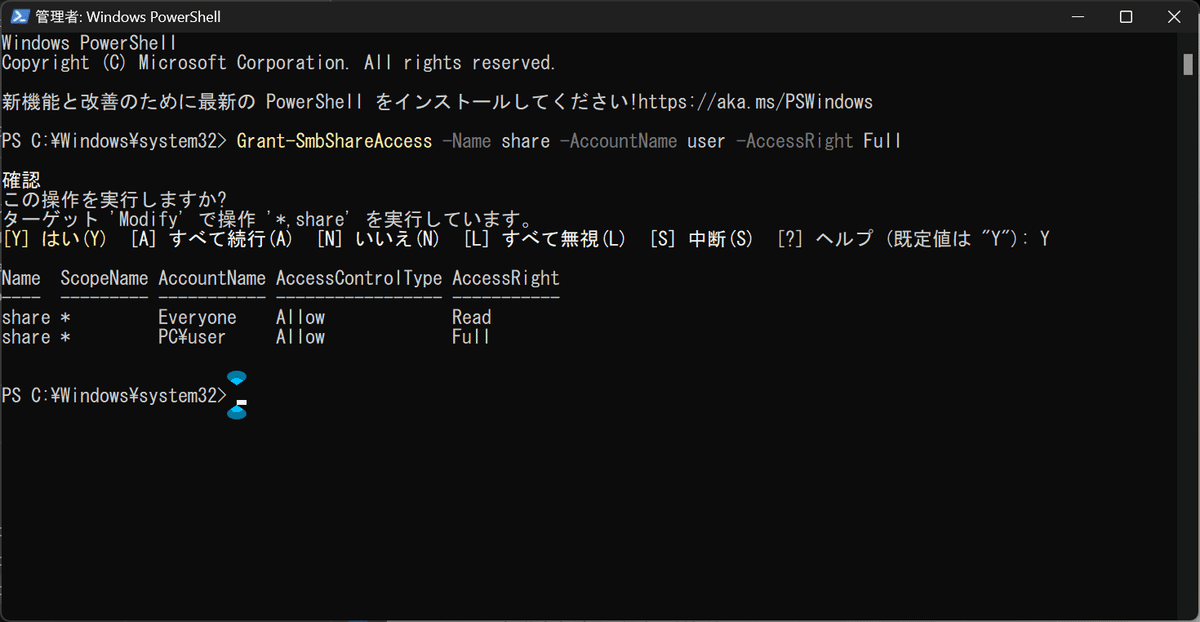
1-4. 設定確認
Get-SmbShare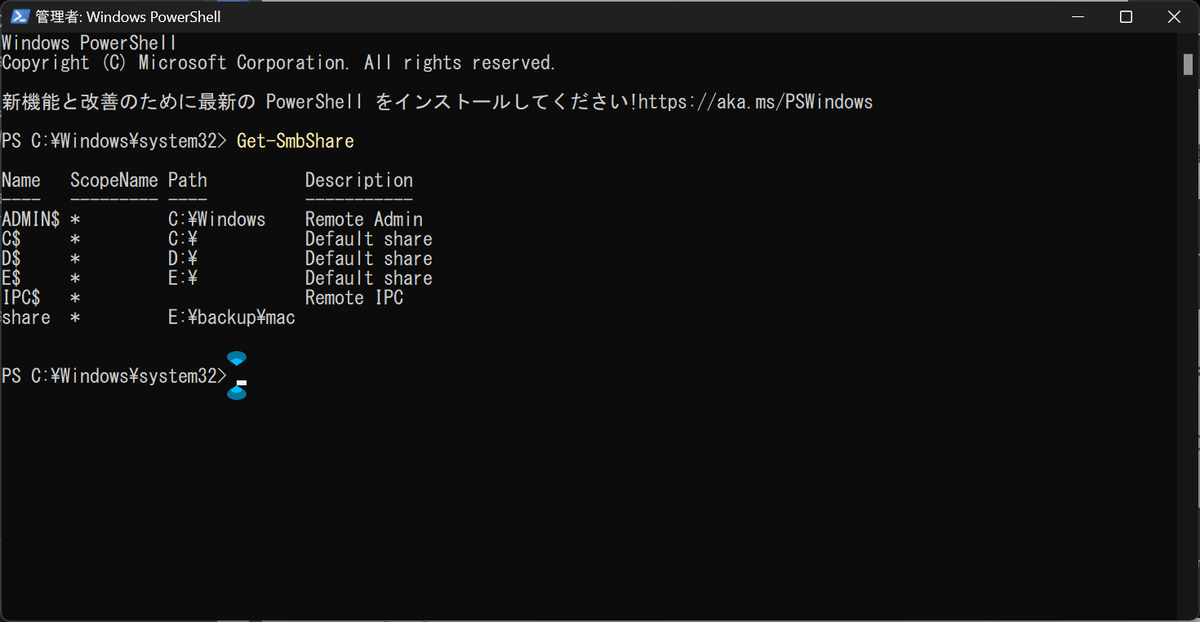
2. 【Mac】マウントとバックアップ設定
2-1. マウント
Finderで [移動] > [サーバーに接続] を選択し、次のいずれかを入力:
`smb://[IPアドレス]/share`
`smb://[WindowsPCの名前]/share`

ユーザー名とパスワードを入力すると、`share`がマウントされる。

2-2. スパースディスクイメージを作成
アプリ: ディスクユーティリティ.app
手順: [ファイル] > [新規イメージ] > [空のイメージを作成]
名前: `backup`
保存先: `share`
サイズ: 任意
フォーマット: MacOS拡張(ジャーナリング)
暗号化:
256ビットAES暗号化(推奨)
追記:バックアップ速度が2mb/sの為「なし」に変更
パーテーション: 単一パーテーション - GUIDパーテーションマップ
イメージフォーマット: スパースディスクイメージ


2-4. Time Machineの保存先に設定
ターミナルを開き、以下を実行:
sudo tmutil setdestination /Volumes/backup/Macのパスワードを入力
3. 完成
システム環境設定からTimeMachineを確認し、マウントされていれば設定完了


4. 転送速度が遅い場合の対処法
【Windows】
「Windowsの機能」からSMB 1.0のチェックをOFFに

【Mac】
スパースディスクイメージの暗号化を「なし」に設定
TimeMachine.appのプロセス優先度を上げる
sudo sysctl debug.lowpri_throttle_enabled=0元に戻す場合は「1」(再起動でも自動的に戻る)
sudo sysctl debug.lowpri_throttle_enabled=15. マウントの自動化
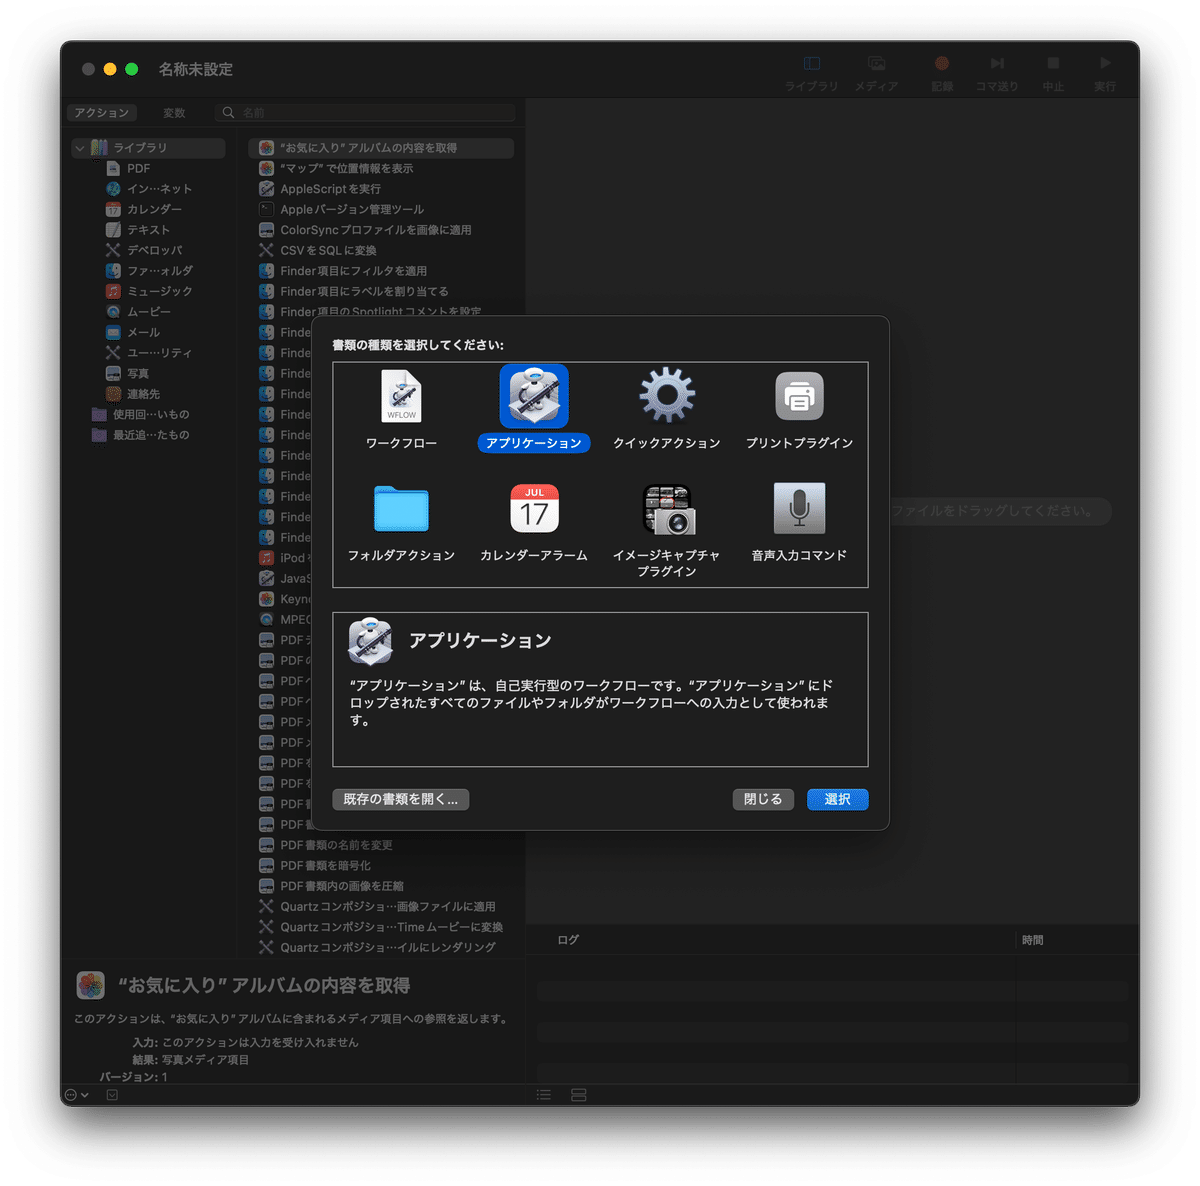
5-1. スクリプト(app)の作成
Automator.appで、AppleScriptを実行するappを作成

set serverAddress to "smb://PC/share"
set imagePath to "/Volumes/share/backup.dmg.sparseimage"

-- 起動時のみ60秒待機
delay 60

repeat
    -- サーバーに接続されているか確認
    set isMounted to do shell script "mount | grep -q " & quoted form of serverAddress & " && echo true || echo false"

    if isMounted is "false" then
        try
            -- サーバーに接続
            mount volume serverAddress
            -- 接続後に20秒待機
            delay 20
        on error
            -- エラー処理(接続に失敗した場合)
            -- 60秒待機してから再試行
            delay 60
        end try
    end if

    -- イメージがすでにマウントされているか確認
    set isImageMounted to do shell script "hdiutil info | grep -q " & quoted form of imagePath & " && echo true || echo false"

    if isImageMounted is "false" then
        try
            -- イメージをマウント
            do shell script "hdiutil mount " & quoted form of imagePath
        on error
            -- エラー処理(マウントに失敗した場合)
            -- 何もせずに次の処理に進む
        end try
    end if

    -- 5分待機(300秒)してから次のチェックを行う
    delay 300
end repeat
スクリプトをアプリケーション形式で適切な場所に保存
例: `/Applications/auto_mount.app`

5.2 appをログイン項目に追加

5-3. テスト
Macを再起動して、マウント・バックアップされるか確認