
VRChat CGE2を使って表情変更しよう!

※2024.10現在、表情変更するなら『FaceEmo』が簡単です!
この記事は、私が使用しているアバターのセットアップに使用されている為、記載したものになります。
・前回の記事はこちら!
・CGE2とは!ComboGestureExpressions V2のことです!とわからないかもしれません。
私が普段使っているもふもふ屋さんの日ノ出くんに使われているソフトです!
・覚えると便利だったので使い方を紹介します!
・公式のリンク
・これから書く内容に不足がある可能性もあるので、まずは公式の使い方をリンクしておきます。
・V2新機能の説明
・設定方法
1.ソフトの設定をしていこう!
・作業を始める前に、VCCの画面から”Manage Package”にある”Gesture Manager"を加えておいてください。
・日ノ出くんの場合は、CGE2も同時にインストールされており、プロジェクトに"Hai"フォルダがあります。
別のモデルの場合は、別途インストールしましょう!
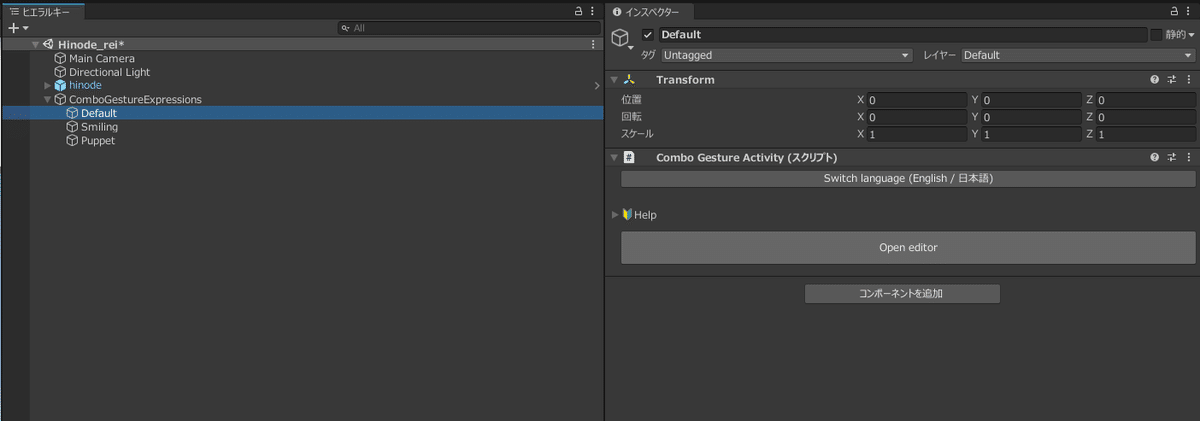
・そのフォルダの中にある、”ConboGestureExpressions(プレハブアセット)”をヒエラルキーに入れます。

・ヒエラルキーに入れたプレハブを右クリックして『プレハブを完全に解凍』を選びます。

・ヒエラルキーの””ConboGestureExpressions”にある"Default"を選び、インスペクターの"Help"にある『Open editor』をクリックします。
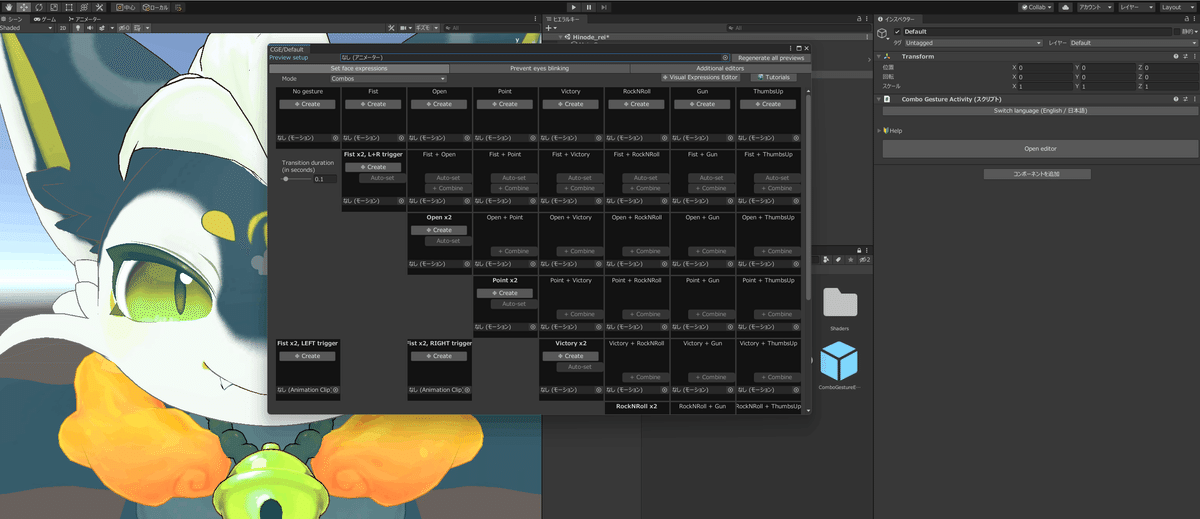
・CGEの画面が出てきます。
・画面が大きい方が使いやすいので、シーンやゲームのタブに移動します。

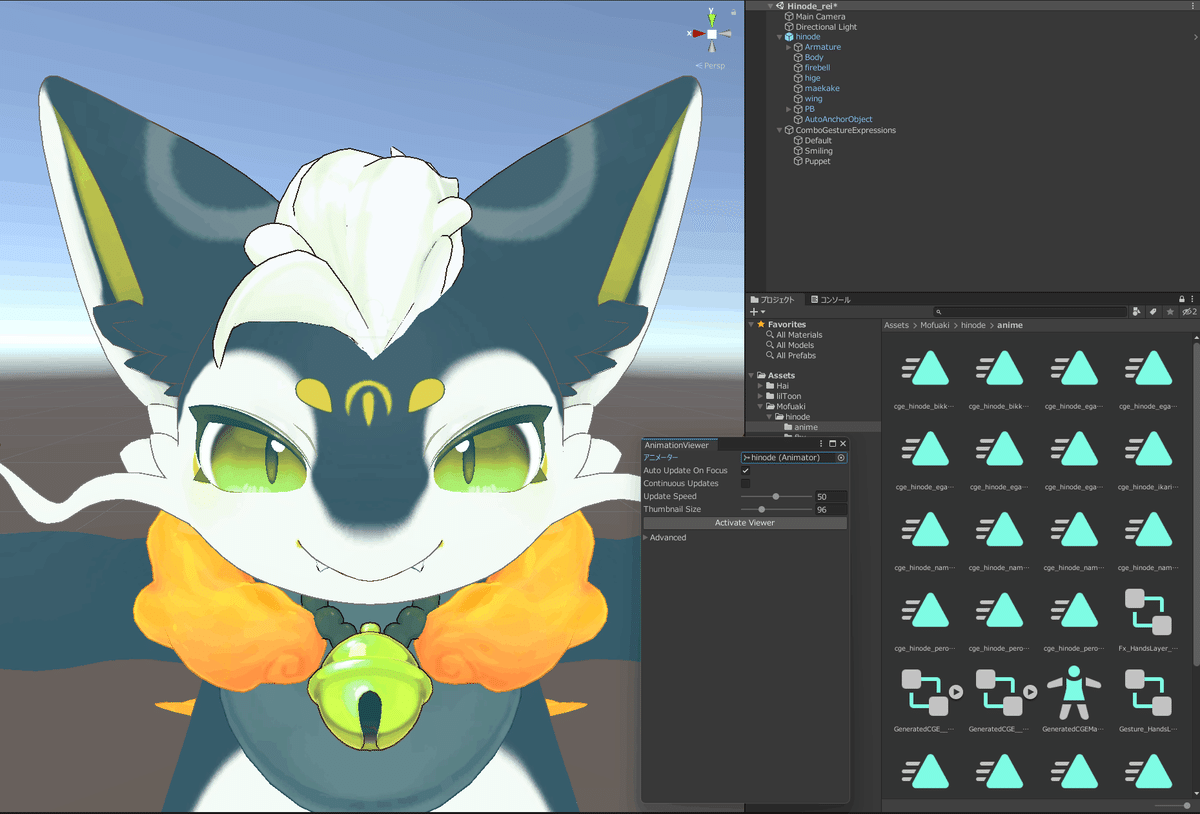
・CGE表示をシーンに戻して、ヒエラルキーでアバターを選びます。
顔や頭全体が見えるように調整しておきます。
(細かい位置調整が苦手な人は、シーン右上の方向を示しているマークの真ん中にある四角を押しましょう!調整が終わったら、もう1回押すと楽に調整できますよ!)
・プロジェクトで、アバターの表情入っているアニメーションフォルダを表示しておきます。

・アバターのAnimator右側にある点3つの所をクリックし、『Hai Animation Viewer』をクリックします。

・AnimationViewerのウィンドウが出ると同時に、シーンに映っているアバターの画像がプロジェクトの各アニメーションに反映されます。

・しかし、これだと耳全体が見えません。修正しましょう!
位置を調整し、赤いボタン『Activate Viewer』を押すと、現在の状態がOFFになります。

・もう1度、『Activate Viewer』を押すと、現在の位置で反映されます。
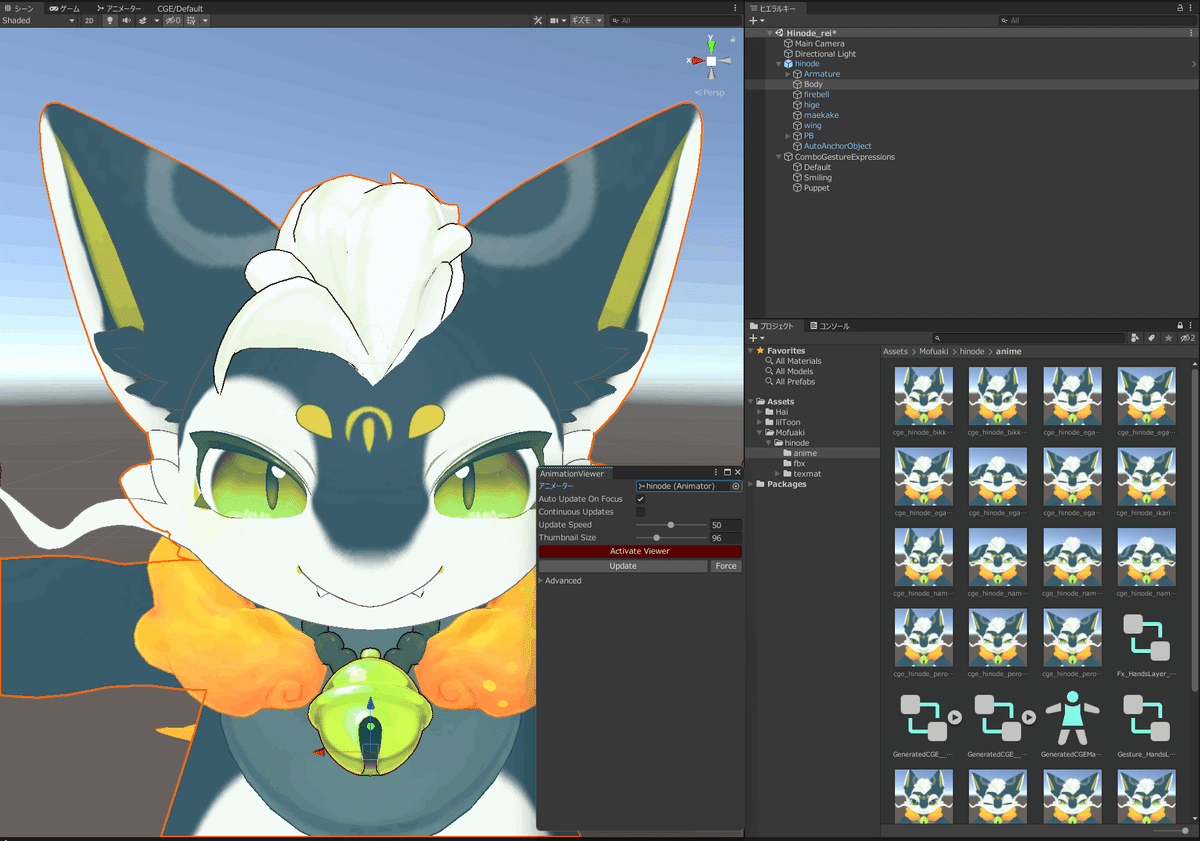
・位置調整が終わったら、別ウィンドウでは邪魔なので、どこかのタブとまとめます。今回私はヒエラルキーの横に入れます。

2.表情を入れていこう!
・ハンドサインがどれに該当するかの参考記事はこちら!
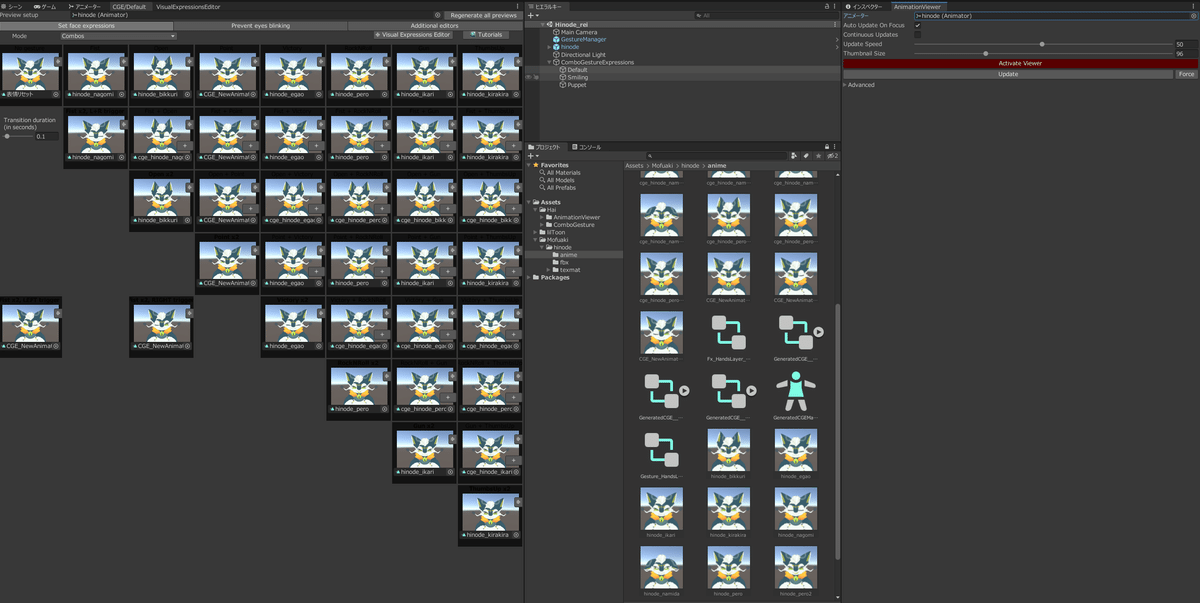
・CGE画面に切り替えます。左上のPreview setupに、ヒエラルキーにあるアバターのプレハブをドラッグ&ドロップします。(今回はhinode)

・それぞれのハンドサインの所にある、”なし(モーション)”へ基本となる表情をドラッグ&ドロップします。
※あとで記載しますが、表情を組み合わせて作成も可能です。

・両手が同じハンドサインの時、表情も同じしたい場合は、『Auto-set』をクリックします。

・表情の作成方法!
基本表情を入れていない時(割り当てている場合は、deleteキーで消せます)、『Cleate』ボタンがあります。これをクリックします。

・VisualExpressionsEditorのウィンドウが出ます。
ここで表情を選択し、組み合わせて作ることが出来ます。
※アニメーターに何も入っていない場合は、ヒエラルキーからアバターのプレハブをドラッグ&ドロップして、Updateボタンをクリックすると作成できます。

・画面をCGEに戻すと反映されています!
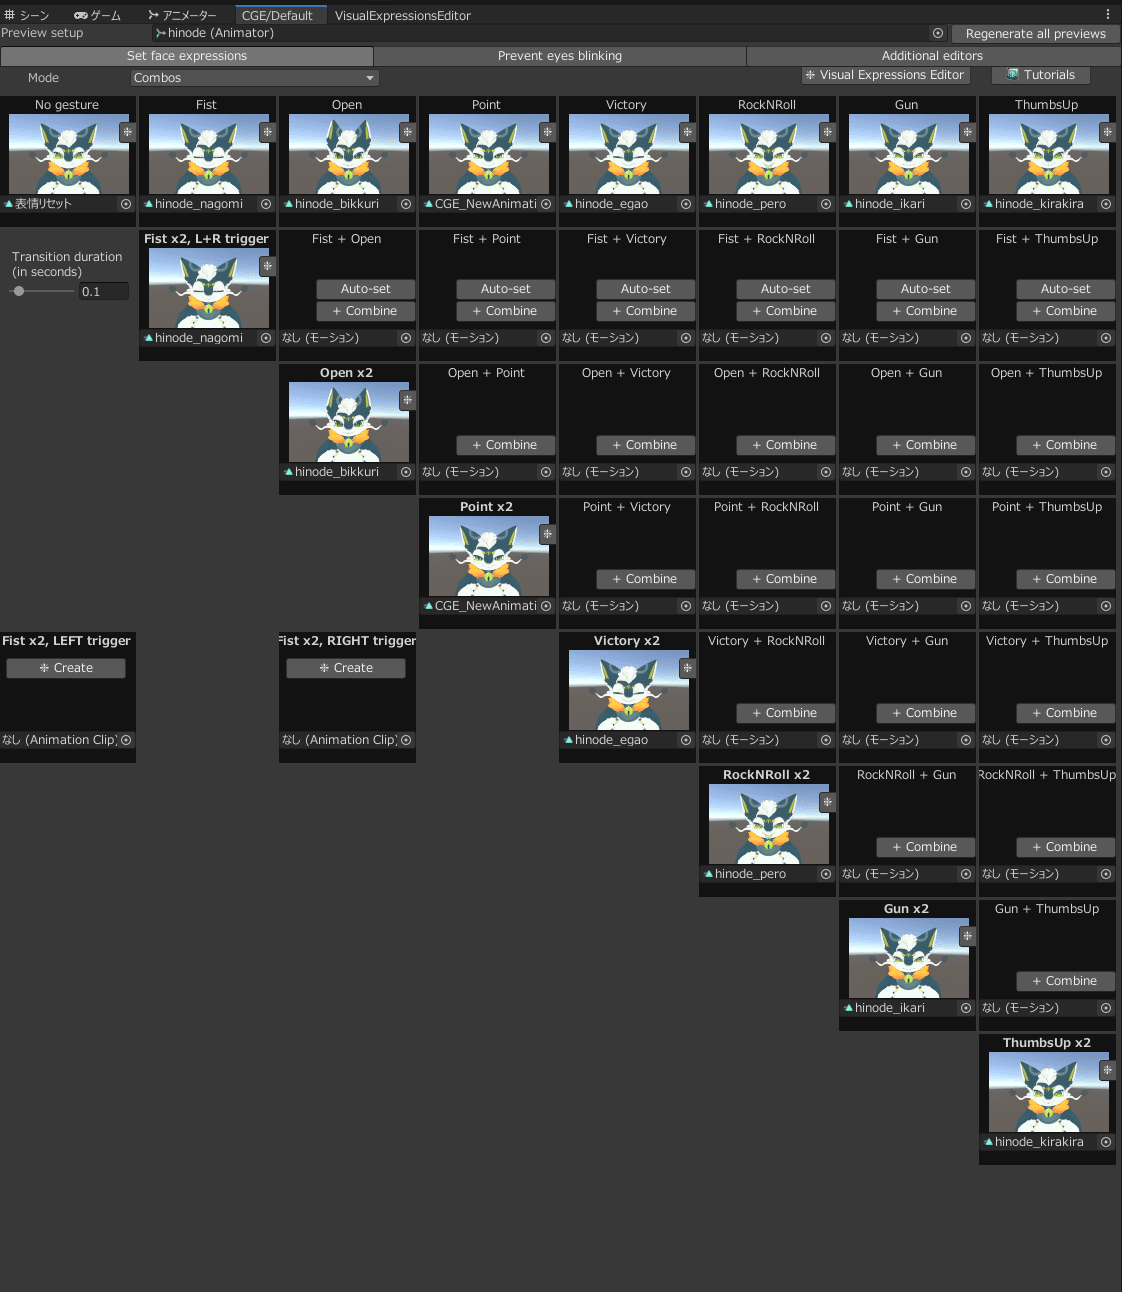
・さて、組み合わせを作っていない部分は、+ Combineを使いましょう!
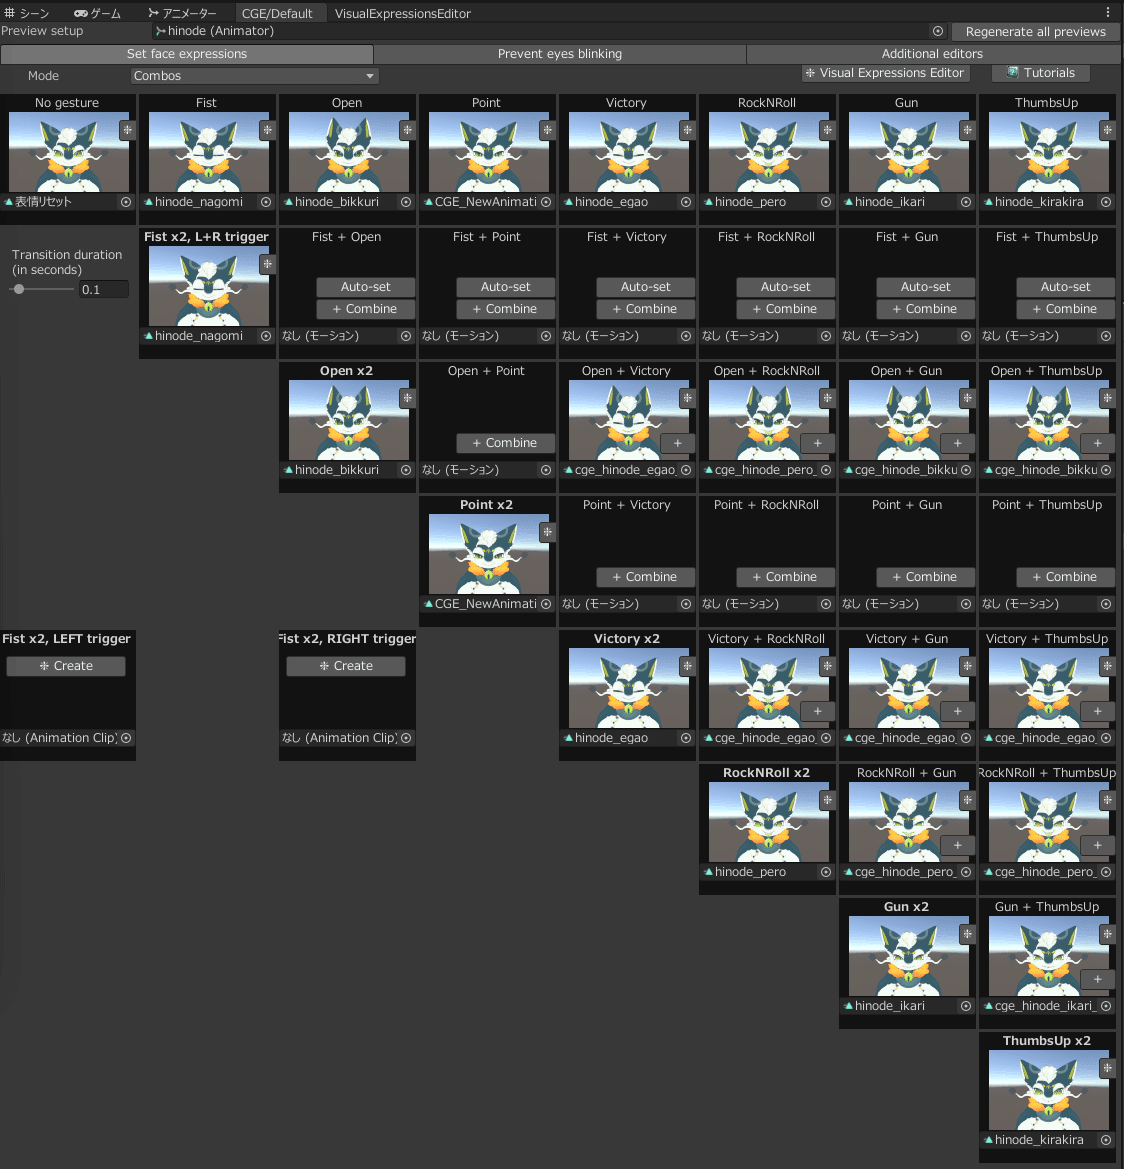

・画面が切り替わり、ハンドサイン2つのミックスした表情を作れます。
それぞれの表情に使われているパラメーターの数値は変更できませんが、
ON-OFFすることで組み合わせになります。
矢印が出ている部分がON、矢印がない所がOFFです。

・組み合わせが決まったら、真ん中下にある『Save and assign to Fist + Open』をクリックします。

・左下の2つ以外を埋めて、次はまばたき防止設定をします。
上のタブにある『Prevent eyes blinking』をクリックします。

・両目が閉じているもののみ、クリックして設定します。
ウインクは対象外です。

3.アバターに反映させよう!
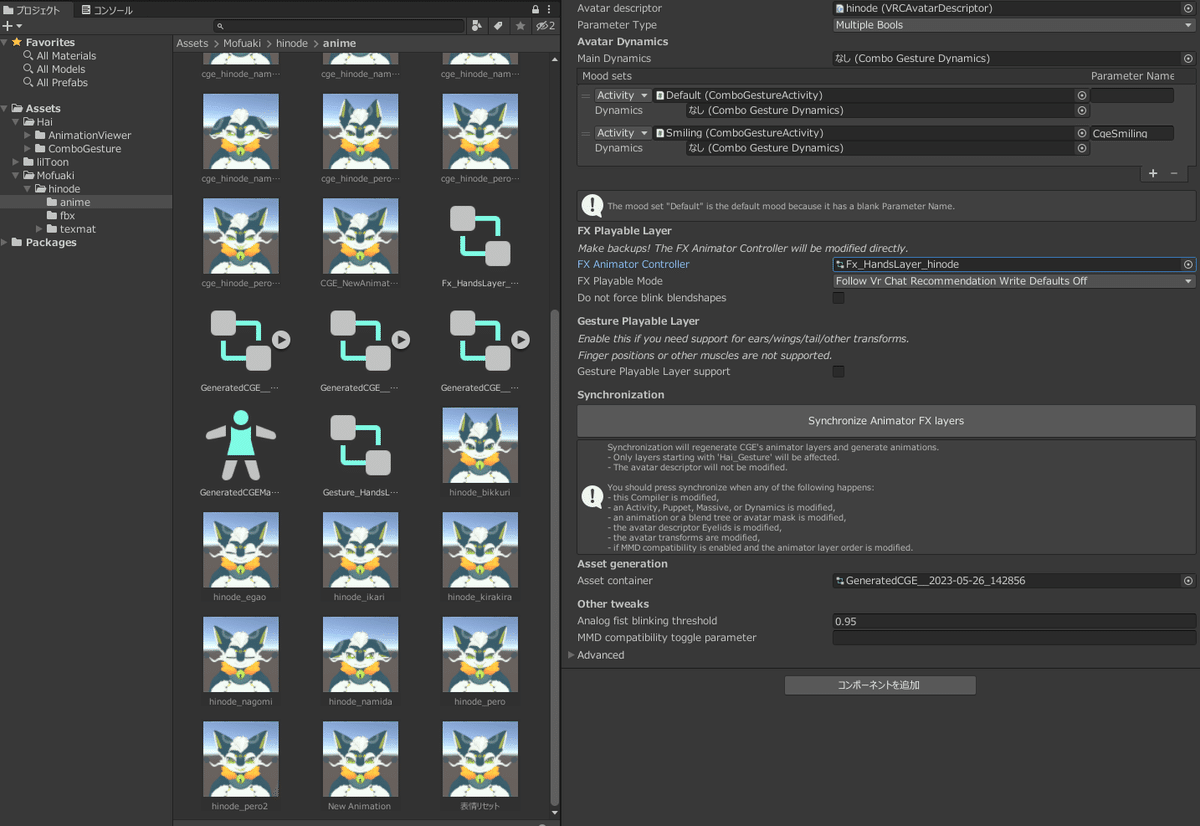
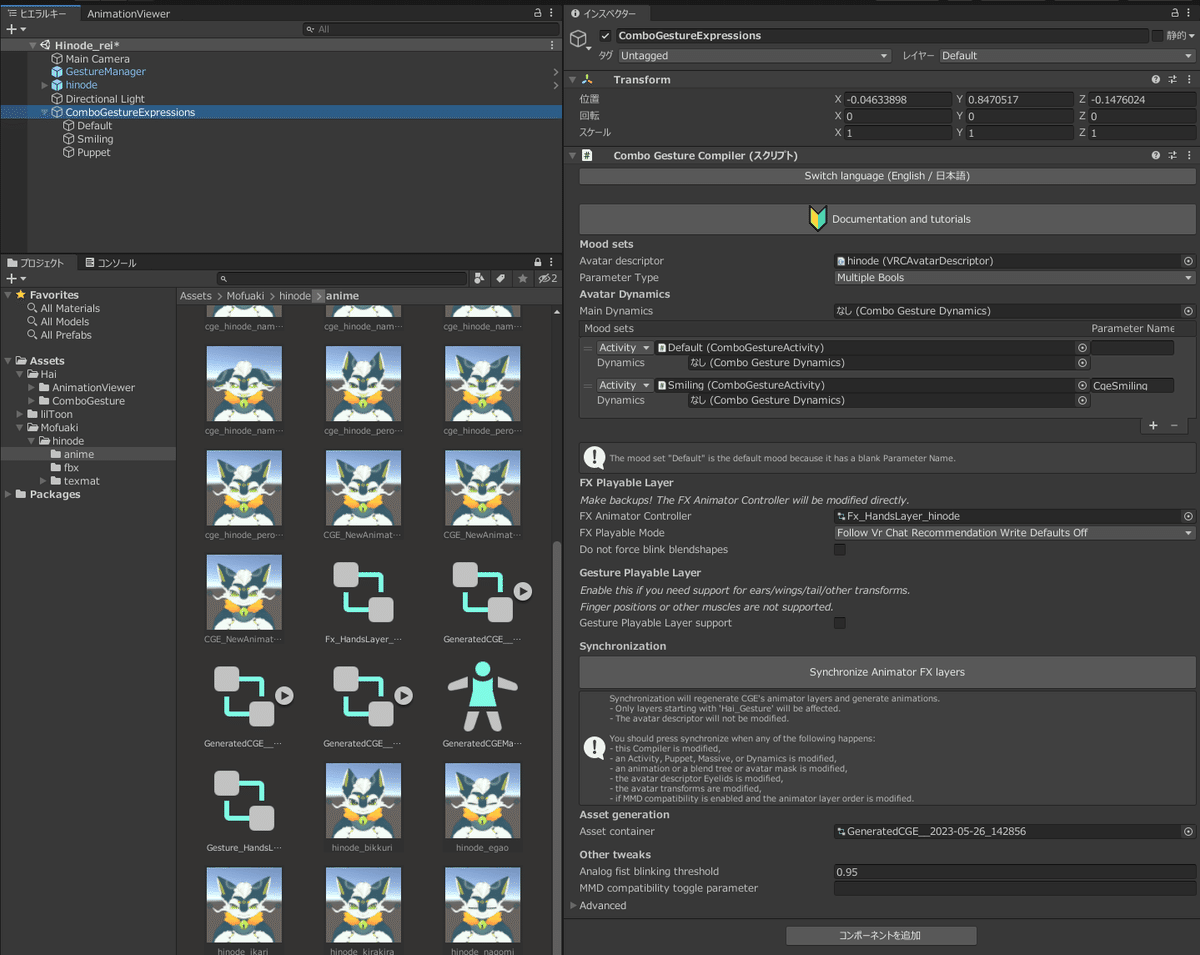
・ヒエラルキーのComboGestureExpressionsをクリックし、インスペクターの”Combo Gesture Compiler"の中の"Avatar descriptor"に、ヒエラルキーの"hinode"プレハブをドラッグ&ドロップします。


・ヒエラルキーのhinodeを選択して、インスペクターの"Playable Layers"の中のFX右側の”FX_HandsLayer_hinode”をクリックすると、プロジェクトにあるファイルがどれかが動きます。そのファイルを覚えておきます。

・ヒエラルキーのComboGestureExpressionsをクリックし、インスペクターの”Combo Gesture Compiler"の中の"FX Animator Controller"の右側に、先ほどプロジェクトの中に見つけた”FX_HandsLayer_hinode”をドラッグ&ドロップします。

・インスペクターで、先ほどの下の方にある、『Synchronize Animator FX layers』をクリックします。
下の方にある”Asset container"に、現在時刻の”GeneratedCGE_〇〇"が出来ます。これはプロジェクト内にも作成されます。
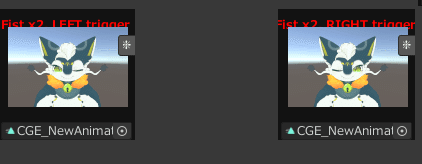
・次にCGE画面に戻り、左下の2つを埋めます!
(途中で別作業したので表示が少しおかしいですが気にせず)

・『Create』をクリックし、上のタブで"VisualExpressionsEditor"をクリック。ウインクを選び、もう1つもウインクを選んでいきます。

・ヒエラルキーのComboGestureExpressionsをクリックし、インスペクターの”Combo Gesture Compiler"の中の『Synchronize Animator FX layers』をクリックします。
・これで反映完了です!!
最初はどこに何を反映したか覚えられない可能性もあるので、CGE画面にあるハンドサイン一覧の画像をスクショするとわかりやすいです!
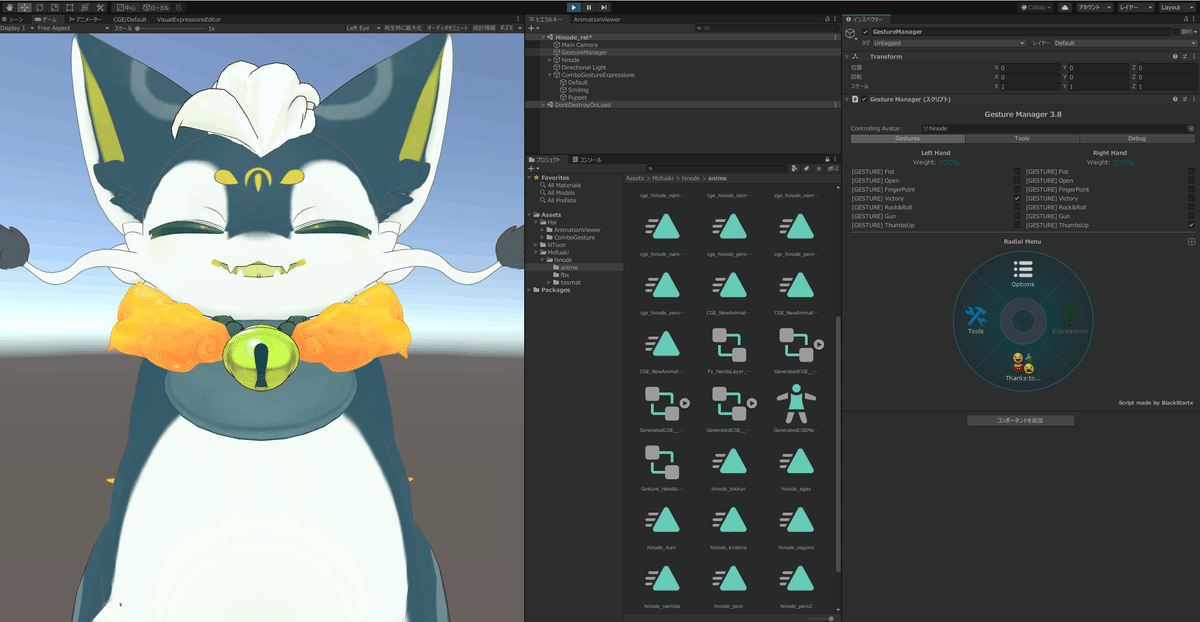
4.動作確認しよう!
・ヒエラルキーのMain Cameraをクリックし、シーンにあるカメラプレビューにアバターが映るように位置調整をします。

・ツールのタブから『Gesture Manager Emulator』をクリックします。
※表示が出ない人は、VCCの画面から”Manage Package”にある”Gesture Manager"を加えて下さい。

・ヒエラルキーに追加されたGestureManagerをクリックし、インスペクターの『Enter Play-Mode』をクリックします。

・インスペクターで左右のハンドサインが選べるので確認できます!
・お疲れさまでした!これで作成が出来ますね!
作者さんの説明書では、髪を引っ張ると表情が連動する説明もありますので、気になる方はそちらを確認して見て下さい!
日本語訳にして、”PhysBones、Contacts、OSC、その他の Avatars 3.0 パラメータを使用してダイナミクスを追加する”の項目にあります。
5.次回立ち上げ時の操作
・一度Unityを立ち上げなおすと、"AnimationViewer"のアニメーターにアバターが反映されていない状態になっています。
ヒエラルキーからドラッグ&ドロップして、『Actibate Viewer』をクリックしましょう。
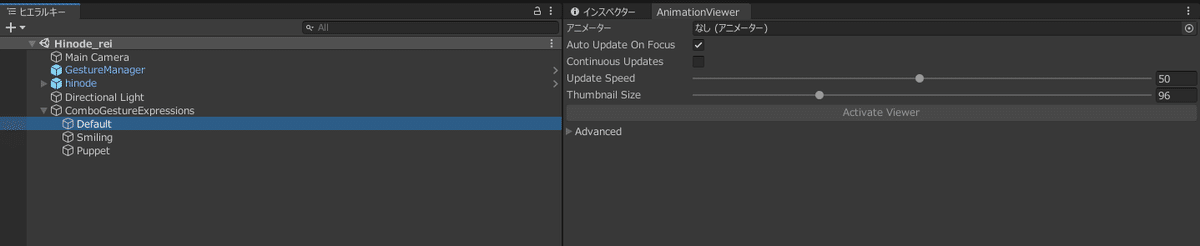
・ヒエラルキーの”ConboGestureExpressions”の”Default"をクリックします。
シーン画面からCGE画面に切り替えます。
・これで作業画面に戻れました!しかし、なぜかハンドサインの文字がいない…気にせずいきましょう!
6.元のハンドジェスチャーに戻すのは挫折!
・アバター購入時のハンドジェスチャーに戻したい!と思いましたが、理解不足でわかりませんでした。
Gesture Manager Emulatorでスクショして当てはめるしかないですね。
レベルアップしたらわかるんだろうか…。
・もしわかる方がいましたら、よろしければ教えて下さい!!!

あとがき
・実は他の表情設定方法を覚えていないので、時間が出来たらそちらも習得したいと思いますが、今のところ優先度は低いですね!
・VRoidの記事を更新しようと思いましたが、ハンドサイン思っていたのと違っていたので、先にこちらを更新しました!
まだこれが使えるか確認していないので試してみます…!
次の記事が出来たら、ここにリンクを貼ります!